To analyze a track to learn its arrangement, you break it into labelled sections, count which layers enter and leave each one, note where the energy rises and breaks, and then rebuild that skeleton with markers in your own DAW using your own sounds. Done well, one full analysis takes 45 to 90 minutes and gives you a template you can reuse for the rest of a release.
The mistake most producers make is treating analysis as listening. You play the track four times, nod along, and walk away with nothing written down. The top answer on a long-running r/edmproduction thread about learning arrangement is the bluntest one: copy the song structure of tracks you already love in your genre.
What follows is the repeatable version of that advice, built for producers who can already write loops and mix, but whose finished tracks feel flat, cluttered or oddly static.
Table of Contents
- What You Need
- Step-by-Step: How to Analyze a Track to Learn Its Arrangement
- Identify the Track’s Overall Structure
- Map the Energy and Arrangement Curve
- Track the Intro, Groove, and First Layers
- Locate Buildups, Drops, and Releases
- Analyze the Breakdown and Rebuild
- Compare Layering, Density, and Space
- Document and Rebuild the Pattern
- Common Mistakes
- Frequently Asked Questions
- What does music arrangement mean?
- How do you hear layers that are buried in a fully mastered track?
- How many elements should be in an intro?
- Should I recreate a reference track in my DAW?
- How long should each section of a song be?
- Do I need music theory to analyze a track’s arrangement?
- Conclusion
What You Need
A DAW you actually know well matters more than an expensive one. Any host that supports timeline markers will do the job: Live has markers and Locators, Logic has markers and track regions, FL Studio has the Playlist and its marker system, Pro Tools has Arrangement Window markers. Pick yours and learn its marker workflow before you need it under pressure.
Beyond the DAW, you want a reference file you own legally. A purchased lossless download gives you far more to work with than a stream, because you can trust the bitrate and because stem separation tools work better on an uncompressed source. A stereo file is normal; not having one is a problem for this workflow.
Headphones and one decent speaker pair cover different jobs. Headphones let you spot buried layers and sidechain behaviour; speakers tell you whether the section change actually reads in a room. Producers who study only on headphones regularly misjudge how much space a mix leaves.
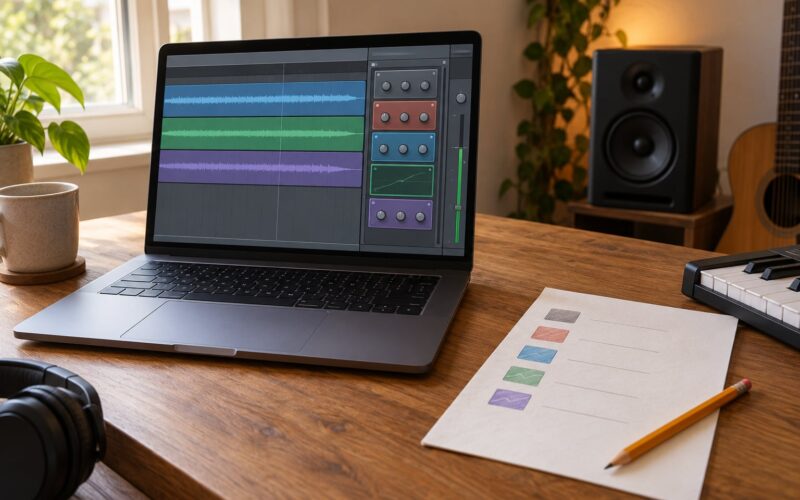
A timeline or notation method completes the setup. Some people keep a text document beside the session with one line per section. Others draw the section map as coloured blocks on paper, or build it as a spreadsheet with columns for bars, elements, energy and transition. Any of these beats memory.
Optional tools include a loudness meter for matching levels, a stem separation feature (built into several DAWs now, or available as a standalone service), and a spectrogram view in your DAW’s audio editor for the times when something inaudible turns out to be very audible.
Step-by-Step: How to Analyze a Track to Learn Its Arrangement
Work through these in order. Each step depends on the one before it, and the whole loop takes under two hours for a five-minute track.
Identify the Track’s Overall Structure
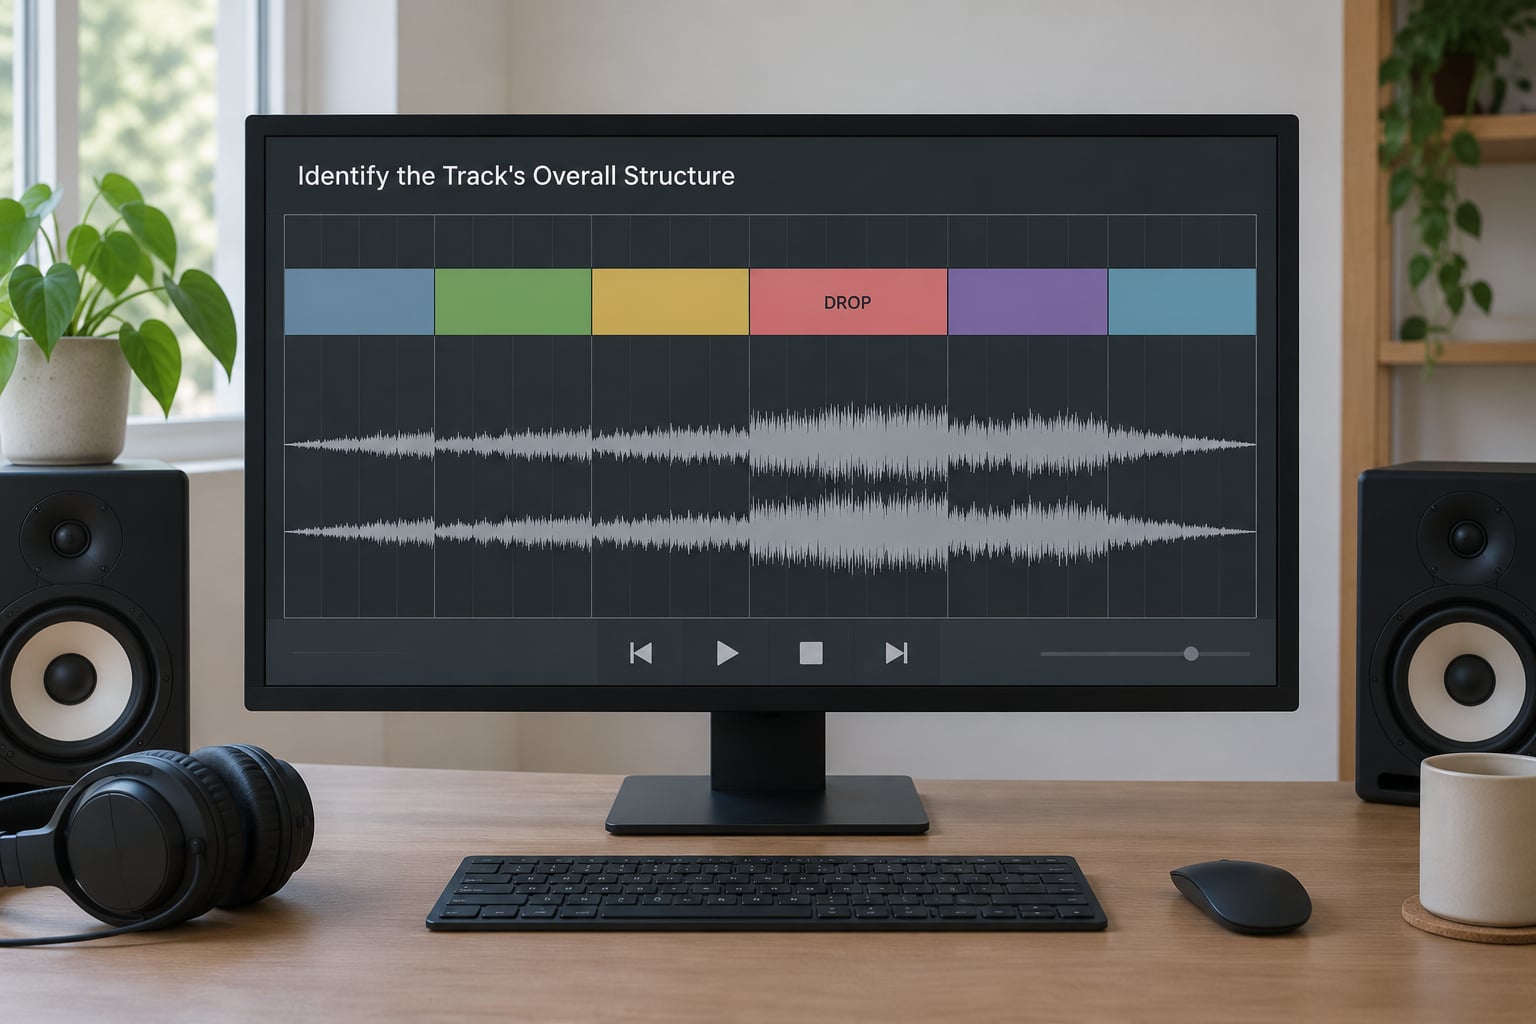
Drop the track into an empty project, set your tempo grid to match, and mark every section boundary with a marker before you listen again. Your first pass is pure recognition: where does the drums enter, where does the low end arrive, where does everything stop.
Label each marker with a name you would actually use in your own project, plus the bar number where it starts. Naming matters because later you will search your session by those labels.
Here are the structure formulas you will meet most often. Bar counts are typical ranges, not rules.
| Structure | Typical Layout | Bar Count | Where It Is Used |
|---|---|---|---|
| VCVC | Verse, Chorus, Verse, Chorus | 16, 8, 16, 8 | Pop, house, anything under four minutes |
| VPCVPC | Verse, Pre, Chorus, Verse, Pre, Chorus | 16, 4, 8, 16, 4, 8 | Dance and pop with a lifting pre-chorus |
| Intro-Verse-Chorus-Drop | Builds in and out of the same hook | 8, 16, 8, 16 | House, techno, most club tracks |
| AABA | Three statement sections and a contrast | 16, 16, 16, 8 | Jazz standards, funk, older pop |
| ABABCB | Alternating with a contrasting bridge | 8, 8, 8, 8, 8, 8 | Rock, indie, singer-songwriter |
| Build-Drop-Breakdown-Drop | Two full energy peaks around one valley | 8, 16, 8, 16 | Festival EDM, trance builds |
When you finish, you should be able to say the track out loud as a list of sections with bar counts, for example intro 8 bars, groove 32 bars, breakdown 16 bars, drop 32 bars. If you cannot, replay it and mark again. This step is the whole method; everything after it is detail.
Map the Energy and Arrangement Curve
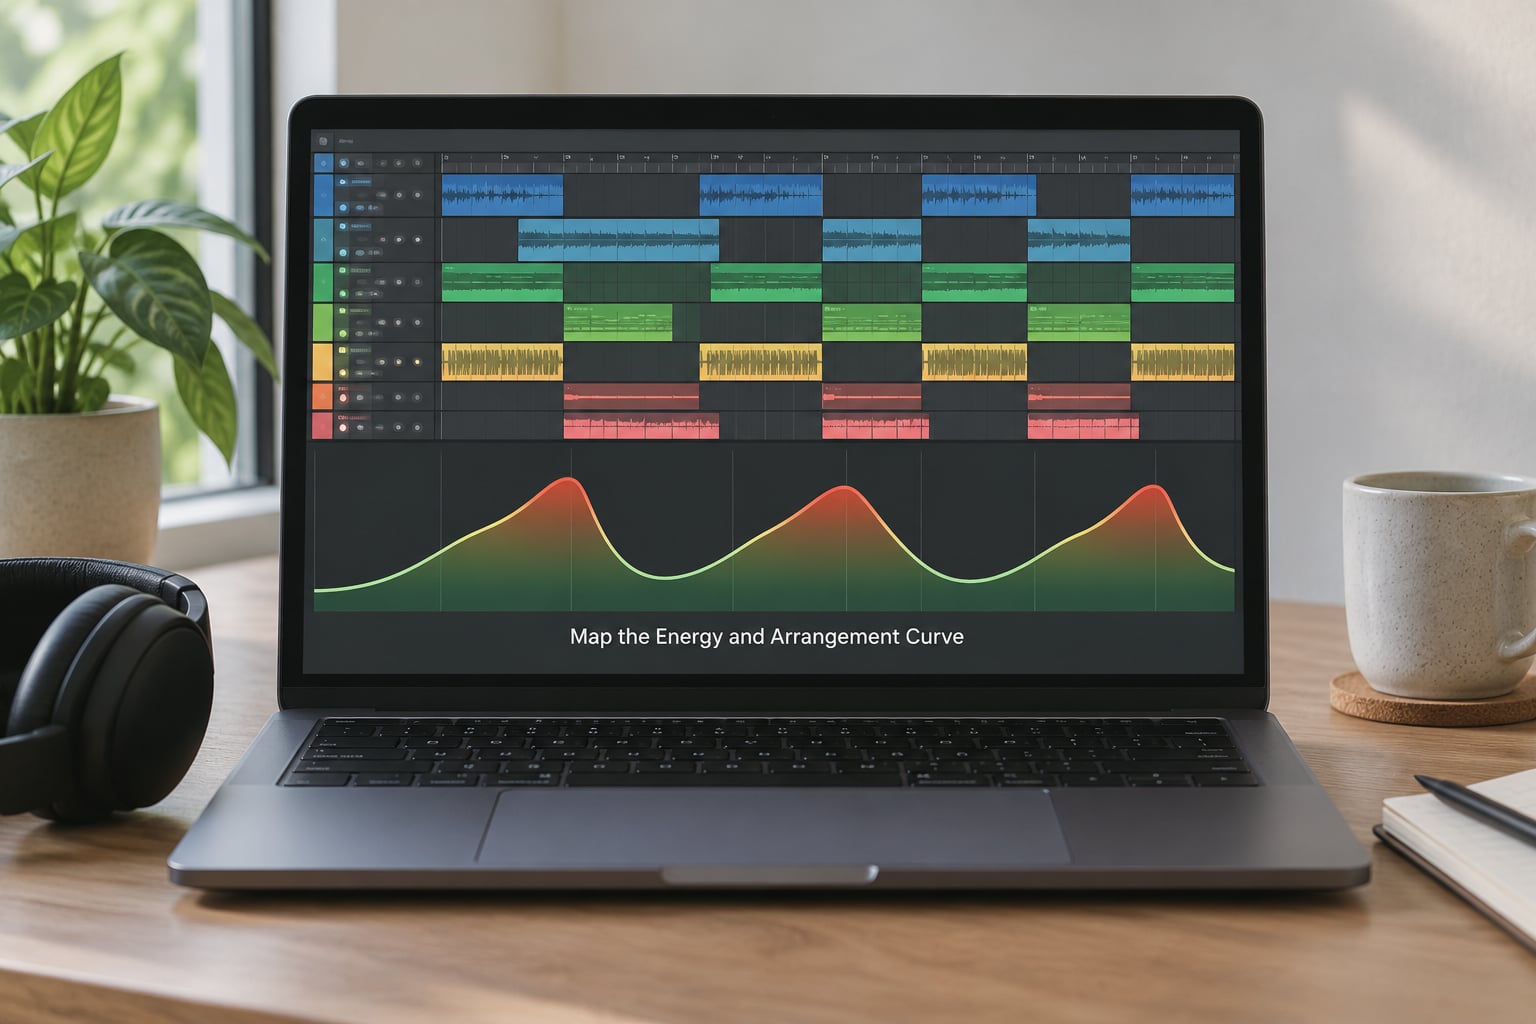
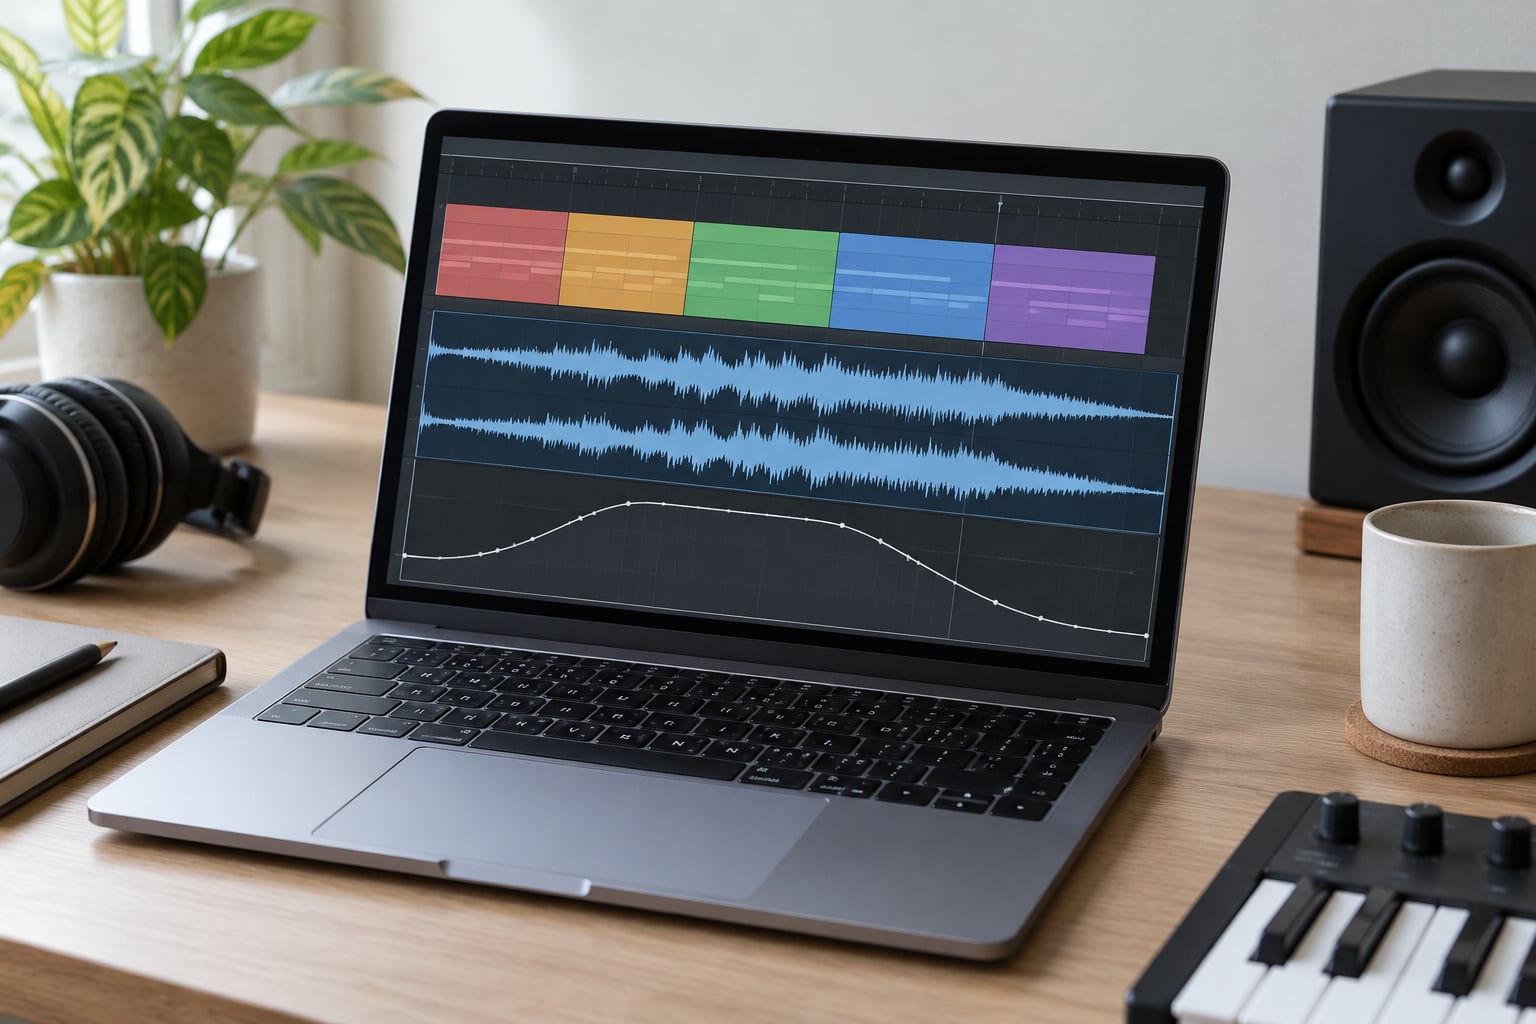
With the markers in place, describe each section’s energy in one word: sparse, building, full, collapsing, suspended. Then read the whole list as a curve.
A healthy curve alternates. Tension builds, releases, builds again. If every section sits at the same energy, that is the flatness listeners describe, and it happens because sections repeat without gaining or losing a single element.
The most useful lens here is the 80/20 rule: roughly 80 percent of a track’s energy is delivered by about 20 percent of its content. In practice, one hook and one strong drum pattern carry most of the song, and everything else is framing. Count which elements those are and you have found the track’s actual identity.
Also note the length of each section. Producers chasing arrangement usually have the opposite problem to the one they think. Sections drag because nobody cut them to length, and the fix is bar counts rather than new sounds.
Track the Intro, Groove, and First Layers
The intro tells you what the artist considers the identity of the track, so it deserves close study. Ask: how many distinct elements are playing in the first eight bars, and which one would still be recognisable with everything else muted?
A common answer is three or four elements. A kick and sub, a short melodic hook, one texture or noise layer, and often a vocal chop or a filtered pad that arrives late in the intro. Track analysis is where the “more layers is better” habit dies, because you can hear how little a strong intro needs.
Note the entry order precisely. Producers who build an intro add elements one at a time with each one louder than the last. Strong intros usually add one element and then change an existing one, so the count stays low while the interest keeps moving.
Then find the first groove. Write down the pattern in words or rhythm notation: what plays, roughly in what register, and how busy it is. Drums usually land here, either fully formed or as a filtered version of the pattern that arrives later at full level.
Locate Buildups, Drops, and Releases
Transitions are where arrangements either work or collapse, and they are the first thing most producers skip. Listen to every eight-bar boundary and name the technique you hear.
The list is short and worth memorising: added percussion layered over the existing groove, snare or fill rolls that accelerate, filter sweeps opening on an existing element, white noise risers, reverse cymbals, a single-bar drum fill, a moment of silence before the hit, and a sustained impact or crash masking the downbeat.
One detail to check every time. In a lot of club arrangements the drop is not a new section at all; it is the same loop as the intro with the filter fully open and the drums unprocessed. Understanding that one trick reshapes how you think about build-ups.
Count bars in the transition too. Eight bars is the default; sixteen is for a longer, more dramatic climb. If a build runs longer than about sixteen bars, most listeners have already guessed the ending, and the extra time reads as delay rather than suspense.
Analyze the Breakdown and Rebuild
The breakdown is where arrangement becomes obvious, because everything is being removed on purpose. Ask what disappears first, then what is left, and what new material enters before the return.
Usually the drums leave first, then the bass, and one melodic or vocal element remains alone. New material tends to arrive in reverse order, and the return is usually the moment everything comes back at once rather than a rebuild.
That last point is worth dwelling on. Producers often rebuild a breakdown bar by bar, adding elements in sequence, which produces a weak return. The strongest ones in dance music are a single moment: two bars of tension and then full arrangement. Check whether the reference does the same.
Write down the bar count of the breakdown and the exact ordering of what enters. That ordering is a template you can apply directly to your own track the next time you plan a middle section.
Compare Layering, Density, and Space
Go section by section and count elements rather than impressions. Elements means distinguishable musical parts: kick, sub, snare, hi-hat, percussion, bass synth, chords, lead, vocal, texture. A busy drop at 128 BPM often sits at ten or more, while a strong intro sits at three.
Then look at where those elements sit. Spread parts across the stereo field, the register and the rhythmic grid so they occupy different jobs. Two elements playing the same rhythm in the same octave are one element with double the density, and that is the main reason amateur mixes sound cluttered while professional ones sound full.
Dynamics matter as much as count. If every section is equally loud, the arrangement has no shape. Look for section starts that are quieter than what follows, and for breakdowns that use near-silence rather than just thinning out.
On a mastered track this step gets harder, and that is honest. You are hearing the finished, compressed and level-shifted version, not the pre-mix the artist worked on. Levels aside, your DAW’s loudness meter can match the reference to your track at roughly the same integrated LUFS so the comparison stops being a volume contest, and a spectrogram view will show you layers sitting under the loud parts that your ears cannot pick out.
Document and Rebuild the Pattern
Write up the analysis in one table before you forget it. This is the worksheet people have been re-creating by hand for years, and it takes two minutes per track once you have the layout.
| Section | Bars | Elements | Energy (1-5) | Transition In | Notes |
|---|---|---|---|---|---|
| Intro | 8 | 3 | 2 | none | Filtered hook, sub enters bar 5 |
| Groove A | 16 | 6 | 4 | Snare roll, 1 bar | Drums full, no vocal |
| Build | 8 | 8 | 5 | Riser + reverse crash | Filter opens over 8 bars |
| Drop | 16 | 11 | 5 | Impact, everything at once | Same loop as groove, filter open |
| Breakdown | 8 | 2 | 1 | Drums out, 1 bar of silence | Pad plus vocal only |
| Outro | 8 | 4 | 2 | Reverse tail | Ends on filtered loop |
Now rebuild the skeleton in a fresh project. Create the timeline with markers and empty regions matching your map, nothing else. No sounds yet. Look at it and ask whether the shape has momentum; a bare grid reveals a boring structure faster than any amount of sound design.
Only then start filling it in with your own sounds. Keep the bar counts and the element counts, and treat the notes column as inspiration rather than instruction. The Sonic Academy forum thread on the track analysis sheet is full of people saying the sheet, not the listening, is what made it stick.
One warning. Recreating a track exactly, sound for sound, teaches you almost nothing and carries real legal risk, since melodic and recorded elements can infringe even when you wrote no lyrics. Steal the shape, not the content.
Common Mistakes
Analyzing at the wrong level. If your reference plays louder than your track, you will conclude its mix is better when really it is just louder. Match integrated loudness first, then compare.
Copying sounds instead of structure. Rebuilding a song with the same samples teaches you nothing transferable. Rebuild the grid with empty regions, then fill it with your own material.
Skipping the transitions. The eight bars before each drop carry more arrangement information than a full verse. Listen to every boundary in isolation, three or four times.
Ignoring bar counts. Sections feel arbitrary until you measure them. Almost every arrangement problem improves the moment you write the bar count next to the section name.
Comparing sections from memory. Recall flatters the first version of anything. Loop the same eight bars of two sections back to back until the difference is obvious.
Never writing anything down. Pure listening leaves no trace. If your notes are not in a document by the end of the session, you will be starting from zero on the next track.
Tweaking details instead of the arrangement. If a track feels wrong, the fix is nearly always a section boundary, an element count or a level jump, not a better EQ curve. Fix the arrangement first and mix it after.
Frequently Asked Questions
What does music arrangement mean?
Music arrangement is the decision of which instruments play when and in what order. It covers how a song’s parts (intro, verse, chorus, bridge, drop) are sequenced, layered and dynamically shaped into a finished piece. Structure is the order of those parts, while arrangement is what fills them and how they change.
How do you hear layers that are buried in a fully mastered track?
Lower your expectations for buried layers and change tools instead of volume. Match integrated loudness first, then use a spectrogram view, which shows low-level parts hiding under louder ones, and a stem separation feature to pull drums, bass and vocals apart. Mute a separated stem and hear what the mix suddenly sounds like without it.
How many elements should be in an intro?
Three or four distinguishable elements is the range most strong intros sit in, such as a kick and sub, one melodic hook and one texture layer. If you hear more than that in a five-minute reference track, you are probably counting doubled layers as one element, which is exactly how listeners hear them.
Should I recreate a reference track in my DAW?
Recreate the structure, never the recording. Build the timeline with markers and empty regions matching the section map and bar counts you wrote down, then fill it with your own sounds and your own transitions. A sound-for-sound clone teaches you little and risks copyright problems with melodic or recorded material.
How long should each section of a song be?
Most sections land between 8 and 16 bars: intros and pre-choruses shorter, verses and choruses longer. Build-ups usually run 8 bars, or 16 for a bigger climb. Measure the tracks you admire rather than guessing, since tracks that drag are almost always over-long rather than under-arranged.
Do I need music theory to analyze a track’s arrangement?
No. You need ears, a DAW and a document to write in. Transcribing the melody helps and most producers end up learning as they go, but the section map, element counts and energy curve come entirely from listening. Plenty of working producers analyse arrangement on instinct alone.
Conclusion
Open a reference track you love, drop it into an empty project, and spend the next hour marking sections with bar counts. That single session will show you more about arrangement than a month of tweaking your own demo, and it is free.
Write the map down in the table above, then rebuild the skeleton with empty regions before you touch a synth. Repeat it once a week for a month and you will find that arrangement decisions stop being guesswork. Updated for 2026, this method still works the same whether your genre leans on breakdowns and drops or on verses and choruses, because the exercise is measuring structure rather than chasing sounds.