Transcribing a melody by ear means listening to a recording and writing down its pitches, durations and contour so you can read it back, play it, or rework it, without copying from an existing score. The method below uses Ableton Live 12 for the demonstrations, but the listening and verification steps work in any DAW.
A four-bar melody with a clear tune takes a beginner roughly 20 to 40 minutes for a first pass. That is normal. Transcription is not a test of perfect pitch; it is a loop of listening, guessing, and checking.
The order of operations matters more than the tool. Producers who get stuck usually skip the listening passes and start drawing notes too early.
Table of Contents
- What You Need
- Step-by-Step: How to Transcribe a Melody by Ear
- 1. Choose a short, clear section
- 2. Learn the melody by repeatedly singing and contouring it
- 3. Set the tonal center and likely scale
- 4. Enter the rhythm first, then refine the pitches
- 5. Check intervals and adjust disputed notes
- 6. Confirm how to transcribe a melody by ear against the source
- Common Mistakes
- Practice tips
- Frequently Asked Questions
- Do I need to know music theory to transcribe a melody by ear?
- How long does it take to transcribe a short melody by ear?
- What if the melody contains notes outside the key or scale?
- Can I use this melody transcription method in another DAW?
- How can I improve my ear-transcription accuracy over time?
- Conclusion
What You Need
You need five things, and only one of them costs money or takes practice to learn.
- The source recording, ideally a clean file or a track you can hear in isolation. Streaming at low quality is workable but wastes time.
- A quiet playback setup with headphones or decent nearfield monitors. Transcribing through laptop speakers teaches you bad habits.
- Optional reference material: a chord chart, the key from the artist, or the track’s tempo. Having these on hand saves guessing, though you should confirm them yourself.
- An Ableton Live 12 MIDI or audio track to hold your work. Menu paths below refer to Live 12 on macOS and Windows.
- A note pad for uncertain intervals, odd rhythm, and anything you cannot place yet.
That last item is not a throwaway. Most of the information you need is available before you commit a note to the piano roll, and writing it down first stops you from abandoning the melody.
Step-by-Step: How to Transcribe a Melody by Ear
Six steps, in this order. The goal is a musically useful first pass, not perfect note identification on the first attempt.
1. Choose a short, clear section
Pick four to eight bars where the melody is audible on its own and nothing competes with it.
Dense intros, guitar solos buried in a wall of reverb, and anything with two melodies fighting for the same space are terrible first choices. So is a passage played too fast to follow at full tempo.
Drop the audio on an audio track, set loop points around your chosen bars, and listen twice with no other purpose. You are checking that you can follow the tune from start to finish. If you lose the thread or cannot tell where one note ends and the next begins, pick a different section.
A good test: hum the whole chunk without stopping. If you can get through it, the section is transcribable.
2. Learn the melody by repeatedly singing and contouring it
Before any note goes into the DAW, spend two minutes huming the phrase back.
Sing or hum the melody, then trace its rise and fall in the air, or move the mouse cursor up and down in front of your screen to sketch the shape. Then compare that contour to the source. Repeat until the shape matches on the first half of the phrase.
This is the step almost everybody skips, and it is the one that pays off fastest. It trains melodic memory and forces you to hear interval relationships instead of hunting for note names.
Pay attention to three things while you do it: repeated notes, the biggest leap in the phrase, and where the final note lands. Those three give you the skeleton of the melody before you know a single pitch name.
3. Set the tonal center and likely scale
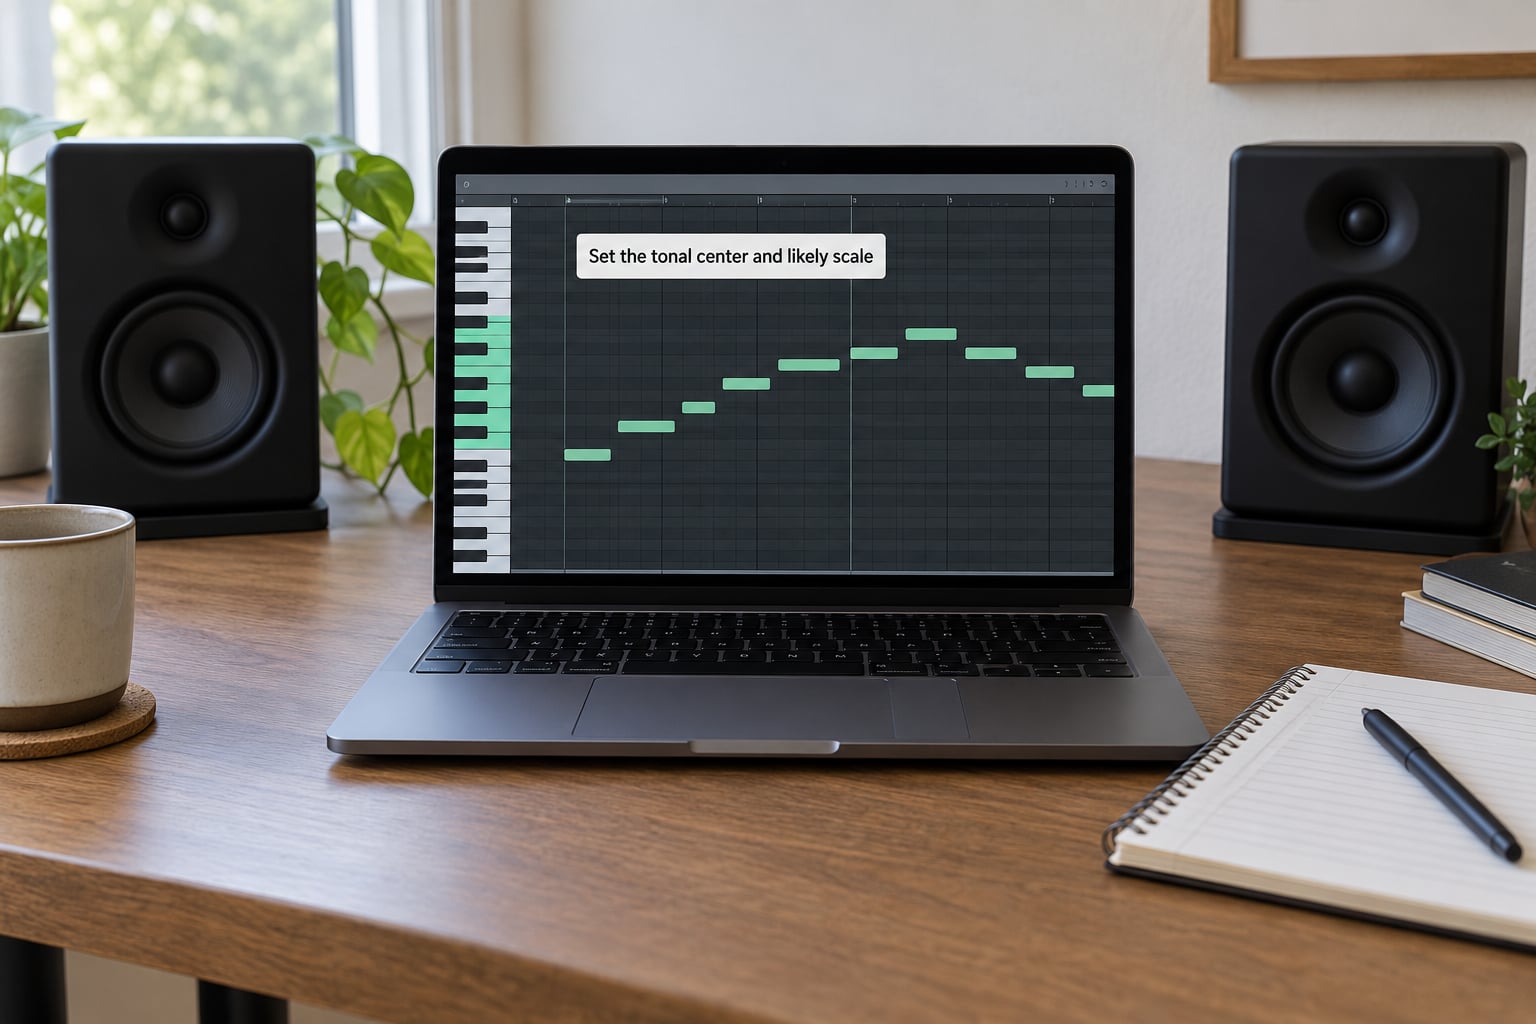
Find where the phrase comes to rest, and treat that note as your tonic.
Listen for the point of resolution. If the melody finishes on a note that feels settled, sits on the first or third degree of a major triad, and matches the bass, you have probably found the key.
Then test plausible scales. Open Live 12’s Scale menu and pick the major, minor, or modal candidate that fits the phrase, and let the piano roll highlight the notes that belong. Use that highlighting as a hypothesis, never as an answer.
Scales are wrong often enough that treating them as gospel is a real mistake. Pieces modulate, borrow chords, and lean on chromatic passing tones. When a passage keeps landing outside the highlighted set, change the scale rather than forcing the notes into it.
If two candidates both fit, keep going and let the cadence decide. Ambiguity at the start usually resolves within two or three phrases.
4. Enter the rhythm first, then refine the pitches
Draw approximate durations before you worry about exact pitches.
Open a MIDI clip in the MIDI editor and place notes at roughly the right times with roughly the right lengths. Lengthen what sustains, shorten what staccato, and duplicate and resize rather than redrawing each note. Getting the skeleton in place first means you can hear the rhythm against the original before pitch errors distract you.
Watch for the three rhythm details that matter most: where each phrase starts, whether the first note of the phrase lands on or before the bar line, and how long the final note of the phrase lasts. A pickup note at the start of a phrase throws off every bar after it if you miss it.
Once the rhythm holds up, use the Scale and chord tools to nudge out-of-place notes into the key, then listen again. Keep a mix of sustained and staccato articulation rather than everything at full length.
5. Check intervals and adjust disputed notes
Identify notes by their distance from their neighbors, not by memory of a keyboard layout.
Play two adjacent notes from your transcription. Is the move a semitone, a whole step, a minor third, or something wider? Then play what you think the source does and compare the leap sizes, not the note names. Direction matters too, because a rising minor third and a falling minor third feel different even though the distance is the same.
Use the Scale tool for the clean passages and ignore it entirely for the ones with chromatic notes, blue notes, or anything that sounds deliberately out of key. A blues inflection or a chromatic run will fight you the whole way if you keep snapping it back to the scale.
When a note stays wrong across three careful listens, stop guessing. Loop a bar, mute the audio, play your version alone, and put the two side by side. The stubborn error is usually an interval confusion rather than a hearing problem.
6. Confirm how to transcribe a melody by ear against the source
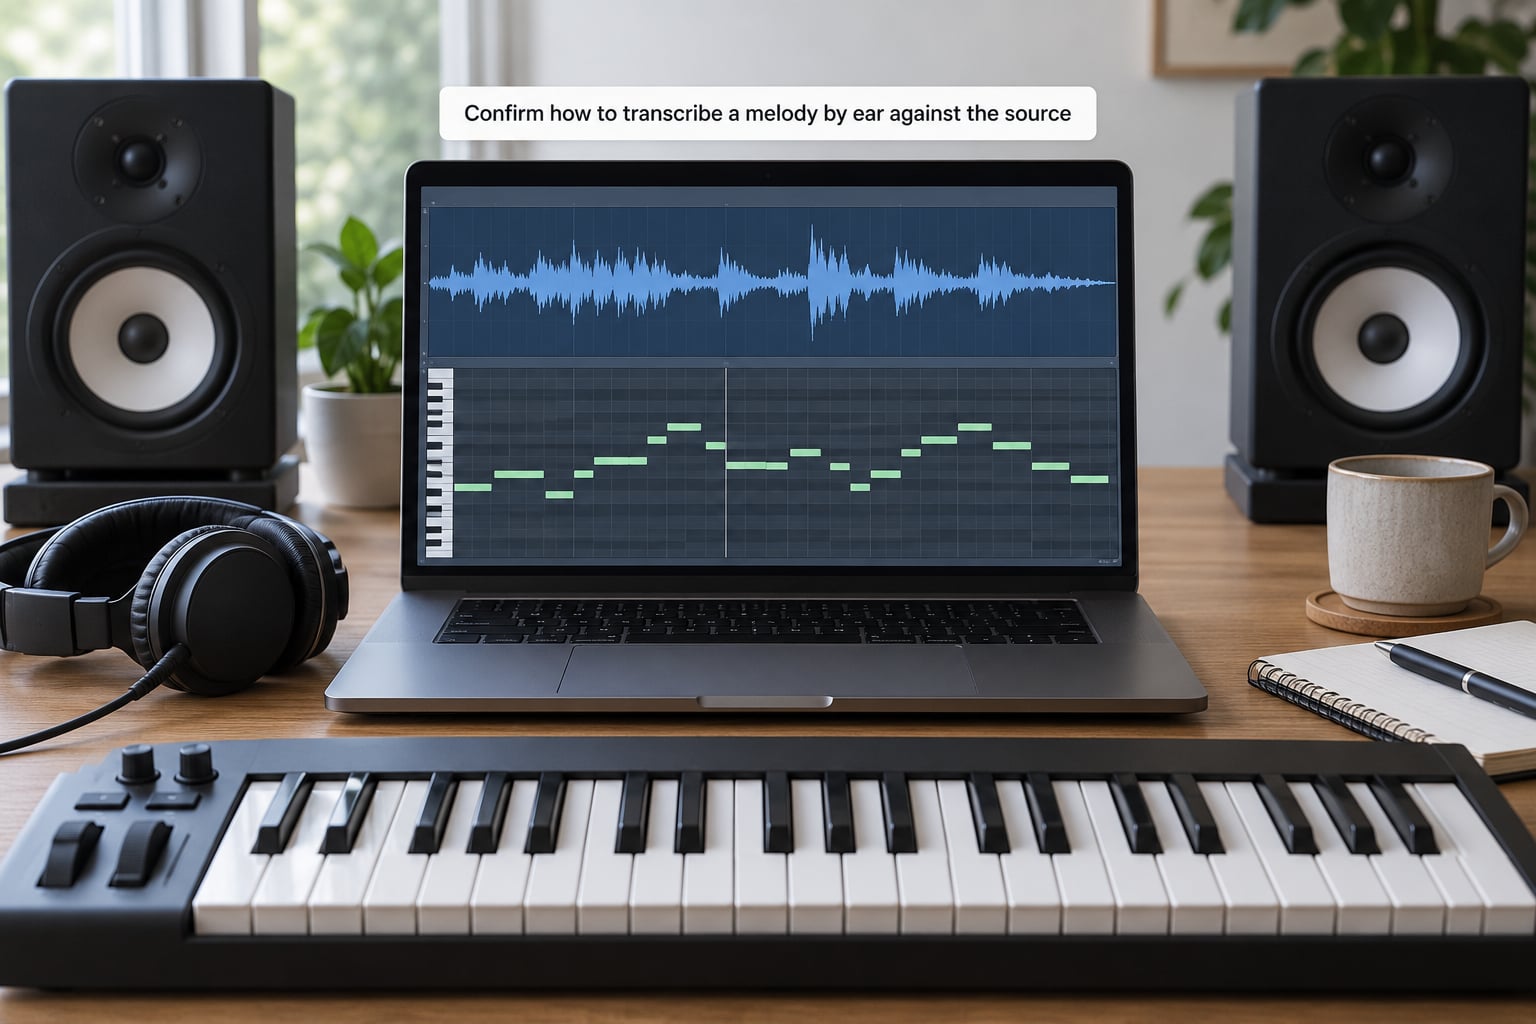
Verification is the step that turns a rough guess into a transcription, and skipping it is why so many transcriptions stay wrong.
Work in passes rather than all at once. First, toggle quantization on and off to check that your timing matches the performance. If the whole line shifts when quantization is on, the tempo map is probably wrong rather than your notes.
Second, listen at half speed and at full speed. Half speed exposes the fine steps you rushed past. Full speed tells you whether your articulation still sits right once you are not overthinking it.
Third, walk it note by note against the source. Correct timing, then durations, then articulation and dynamics, then any note you simply missed. Small dynamic differences usually come from a length problem rather than a volume problem.
Finish by singing over your reconstructed MIDI. If you can sing the source melody while your version plays underneath, the transcription is basically right. If you fight your own playback, something in the contour is still off.
Common Mistakes
Six errors account for most stalled transcriptions, and each one has a straight fix.
Transcribing from the first listen. You have one idea of the tune and you are already building on it. Listen to the phrase at least five times before entering anything, and let the hum from step two settle first.
Relying entirely on the scale. Highlighted notes are a suggestion, not a cage. When a passage keeps contradicting the scale, change the scale or stop highlighting it.
Entering every note as a full sustain. Everything sounds identical in length, so the melody loses its shape. Mix in short notes for staccato passages and gate long ones only where the source holds them.
Ignoring articulation. A staccato note and a held note on the same pitch sound like two different ideas. Work out the holds after the pitches are right, not before.
Forcing uncertain notes into the key. Some melodies are genuinely chromatic. Leave the odd note out of the scale and trust the evidence you hear across several passes.
Polishing before the contour is correct. Clean timing and tidy durations over a wrong melody still means a wrong melody. Confirm the shape first, format second.
Practice tips
Start with one-bar excerpts and build to four bars, then eight. Twenty focused minutes beats an hour of scattered attempts, because transcription is a motor skill and it responds to repetition.
Transcribe the same melody at three tempos: full speed, seventy-five percent, and half speed. Doing the half-speed version first trains your ear to hear intervals without the pressure of time, which is usually what beginners need.
Use call and response as a daily drill. Play four bars of something you have never heard, then play your version back. Write a short note on what you missed each time, because the pattern of what you miss tells you whether the problem is your ear or your setup. Reviewing that log monthly is the only honest way to tell whether your ear training is improving.
Frequently Asked Questions
Do I need to know music theory to transcribe a melody by ear?
You need less than most people expect. Being able to read a staff, name the twelve pitches, and recognize major and minor keys covers almost everything the first few months require. Understanding chords and intervals speeds things up considerably, but you can build those skills by transcribing. Many working producers transcribe by ear with modest theory knowledge and correct their errors later by studying the notation they produced.
How long does it take to transcribe a short melody by ear?
A clear four-bar vocal phrase usually takes a beginner 20 to 40 minutes. A faster instrumental line or a denser mix can take an hour or more. Those numbers shrink quickly with practice, mostly because repeated transcription trains interval recognition and key fluency at the same time. Difficulty matters more than length: monophonic lines with simple rhythm are quick, polyphonic jazz and rubato classical passages are not.
What if the melody contains notes outside the key or scale?
Leave them out of the scale and keep playing them. Chromatic passing tones, blue notes, and borrowed chords are normal in blues, jazz, pop, and film music, and forcing them back into the highlighted scale is one of the most common mistakes beginners make. If a passage consistently lands outside your chosen scale, that is a signal the scale is wrong rather than that your ear is wrong.
Can I use this melody transcription method in another DAW?
Yes. The listening method, the four-bar chunking, the scale-checking idea, and the verification routine are all DAW-independent. Every step in this guide maps to something similar in Logic Pro, Cubase, FL Studio, Reaper, or GarageBand. What Ableton Live 12 offers here is a specific path for MIDI entry, scale highlighting, and pitch-preserving speed change, and comparable tools exist in the other programs.
How can I improve my ear-transcription accuracy over time?
Transcribe regularly and keep a log of what you miss. Interval confusion, buried instruments, and unclear rhythm have different causes and different fixes, and your notes tell you which one to work on. Practicing call and response with unfamiliar material keeps you from memorizing melodies you already know. Accuracy improves fastest when you finish each transcription by playing it back against the original.
Conclusion
Transcribing a melody by ear works because it forces you to name what you already hear, and that naming is where interval recognition and key fluency come from.
Start here today: choose four clear bars, hum the contour until you can sing it, establish the tonic from the cadence, and enter the rhythm before touching a single pitch. Then verify note by note against the source. That loop is the whole method, and it gets faster every time you run it.