A de-esser is a band-limited compressor that listens for harsh sibilant sounds, the S, T, C and Z consonants that sit roughly between 2 kHz and 10 kHz, and ducks only that band when it crosses a threshold. Learning how to use de essers on synths and vocals comes down to five things: find the exact frequency of the harshness, pick split-band or wide-band mode, set the threshold by ear, cap the reduction at a few dB, and always judge the result inside the full mix.
The reason it matters is simple. Sibilance cuts straight through a dense low-mid heavy mix, and it is one of the first things that makes a track sound unfinished. Push it too far the other way and the vocal starts to lisp, or a pad loses the air that made it feel wide.
Most people learn this the slow way, by lowering a threshold until the meter moves and then wondering why the vocal sounds underwater. It takes about fifteen minutes per track once you know the order of operations, and the tools are free in every DAW.
Table of Contents
- What You Need
- Step-by-Step: How to Use De-Essers on Synths and Vocals
- Step 1: Identify the Problem
- Step 2: Choose the Right Processing Method
- Step 3: Set the Target Frequency
- Step 4: Adjust Threshold and Reduction
- Step 5: Check the Result in Context
- Common Mistakes
- Frequently Asked Questions
- What frequency should I use for a de-esser on vocals?
- Should I use the same de-esser settings for vocals and synths?
- Is a de-esser better than using EQ for sibilance?
- Where should a de-esser sit in my mixing chain?
- How much sibilance reduction is too much?
- Can I automate a de-esser to control only the loudest syllables?
- Conclusion
What You Need
A digital audio workstation is the only real requirement, and every major one ships with a de-esser you can use today.
- A DAW with a de-esser. Logic Pro, Pro Tools, Ableton Live, Cubase, FL Studio and Bitwig all include one. If yours does not, any multiband compressor will do the job.
- A spectrum analyzer in solo mode. Every DAW has one built into its EQ. You need to see the narrow spike that marks sibilance rather than guess at it.
- A bypass comparison. Most de-essers have a compare or solo button that switches the original signal in and out instantly. That is how you check for dulling.
- A fixed monitoring level. Match your output level before A and B comparisons, otherwise louder always sounds better and you will over-process every time.
You do not need a hardware de-esser, an expander or a second plugin to start. A single well-set instance on each source gets you most of the way.
Step-by-Step: How to Use De-Essers on Synths and Vocals
Step 1: Identify the Problem
Play the track and listen for the specific things that should not be there: a piercing S, a spitting T, a ch or sh that cuts through the snare, or a synth tone whose top edge feels like it is scratching the eardrum.
Then compare. Solo the source and play it loud enough to hear the whole frequency range, which is the trick most beginners skip. Harshness that is obvious in solo but harmless in the mix is usually not the problem you should be solving.
Before reaching for the plugin, rule out two other causes. A room with strong reflections near 2 kHz to 4 kHz makes every sibilant sound worse, and so does a mic held too close to the mouth. Over-bright EQ adds a harshness that sounds like sibilance but is really a mix decision. If a boost you added earlier at 10 kHz is what made the S painful, pull the boost instead of gating the whole band.
One more check before you move on. Sibilance in a dense mix is sometimes doing useful work: it is part of why a vocal cuts through. If the vocal sounds aggressive when it is soloed but sits exactly where you want it in the full mix, leave it alone.
Step 2: Choose the Right Processing Method
Three tools do the same job, and picking the right one saves you trouble later.
A dedicated de-esser is the fastest route for vocals. It splits the signal at a chosen frequency, watches one band for energy, and ducks either just that band or the whole signal.
A multiband compressor gives you more control and handles material that does not sit neatly in the sibilance range. Split it into bands, key the compression from a clean high band, and apply gain reduction to the harsh band only. That technique is the fix when harshness sits lower, around 2.5 kHz to 4 kHz, and a standard de-esser will not catch it. Forum discussions about vocal harshness keep coming back to it for good reason.
A dynamic EQ treats the harsh frequency like an EQ band that moves on its own. Use it when the problem is a static resonance rather than a transient consonant, such as a synth patch with a ringing formant filter.
For synths, start with the dedicated de-esser in split-band mode. Synth material is dense and sustained, so a wide-band duck smears the whole texture and takes the air out with it.
Step 3: Set the Target Frequency
Find the exact frequency instead of trusting a preset. Open your EQ on the source, solo it, and play the phrase or the synth part where the harshness is worst.
You are looking for a narrow spike. A vocal sibilance peak usually sits between 4 kHz and 8 kHz, with many male voices landing in a 5.5 kHz to 7.5 kHz window and higher, brighter voices higher still. Synth resonances land anywhere, because the harshness comes from the patch.
Two techniques speed this up. First, a frequency sweep: put a narrow boost on a moving band in your EQ and sweep it from 2 kHz up to 12 kHz. The harshness becomes impossible to miss when you boost it. Second, on plugins with a sidechain or detector audition mode, solo the detector output to hear exactly what the de-esser is reacting to.
Set the de-esser frequency to match the spike you found. Then widen the band slightly so the whole consonant is covered instead of just its center.
Step 4: Adjust Threshold and Reduction
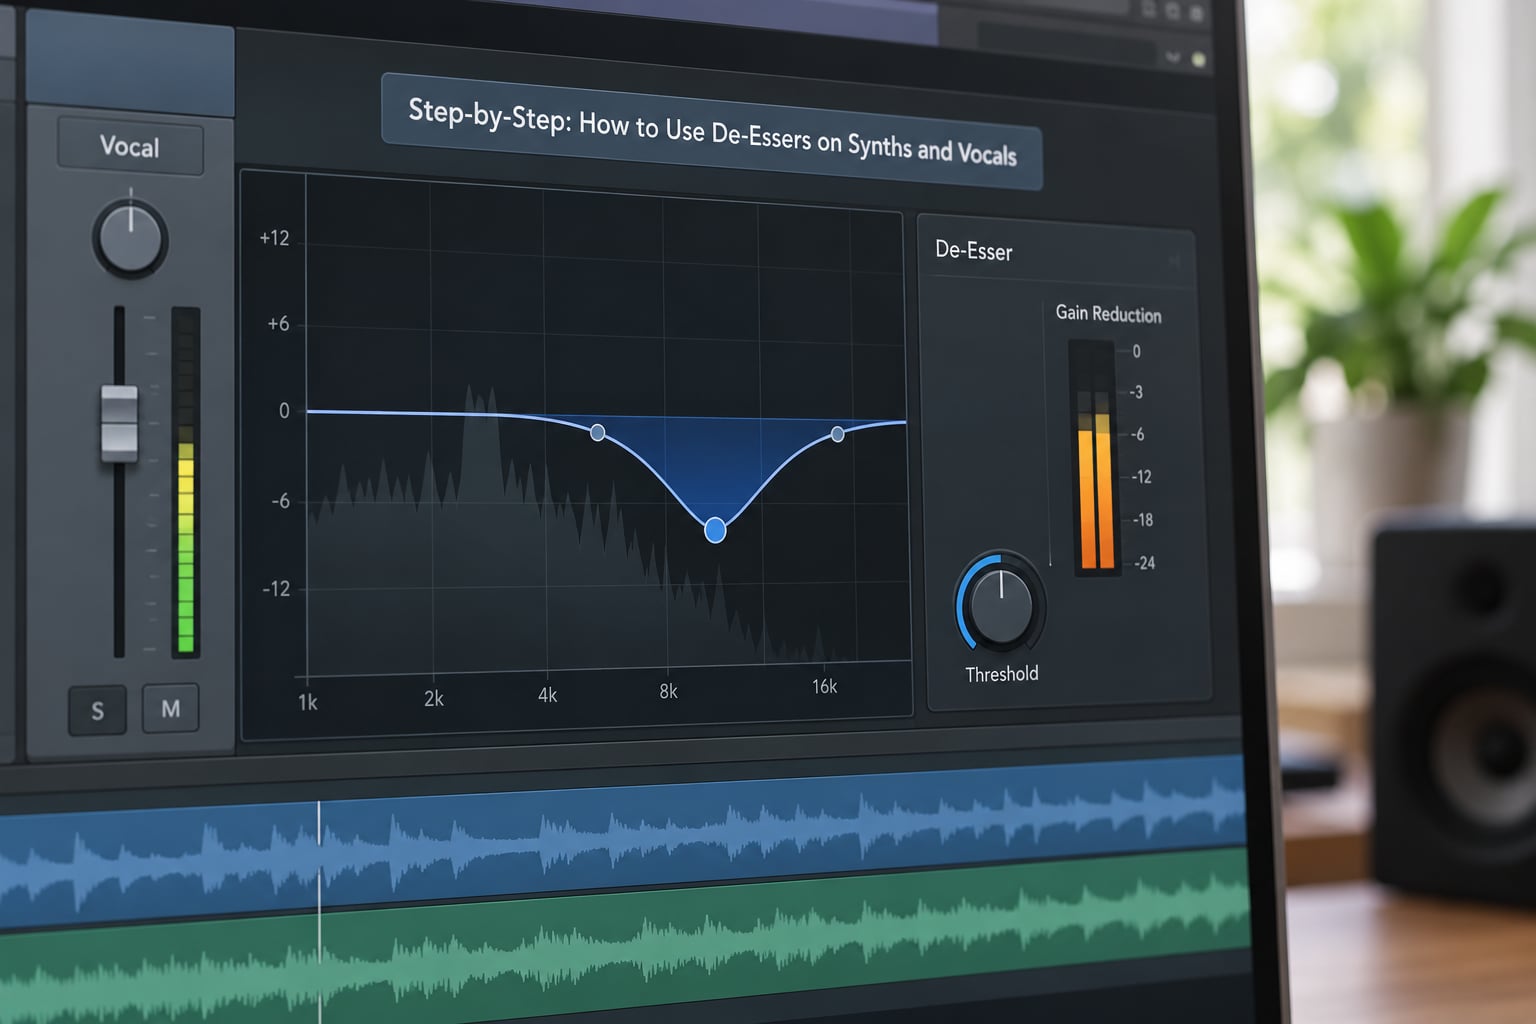
Set the mode first, then the threshold. In split-band mode, start with a max reduction of 6 dB to 10 dB. In wide-band mode, stay gentler, around 3 dB to 5 dB, because the whole signal moves.
Lower the threshold until the gain reduction meter moves on the harsh sounds and stays still on the rest of the phrase. You want short dips of 4 dB to 6 dB on the loudest syllables, not a meter that sits pinned halfway down.
Start release around 30 to 60 ms and make it faster if the S sounds wet or smeared afterward, slower if the sibilance recovers with a click between words. Ratio matters less than most plugins suggest; a ratio near 4:1 with a capped range behaves well for almost every source.
Starting points that work often enough to be worth trying:
- Lead vocal: split-band, frequency matched to the spike between 4 kHz and 8 kHz, threshold set for 4 dB to 6 dB on the loudest ess, max reduction 8 dB.
- Doubles and stacks: same frequency as the lead but 3 dB less reduction. Layers sum, and a setting that sounds right on one track gets three times more aggressive across three.
- Ad-libs and harmonies: 2 dB to 4 dB reduction. These sit behind the lead and only need to stop poking out.
- Rap or spoken vocals: expect constant action. Track the threshold down slightly and lower the max reduction so the tone stays intact.
- Plucks, bells and supersaws: split-band, wide frequency range, 4 dB to 6 dB reduction. Short sounds need a faster release so the tail keeps its brightness.
- Pads: the lightest touch of the lot, 2 dB to 4 dB. A sustained sound has no transient to hide behind, so reduction is audible as flatness.
- Hi-hats and shakers: wide-band with a fast release, 3 dB to 5 dB. Percussive sibilance needs to be caught at the peak, not held.
- Chopped vocal samples: split-band and dynamic. Each chop has a different peak, so automate the threshold per phrase rather than setting one value for the whole sequence.
- Vocal-formant synths and Vocaloid: split-band with a fairly low threshold. Formant filters generate heavy sibilance, and these sources sit far more naturally with steady reduction than a vocal does.
If the de-esser meter is working constantly from bar one to the end, the settings are not the real problem. Something upstream is feeding it energy that should not be there. Look at room treatment, mic distance, and any bright EQ boost you have already applied.
Step 5: Check the Result in Context
Bypass the plugin and play the same section again. If the unprocessed version sounds obviously harsher, the de-esser is doing its job. If it only sounds quieter, you have dulled the source instead of controlling it.
Watch the reduction meter while you play the whole track rather than one phrase. Dips on every S is healthy. A meter that never returns to zero means the threshold is too low.
Then listen for interaction. A de-essed vocal sitting in front of a reverb send will sound duller than it does dry, because the reverb tail keeps its full high end. If that happens, take the split-band frequency slightly higher so the send stays bright while the direct signal calms down.
Finally, check the source against everything around it. Pull the vocal down and ask whether the de-essing still reads, because it is meant to work in context, not in solo. Do the same for a synth pluck in a dense drop. If the pluck now sits behind the kick and snare, you went too far.
Common Mistakes
Lowering the threshold until the meter never stops. The most common error by a distance. A de-esser that works constantly is flattening the entire track, not controlling peaks. Reset the threshold, then hunt for the real cause upstream.
Setting the frequency too low. Put the band at 2 kHz and you will be gating the presence range that makes a vocal audible in the first place. The result sounds dull and phasey, and no amount of threshold tuning fixes it.
Using too much reduction. More than 10 dB on a lead vocal and the consonants lose their attack, producing the lisp everyone complains about. If you need more than that, the problem is usually a resonant room or a hot take on the vocal chain.
Judging it in solo. A vocal deessed to taste alone will nearly always be too light in the mix, because the dense arrangement is what makes sibilance painful in the first place. Judge in context, adjust in context.
De-essing a lead and its doubles identically. Stacked layers compound. Give the doubles and ad-libs a lighter setting than the lead, or put one shared de-esser on the vocal bus instead of one per track.
Automating the wrong parameter. Most people drag the threshold and fight the plugin. In most cases, riding the range (your max reduction) or the frequency works more smoothly, because threshold changes alter how often the plugin engages, not how hard.
Automating so much the movement shows. Faster is not better here. Small, slow moves on the range parameter fade in. If you can hear the automation, it is too fast.
Frequently Asked Questions
What frequency should I use for a de-esser on vocals?
Start between 4 kHz and 8 kHz and narrow it down by ear. Most male voices sibilate around 5.5 kHz to 7.5 kHz, while higher and brighter voices sit higher in that range. Solo the track, find the narrow spike in your EQ, and match the de-esser frequency to it rather than trusting a preset.
Should I use the same de-esser settings for vocals and synths?
No. Vocals are transient and sparse, so a de-esser can sit at a moderate threshold and grab only the loudest syllables. Synths are dense and sustained, so they need split-band mode, a faster release, and noticeably less reduction, around 2 dB to 4 dB for pads.
Is a de-esser better than using EQ for sibilance?
For a constant problem, a static EQ cut is the right tool and it costs nothing. For sibilance that comes and goes with the consonants, a de-esser is better because it only reacts on the peaks, leaving the rest of the vocal untouched. Persistent harshness across the whole take usually means a room or EQ problem, not a lack of de-essing.
Where should a de-esser sit in my mixing chain?
Put it early, before or just after your first EQ, on most vocals. Placing it before compression means the compressor sees a more even signal. Placing a second, gentler split-band instance after compression catches what the first pass missed. If the harshness sits below 4 kHz, try a multiband compressor keyed from a clean high band instead.
How much sibilance reduction is too much?
On a lead vocal, 4 dB to 6 dB on the loudest syllables is usually plenty, with 8 dB as a sensible ceiling. Sustained synth pads need even less, often 2 dB to 4 dB. If consonants start sounding thin, wet or lispy, you are past the point where the de-esser is helping.
Can I automate a de-esser to control only the loudest syllables?
Yes, and it is often cleaner than automating volume. Ride the range parameter so reduction opens up on a phrase that needs it and closes back down afterwards. Keep the moves slow and small, around 1 dB to 2 dB over half a second, or the automation itself becomes audible.
Conclusion
Here is the order to work in, every time. Solo the source, find the spike, set split-band at that frequency, drop the threshold until the meter dips on the harsh sounds only, cap the reduction at 6 dB, and check it in the full mix with the bypass button.
Give doubles and ad-libs less than the lead, keep pads to a couple of dB, and if the meter never rests, go upstream and look at the room, the mic position and any bright EQ you have already added.
That is the whole process. When it is working, you should not be able to hear it at all, which is exactly the point.