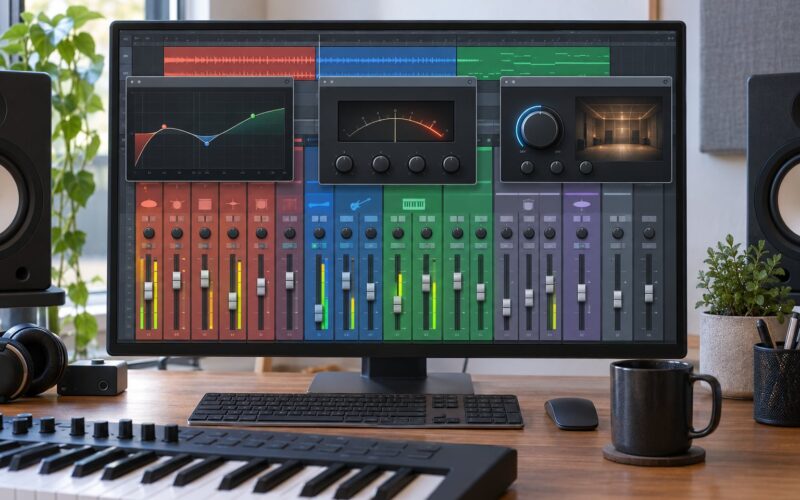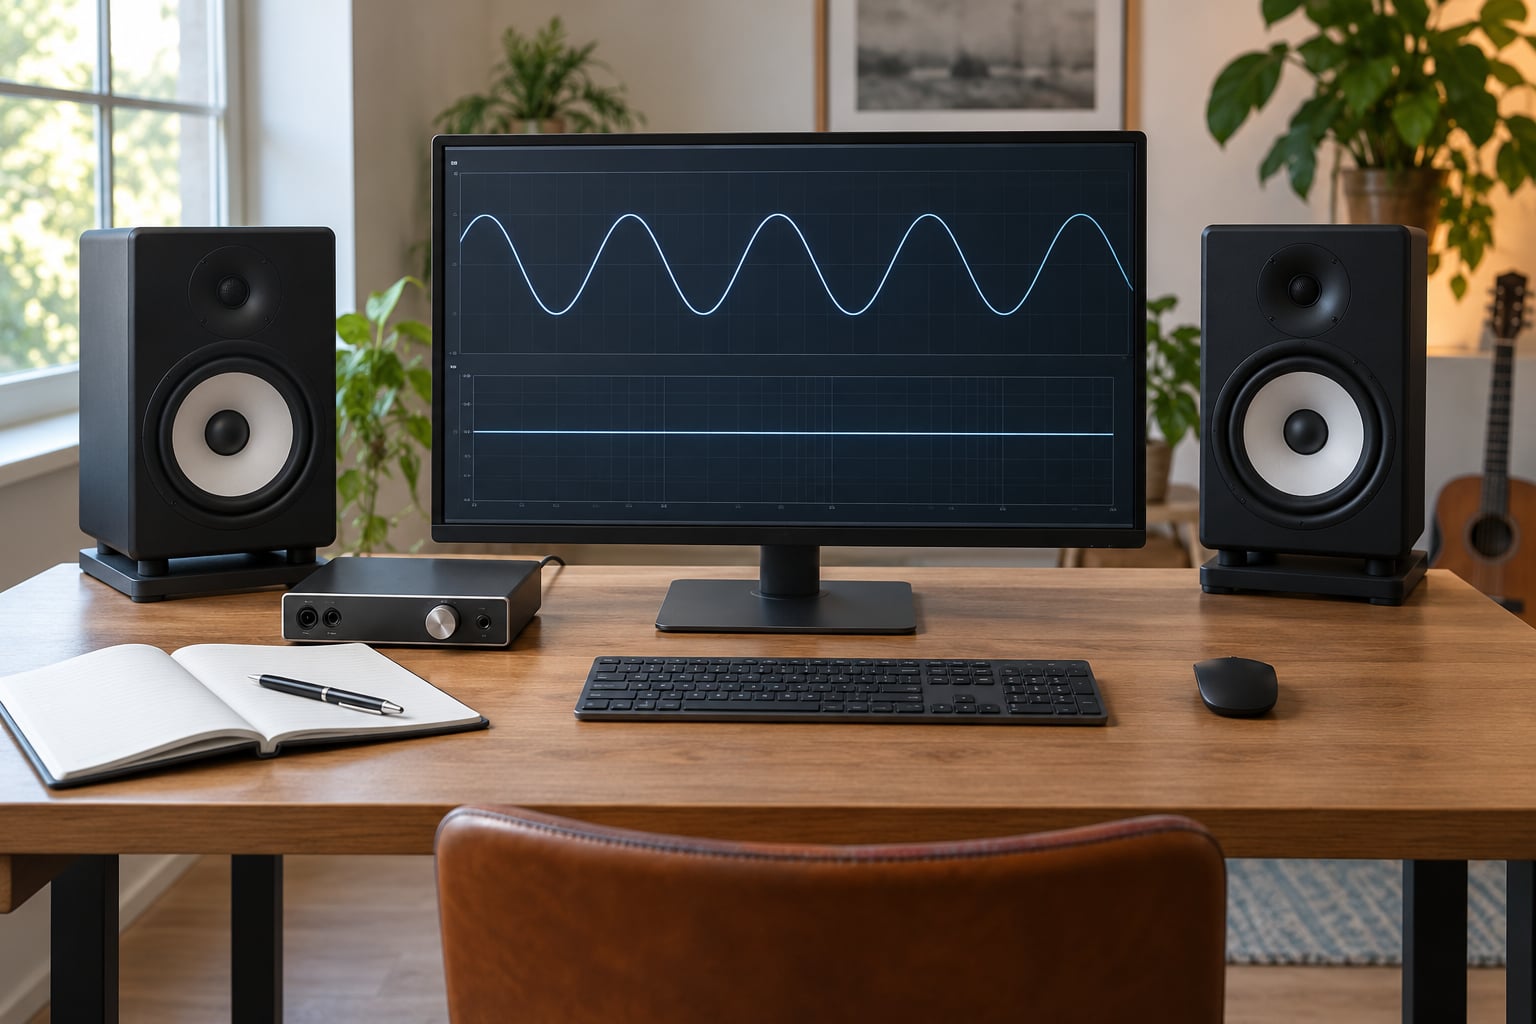
You train your ears for frequency recognition by pairing a sound you can already label with the sensation it produces, over and over, in short sessions. A sine tone at 1 kHz, a +6 dB bell at 4 kHz on pink noise, a snare at 200 Hz — the label stops being a number and starts being a feeling. Do that for 20 to 30 minutes a day and most people notice a real difference in four to eight weeks.
Everything below happens inside a DAW you already own. No app purchase, no plugin, no special hardware. If you have a track playing and a filter, you have everything the exercise needs.
Do this today: make one sine tone at 440 Hz, bounce it to a file, then set up a second oscillator and try to match it by ear with the frequency readout hidden. Reveal the answer, write down how far off you were, and repeat ten times. That single drill is the foundation for all six steps below.
Table of Contents
- What You Need
- Step-by-Step: How to Train Your Ears for Frequency Recognition
- Step 1: Set a Reference Tone
- Step 2: Match Frequencies by Ear
- Step 3: Identify Common Intervals
- Step 4: Recognize Frequency Ranges
- Step 5: Spot EQ and Resonance Changes
- Step 6: Test Your Ears on Full Mixes
- Common Mistakes
- Frequently Asked Questions
- How long does it take to train your ear for frequency recognition?
- Are headphones suitable for frequency recognition practice?
- How often should I practice ear training as a music producer?
- Do I need musical experience to recognize frequencies by ear?
- Will frequency ear training improve my mixing?
- Conclusion
What You Need
Four things, and only one of them costs money you have not already spent.
- Monitoring. Headphones are fine for the exercises and cheaper than a monitor pair. If you have monitors, put them where they are, at a level where you are not leaning in.
- A DAW with an oscillator and a noise generator. Every major DAW has both built in — a sine wave source and a pink or white noise source.
- A high-pass and a low-pass filter on a channel or return. These two together make the tabletop bandpass that most of the drills rely on.
- A progress log. A plain text file is enough. Columns: date, target frequency, your guess, actual, error.
That is genuinely it. The log matters more than people expect, because the whole skill is learning where your ears are inaccurate, and you cannot see that without writing it down.
Fix your volume before the first drill and never change it. Inconsistent levels are the fastest way to convince yourself you are improving when you are not — everything gets easier when it is louder, so a rising volume fakes progress that did not happen.
Step-by-Step: How to Train Your Ears for Frequency Recognition
This is how to train your ears for frequency recognition in six stages, ordered from easiest to hardest. Each stage has a check that tells you whether you are ready to move on, and each stage is one session, not one evening. Do them in order for the first month, then loop back to the ones you still fumble.
Step 1: Set a Reference Tone
Make a sine tone at 440 Hz, run it through nothing at all, and record it. Then bounce it at 250 Hz, 500 Hz and 1000 Hz. Four files, five minutes of work, and you have the vocabulary every later drill reuses.
Why sine tones? A sine tone is a single frequency with no harmonics, so there is nothing else for your ear to latch onto. Pink noise is energy spread across the whole spectrum at equal energy per octave, which makes it the right bed to hide a boost or cut inside. White noise has more energy up top, so it will make you think everything sounds brighter than it is.
Set your monitoring level now. Somewhere comfortable for twenty minutes of sustained listening, and never turned up during the exercise. A common working level for drilling sits around the same place you mix at, and if you feel any pressure or ringing, turn it down immediately rather than pushing through.
Success check: you can play the 440 Hz file and the 500 Hz file one after the other, and you can state which one sounds higher without looking. If you cannot, spend a session alternating them twenty times. That alternating is the most basic form of the whole skill.
Step 2: Match Frequencies by Ear
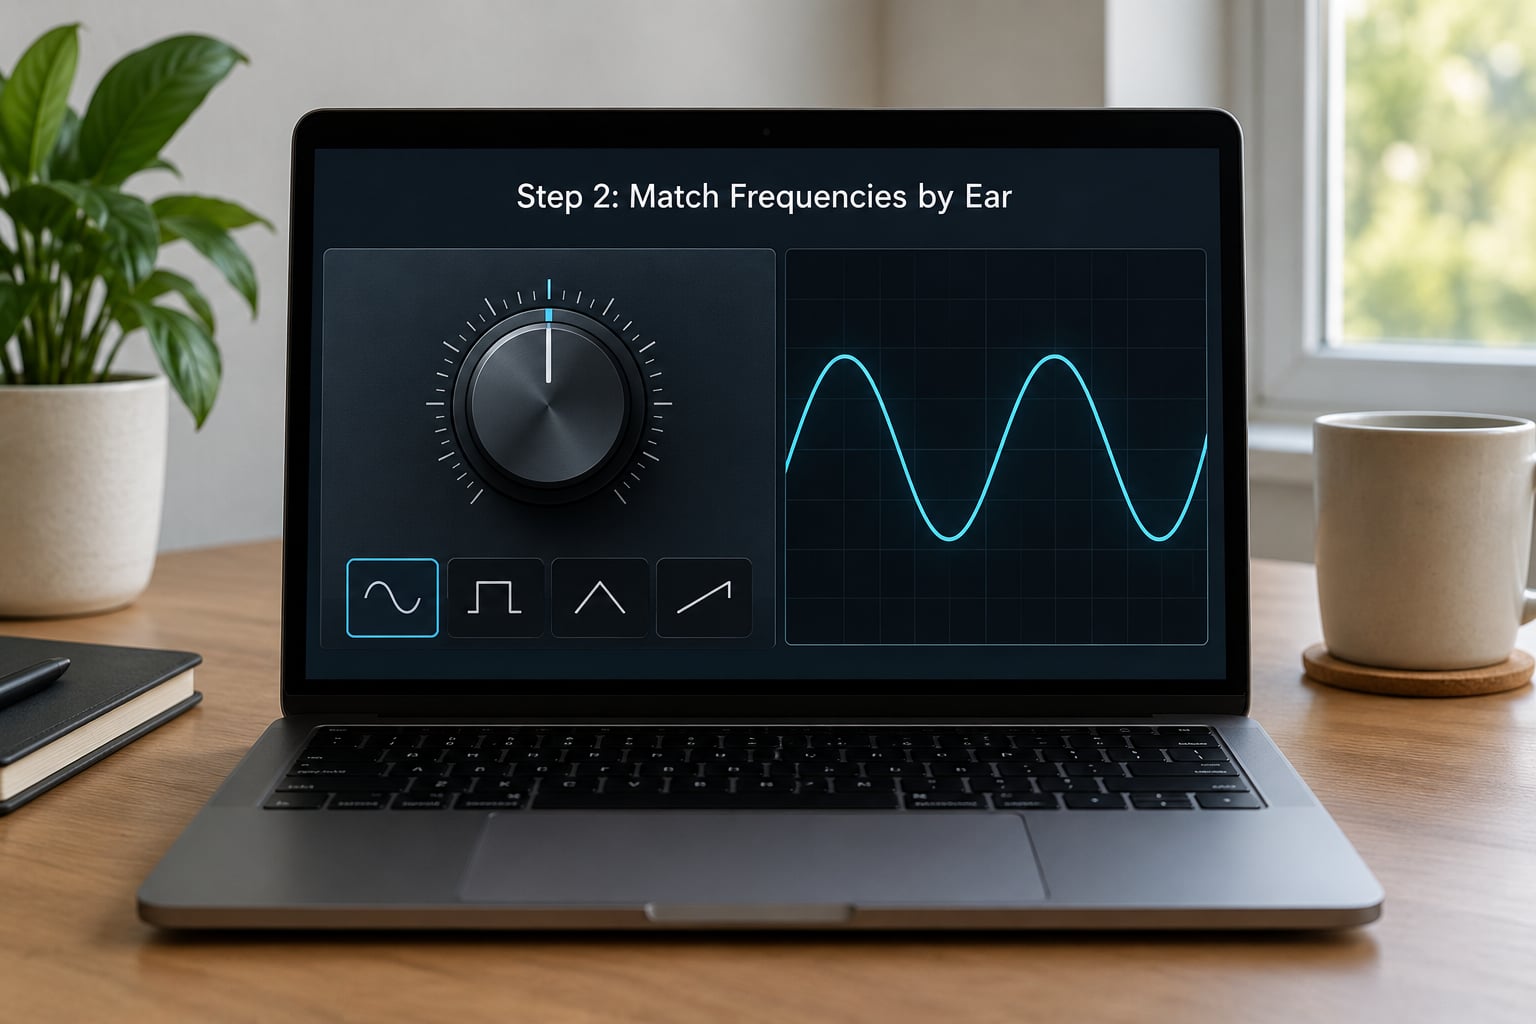
Put your reference tone on one deck. On another, put a second oscillator with its frequency control hidden — close the panel, or cover it, or set the value before you listen and write it on a piece of paper turned face down. Now adjust until the two tones sound identical, then reveal the answer.
Write down the error. Not a pass or fail. The actual number. Six cents is excellent, thirty cents is fine for a beginner, doubling or halving is a total miss and usually means you drifted an octave rather than misjudged slightly.
Bounce between the octave centres a mixer on r/audioengineering described: 60, 125, 250, 500, 1000, 2000, 4000 and 8000 Hz. Do nothing else at first. The same poster found that cycling the whole set at once killed their motivation, so they started with a small set — 500 Hz, 1 kHz, 2 kHz — and only added bands once the small set was solid. That is the right instinct, and it is the same instinct behind narrowing your practice range before widening it.
Once the octave centres are easy, drop the in-between ones: 750 Hz, 1.5 kHz, 3 kHz, 6 kHz. This is where most beginners stall, and it is also where the useful accuracy lives, because that is the range where real mixing decisions get made.
Success check: ten blind matches, and your median error under roughly 3% at the octave centres. That is the 1/3-octave territory people spend months chasing.
Step 3: Identify Common Intervals
Frequency recognition and interval recognition are not the same skill, but they share the same internal calibration and they compound. You cannot hear that 1.5 kHz is a musical relationship if you cannot hear that it is a fifth above 880 Hz. The pitch stuff is the side that most beginners skip, and it is also the side that teaches you to name a sound instead of just noticing it.
Start with four intervals only: the perfect octave, the perfect fifth, the major third and the minor third. For each one, play the lower note, play the upper note, and let the two ring. Before you name it, sing or hum it. Naming it out loud and singing it use different parts of your brain, and the singing is what actually builds the connection — a blog on interval training made the same point when it pushed the sing-it-first approach as the biggest shortcut available.
The inversion rule makes the large intervals manageable: a second inverts to a seventh, a third to a sixth, a fourth to a fifth, a fifth to a fourth. If you know fourths and fifths well, you can identify sixths and sevenths by hearing their inversions. It is a small trick that turns four intervals into eight.
Anchor each interval to something you already know. A descending major third is a doorbell. A major third is the bottom of a major triad, which is the opening of a G chord in most rock songs. These anchors are unglamorous and they work, and they are the same trick that gets used for learning songs by ear: pick a track you could recognise with your eyes closed, isolate one line or chord change, and hum the contour before you try to name anything.
Success check: twenty random two-note pairs, at least eighteen correct with no visual clue. If you are at twelve, keep the interval list to two intervals and add the others back later.
Step 4: Recognize Frequency Ranges
Now attach the frequencies to things you already hear every day. Without this step, the drills only teach you to compare tones to tones, and tones are not what you will be EQing. The table below is the anchor map. Learn to picture the row when you hear the sound.
| Band | What lives there | How it feels or sounds | Classic EQ problem |
|---|---|---|---|
| 20–60 Hz | Kick fundamental, sub bass, rumble | Felt in the chest more than heard, wide and slow | Room boom, mud on small speakers |
| 60–120 Hz | Kick body, bass guitar low end, big room | Weight, punch, the floor | Overlap between kick and bass |
| 120–250 Hz | Snare body, bass fundamental, lower guitar | Thick, warm, sometimes boxy | Mud, the most common notch in mixing |
| 250–500 Hz | Snare, most guitars, male vocal chest | Woody, hollow, honky | Boxiness, nasal vocal tone |
| 500 Hz–1 kHz | Vocal body, piano, snare snap, bass definition | Full, the middle of everything | Loss of clarity when crowded |
| 1–2 kHz | Presence of vocals and guitars, ear definition | Forward, present, in-your-face | Harshness, vocal fatigue |
| 2–4 kHz | Vocal intelligibility, cymbal wash, string attack | Loud, bright, slightly stinging | Sibilance and edge when boosted |
| 4–6 kHz | Snare crack, cymbal attack, vocal sibilance | Sharp, glassy, edgy | The classic harshness zone |
| 6–10 kHz | Cymbals, air, string and cymbal detail | Bright, open, sparkly | Fatigue; sibilance is at its worst here |
| 10–20 kHz | Cymbal wash, air, presence sheen | Thin, whispery, easy to miss | Over-bright mixes, listener fatigue |
Two physical facts explain why this is harder than it looks. The critical bandwidth means that two frequencies close together blend into one perceived sound, so a 1 kHz and a 1.1 kHz tone are hard to split apart in a way that a 1 kHz and a 2 kHz are not. And your hearing is not flat across the spectrum — the Fletcher-Munson equal-loudness curves mean the 2 to 5 kHz region is where discrimination is sharpest at low levels, while the extremes need more level before you can trust what you are hearing.
That is why the drill order should be narrow before wide. Stay inside one region until it is automatic, then move outward. Practising the whole 20 Hz to 20 kHz range at once is described on the forums as extremely daunting, and the people who get discouraged are almost always the ones who tried it that way.
Success check: play an isolated band from the table and name the row it came from. Ten out of ten across five different rows, mixing low, midrange and high, not consecutive rows.
Step 5: Spot EQ and Resonance Changes
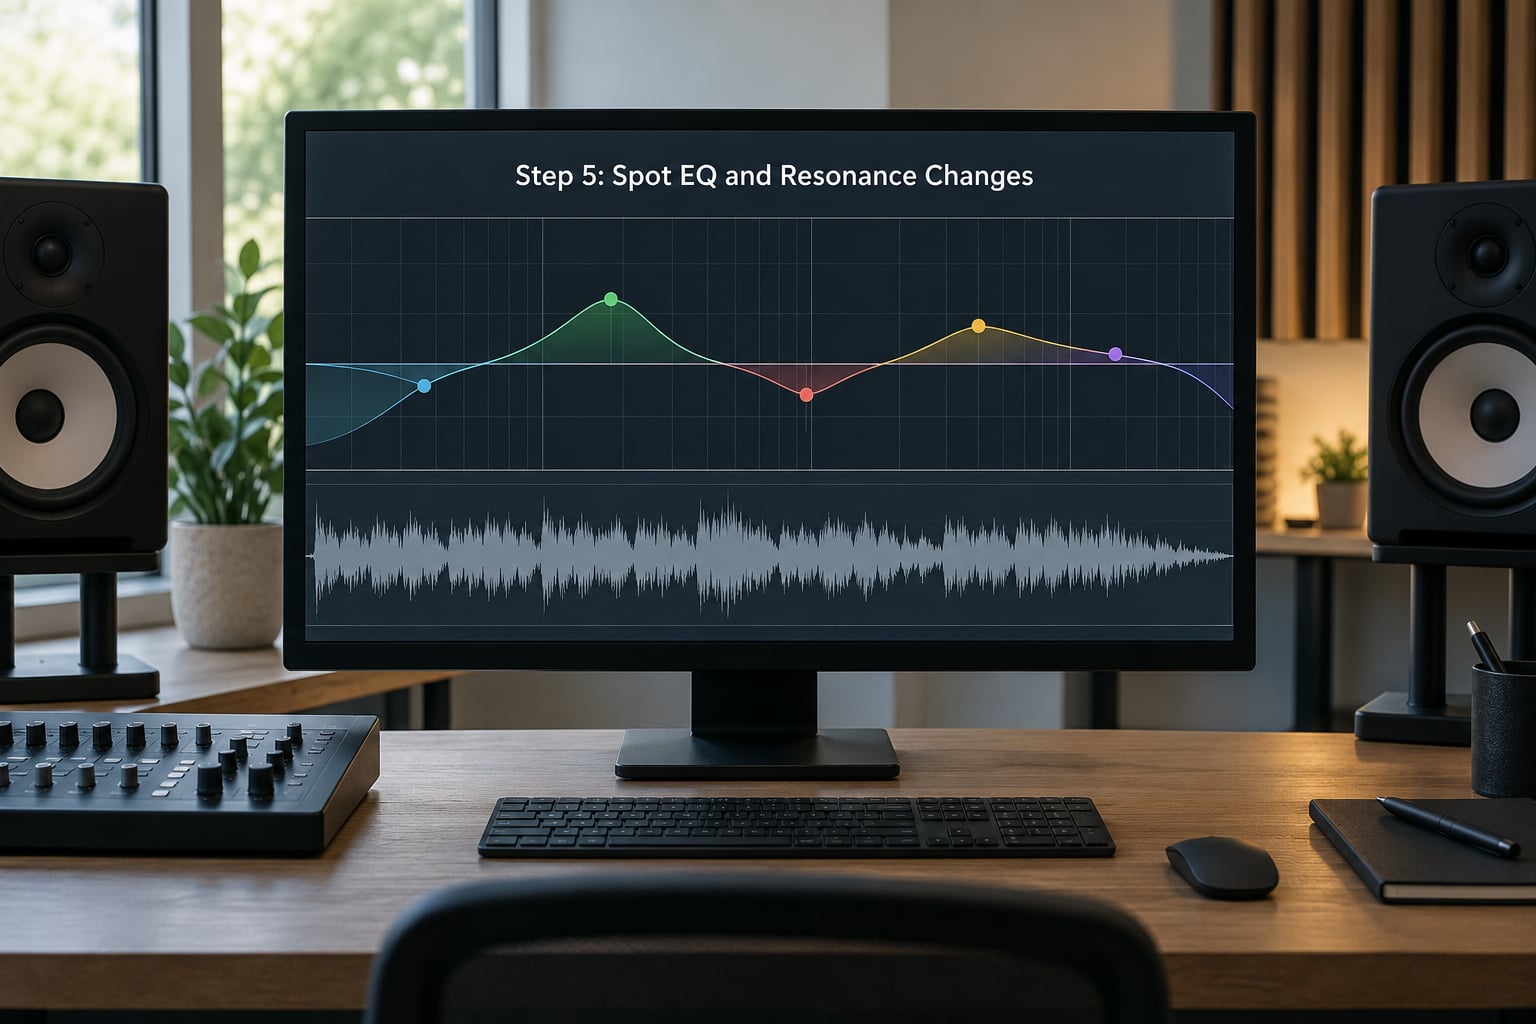
This is the exercise that transfers straight to mixing, and it is the one most people mean when they say EQ ear training. Put pink noise through a filter, hide the display, switch a boost or a cut in, and describe what changed before you look at the number.
Build the bandpass first. Instead of using a single narrow high-Q filter, which produces a thin whistling image that does not resemble anything in a real mix, use a high-pass and a low-pass filter straddling the centre frequency. Put the high-pass at 700 Hz and the low-pass at 1400 Hz and you have a band from 700 Hz to 1400 Hz, roughly a third of an octave, with a flatter shape through the middle. That tabletop shape is the most useful single build in frequency ear training, and it is the one that makes a band sound like part of a real spectrum rather than a laboratory tone.
Now run the difficulty ladder. A mixer on r/audioengineering laid out a progression that is easy to copy and has the merit of using real numbers: start at one octave wide with +12 dB changes, then stay at one octave but drop to +3 dB, then narrow to a third of an octave and widen the range you are working in, at +6 dB. Two variables — width and gain — and you tighten one before you loosen the other. The same poster ran 30 minutes a day, six days a week, and reported that mixes started feeling tighter and sounding cleaner after about two months.
Cover all four moves: a wide bell boost, a wide bell cut, a narrow notch, and a resonant boost. A resonance is different from a boost in a way that is worth learning early — it adds gain only in a narrow slice and creates a ringing pitch, and that ringing is what tells you it is a resonance and not just a bright band. A resonant boost at 1 kHz sounds nothing like a wide boost at 1 kHz, and if you can hear the difference blind, you have a genuinely useful mixing skill.
Add the inverse drill once the forward version is comfortable. Take a full-spectrum tone, remove one band, and guess which one is missing. The poster who invented this described it as a bit harder but worth doing, because it forces the skill in the opposite direction — from a gap back to a label.
Success check: ten pink-noise trials at one octave and +12 dB, eight correct. Then move to +6 dB and see where it breaks.
Step 6: Test Your Ears on Full Mixes
Synthetic tones get you most of the way, and the gap that remains is the one that actually matters in your work: tones do not sound like mixes. A +4 dB bell at 2.5 kHz on pink noise is obvious, because pink noise has nothing else in it. The same bell on a dense mix with a vocal, a guitar and cymbals in the same range is a completely different listening problem.
So the last stage uses real material. Load a track you know well. Hide the frequency display. Bypass an EQ band, then engage it, and describe the change in words before you look — thinner, edgier, more distant, more present in the mix, less clear. Then check whether the number agrees with your description. Repeat with a high-pass sweeping up from 20 Hz, and then a low-pass sweeping down, and name where the mix starts falling apart.
Write down what you heard and what you did about it. That pairing is the whole point. A log of pure guesses teaches you to guess; a log of observations leading to actions teaches you to decide, which is the part that changes your mixes.
Practise on things you have already mixed, and on material you have no attachment to. Forum users pair drills with remixing old projects and taking practice mixes, because ear training on its own is not considered sufficient — the reps on real material are where the recognition turns into judgment. A pragmatic view from the same community: recognizing frequencies is genuinely useful, and it is not strictly necessary, which is a fair description of most skills that make your work better without being the reason people hire you.
Success check: on a full mix, you can name the approximate band responsible for a muddiness problem, and the number you find when you look is within a third of an octave of your guess.
Common Mistakes
- Practising at inconsistent or unsafe volumes. Everything sounds easier louder, so a rising volume fakes progress. Fix: set one level at the start of every session and write it in the log. If you feel pressure, ringing or a dulling that persists after you stop, stop for the day.
- Memorising numbers instead of hearing relationships. Knowing that mud lives near 300 Hz is not the same as hearing 300 Hz. Fix: never write a number in the log until after you have committed to a guess, and describe the sound in words before the number.
- Using one source only. If you only ever practise on pink noise, you only learn pink noise. Fix: split your sessions between noise, sine tones and real mixes.
- Checking the answer too early. The moment you glance at the number, the trial stops being a test. Fix: commit to a guess out loud, and if you cannot resist, hide the panel entirely rather than turning it away.
- Raising difficulty without recording progress. You get bored, or you get worse, and you assume you have hit a ceiling. Fix: keep the log, review the median error every ten sessions, and only move up a rung when the number improves.
- Attempting the whole spectrum at once. This is the mistake most beginners make and the reason most quit. Fix: finish a small set of bands before adding any, and keep the set small until the median error is boring.
- Grinding past boredom. The forum consensus is blunt: if practice is not enjoyable, it stops happening. Fix: rotate exercises, change the source material, and accept that boredom is information about your session length, not about your ability.
One more worth naming, since it trips up almost everyone: high-frequency fatigue. Long sessions of bright material make your top end duller in real time, and beginners read that dulling as a loss of ability. Fix: keep sessions to 20 to 30 minutes, take a break when the cymbals start to sting, and do your brightest drills at the start of the session rather than the end.
Frequently Asked Questions
How long does it take to train your ear for frequency recognition?
At 20 to 30 minutes a day, most people notice a real difference in four to eight weeks. Confident identification of broad bands, an octave wide at +12 dB, usually arrives in two to four weeks. Accuracy at a third of an octave with +3 dB changes takes longer, closer to four to six months. Forum accounts line up with this: broad changes get obvious quickly, fine resolution keeps improving for months.
Are headphones suitable for frequency recognition practice?
Yes, and they are the better choice for beginners for two reasons. Closed-back headphones give you a consistent, repeatable response without room acoustics in the way, and they cost less than monitors. Keep the level moderate and do not change it between sessions. Once you have an anchor map, move to monitors so you can learn how your room colours the low end.
How often should I practice ear training as a music producer?
Most of the useful results come from short daily sessions rather than long occasional ones. Thirty minutes a day, six days a week, is a proven schedule that people report real gains on after about two months. Fifteen minutes daily will build the skill more slowly but just as reliably, and it is far easier to sustain. Consistency matters more than session length here.
Do I need musical experience to recognize frequencies by ear?
No. Musical background helps with interval work, but frequency recognition itself is a physical calibration skill, and it does not depend on reading music or playing an instrument. What it does depend on is having reference anchors, which is why the first session here builds a set of labelled sine tones. A complete beginner with that map can identify band ranges within a few weeks.
Will frequency ear training improve my mixing?
It helps most on diagnosis rather than technique. Trained ears locate the band responsible for muddiness, boxiness or sibilance without hunting, and they hear the difference between a boost and a resonance before making the move. It does not replace volume matching, gain staging or knowing when to leave a mix alone. Treat it as a diagnostic layer on top of the fundamentals, not a substitute for them.
Conclusion
The order matters more than the volume of practice. Set a reference tone, match frequencies blind, learn four intervals, map the bands to real instruments, read EQ changes off pink noise, then work on full mixes. Skip a stage and the next one feels like guessing again — which is the most common complaint from people using drills that test without teaching.
Start with five minutes of reference-tone matching in your next session. Make the 440 Hz file, make the match, hide the number, reveal it, write the error. Then add one EQ identification drill on pink noise at an octave wide and +12 dB. Ten trials of each, logged, is a complete first week.