If you want to know how to deal with sample rate mismatches, the fix is almost always the same and takes about two minutes: close the session, set your audio interface to one rate, set the operating system to that same rate, then create the session at that rate too. Every file you import gets checked against it.
Most of the pain comes from changing those three things in the wrong order, or from a session opened at a rate the interface is not actually running. The file says 48 kHz, the session says 44.1 kHz, and Logic or Ableton plays your take like a scratched record.
The one rule worth memorising: your interface, your OS audio settings, your DAW session, and every source file should sit at the same sample rate. Pick one, lock it, and stop thinking about it until your delivery format demands a change.
Table of Contents
- What You Need
- How to deal with sample rate mismatches: Step-by-Step
- 1. Confirm the mismatch and work out which of three problems you actually have
- 2. Decide whether to match the source or change the project
- 3. Set the DAW and audio interface in the correct order
- 4. Convert or relink audio without repeated resampling
- 5. Check playback, timing, exports and collaborators
- 6. Lock one rate and save a reusable workflow
- Common Mistakes
- Frequently Asked Questions
- How do I fix a sample rate mismatch fast?
- Should I record in 44.1 or 48 kHz?
- How do I convert 44.1 kHz audio to 48 kHz?
- How do I change the sample rate in Logic Pro without changing the pitch?
- Does sample rate conversion damage audio?
- Do I need to match sample rate when importing stems from another engineer?
What You Need
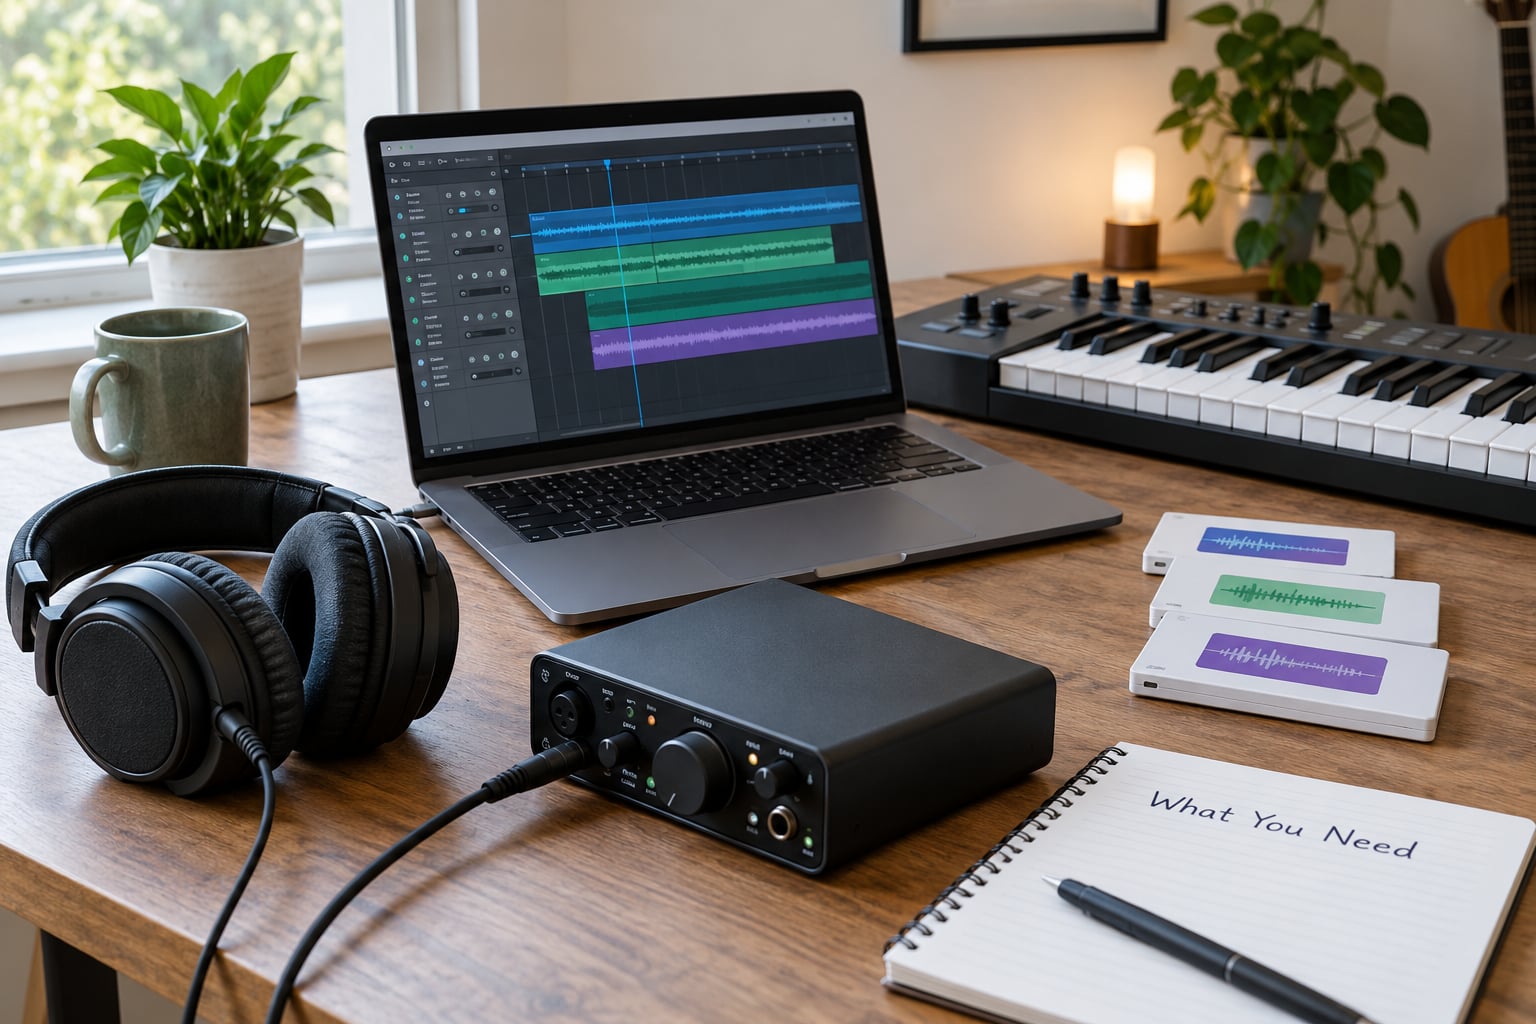
Before touching a single setting, gather four things. Without them you will end up converting files twice, which is exactly how takes start losing low end.
- Your session file and its audio. Know where the audio files live and whether they were copied into the project folder or referenced in place.
- A backup copy of the originals. Non-negotiable. Copy the whole session folder somewhere else before converting anything.
- Access to the interface control panel. Usually a small icon in the system tray, the menu bar on macOS, or a front-panel menu on the hardware itself.
- A header inspector. AudioInfo or MediaInfo for a quick readout, ffprobe from the command line for the technical version, and OxEd on macOS or HexEdit on Windows if you need to look at raw header bytes.
Also worth having open: the delivery spec, if you are working to someone else’s brief. A podcast network wanting 44.1 kHz mono changes what “correct” means halfway through the project.
How to deal with sample rate mismatches: Step-by-Step
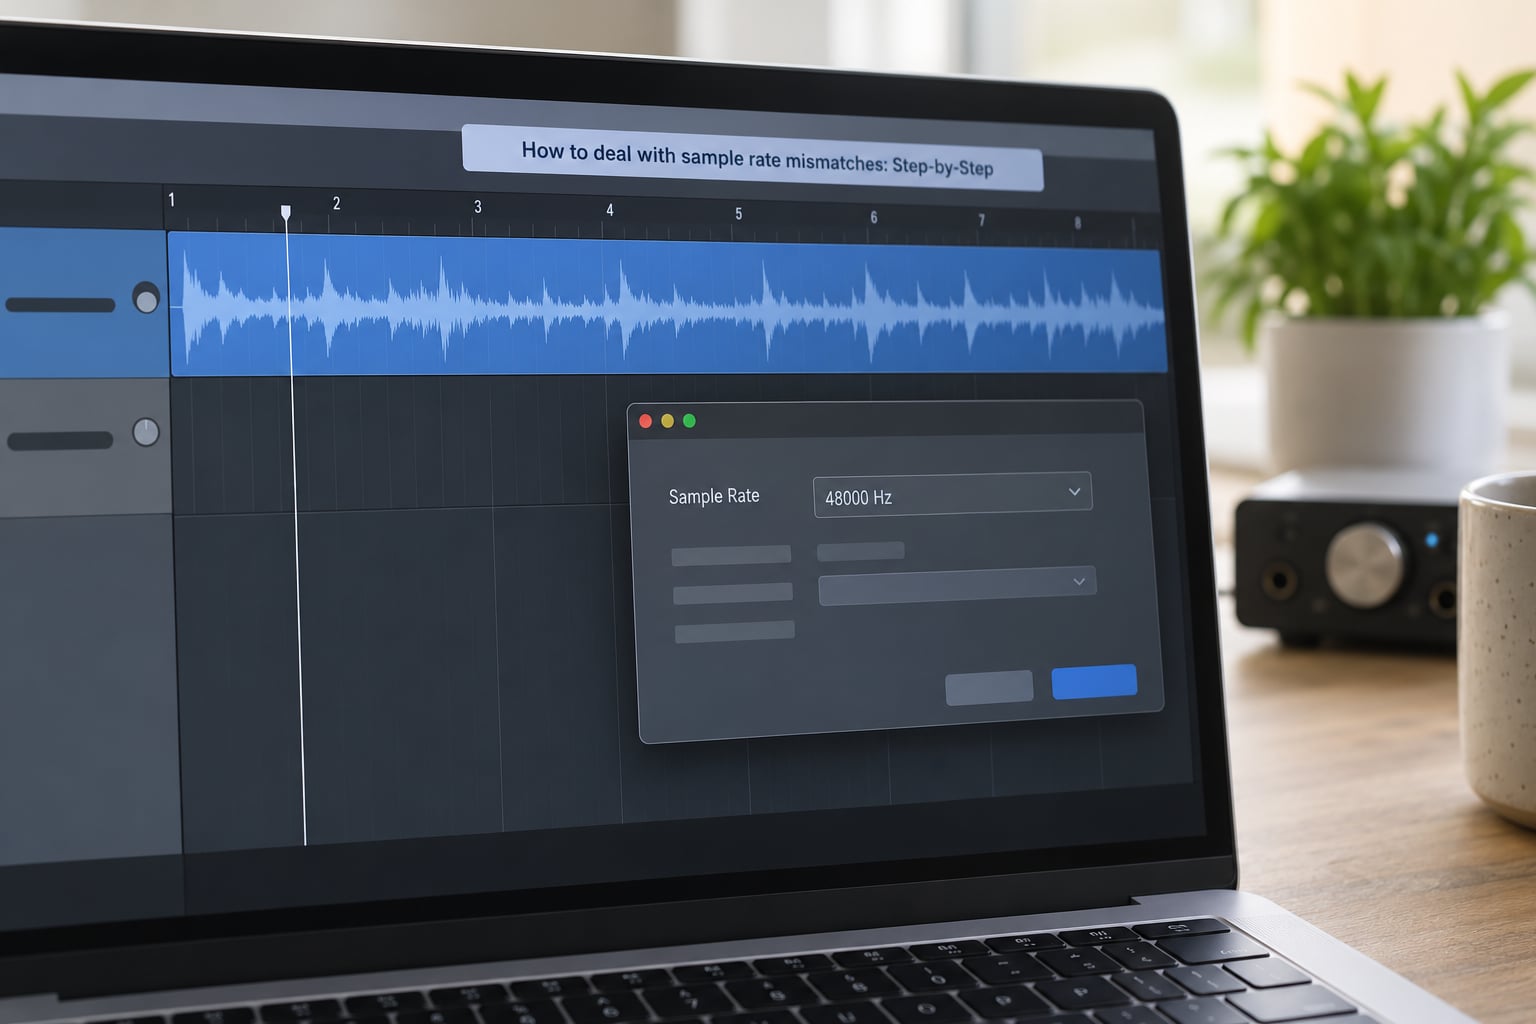
1. Confirm the mismatch and work out which of three problems you actually have
These three look identical from the outside and have completely different fixes. Working out which one you have first saves hours.
| Symptom | Likely cause | What to do |
|---|---|---|
| Plays about 9% fast and sharp | 48 kHz file read by a 44.1 kHz session | Convert the file or set the session to 48 kHz |
| Plays slow and flat | 44.1 kHz file read by a 48 kHz session | Convert the file or set the session to 44.1 kHz |
| Complete silence, file will not open | Mislabelled or corrupt WAV header | Open the header and rewrite the sample-rate field |
| Refuses to import, unknown format error | Wrong codec entirely, not PCM | Re-export from the original recorder or application |
| Intermittent clicks and dropouts | Two rates mixed inside one session | Convert everything to the session rate |
| Drift that grows over a long take | Interface silently using the nearest supported rate | Confirm the hardware rate in its own menu |
| Session opens at the wrong rate after sending it on | Session rate never matched the hardware | Set the rate in the interface before saving the session |
Speed and pitch move together because they come from the same math. A 48 kHz file handed to a 44.1 kHz player gets its 48,000 samples per second read as 44,100, which plays it fast and sharp by about 8.8 percent, a bit over 1.5 semitones. The reverse makes everything slow and flat.
The Gearspace thread worth reading is the one about a client who recorded at 24-bit/96 kHz on a Zoom H4n and delivered files that produced literally no audio in Pro Tools, Logic or iTunes. Opening the header with OxEd or HexEdit showed the files were not PCM WAV at all but ADPCM G.723. No amount of sample rate fixing would have helped; that file had to go back to the recorder.
2. Decide whether to match the source or change the project
Match the project to the source when the material is already recorded. A finished session from another engineer is worth more than your preference, and a fresh session at 44.1 kHz costs you nothing but a new tempo map and plugin settings.
Change the session when the work is unfinished and the files are raw takes you captured yourself. Either choice works. Changing rates on an open project means every plugin re-allocates its buffers, which is where CPU spikes and dropouts come from, so close first.
| Rate | Use it for | Conversion risk |
|---|---|---|
| 44.1 kHz | Music delivery, CD, streaming, most libraries | Low. The common destination rate. |
| 48 kHz | Video, broadcast, film scoring, podcast and streaming capture | Low. Video has no other option. |
| 88.2 or 96 kHz | Heavy time-stretching, resampling to a very low rate later | None going up. Avoid coming back down repeatedly. |
| 192 kHz | Archival capture and a few oversampling plugin workflows | CPU and disk cost with little audible benefit for most work |
The honest answer to which rate is better is that the difference is far smaller than the importance producers attach to it. Standardise on 48 kHz for anything that touches video or live capture, 44.1 kHz for music-only work, and stay there. Producers on the Fractal Audio forum reach the same conclusion, and so does most of the wider consensus online: one rate, no exceptions.
44.1 kHz to 48 kHz is not a clean integer ratio, so it always means real resampling with a filter. The resulting 44.1 to 48 ratio of 160:147 is the awkward one people worry about most, and modern converters handle it fine. Going from 48 kHz up to 96 kHz is exactly 2:1 and essentially lossless.
3. Set the DAW and audio interface in the correct order
The order matters more than anything else here. Set the interface first, then the operating system, then the session. Changing the DAW first is what makes things worse, because the host and the hardware end up negotiating with each other.
Close the session completely. Open the interface control panel and set the rate there. On macOS, check Sound Preferences, then the audio device, and make sure the rate and the format match the interface. On Windows, open the device’s Properties in Sound settings, move to the Advanced tab and set the default format for both playback and recording, then apply.
Once the OS agrees with the hardware, create a new session at that rate. Every DAW stores the session rate separately from the hardware rate, which is the whole reason these mismatches happen at all.
| DAW | Where the session rate lives |
|---|---|
| Pro Tools | File, then New Session, then the Sample Rate menu in the New Session dialog |
| Logic Pro | File, then New Project, then the Sample Rate popup; or Audio menu, then Project Settings |
| Ableton Live | Live menu, then Preferences, then the Audio tab, Sample Rate dropdown |
| FL Studio | Options, then Audio Settings, then the sampling rate dropdown under General audio settings |
| Reaper | Options, then Project Settings, then Audio, Sample rate |
| Cubase and Nuendo | Project Setup dialog, opened from Project, then Project Setup, Audio tab |
| Bitwig Studio | Settings menu, then Sample Rate in the Audio section |
Reimport the audio after that. In Reaper, mismatched imports get resampled on the fly, which is convenient but means you never learn a file was wrong. Other DAWs throw a warning dialog and make you decide, and on a big import that dialog forty times is how a session ends up with half its stems converted and half not.
4. Convert or relink audio without repeated resampling
Every conversion is a pass through a resampling filter, and filtering costs high frequencies. One good conversion is fine. Five conversions of the same take is how you lose the bottom end and wonder why.
Convert offline when you can. Open the file in a dedicated editor, save a new copy at the target rate with a decent resampler, and import that. RX, iZotope’s free stuff aside, the standard free tools are Audacity’s Resample, Sound Forge, and the command line ffmpeg, which handles thousands of files in one pass. Keep the original next to the converted copy with the date in the filename so you never lose track of which is which.
Realtime conversion happens inside the session, through an SRC plugin on a track or as an insert. It is faster to set up and it works fine for mixes and rough bounce checks. It is not what you want for stems that will be mastered by someone else.
Retagging the header, which means rewriting the sample-rate field without touching the audio data, only works for exact integer ratios. 48 kHz to 96 kHz is 2:1, so the retag is valid and nothing changes audibly. 44.1 kHz to 48 kHz is not an integer ratio, so a retag claims a rate the data does not describe, and you get a pitched, shifted mess. Forum advice to just change the tag is right about half the time and is the source of a lot of confusion.
One Reddit user recorded a session with an Apollo at 44.1 kHz while Pro Tools ran at 48, reopened it and found everything sped up and pitched up. Because the artist could not re-record, they imported it into a 44.1 kHz session and used RX Resample in change-tag-only mode, which got them a workable result with a little residual pitch error and noticeable low-end loss. That is the honest ceiling of a retag on a non-integer ratio. Recovering a real fix means converting properly.
When you are converting for delivery, re-render the project at the target rate so each track is converted separately on its way out, instead of converting one flattened bounce. Per-track conversion preserves headroom and keeps options open. Converting a flattened master with the noise floor already summed in is the version that audibly degrades.
5. Check playback, timing, exports and collaborators
Play the section where the problem started, not just the top of the timeline. If a take still sounds fast or flat, you have missed a file, and it is usually a leftover from an earlier import that was never converted.
Check the timing. A mismatched file that got converted correctly lines up with the grid; one that got retagged does not. Look at a transient on the grid and confirm the clip start is where you left it.
Check the export settings against the delivery spec rather than assuming. Sample rate, bit depth, dither on or off, channel count, and file format. Downsampling to 44.1 kHz or 16-bit needs dither, and leaving it off produces distortion that sounds like a plugin bug.
For collaborators and clients, pick a rate they can use without converting anything. That usually means sending stems at the rate you worked in and naming them clearly, plus a short text file stating the rate and bit depth. If they need a different rate, offer the conversion yourself rather than leaving them to guess.
6. Lock one rate and save a reusable workflow
Write your standard down once and stop making the decision per project. A short note next to your interface is enough: this interface runs at 48 kHz, this is the OS setting, this is the session rate, this is my delivery rate.
Keep a template project with the rate, buffer size, and preferred plugins already set, then start every new job from it. Buffer size is the neighbouring setting people get wrong at the same time, and a 512-sample buffer will cause dropouts that look like a sample rate problem.
Keep original recordings in a separate folder at whatever rate they were captured, never converted. Convert on the way into a session rather than in place. Save a version of the session after the conversion and give it a new name.
Sample libraries deserve their own note. A 44.1 kHz library inside a 48 kHz session may be handled by a built-in sampler or resampled live by your host, and either way it costs CPU and can behave differently when triggered. Check what your DAW says about the library after loading it, and play with the audio frozen to catch it early.
For video work, treat 48 kHz as non-negotiable and convert the audio to match the picture. If you are scoring to picture, the sync error from a mismatched rate shows up as creeping drift in the last minute of a scene, not at the start.
Common Mistakes
Almost every sample rate mismatch traces back to one of these. Each has a fix you can apply immediately.
Changing the session rate first. The DAW asks the hardware to follow it, the hardware refuses or substitutes something else, and you now have two mismatches instead of one. Close the session, set the interface, set the OS, then reopen at that rate.
Changing only the interface. The hardware is now at 48 kHz while the OS still reports 44.1, so the host can open your stream at the wrong rate or refuse to record. Set all three or set none.
Converting the same file more than once. Dragging a track in, deciding it was wrong, converting and dragging it in again adds another filtering pass. Convert once, offline, into a clearly named new file, and replace rather than stack.
Retagging a non-integer ratio. Valid for 48 to 96, wrong for 44.1 to 48. If the ratio is not a whole number, do a real conversion.
Ignoring export settings. The session sounds fine and the delivered file does not, because the export ran at 16-bit with no dither or at the wrong rate. Set the export to match the delivery spec before you bounce, every time.
Deleting or moving the originals. Once you have committed to a conversion, the untouched recording is your only way back. Keep it in a separate archive folder, not in the project folder where a consolidate can eat it.
Trusting the DAW’s reported rate after a change. Several DAWs show a stale value after a sample rate change until the session is reopened, and some interfaces quietly fall back to the nearest supported rate instead of reporting an error. Confirm the number in the interface’s own menu, not only in the DAW.
Two smaller habits help. Convert stems per track at render time instead of flattening first. And keep your field recorder, your DAW, and your interface on the same rate from the start so this never enters the session at all.
Frequently Asked Questions
How do I fix a sample rate mismatch fast?
Close the session first. Set the audio interface to the rate you want in its own control panel, set the operating system to match (Sound Preferences on macOS, Sound, Devices, Properties, Advanced on Windows), then create the session at that same rate and reimport your audio. That order matters, because changing the DAW before the hardware is what causes dropouts.
Should I record in 44.1 or 48 kHz?
Use 48 kHz for anything touching video, broadcast, film scoring or live stream capture, because video has no alternative rate and resampling down is where the awkward ratios live. Use 44.1 kHz for music-only work, since that is the delivery target for CD and streaming. Whatever you pick, use it for every project until a delivery spec tells you otherwise.
How do I convert 44.1 kHz audio to 48 kHz?
Use a dedicated editor rather than the DAW. Open the file in Audacity and run Resample, or use iZotope RX, or run it from the command line with ffmpeg, saving a new copy at 48 kHz beside the original. Import the converted copy and keep the source file untouched. 44.1 to 48 is not an integer ratio, so it needs real resampling with a filter rather than a header edit.
How do I change the sample rate in Logic Pro without changing the pitch?
Open File, then New Project and pick 48 kHz (or 44.1) in the Sample Rate popup before importing anything, so no file is ever read at the wrong rate. To fix an existing project, close it, then reopen it in Audio, Project Settings and change the rate there, which makes Logic resample the audio on the fly at the correct speed and pitch. Convert stems offline for anything you are delivering.
Does sample rate conversion damage audio?
A single good conversion is essentially inaudible and far cheaper than re-recording. Damage comes from repeated passes: converting a file several times, retagging a header where the ratio is not a whole number, or flattening a mix and converting the bounce instead of rendering each track at the target rate. Keep originals, convert once, and let a competent resampler do the work.
Do I need to match sample rate when importing stems from another engineer?
You do not have to, but you should, unless you want live resampling on every track. Convert their stems to your session rate offline before importing, keep their originals in an archive folder, and name both versions clearly. Tell them your rate up front next time, and offer to deliver yours at theirs, which saves everyone a conversion step on delivery.
Start with the interface. Before anything else, set the hardware rate, match the OS to it, then open your session at that rate and reimport your audio. Everything after that is confirmation work, and if a file still plays fast or flat, it is a header problem rather than a rate problem.
Once you have settled on one rate, keep a template project and a short note of your settings, and stop revisiting this until a delivery brief tells you otherwise. That habit is what makes the sample rate mismatch question disappear from your workflow entirely in 2026.