If you searched this because you run a website, the answer you want is about WordPress plugins, and those deserve a different guide. If you make music, then this is the one: here is how to update plugins without breaking old projects in your DAW, whether they are VST3, AU or AAX.
The short version takes about ten minutes per plugin. Archive the project, export the presets before the install, update one plugin at a time, test in a throwaway session, then open the project that matters most and check it still sounds right. Keep the previous build available and you can always go back.
Most archived sessions break for one of four reasons: a preset chunk the new build cannot read, a sample path that moved, a plugin identifier that changed between formats, or a DSP revision that alters the sound while everything loads perfectly. The first three fail loudly. The fourth does not, and it is the one that sneaks past people.
Updates are still worth running. Vendors ship stability fixes, operating system compatibility and security patches, and freezing yourself on an old build forever has a cost. The answer is not to avoid updating. It is to make every update reversible before you start and to freeze the projects you have already finished so nothing can touch them.
Table of Contents
- What You Need
- Step-by-Step: How to Update Plugins Without Breaking Old Projects
- 1. Inventory the Plugins Used by Important Projects
- 2. Back Up Projects, Presets, and Plugin Settings
- 3. Read Release Notes and Check Breaking Changes
- 4. Install the Correct Plugin Format
- 5. Test the Update in a Disposable Project
- 6. Validate Critical Old Projects One by One
- 7. Fix Missing Plugins Without Replacing Everything
- 8. Keep the Old Version Available or Roll Back
- Common Mistakes
- Plugin Version Management for Future Projects
- Frequently Asked Questions
- Can I update a plugin without breaking an old DAW project?
- Should I keep an older version of a plugin installed?
- Why does a DAW show a plugin as missing after an update?
- Can I reinstall a previous plugin version without the old installer?
- Is it safer to update the DAW and its plugins at the same time?
- Conclusion: Update One Plugin at a Time
What You Need
Five things, and you can do the whole procedure with whatever is already on your machine if you have them lined up.
A clean copy of the project you care about. Not a shortcut to the original. Copy the whole folder, not the single session file, because a session file pulls in its own audio pool, freeze files and sidecar data.
An exported copy of every preset the project touches. Inside each instrument or effect, use the export or save-as preset command and put the files on a separate drive. A session backup without a preset backup is half a backup.
The vendor installer for the previous build, downloaded and stored somewhere offline. Rollback is nearly impossible without it, and vendor download pages often only carry the newest version.
A version manifest. A plain text file listing, per project, each third-party plugin, its developer, the exact version number, and the authorization method. Twelve lines per project is plenty and it saves an hour of guessing later.
And disk space for a side-by-side install, because the safest update often means both versions present at once. An installer package is usually smaller than you expect.
Step-by-Step: How to Update Plugins Without Breaking Old Projects
1. Inventory the Plugins Used by Important Projects
Open each project you want to protect and list every third-party plugin on it, with its exact version. Your DAW shows the version in the plugin header or in its plugin info window on most builds.
Record the developer too, because several vendors ship plugins under different names from the same engine, and the licensing method, since offline activation, iLok, dongle and account-based licenses behave very differently when you downgrade.
Note which DAW versions can open that project. A session saved in a newer DAW build will not open in an older one no matter what you do to the plugins, so that constraint sets the boundary of what you can safely change.
Verification for this step: the manifest exists, and every plugin on your top five archived projects has a version number next to it. No version numbers means you cannot prove anything later.
2. Back Up Projects, Presets, and Plugin Settings
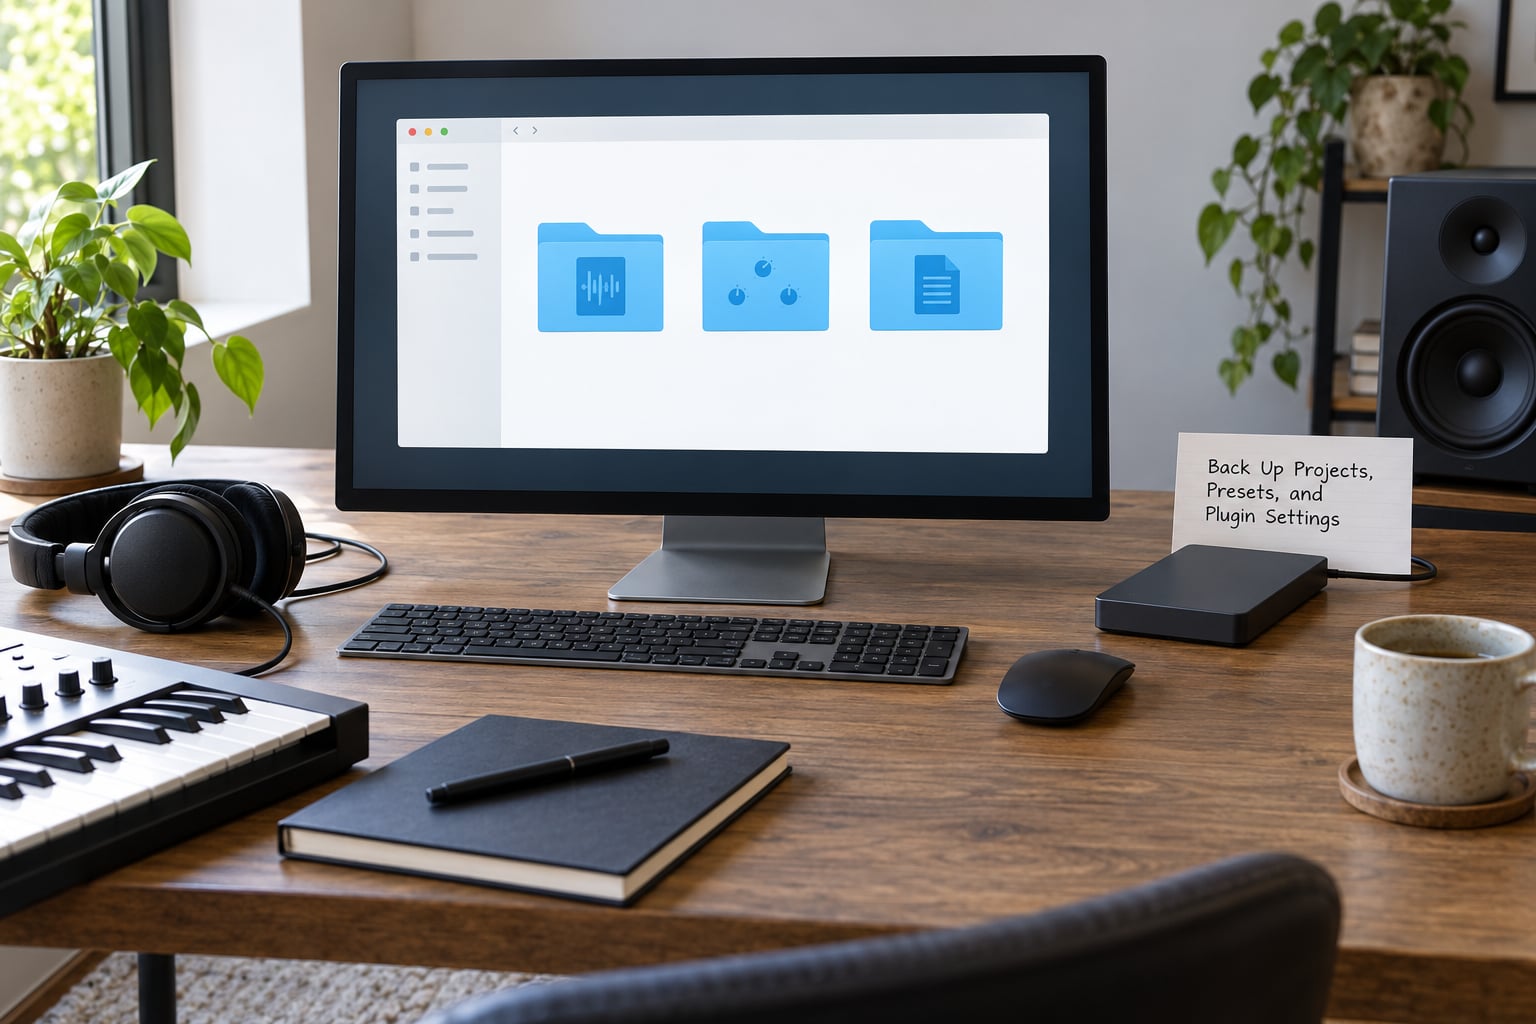
Three different backups, because they fail in different ways. Project backups protect session files and audio. Preset backups protect the settings stored inside plugins. Authorization backups protect your ability to run them at all.
On Windows, keep a dated copy of each project folder on a separate drive and copy the vendor preset directories out of ProgramData or the AppData tree. On macOS, Library folders hold the vendor content, and Apple Silicon machines split it across /Library and ~/Library, so check both.
Most DAWs keep their own preset backups too. Logic has a Plug-ins folder alongside its project and preset locations, Ableton keeps a user library path, Cubase and Reaper store media and template paths in preferences, and FL Studio keeps its Plugin Data and preset paths configurable under Options.
Export, do not just copy, the presets. Loading a preset in the current build and saving it produces a file in the current format, which is what you want for the future, and the raw copy is what you want for the past. Keep both.
For sample-based plugins, copy the sample content as well, or use the embed samples option inside the preset at save time. Granite, Nuance, Vice, Egoist and Iris have all been reported to lose sample references after an update, and several do not show the path in the interface, which means you end up opening the session file in a text editor to find the WAV location.
Verification for this step: restore one project from the backup onto a scratch location and open it. A backup you have never restored is a guess.
3. Read Release Notes and Check Breaking Changes
The changelog tells you in thirty seconds what a two-hour validation session will tell you eventually. Look for five specific things before you install anything.
Renamed devices or presets, which break saved automation and project templates that reference old names. Changed parameter lists and defaults, where a new parameter defaulting to a non-neutral value shifts the sound without any visible change on your part. Oversampling or sample rate default changes, which alter output even with the preset loaded identically. Operating system minimums, because an installer that quietly drops your OS support is a bigger break than a preset. And authorization changes, since vendors increasingly ship new builds that only validate against the current license server.
Two numbers in the changelog matter more than the rest for archive purposes: the last version confirmed backwards compatible, and whether the vendor says so explicitly. When a developer writes that a build is not backwards compatible with projects made before a certain release, believe them.
Verification for this step: you can state, in one sentence, the worst thing this update might do to your archive. If you cannot, skim the changelog again.
4. Install the Correct Plugin Format
An old session may reference a specific format, and an update that removes or changes that format is a compatibility break regardless of the plugin version number.
A VST2 to VST3 migration changes the plugin identifier a DAW stores in the session, so the instance can appear as missing even though the new plugin is installed correctly. Old projects built around VST2 instances need the VST2 build available alongside the VST3 one, which is the single most common cause of a plugin showing up as unavailable after a vendor drops VST2 support.
On Windows, the plugin manager or host shows the format and architecture per instance, so you can confirm whether you are running VST2, VST3 or AAX, and whether it is 32-bit or 64-bit. On macOS, check under Audio Units in Audio MIDI Setup for AU and VST3, and confirm the installed binary matches your architecture on Apple Silicon, since a package can install a build that only loads under Rosetta.
Bit depth is a separate axis and an old project may depend on it. Legacy 32-bit plugins and sample formats such as .ds or .syn will not open in a 64-bit host, so an old FL Studio session may need a separate 32-bit install or a bridged mode rather than anything to do with the update itself.
Verification for this step: open the archived project and confirm each plugin instance resolves to the format it was saved with, not merely to a plugin with a similar name.
5. Test the Update in a Disposable Project
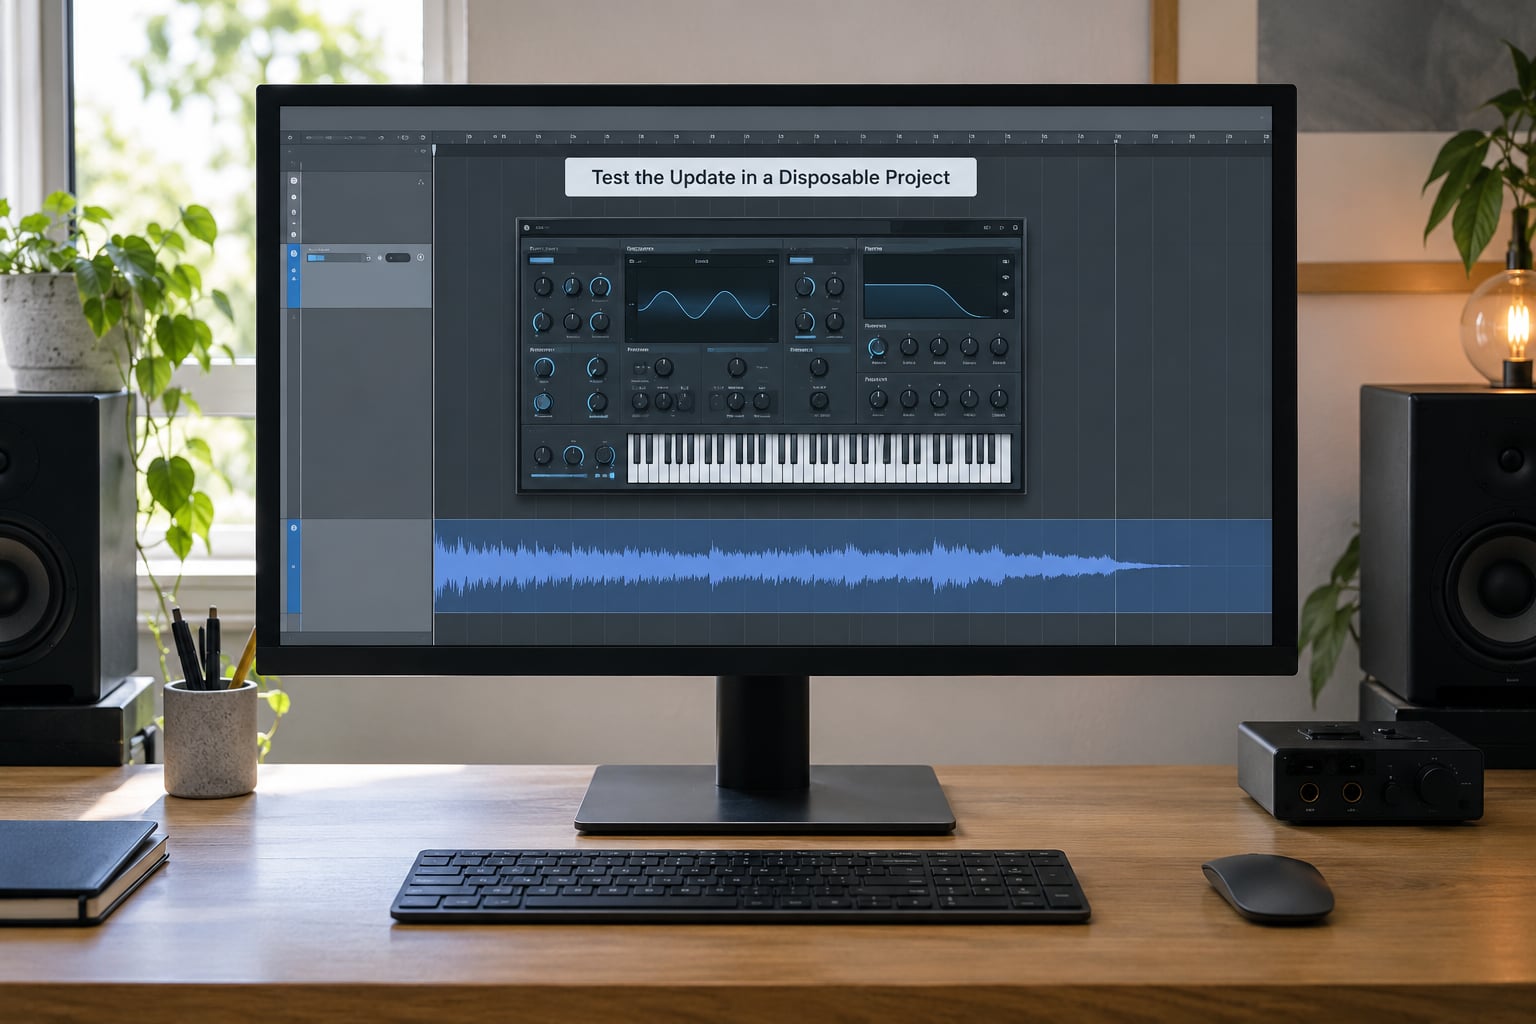
Build a scratch session. It takes two minutes and it is the step that catches most surprises before they reach anything you care about.
Load the updated plugin on one track, recall the presets that matter, automate a couple of parameters, render audio offline, save, close and reopen. Rendering matters as much as playing, because export paths surface missing sample references that playback silently tolerates.
If the preset loaded and sounded identical, the update is behaving for that plugin. If it loaded and sounded different, you have found a DSP or default change and can decide whether that matters for the archive.
Verification for this step: a saved, closed and reopened test project that still produces the expected audio. If you skip the close and reopen, you are not testing state serialization at all.
6. Validate Critical Old Projects One by One
Now open the projects you actually care about, starting with the one whose plugin you just updated. Scan through the arrangement and check every instance of that plugin.
Look for offline or missing instances, missing media, automation that reset to default values, and parameters that landed somewhere other than where the session recorded them. Listen to a few sections against your reference bounce if you have one.
Then save as a new copy with the version number in the filename. Never save over the archived version. You want a project that works on the current build and one that is preserved for the old build, and the only way to have both is to stop overwriting.
Verification for this step: the new copy opens and renders, the original file is untouched, and you have a note recording whether behaviour changed.
7. Fix Missing Plugins Without Replacing Everything
A missing plugin after an update is usually a path, format or identifier problem rather than a broken file.
Rescan plugin paths in your DAW first. On Logic, use the Plug-in Manager and validate added locations. In Ableton Live, remove the collection entry and rescan by holding Alt while choosing Rescan. In Cubase, the Plug-in Manager sits under Steinberg Hub, or use the Plugin Information window. In Reaper, run Actions, then Show action list and run Insert media, which also triggers a rescan. In FL Studio, use the plugin manager’s refresh or re-scan under Options, and Studio One has a similar re-scan under its plug-in preferences.
If the format is wrong, install the missing format rather than converting the project. A VST2 build alongside VST3, or an AU alongside VST3 on Mac, costs disk space and solves the problem permanently.
If the plugin opens in demo mode or refuses to load from an old project, it is an authorization problem, not a compatibility one. Re-activate in the vendor manager, and check whether the account is signed in on the machine running the session.
Replace instances only where they are genuinely incompatible. Dragging a new instance over an old one on an archived project loses the old state and creates the exact mess you were avoiding.
8. Keep the Old Version Available or Roll Back
The rollback procedure that works, repeated across dozens of cases in the Image-Line community FAQ: uninstall the current build, reinstall the exact version the project was made with, open the project, re-save the presets, then reinstall the new build and swap instances.
The re-save step is what makes the recovery stick. Saving a preset in the old build, for instance with FL Studio’s SAVE KIT AS or SAVE MULTI AS, migrates it into a format both versions can read, so you are not pinned to the old build forever.
Keep the old build available by installing both, not by archiving the installer. Waves users run multiple Waveshell versions side by side and treat the version choice as a per-project decision, and that is the right model for anything with a catalogue behind it.
Be aware some downgrades will not activate. An old build can fail validation against a current license server, and when that happens your options are an older license-management build or accepting the new version and re-saving the project forward.
Verification for this step: you can restore the previous version from your own archive, without downloading anything, in under ten minutes.
Common Mistakes
Most ruined archives come from a small set of habits, and each has a straightforward fix.
Updating every plugin at once. You then have no idea which one caused the failure, and no clean rollback position. Fix: one plugin per session, with a validation pass before moving to the next.
Saving over the archived project instead of saving as a new copy. The only copy that worked with the old build is now written by the new one. Fix: version-stamped filenames on every save from today on.
Deleting the old build without keeping the installer. Vendor download pages usually only carry the current version. Fix: archive every installer with its version number in the filename before installing the new one.
Trusting a backup you never restored. Fix: restore one project to a scratch folder and open it before you start.
Replacing missing instances instead of fixing the format. Dragging a fresh plugin onto a track is quick and destroys the state you were trying to preserve. Fix: install the matching format and leave the instance alone.
Converting archived projects forward permanently. Once every archived session is saved by the new build, you lose the ability to open them with the old one at all. Fix: keep the original archived files read-only forever.
Updating the DAW and its plugins together. Two variables change at once and you cannot attribute the failure. Fix: update the DAW first, confirm it, then update plugins one by one.
Plugin Version Management for Future Projects
The workflow saves you once. A small system saves you forever, and it costs about twenty minutes to set up.
Keep an install log. Every time you install a plugin, one line: name, developer, version, date, format, whether it replaced an older build, and where the installer is archived. A spreadsheet or a plain text file both work; consistency matters more than tooling.
Attach a version manifest to each project folder, using the inventory from step one. When someone hands you a session in three years, the manifest is the difference between a five-minute fix and an afternoon.
Put installers in one dedicated folder, sorted by developer, never deleted. Storage is cheap; a project that cannot be reopened because a plugin is not sold any more is not recoverable at any price.
Separate your working machine state from your archive machine state where you can. A second drive or a bootable partition means updates happen in a disposable environment and your production setup stays at a known-good version.
Give yourself a maintenance pass. Once a month, run your vendor updaters, read what changed, update only plugins on active projects, and leave the rest alone. That balance matters: plugins sitting untouched for years are how operating system upgrades break, so an archive you never touch is an archive that breaks all at once.
Two more habits pay off. Embed or export samples when you save a preset, not later. And freeze anything finished to stems and a printed plugin list, which removes the dependency permanently.
Frequently Asked Questions
Can I update a plugin without breaking an old DAW project?
Yes, if you archive the project, export its presets before the install, update one plugin at a time and keep the previous build available. Most breakages come from preset formats, moved sample paths or a VST2 to VST3 identifier change, all of which are avoidable. Saving an archived project as a new copy keeps the old version intact so you can always go back.
Should I keep an older version of a plugin installed?
For plugins your finished work depends on, yes. Side-by-side installs are the normal practice for anything with a catalogue behind it, and Waves users routinely run multiple Waveshell versions and treat the choice as a per-project decision. Keep older builds for archive plugins and let everything else stay current. Disk space is cheap; an unopenable session is not.
Why does a DAW show a plugin as missing after an update?
Usually the format, not the file. A session stores a reference to the plugin by name, version and identifier, so a VST2 to VST3 migration or a dropped VST2 build leaves the DAW unable to resolve it. Moved preset and sample paths cause the same appearance. Rescan plugin paths, install the matching format alongside the new one, and re-activate if the instance opens in demo mode.
Can I reinstall a previous plugin version without the old installer?
Sometimes, but do not count on it. Vendor download pages usually carry only the current build, and some plugins never publish older packages. Archived vendor accounts sometimes expose previous versions, and subscription managers may let you pick a build, but licensing servers can also refuse to activate an old version. Download and store every installer before you update anything.
Is it safer to update the DAW and its plugins at the same time?
No, it is safer to separate them. A DAW upgrade can change project format, plugin identifiers and scan behaviour, so updating both at once gives you two variables and no way to attribute a failure. Update the DAW first, confirm your key projects still open, then update plugins one at a time with a validation pass after each.
Conclusion: Update One Plugin at a Time
How to update plugins without breaking old projects comes down to four habits. Archive the project and export its presets before the install. Update a single plugin, then test it in a disposable session and validate the archived projects that use it. Save as a new copy instead of overwriting. And keep the previous build installed so rollback takes minutes rather than an afternoon.
Start with the plugin you use most in old sessions, do it slowly once, and write down what happened. The second time will take half as long.