To make a stereo width effect without phase problems, widen with level and frequency differences rather than timing differences. Boost the side signal in a mid/side matrix, set everything below 200-500 Hz to mono, then fold the mix down and watch the correlation meter before you print.
If you widen an EDM track with a Haas delay or a phase-shifted double, the two channels stop being the same sound arriving at slightly different times. Fold that to mono and the timing offset turns into partial cancellation, so the track gets quiet, hollow and thin. That is why pads and leads that feel enormous in the studio disappear on a phone speaker.
Everything below works in any DAW. Where menu names differ between Ableton Live, Logic Pro, FL Studio and Pro Tools, I put the click path in the list that closes the workflow. Updated for October 2026.
Table of Contents
- What You Need to Make a Stereo Width Effect Without Phase Problems
- Step-by-Step: The Phase-Safe Widening Workflow
- Step 1: Choose a Mono-Compatible Source
- Step 2: Use Short Haas or Mid-Side Processing
- Step 3: Blend the Width Effect with the Original Signal
- Step 4: Check Phase Correlation in Mono
- Step 5: Set the Final Width for the Genre
- Step 6: Common Mistakes
- DAW Click Paths
- Frequently Asked Questions
- Is there a stereo widening plugin available?
- How to get a wider stereo image?
- Should delay be mono or stereo?
- What does increasing stereo width do?
- What correlation value should my mix have?
- Why does my mix collapse in mono?
- Conclusion
What You Need to Make a Stereo Width Effect Without Phase Problems
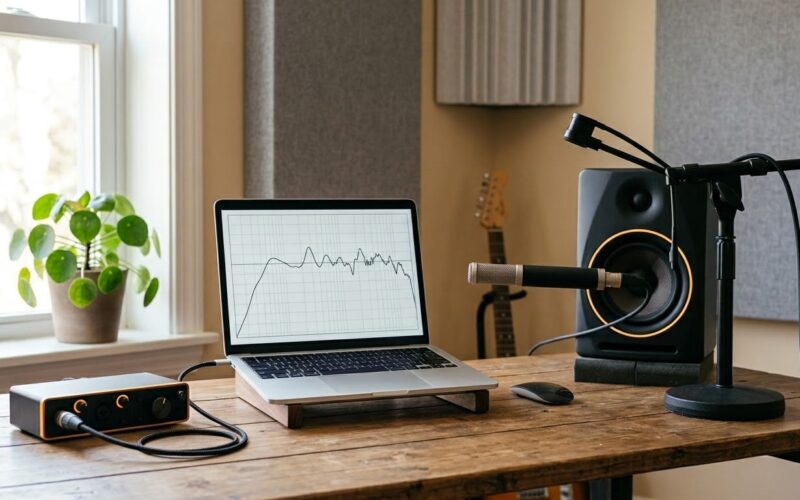
You need very little. A finished or nearly finished stereo mix, one imager or mid/side tool, and a fast way to fold everything to mono.
- A source to widen. Ideally something sustaining and high-frequency-weighted rather than a transient-heavy kick or bass hit.
- A mid/side or per-band width control. A stereo imager with a side-gain control, a mono-below-crossover control and a correlation readout. Ableton Live, Logic Pro and Pro Tools all ship with one; FL Studio users usually reach for a third-party utility.
- A correlation meter. This is the single most useful tool in this whole workflow. If you have nothing else, get this.
- A one-mono-button fold-down. Map it to a keyboard shortcut in your template. Checking once at the end of a mix is how problems slip through.
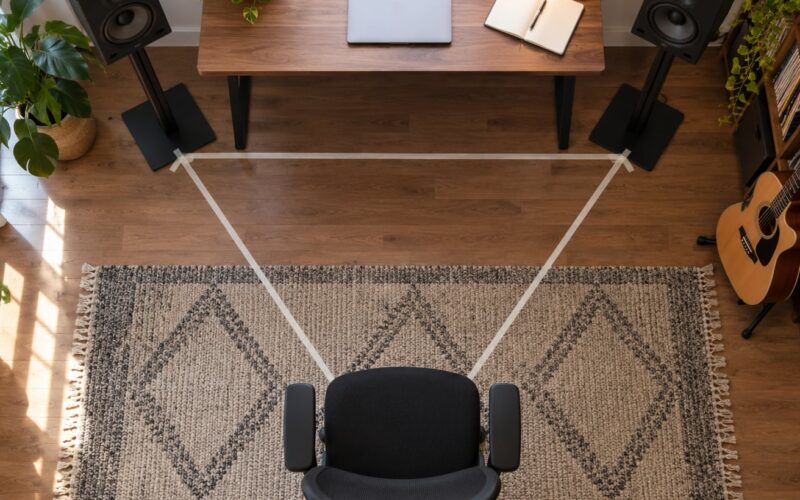
- Two reference systems. Nearfield monitors for the work, then a phone speaker and one Bluetooth speaker for translation.
If you are still arranging, stop and fix the arrangement first. Real width comes from instrumentation, double-tracking, note velocity differences, panning and timing between performers. Plugins add polish to that, they cannot invent it.
Step-by-Step: The Phase-Safe Widening Workflow
Step 1: Choose a Mono-Compatible Source
Widening is safe when the difference between the two channels exists only in level and frequency content, because level differences add up cleanly in a mono sum. It is risky when the difference is timing, because two offset copies of the same waveform partially cancel when summed.
The low end is the worst offender, and the reason is wavelength. At 60 Hz, one cycle is roughly 5.7 milliseconds long, so any timing offset you add is a meaningful fraction of a whole cycle. Two copies that cancel will gut your sub and kick instantly. Higher frequencies have far shorter wavelengths and tolerate offset far better, which is why widening hi-hats, shakers, reverb tails and airy pads works almost every time.
Start by picking candidates that are steady and high in the spectrum. Sustained pads, closed and open hi-hats, shaker and rim layers, reverb and delay returns, and long guitar or synth textures all qualify.
Leave four things alone. The kick drum, the sub and bass layers, the lead vocal, and the main synth hook. Those are your anchors, and the elements a listener uses to locate themselves in a stereo field.
One exception is worth knowing: a mono source widened hard with a time trick is the most fragile thing you can put in a mix. If you need more from a mono synth, doubling with micro-detune is safer than stacking widener plugins.
Step 2: Use Short Haas or Mid-Side Processing
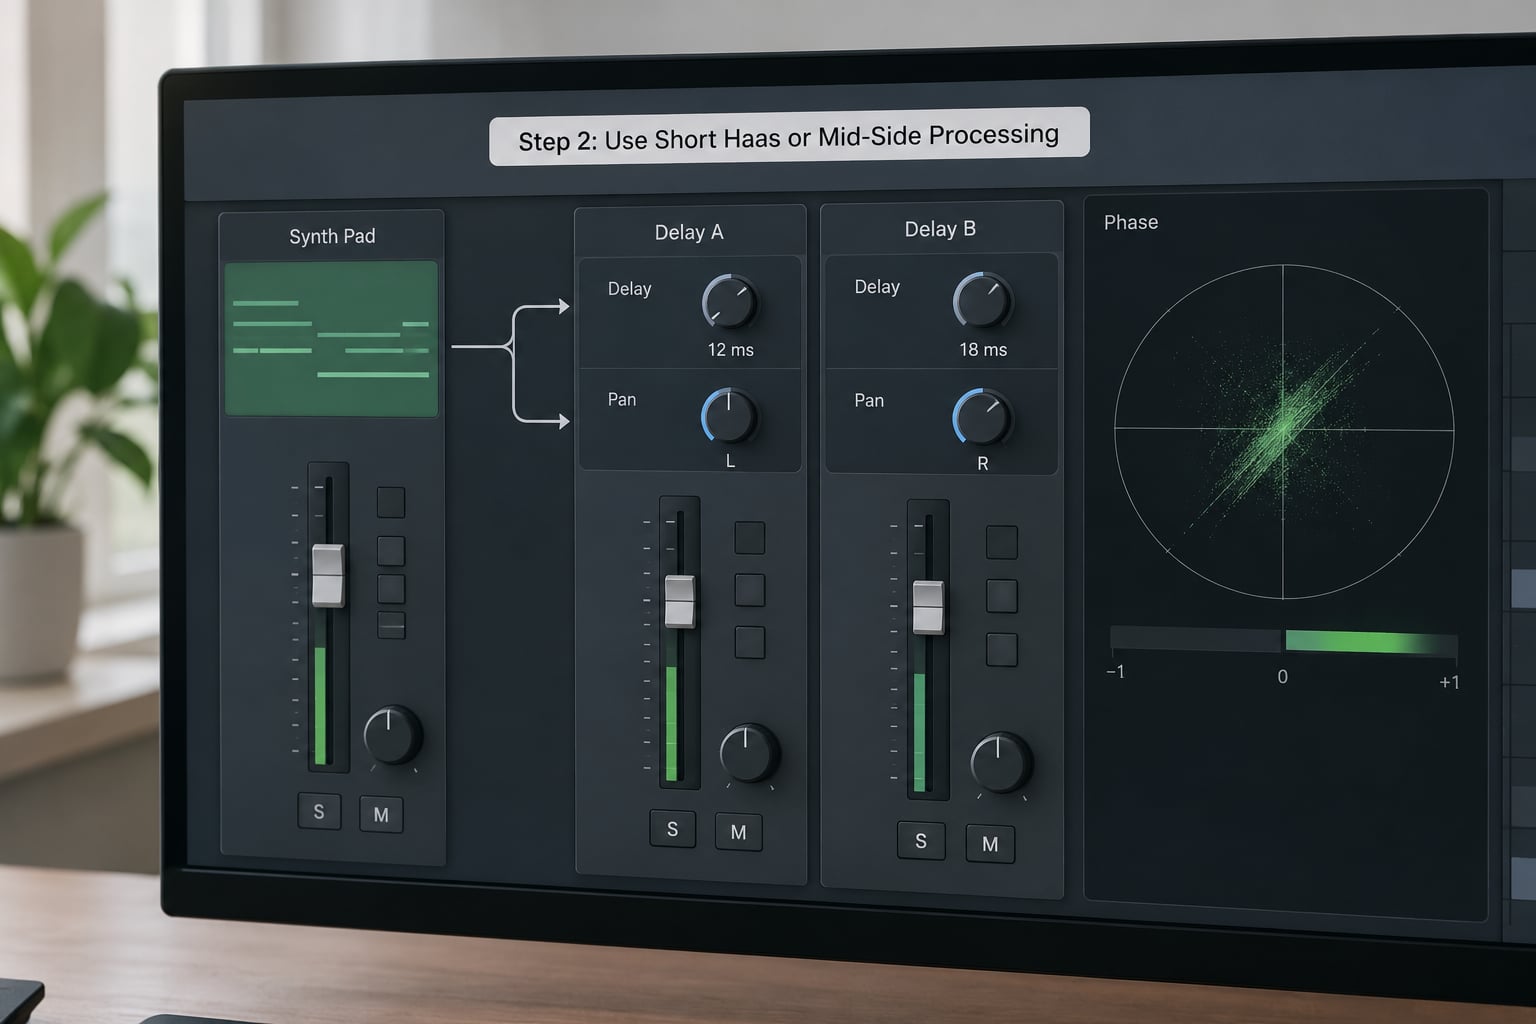
Amplitude-based widening is the default choice for EDM. Mid is the sum of both channels and holds everything centred. Side is the difference between them and holds everything that is not in the middle. Widen by raising side gain, and the image grows while the mono sum stays intact.
The move most people miss is high-passing the side signal rather than the mid. The mid is your bass and your kick, and cutting it changes the tone. The side is mostly energy above the crossover, so rolling off everything below 200 Hz on the side channel cleans up the low end without touching the centre. Set the low band to mono at the same time and use a wider crossover, around 300-500 Hz, when the bass is prominent in your track.
Time-based widening with a Haas delay of 10-30 ms does work, because the brain localises a sound from whichever channel reaches it first. That is the precedence effect, and it is why a 20 ms offset sounds like a source placed further away rather than like a problem. Keep it out of the range below about 5 ms, where the two copies start to interfere with each other and comb filtering shows up as a hollow, nasal tone. Trim the delayed channel by a few dB and keep the panning modest and even. Haas widening is a finishing touch, not a width generator.
The forum favourite that sits between the two is doubling. Duplicate a mono source, pan one copy hard to L and one hard to R, then add 1-4 cents of detune and optionally 5-15 ms of micro-timing. The copies differ in pitch and phase rather than sitting in opposition, so the mono sum holds together while the stereo image grows. It costs a little level and a little CPU, and it is the technique most producers end up using on guitars and mono synths.
Step 3: Blend the Width Effect with the Original Signal
Put the processed version on a parallel channel under the original rather than replacing it. Start with the wet layer at maybe 30-50% of the dry level and bring it up until the element sits in the space, not in front of it.
Layering preserves the transient definition that M/S boosting tends to wash out, because the dry signal keeps the attack and the parallel layer adds the room around it. This is also the fix for reverb returns that seem to collapse in mono after a big side boost: the return gets quieter in a mono sum simply because its side energy is no longer counted, so pulling the wet layer down and blending in more dry signal restores the perceived level.
Trim level after every width move. Boosting side adds energy that a mono sum throws away, so the track will seem to gain loudness on the processed channel while losing level in mono. Roughly 1-3 dB of trim on the return keeps loudness steady between stereo and mono.
If a busy centre is what is actually bothering you, consider carving instead of widening. Pulling one element from the centre toward L while pushing another toward R changes spatial position without adding a single sample of phase risk. It is a better fix than a widener, and it costs nothing.
Step 4: Check Phase Correlation in Mono
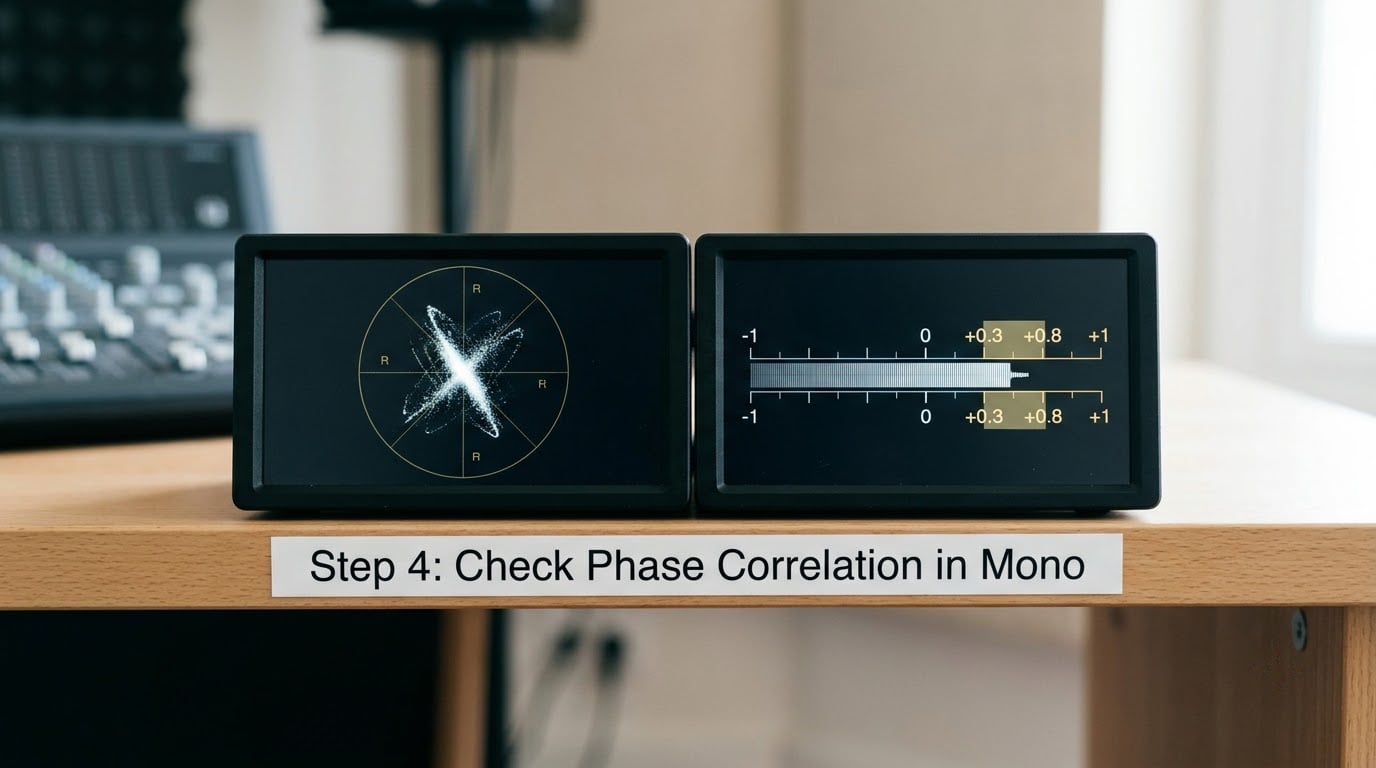
Correlation is a single number from +1 to -1 describing how closely the two channels agree. +1 means the channels are nearly identical, so a mono sum doubles the level. 0 means there is as much disagreement as agreement, which is where very wide mixes sit. Negative means the channels are partly opposing each other, and anything below zero is audible loss on mono playback.
For a finished mix, aim for a steady reading somewhere between +0.3 and +0.8. A sustained value in the low positive range is wide but still mono-safe. Watch the meter during the loudest and widest sections, not the quiet ones, because a mix that only stays positive in the intro is not actually mono-compatible.
Then fold to mono and listen. If the kick thins, the vocal recedes or the whole track sounds quieter, you have gone past the edge. Go back and reduce side gain, raise the mono crossover, or pull the wet layer down.
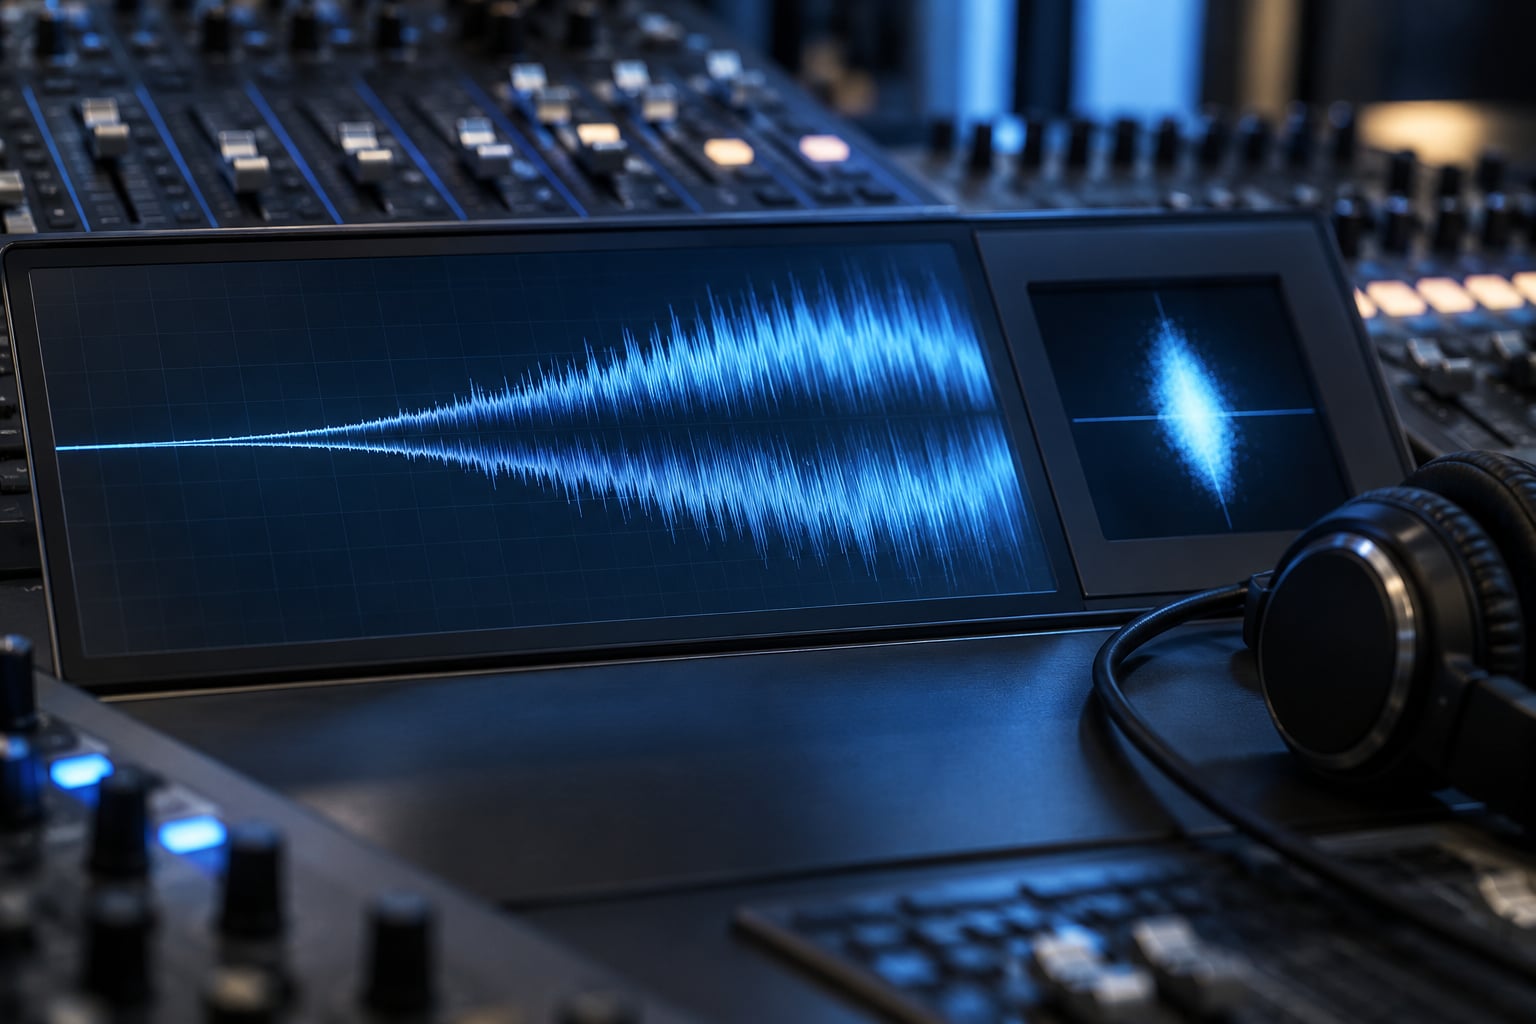
The vectorscope adds one diagnostic. Filter the display above roughly 200 Hz and look only at the low band: a wide shape that glows yellow or red down there means your bass is spreading, which is the thing to fix first.
For a mix that already collapses, work from the source. Nudge one of the offending elements forward or backward in small steps while monitoring in mono until the level stops jumping, which is phase alignment. Then run a null test: flip polarity on one channel and solo; if the sound gets quieter instead of louder, the two are cancelling and that element needs the nudge. And on the recording side, the 3:1 rule still prevents more problems than any plugin: place the second mic at least three times further from the source than the first mic is.
Step 5: Set the Final Width for the Genre
Genre sets expectations, so start from the sub-genre and pull back. Trance and progressive trance carry huge pads, arps and sweep effects that already generate width, so the mix can be wide at the top and still tight in the centre. Add width to the reverb and delay returns rather than to new elements.
House keeps the centre dense with kick, sub, bass and a vocal, so widen the percussion layers and the mid-frequency pads and keep very little in the mono centre. Techno and techno-adjacent styles tolerate more width than most, but width still competes with headroom: an over-wide mix is exhausting to listen to over an hour, and the crowd notices fatigue long before they notice width.
Whatever the style, leave the room. If the kick, the bass, the lead vocal and the main hook are all fighting for the same space, the mix will sound wide and confusing rather than wide and open.
Contrast beats constant width. A mix that is narrow on the verse and opens on the drop feels far bigger than one that stays maximally wide for four minutes. Save your widest setting for the moment that deserves it.
Step 6: Common Mistakes
Widening the master bus first. Master bus widening fights elements that are already wide and usually pushes the centre out of focus. Widen on individual channels and buses, then audition the master, not the other way round.
Trusting a mono-safe label. A plugin claiming mono compatibility means its own processing is neutral when you use the L and R outputs. It does not protect a mix that already has cancellation from multi-mic recording or from an effect inside a synth. Check the actual source.
High-passing the mid instead of the side. Cutting the mid thins your bass and makes the track sound small. Cut the side channel and the low band, leave the mid intact.
Pushing side gain until the meter drops near zero. Width you cannot hear on a phone is not width. If correlation sits below zero, you are past the safe edge.
Widening a mono source with a time trick. One time-based widener on a mono signal is already risky. Doubling instead. Two stacked widener plugins on the same source is the version most people regret later.
Skipping translation. Before export, run three checks. Fold to mono and confirm nothing disappears, play it on a phone speaker with the device face down, and play it on a Bluetooth speaker. Club PAs and phone speakers are single-channel in practice, so a mix that passes those three is mono-safe enough for most destinations.
DAW Click Paths
- Open a correlation meter. Ableton Live: View > Correlation Meter. Logic Pro: use the metering on a channel strip, or add a Stereo/Mono utility on the master. FL Studio: add a utility plug-in on the master with a mono switch. Pro Tools: place a mono-capable plug-in on the master, or route both channels into one mono track.
- Access mid/side. Ableton Live: Audio Effects > Mid-Side. Logic Pro: Audio Effects > Stereo > Mid-Side, or use the Mastering tools. FL Studio: a utility plug-in with M/S or stereo separation. Pro Tools: a mid/side matrix plug-in, or EQ the L and R channels independently with linked EQ.
- Set the low band to mono. In any per-band imager, find the crossover control and set the lowest band’s width to 0%.
- Fold to mono. Ableton Live: set the Audio To Master device to Mono. Logic Pro: Mastering > Stereo/Mono utility. FL Studio: the mono switch on the utility. Pro Tools: sum L and R into a single track, then compare level.
Menu names differ by DAW version, and FL Studio does not include a correlation meter by default, so a free utility is usually the quickest route there. The logic is identical in every DAW.
Frequently Asked Questions
Is there a stereo widening plugin available?
Yes, and most DAWs ship with one. Ableton Live, Logic Pro and Pro Tools include a mid/side or stereo imager with width and correlation controls. Free options like a mid/side matrix plus a multiband EQ will widen safely on their own. What to look for is a side-gain control, a per-band crossover with mono below it, level trim, and a correlation readout you can see while you work.
How to get a wider stereo image?
Widen high-frequency, sustained elements rather than the whole mix. Raise side gain in a mid/side matrix above a 200-500 Hz crossover, set the band below that crossover to mono, and trim 1-3 dB off the processed channel so loudness stays even. For mono sources, duplicate and pan hard L and R with 1-4 cents of detune. Then fold down and check the meter stays above zero.
Should delay be mono or stereo?
For a mono-safe mix, use a mono delay on important elements such as lead vocal and bass. Stereo and ping-pong delays are fine on reverb returns, throws and background textures, but a mono source feeding a stereo delay loses level when summed. Keep the delay time clear of the low end with a high-pass, and avoid the sub-5 ms range where the repeats start to comb filter.
What does increasing stereo width do?
It increases the perceived left-to-right spread of the mix by adding differences between the two channels. Differences in level and frequency content, such as mid/side boosting and panning, survive a mono sum. Differences in timing, such as a Haas delay or a phase-shifted double, do not. That is why width built from level and EQ is safe and width built from phase is fragile.
What correlation value should my mix have?
Aim for a steady reading between +0.3 and +0.8 during the widest, loudest sections of the track. Values near zero mean a very wide mix that is still technically mono-compatible. Anything below zero means the channels are cancelling and your mix will lose level and low end on mono playback. Check at several points in the arrangement, not just at the intro.
Why does my mix collapse in mono?
Because the two channels are partly out of phase, so summing them cancels energy instead of adding it. Usual causes are multi-mic recordings with too little spacing, wide or Haas-widened low frequencies, and too much side gain on the master bus. Narrow the low band below 200 Hz, reduce side gain, and nudge misaligned elements by a few milliseconds while monitoring in mono.
Conclusion
Start with the safest move: a subtle mid/side or per-band width boost on a high-frequency element, with everything below 200-500 Hz set to mono. Fold the mix down, keep the correlation reading in the +0.3 to +0.8 range, and only then decide whether you need any timing-based width at all.