A pad sounds lush and cinematic when it is wide without being hollow, warm without turning to mud, and moving slowly enough that the listener never catches it moving. You get there by stacking three layers, giving the filter a long slow sweep, saturating the low mids, widening above a mono core, and putting the whole thing on a reverb send you EQ on the return. Budget about 45 minutes the first time; once you have a template it takes five.
Every pad in every genre is built from the same three ingredients, and knowing them by name makes the whole process obvious.
- Shimmer — upper-octave harmonics that sit above the chord, usually produced by a pitch-shifted reverb on a parallel send.
- Warmth — a saturated body in the 200–500 Hz region, usually from detuned unison voices and a little tape or drive colour.
- Movement — slow filter sweeps, pitch drift or width modulation at rates below about 0.2 Hz.
That is also why pads go wrong. Push all three at once and you get a wide, bright, muddy wash that buries the vocal. The rest of this guide is about keeping each one in proportion.
Table of Contents
- What You Need: How to Make Pads Sound Lush and Cinematic
- Step-by-Step: How to Make Pads Sound Lush and Cinematic
- 1. Choose a Pad Sound With a Stable Core
- 2. Layer Complementary Timbres
- 3. Add Slow Movement With LFO and Filter Automation
- 4. Create Width Without Losing the Mono Core
- 5. Shape Warmth With EQ and Light Saturation
- 6. Control Dynamics Without Squeezing the Pad
- 7. Add Depth With Reverb, Delay, and Final Automation
- Common Mistakes
- Frequently Asked Questions
- What makes a synth pad sound lush and cinematic?
- Do cinematic pads need lots of oscillators or plugins?
- How do I keep a lush pad from sounding washed out?
- Should reverb come before or after EQ and compression?
- How can I make pads fit in a trance or house track?
- Conclusion
What You Need: How to Make Pads Sound Lush and Cinematic
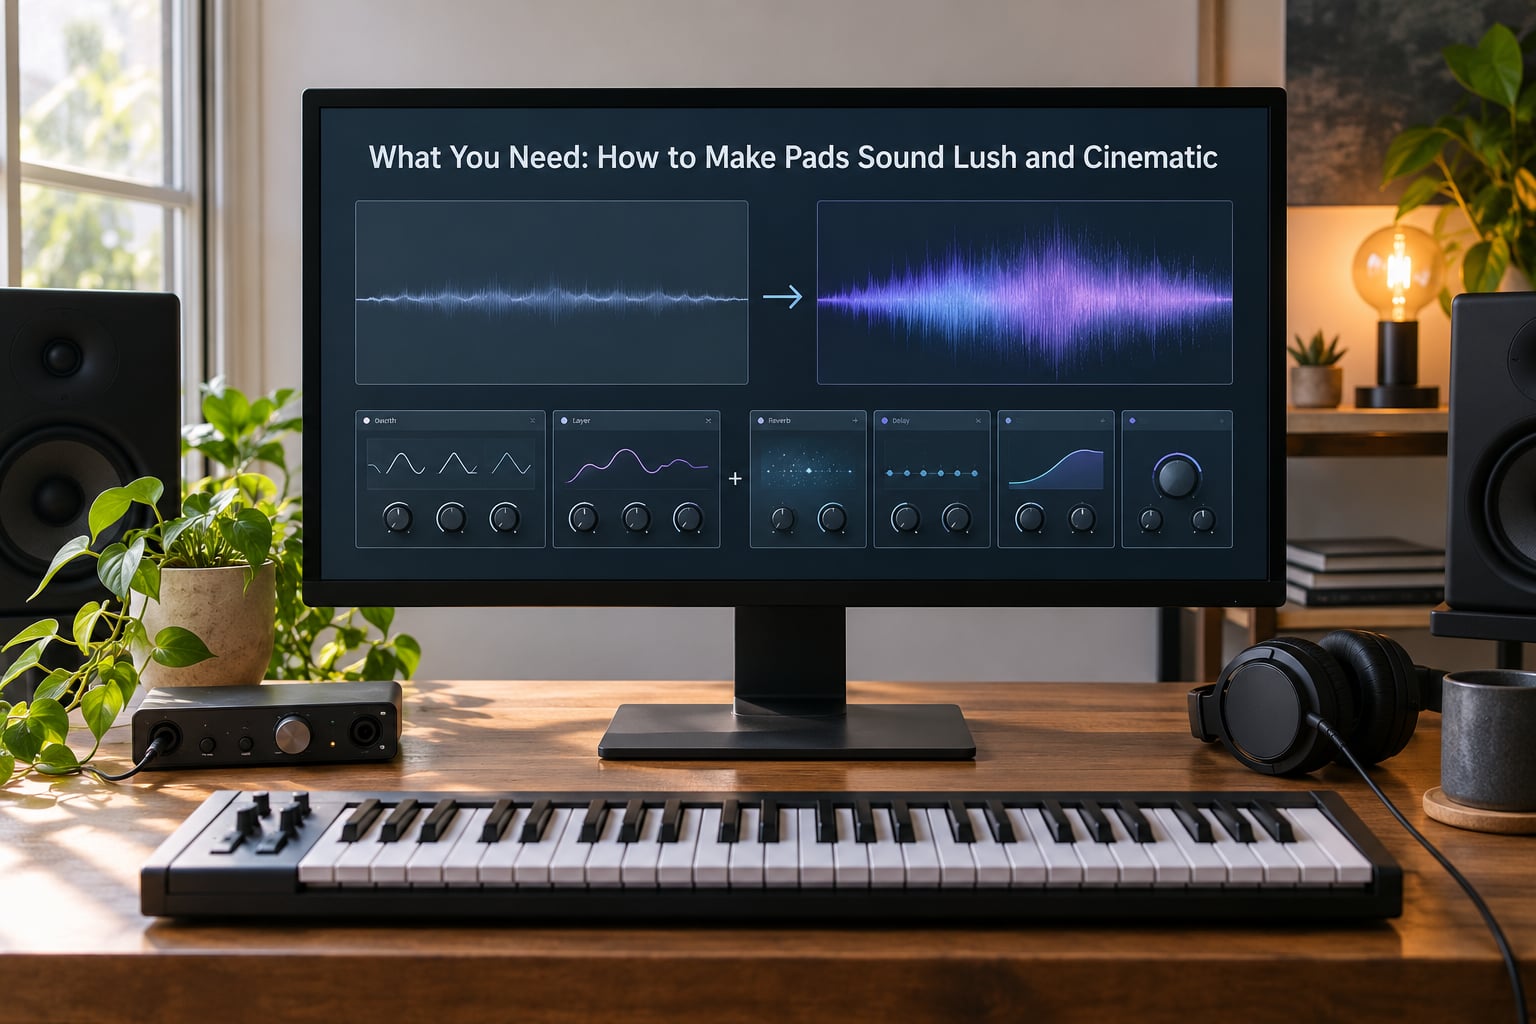
You need six things, and every major DAW already owns all six. Nothing on this list requires a purchase, and that matters because shimmer and tape plugins are the most expensive part of the usual chain and the least necessary part of it.
- A synth voice with at least two oscillators and a unison mode.
- Unison and detune controls, for the width and the beating.
- A low-pass filter with resonance you can automate.
- A saturation or tape device for warmth.
- A stereo widener or chorus for the space above the fundamental.
- A reverb on a send, with an EQ on the return.
The same six functions sit in different places depending on your DAW. This table maps them for the seven versions most readers are on.
| DAW | Pad generation | EQ and compression | Saturation | Stereo treatment | Reverb |
|---|---|---|---|---|---|
| Ableton Live 12 | Wavetable, Operator, Drift | EQ Eight, Glue Compressor, Compressor | Saturation, Vinyl Distortion | Utility, Chorus | Send to a Return track |
| FL Studio 2025 | Harmor, 3x Oscillator, Sytrus | Fruity Parametric EQ 2, Fruity Compressor | Fruity Tily Disc, Soundgoodizer | Fruity Stereo Shaper, Stereo Delayer | Fruity Reeverb 2 or a mixer insert |
| Logic Pro 11 | Alchemy, Retro Synth, Sampler | Channel EQ, Compressor, Multiband Compressor | Overdrive, Tape Delay | Stereo Spread, Haas effect | Space Designer or Convolution Reverb |
| Cubase 14 | Retrolab, Halion, A1 Synth | Studio EQ, Compressor | Tape, Magneto II | StereoDelay, MS Encoder | VintageVerb or Revison |
| Studio One 7 | PolyPress, Retroline, Presence | Channel EQ, Compressor, Multiband | Amplitube, Analog Multitube | Pan, Stereo Width in the channel strip | OpenVerb or FauxVerb |
| Bitwig 5 | PolySynth, Phase Plant | EQ, Compressor | Saturator | StereoWidth, Mid/Side | GridSpace or any stock reverb |
| Reason 13 | Malström, Subtractor | EQ 1, Compressor | Soft Clipper in the mixer | Stereo widener on the mixer channel | Send to an FX rack with DDL |
Those are starting points, not settings to leave alone. Write them down as the starting point and move them from there.
| Parameter | Starting range | What it controls |
|---|---|---|
| Attack | 300 ms to 1.2 s | How quickly the pad announces itself |
| Release | 1.5 s to 4 s | How long it lingers into the next chord |
| Unison voices | 2 per oscillator, up to 7 total | Beat density and apparent size |
| Detune | 8 to 20 cents, alternating up and down | Width and chorusing, not shimmer |
| Filter cutoff | 400 Hz to 2 kHz at rest, sweeping up | Tone over time |
| LFO rate | 0.05 to 0.2 Hz | How obviously the pad breathes |
| Reverb send | 15% to 35% | Distance without wash |
| Width amount | 30% to 60% above 300 Hz | Stereo size without mono collapse |
Step-by-Step: How to Make Pads Sound Lush and Cinematic
1. Choose a Pad Sound With a Stable Core
Start with a sound that has a clear fundamental and not much else. A lush pad grows upward from something solid, and if the base note is unclear nothing you stack on top will rescue it.
Four foundations work well, each for a different reason. A detuned saw stack gives the most raw energy and needs the most high-pass filtering later. A filtered PWM or pulse sound sits quieter and darker, which is why a lot of the pads people chase come from pulse and square waves rather than saws — one early thread on the KVR Audio sound design forum decoded a well-known lush chord down to a PWM-like pulse, a square and a saw. A wavetable voice lets you move through harmonics without adding oscillators. An organ-like tone is instantly readable and sits well in trance and house.
Whichever you pick, set the filter to a 12 dB-per-octave slope with resonance only slightly raised. That matches the same forum decoding, and it is a good default because heavier slopes delete character before you have decided what the character is.
Checkpoint: play the pad alone. If you can sing the root note back after one listen, the core is there. Fix: if it is not, drop the top oscillators before anything else.
2. Layer Complementary Timbres
Three layers is the sweet spot, and each has a job. Put a central tonal layer in the middle — the saw or wavetable sound, centre-panned, carrying the chord. Put a darker body layer an octave down, quieter, detuned, giving weight. Add a texture layer of filtered noise or a very high octave, wide and quiet, providing air.
Registration matters more than most people expect. If the body layer sits in the same register as the chord, you get beating mush. Drop it an octave, filter it at around 400 Hz, and pull it back 6 dB. Play the layers on their own before you stack them — each one should make sense by itself.
On velocity and registration: give the central layer a modest velocity range so hard hits open the filter slightly, and give the texture layer almost no velocity response so it stays a bed. A forum thread on vi-control about making pads sound more human landed on the same idea from the other direction, using non-tempo-synced modulation so nothing lines up perfectly.
Checkpoint: mute each layer in turn. The track should lose something every time, but never fall apart. Fix: if muting a layer changes nothing, that layer is taking up space for free — delete it.
3. Add Slow Movement With LFO and Filter Automation
A static pad is the single biggest reason lush pads end up boring. Movement below about 0.2 Hz reads as emotion; above that it reads as a pulsing effect.
You have two options and they suit different cases. A free-running LFO gives continuous drift and costs no editing, which makes it right for a pad that plays under a whole section. DAW envelope automation gives you control and costs a pass with the automation lane, which makes it right for a pad that needs to rise into a drop.
Practical ranges: filter LFO at 0.05 to 0.12 Hz with a depth of 300 to 800 Hz on cutoff; a slower LFO at 0.05 Hz on volume with depth under 1 dB; pitch drift at 0.05 Hz and 3 to 8 cents. Amplitude modulation should never dip more than about 10%, because anything deeper reads as tremolo.
For the eight-bar automation ride, write a filter curve that opens over the first four bars, holds, then closes one step at bar eight. Drag the reverb send up 10% at the same time. Those two together do more for a transition than any riser sample.
Checkpoint: step back from the monitors. Can you tell something is moving but not name what? Fix: if it draws attention to itself, halve the depth or double the period.
4. Create Width Without Losing the Mono Core
Widening everything is the fastest route to a pad that falls apart on headphones, on club systems and on any mono playback. Keep the fundamentals and the low mids centred, and widen only what sits above roughly 300 Hz.
Three tools do this. A mid-side EQ lets you boost the side channel around 1 to 4 kHz while leaving the mid alone, which is the most controlled option. A stereo widener is faster but easier to overdo. Haas-style delay of 8 to 20 ms widens by tricking the ear, and past about 30 ms it smears into a comb filter that collapses in mono.
Check correlation if your DAW shows it. Wide and positive is good, wide and near minus 1 means you have phase problems that will vanish the moment someone plays it on a phone speaker. Solo the width stage and listen in mono; if it disappears, back off.
Also check the low end before anything else. The part below 120 Hz should stay almost entirely centre, and the low mids in the 200 to 500 Hz region should be narrow too. That region is warmth, not width, and widening it is what makes pads sound hollow and unstable.
Checkpoint: mono the whole track. Fix: if the pad vanishes, reduce the Haas delay and the side EQ boost by half.
5. Shape Warmth With EQ and Light Saturation
Warmth lives in the low mids, roughly 200 to 500 Hz, and it is also where pads turn to mud. The trick is to get warmth from saturation and only lightly from EQ.
Work in this order. High-pass the pad at 80 to 100 Hz with a 12 dB slope unless it is the bass layer. Cut a broad 2 to 4 dB around 200 to 350 Hz if it is fighting your bass or vocal. Cut 1 to 2 dB with a narrow bell between 2 and 5 kHz if the saw stack is piercing. Then add air with a high shelf at 8 kHz, up 1 to 2 dB, if it sounds dull on small speakers.
Then saturate. Start with a tape or soft-clipping drive at 20 to 30% mix, which thickens upper harmonics and rounds peaks without changing level much. A more aggressive drive is fine if you pull the pad’s volume down a couple of dB afterwards to keep the loudness the same. Audition every change against the kick, the bass and the lead, because warmth that sounds good alone often disappears the moment the low end arrives.
Checkpoint: play the pad with the bass only. Fix: if the bass disappears, you are too wide and too bright — pull the width in first, then cut 2 dB more at 250 Hz.
6. Control Dynamics Without Squeezing the Pad
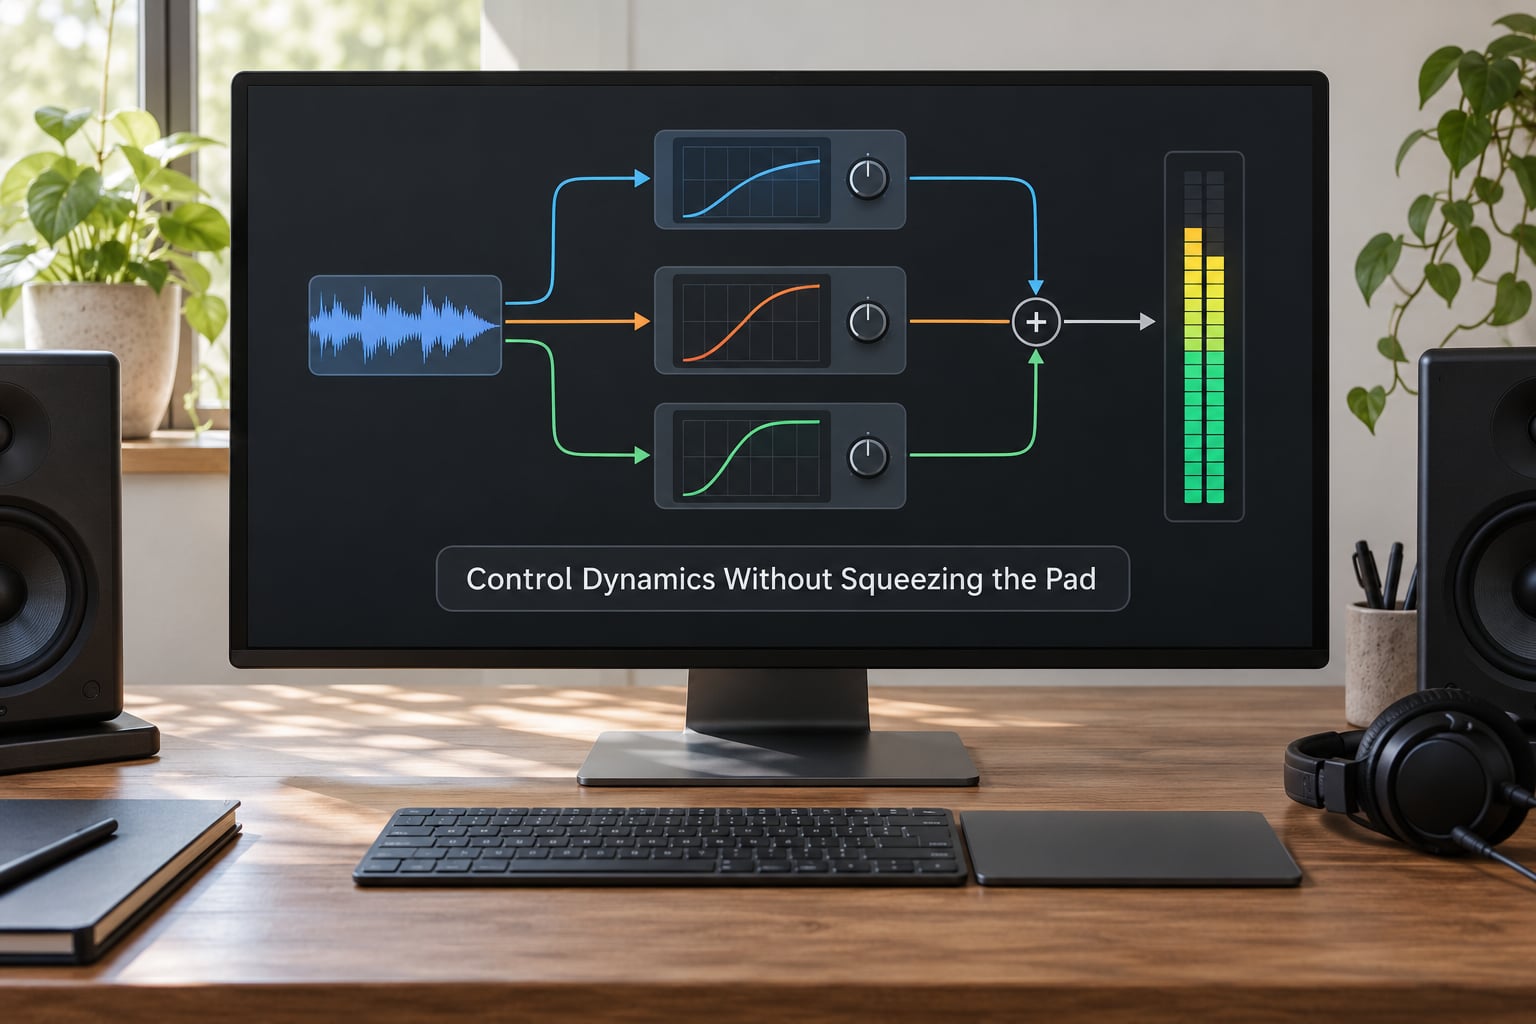
A pad that reacts to every held chord turns into a thud, so slow-moving layers need slow dynamics. The standard fix is parallel compression: duplicate the pad on a second track, compress the copy hard, and keep only a small amount of it in the mix.
On the duplicate, use a slow attack of 30 to 60 ms and a medium release of 200 to 400 ms, then set the threshold so you see 3 to 6 dB of gain reduction at the loudest chord. Fade the whole duplicate down until its level is barely audible on its own, which usually lands around minus 18 to minus 24 dB, and blend it under the dry pad. You get the sustain without the pumping.
Where to find it: in Ableton Live 12 the routing is two tracks with the second group’s fader down and its compressor key-mapped; in Logic Pro 11 it is a new aux or track send into a Compressor; in FL Studio 2025 it is a mixer route to a separate insert with Fruity Compressor; in Cubase 14 and Studio One 7 it is an audio send or a bus; in Bitwig 5 and Reason 13 both offer a send bus for the same purpose.
A sidechain is the other dynamics tool, and it is the one that keeps the pad from eating the kick. Two to three dB of reduction on the pad triggered by the kick gives a nice pump. In house and trance that pumping is the point; in ambient and film scoring, skip it and let the pad sit independently.
Checkpoint: bypass the parallel path. Fix: if you cannot hear a difference, the parallel level is too low — raise it until you can.
7. Add Depth With Reverb, Delay, and Final Automation
Reverb is where a good pad becomes cinematic, and where a good pad becomes mush. Three rules keep it on the right side.
Put the reverb on a send, not inline, starting around 20% and pushing to 35% for cinematic passages. Set a pre-delay of 30 to 60 ms so the initial transient stays dry and defined while the tail blooms behind it. Damp the highs on the return with a low-pass at 6 to 9 kHz, because a bright reverb tail is the sound that smears across a mix. Add a slow, low-level stereo delay for extra size if you need it.
For the shimmer specifically, run a second parallel send to a pitch-shifted feedback reverb. Start with a 10 to 15% send from the pad into that reverb, with modest feedback so it builds across a few seconds. In stock plugins, Valhalla Supermassive and any plate reverb with octave or semitone options will do; in Logic, Space Designer and a doubled octave layer on the send get you most of the way. Keep this quiet. The most common shimmer mistake is far too much of it, and a pad with heavy shimmer sounds like a broken cymbal rather than a chord.
Finish with automation: ride the pad volume up over the last two bars of every eight-bar phrase, automate the filter up into the drop, and pull the reverb send down by a few percent during the vocal so the words stay forward.
Listen to the finished pad on headphones, in mono, and on a full-range speaker before you call it done. If it survives all three, it will survive the release.
Checkpoint: solo the reverb return. Fix: if it is the loudest thing in the track, the send is too high — drop it 10% and recheck.
Common Mistakes
Almost every bad pad is one of seven problems. Find yours in this list and the fix takes about a minute.
| Symptom | Cause | Fix |
|---|---|---|
| Muddy low mids, bass disappears | Warmth stacked in the 200–500 Hz band while the bass sits there too | Cut 2 to 4 dB around 250 Hz, or high-pass the pad higher |
| Too wide, collapses in mono | Widener applied to the whole signal including the fundamental | High-pass the side EQ at 300 Hz, shorten Haas delay under 20 ms |
| Harsh or piercing highs | Full saw stack with no filter automation and no saturation | Bell cut at 3 kHz, add tape saturation, sweep the cutoff with an LFO |
| Squeezed, lifeless, pumping | Fast compression on the pad itself | Remove it, use parallel compression with a 30–60 ms attack instead |
| Washed-out tail | Reverb send too high, no pre-delay, bright return EQ | Lower the send, set a 30–60 ms pre-delay, low-pass the return at 7 kHz |
| Static, boring pad | No LFO, no automation, no noise layer | Add a 0.1 Hz filter LFO and a quiet noise texture layer |
| Pad masks the lead or vocal | Body layer sits in the vocal’s frequency range | Cut 300–500 Hz during the vocal, or automate the pad down 3 dB |
A few habits catch the rest. Print or commit the pad stem and check it alone, because it often sounds different in the session than it does in the full arrangement. Check your low end in mono and in a car-speaker simulation. A and B against a reference you already like — the wide ambient records on ambient electronica, or the big filtered pads in modern film scores — is the fastest way to hear what is missing.
One last workflow point, since it comes up constantly: sustaining pads means holding keys or drawing long MIDI. Learn your DAW’s hold or latch function, map the filter cutoff to a hardware macro so you can play the sweep live, and freeze the finished pad to audio once the sound is right. Producers who do this stop fighting the pad and start writing around it.
Frequently Asked Questions
What makes a synth pad sound lush and cinematic?
Three things in balance: shimmer from upper-octave harmonics, often a pitch-shifted reverb on a parallel send; warmth from a saturated body in the 200 to 500 Hz region; and slow movement from filter, pitch or width modulation below about 0.2 Hz. A pad with only one of the three sounds thin, harsh or static. Push all three hard at once and it turns to mud.
Do cinematic pads need lots of oscillators or plugins?
No. Most of the lushness comes from detuning two or three oscillators and layering one extra tone, not from a huge oscillator count. Every plugin step has a stock equivalent in all major DAWs: chorus for a widener, tape saturation for drive, a filter-swept plate reverb for shimmer. Buy nothing until a stock chain has told you exactly what is missing.
How do I keep a lush pad from sounding washed out?
Keep the reverb on a send at 15 to 35 percent, set a pre-delay of 30 to 60 ms so the transient stays dry, and low-pass the return around 7 kHz so the tail does not smear over the vocal. If the reverb return is ever the loudest thing in the track, your send is too high. Keep shimmer sends under about 15 percent.
Should reverb come before or after EQ and compression?
On a send, reverb always comes after the pad’s EQ and compression, because those tools shape the dry signal before it enters the space. EQ the reverb on its return to darken the tail, and high-pass the return if it is rumbling. If you inline the reverb instead, treat the whole unit as one processor and EQ at the end of the chain.
How can I make pads fit in a trance or house track?
High-pass harder, around 100 Hz, cut 2 to 4 dB near 250 Hz so the sub has room, and sidechain the pad to the kick with 2 to 3 dB of reduction for the pumping those genres rely on. Keep the shimmer send low, under 15 percent, and reserve the widest parts of the movement for the breakdown rather than the drop.
Conclusion
Here is the whole workflow in one pass: create one sustained layer with a clear fundamental, add two complementary textures, automate the filter and volume over each eight-bar phrase, then refine width, dynamics and reverb until the pad sits behind the rest of the mix rather than on top of it.
Start with the first action today. Build one saw layer, detune it 12 cents, sweep a low-pass filter from 500 Hz to 2 kHz across eight bars, and put it on a send at 20%. That is roughly ten minutes of work and it gets you most of the way to hearing what the rest of the steps are fixing.