Patcher is FL Studio’s built-in node-based routing plugin. You drop instruments, effects and MIDI into a map, then drag cables between their nodes to build any signal flow you like, all inside one plugin slot. This guide covers how to use FL Studio Patcher from an empty insert slot to a saved, reusable preset, with the exact menu paths for every step.
The one thing that trips up almost every beginner is silence. A blank Patcher instance mutes audio by default, so the first thing to check is always whether the From FL Studio node reaches the To FL Studio node. Get that wire in place and the rest is ordinary routing.
Everything below applies to current FL Studio releases on Windows and macOS. Patcher arrived with FL Studio 10, so there is nothing to download or install separately.
Table of Contents
- What You Need
- Step-by-Step: How to Use FL Studio Patcher
- Open Patcher and Choose Your Inputs
- Connect an Instrument or Effect
- Route Signals to Mixer Tracks
- Build a Parallel Processing Chain
- Automate FL Studio Patcher Controls from the Playlist
- Save and Reuse a Patcher Setup
- Common Mistakes
- Tips for Using Patcher Creatively
- Frequently Asked Questions
- Why is my FL Studio Patcher silent?
- What do the coloured cables in Patcher mean?
- How do I save and load Patcher presets?
- Can I load VST plugins or a sampler channel inside Patcher?
- Is Patcher better than using extra effect slots?
- Conclusion
What You Need
You need four things, and most of them are already on your machine.
- A current FL Studio release on Windows or macOS. Patcher ships with the program and is not a separate download.
- An audio output, either a USB interface or the built-in device. Patcher does not care which one you use.
- At least two instruments or effects to prove the routing works. FL Studio comes with Fruity Limiter, Fruity Reeverb 3, Fruity Parametric EQ 2, Maximus and 3x Osc, which is plenty.
- One free effect slot on a mixer track, if you want Patcher working on an existing sound.
Third-party VST and VST3 plugins load inside Patcher the same way stock ones do. The one exception is a normal sampler channel, which cannot be loaded into a Patcher instance.
Step-by-Step: How to Use FL Studio Patcher
Patcher is a container and a routing environment, not a sound generator on its own. The workflow that makes sense for a beginner is: load Patcher, wire the input to the output so you can hear something, then add plugins and connect them.
Open Patcher and Choose Your Inputs
There are two ways to open Patcher, and which one you pick depends on whether you are processing an existing mixer track or building a new sound.
For processing: click an empty effect slot on a mixer track, then choose Patcher from the plugin list. You will also see it in the browser’s plugin category if you prefer dragging from there.
For a new sound: in the Channel Rack, click the small plus button on any channel to get the new-channel menu, then pick Patcher from the effect list. The channel now behaves like any instrument channel and sends to whichever mixer track you assign.
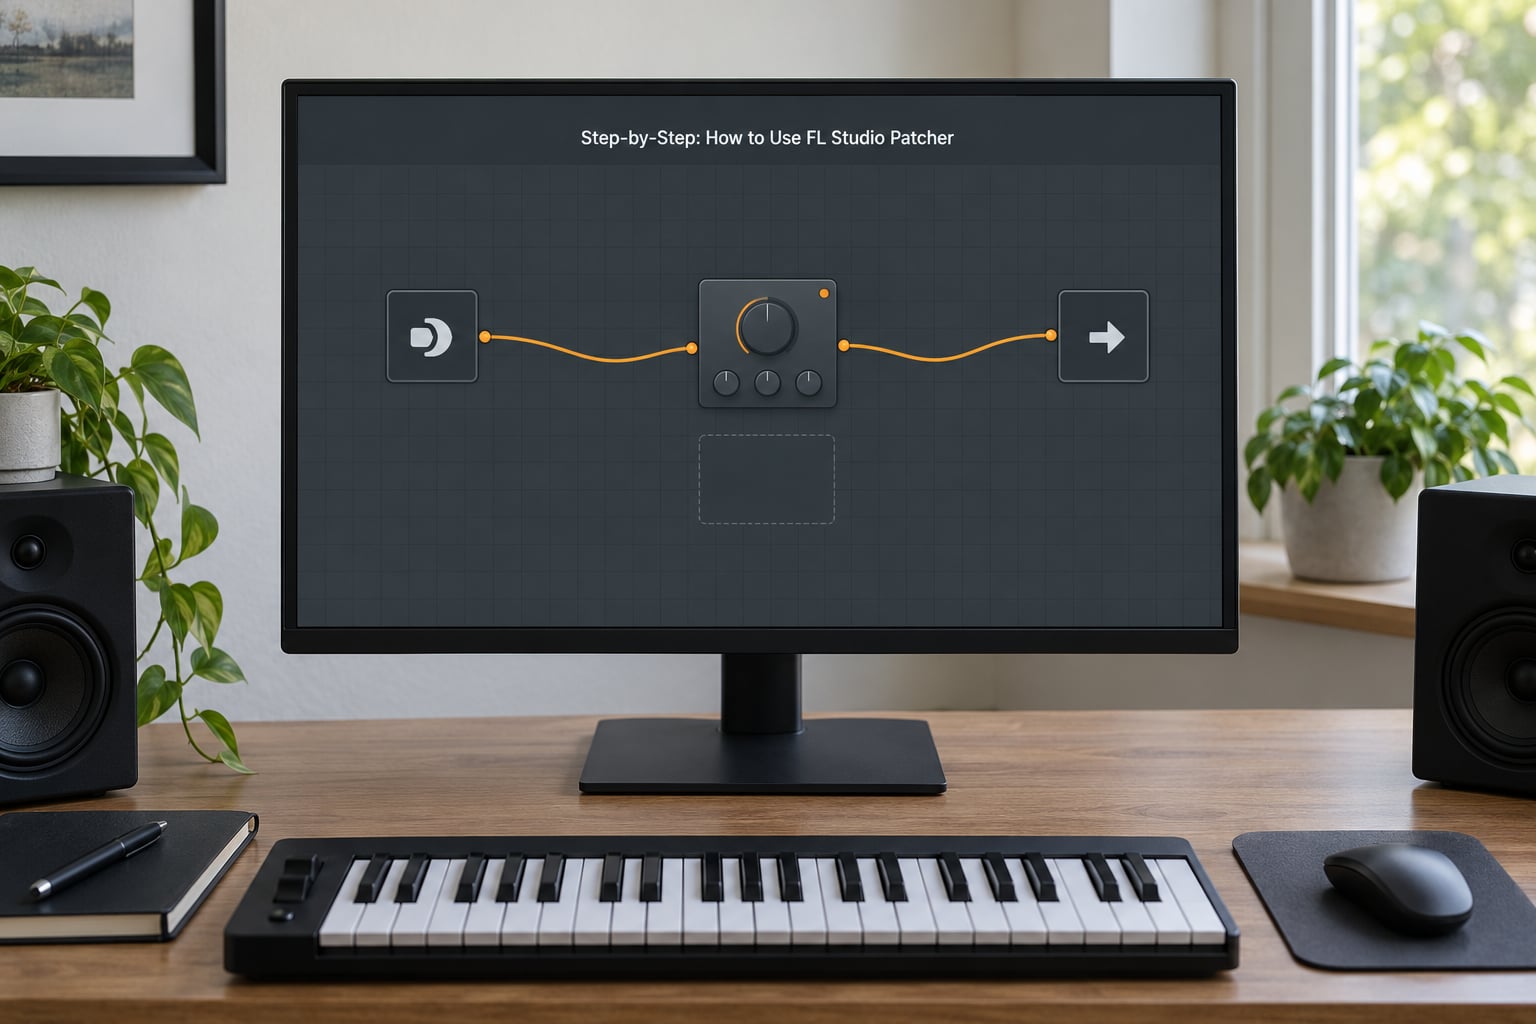
Either way you land in the same window with two fixed nodes: From FL Studio on the left and To FL Studio on the right. From FL Studio is the entrance for every signal coming into the instance. To FL Studio is the exit that hands audio back to FL Studio. An unconnected input means no audio reaches anything.
Connect an Instrument or Effect
To add a plugin, right-click any empty space in the Patcher map and choose Add plugin. The picker opens in categories, so you can pick generators or effects from the stock list or scroll down to third-party plugins.
Double-click the new plugin block to open its own interface and change settings while Patcher keeps running in the background.
To connect two plugins, drag from an output node on the left edge of one block to an input node on the right edge of the next. Patcher creates a cable when you drop the connection. An unconnected input is the visual clue that a plugin is being fed nothing.
Cable colours tell you what kind of signal is flowing:
- Orange or yellow carries audio. That is every connection between effect plugins, plus the From FL Studio and To FL Studio nodes.
- Blue carries MIDI, which you will see feeding notes into a generator sitting inside Patcher.
- Red carries automation and parameter control, created by dragging a red control dot from one plugin’s parameter onto another.
Two clicks control the cable itself. Left-click a cable to open the amount dial and ride its level between 0 and 100 percent. Right-click a cable to mute it or delete it, which is faster than unhooking and rebuilding a chain.
Route Signals to Mixer Tracks
The route is always the same shape: From FL Studio into your processing, your processing into To FL Studio, and To FL Studio into the mixer track you loaded the instance on.
Drag from the output of From FL Studio into the input of your first effect. Then drag from that effect’s output into the input of To FL Studio. If you hear your dry signal immediately, the wiring is right.
To make the signal audible on its own, add a Fruity Volume plugin as a pass-through, connect it inline between your effects and To FL Studio, and raise its level slightly below unity while you build the chain. Pull it down as effects come in.
Use the cable amount dial for level moves rather than reaching inside each plugin. It keeps gain staging visible in the map, so you can see the whole balance of the chain at a glance.
When Patcher runs as a Channel Rack generator, the channel’s mixer track knob sends the To FL Studio output wherever you point it. That lets you build a multi-layered instrument and treat it like any other channel.
Build a Parallel Processing Chain
Parallel processing means splitting one signal into two paths, treating them differently and merging them back. A linear insert chain cannot do this, which is the main reason to reach for Patcher.
Parallel compression, the example that sells Patcher to most people, takes five steps.
- Load Patcher on a mixer insert slot for the track you want to compress.
- Add a Fruity Limiter and a Fruity Volume plugin, then right-click and set Fruity Limiter as a compressor.
- Drag from the output of From FL Studio to the input of Fruity Limiter. Drag from the same output to the input of Fruity Volume for the dry path.
- Drag the output of Fruity Limiter and the output of Fruity Volume both into the input of To FL Studio, so two cables meet at the same node.
- Set Fruity Volume to 100 percent, then pull it down until the dry signal sits under the compressed one.
Set the release on Fruity Limiter slower than your tempo and let the dry signal carry the transients while the compressed path fills the gaps. You hear more loudness and more even note endings without the pumping you would get from hard compression.
Automate FL Studio Patcher Controls from the Playlist
Patcher exposes its internals for automation. Every plugin parameter gets a small red control dot you can drag out to another plugin, which links one parameter to another instead of to a timeline lane.
For timeline automation, treat Patcher as the plugin and automate it like any other. Click the automation in the Playlist or the mixer, select Patcher, and draw a lane for whatever the plugin exposes.
A practical example: on a vocal bus, route a Fruity Reeverb 3 send inside Patcher, then automate the send amount so the reverb swells into the chorus and drops back for the verses. Because the routing lives inside Patcher, the automation reads as one movement rather than three separate plugin settings.
For hands-on control, the Surface tab lets you place knobs and sliders and link them to parameters with the same red dots. That is better for live tweaking than for printed automation, so use it as a monitor mixer for the chain.
Save and Reuse a Patcher Setup
Save the whole chain as a preset so you never rebuild it. Right-click the Patcher entry in the plugin list and choose Save preset, then give it a name that tells you what it does, such as Vocal Parallel Comp or Layered Bass.
Two quick ways to reload one. Drop the saved preset file anywhere onto the FL Studio window and it loads straight into the selected instance. Or add the folder holding your presets to FL’s search paths so they appear in the browser and in the plugin picker.
A few habits keep projects readable later. Name mixer tracks for what they carry rather than for a number, keep routing-heavy chains in their own Patcher instance instead of spreading effects across inserts, and save any setup you rebuild often as part of a template so it is already there when you open a new file.
Common Mistakes
Almost every Patcher problem falls into one of six buckets.
- No sound at all. The instance is blank and From FL Studio is not reaching To FL Studio. Wire them, or wire your last effect into To FL Studio, and the signal returns.
- Feedback loop or harsh screeching. You have connected two paths in a circle. Trace the cables from To FL Studio back to From FL Studio and remove the return.
- One side of the signal missing. A plugin that outputs mono, or a cable left at zero on the amount dial. Check the red indicator on each cable first, then look for a mono effect in the chain.
- Parallel path sounds louder than expected. The dry Fruity Volume was left at 100 percent while the processed path was boosted. Pull the dry path down until the blend sits where you want it.
- Effects sound doubled or over-processed. The same plugin is still in the mixer insert slots below Patcher. After you move a chain into Patcher, clear the insert slots that now duplicate it.
- Meter reads nothing on the mixer track. Patcher is loaded as a generator and its channel is not assigned to a mixer track, or the To FL Studio output is going somewhere else entirely. Check the channel’s track assignment first.
Tips for Using Patcher Creatively
Once the basics are automatic, a few habits pay off quickly.
- Layered sends. Inside one Patcher, send the same source to two different mixer tracks, each with its own tempo-synced reverb. Two tracks, one routing decision.
- Parallel saturation. Split into two paths, put a different flavour of distortion or a lo-fi effect on each, and blend them like two takes of the same part.
- Sidechain routing. Feed Fruity Limiter inside Patcher from a kick so the compression ducks only inside that one instance, leaving the rest of the mixer untouched.
- Instrument layering. Load two or three generators and blend them from a single channel, so one knob moves the whole sound.
- Know when to skip it. If all you need is a second copy of one signal, Fruity Send on a mixer channel is lighter and clearer. A plain effect slot is faster for a two-plugin chain. Patcher earns its keep when the routing branches, merges or needs to travel with the project.
- Watch the CPU. Every plugin inside Patcher still runs, and you cannot see them in the mixer to judge cost. Turn on the reset-Patcher-plugins-on-transport option if a heavy chain starts to glitch, so the effects start fresh at each pattern.
Frequently Asked Questions
Why is my FL Studio Patcher silent?
A blank Patcher instance mutes audio by default, so nothing passes until a path exists. Open the map and drag from the output of From FL Studio into To FL Studio, or route your source effect into To FL Studio. If you already see those cables, check the amount dial on each one by left-clicking it, since a cable set to zero percent also reads as silence.
What do the coloured cables in Patcher mean?
Orange or yellow cables carry audio between plugin blocks, blue cables carry MIDI into generators, and red cables carry automation or parameter control between plugins. The colour tells you what kind of signal is on the wire before you even look at the routing. Left-click any cable to open its amount dial and set the level.
How do I save and load Patcher presets?
Right-click the Patcher entry in the plugin list and choose Save preset, then name it. To load one, drop the preset file anywhere onto the FL Studio window and it loads into the selected instance. To see your presets in the browser and plugin picker instead, add the folder that holds them to FL’s search paths in the options.
Can I load VST plugins or a sampler channel inside Patcher?
Third-party VST and VST3 plugins load inside Patcher normally, through the same right-click and Add plugin menu as stock effects. A normal sampler channel cannot be loaded, so if you need a full sampler instrument with its own mixer routing, keep it outside Patcher and route it in from a mixer channel instead.
Is Patcher better than using extra effect slots?
Neither is better, they suit different work. Effect slots are faster for a short linear chain of two or three plugins, and Fruity Send handles a simple second copy of a signal. Patcher is worth the extra clicking when the routing branches or merges, when you want more plugins than inserts, or when the chain should travel as one savable preset.
Conclusion
If you only practise one thing, make it this. Route a single source through Patcher and confirm you can hear it, then split that one source into a parallel path and blend it, then automate one control on the path and save the whole thing as a preset. That sequence teaches the map, the branches and the saving in about twenty minutes, and the preset becomes the starting point for every chain you build after it.