Why does my track sound worse after exporting? Most of the time the file is fine. You are hearing it louder or quieter than the session, through a different playback chain, or with ears that have been monitoring for four hours straight. The usual causes are a loudness mismatch, a player or sound card applying its own processing, a plugin rendering at draft quality, or clipping that only shows up in the exported peaks.
This guide walks through each cause in the order it is most likely to be yours, then gives you a diagnostic you can run in under ten minutes. You do not need to abandon the mix or relearn gain staging. Most of these problems are one checkbox.
One assumption before we start: I am assuming you are hearing a genuine change, not that you are playing the file through a phone speaker and concluding it is ruined. That distinction matters, and we handle it in the next section.
Table of Contents
- Why Does My Track Sound Worse After Exporting?
- Symptom to cause: a lookup table
- Is the Export File Actually Damaged, or Does It Just Sound Different?
- Clipping and Too Little Headroom
- True peak and sample peak are not the same number
- Gain staging versus just turning everything down
- Loudness Changes That Make the Track Sound Fatigued or Weak
- The streaming targets worth knowing
- Wrong Export Format, Bit Depth, or Sample Rate
- Sample rate: match your session
- Bit depth: 24-bit is the working standard
- Lossless and lossy formats
- Dither, Bit Depth, and Export Noise
- Monitoring and Playback Differences
- Checks that take two minutes
- How to Fix a Track That Sounds Worse After Exporting
- Export dialog paths by DAW
- Quick Export Checklist for Electronic Music Producers
- Frequently Asked Questions
- Why does my song sound different after exporting from GarageBand?
- Should I export at 44.1 kHz or 48 kHz?
- Is it better to export audio as WAV or MP3?
- Does exporting at 24-bit fix clipping?
- Why does my audio sound different after exporting it from FL Studio?
- Does my DAW playback volume change the exported file?
- Conclusion
Why Does My Track Sound Worse After Exporting?
Here is the direct answer. Your session and your exported file should be sample-for-sample identical, unless something actually changed during the render: a bit depth or sample rate conversion, applied dither, a plugin set to draft quality, an export range that misses automation, or a limiter that behaves differently offline. If nothing in that list applies, the sound change is happening after the file exists, in how it gets played back or how you compare it.
That second group is much more common than the first. Online producers tend to build a mix on monitors or headphones, then judge the finished file on earbuds, in a car, or inside a streaming app, and wonder why the bounce sounds worse. Nothing is wrong with the mix. The listening environment changed three times.
Symptom to cause: a lookup table
Start here and match what you hear. It saves an hour of guessing.
| What you hear | Most likely cause | Where to look |
|---|---|---|
| Export is clearly louder and harsher | Loudness mismatch against your session, or a limiter set differently offline | Master bus limiter, export normalization toggle, true peak reading |
| Export is quieter than the session | Export dialog normalization left on, or you played a loud lossy file | Normalize checkbox in the export window |
| Sounds thin, fizzy, or noisy | Bit depth too low, dither mishandled, repeated lossy re-export | Bit depth setting, dither menu, format history |
| Sounds muddy or dull | Phone speaker or earbud playback, or a player EQ | Device output, phone EQ settings |
| Sounds flat or lifeless | Playback volume far below the session level | System output level, streaming app volume |
| Crackling on transients only | Clipping at 0 dBFS that the session was masking | Master bus meter, sample peak vs true peak |
| Reverb seems weaker or doubled | Double sends, or a reverb printed twice on export | Aux and FX return routing, freeze/print settings |
| Sounds different on a different computer | Audio enhancement software on that machine | Sound card control panel, playback enhancements |
Is the Export File Actually Damaged, or Does It Just Sound Different?
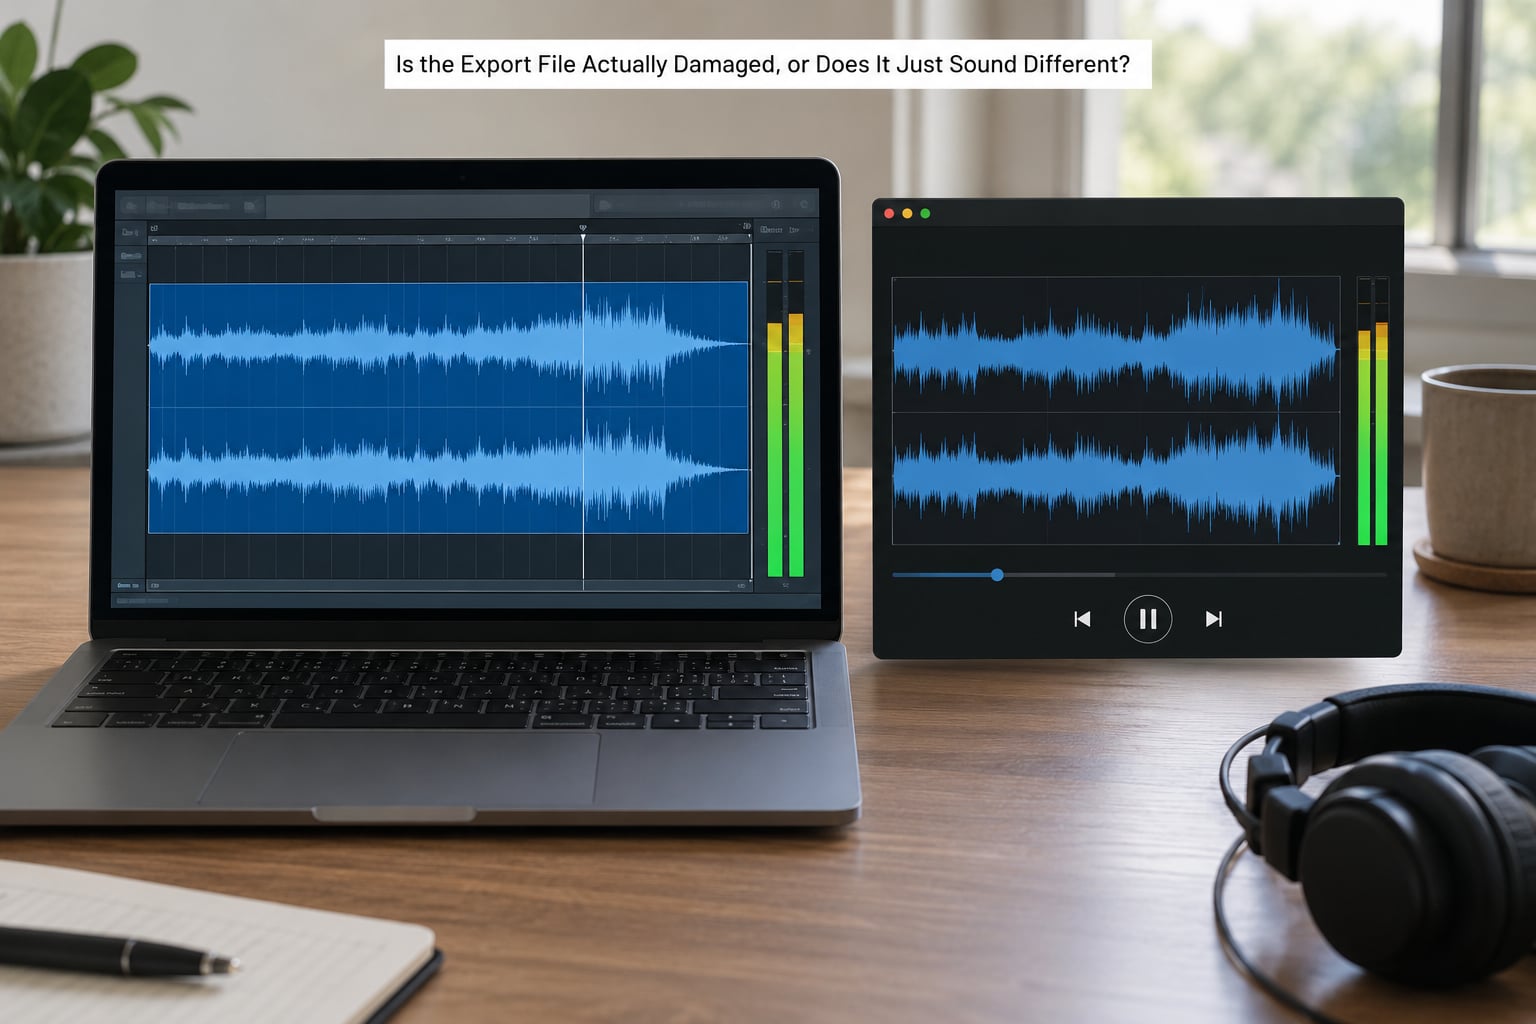
Damaged is a strong word, and almost nothing in this situation qualifies. An exported file is damaged when samples were truncated at full scale, when it was encoded at an unusually low bitrate, or when the file does not match the session because of an actual render error. Everything else is a difference in how two things are being played or judged.
Here is the workflow I would run first, in order.
- Check the master peak before and after. If the session peaks at -6 dBFS and the export reads -1.5 dBFS, something in the master chain changed between playback and render. Note the numbers.
- Bypass the DAW entirely. Close or mute the session and play the exported file in a plain system player. If it sounds better outside the DAW, the difference is in your session monitoring path, not the file.
- Level match the comparison. Turn the session playback down until it feels equally loud as the export, or vice versa. Two signals at different volumes never sound alike.
- Inspect the file in a fresh project. Import the export into an empty DAW session and look at its peak reading and waveform. A clipped file shows a flat-topped waveform.
- Run a null test if you still doubt it. Import the export and align it on top of an identical playback of the master bus. If they cancel to silence, the render is identical.
The null test deserves a note, because forum consensus on Gearspace is blunt about it: unless you are truncating, reducing bit depth with dither, or changing sample rates, there should be absolutely no difference between session and bounce. That is the standard to hold your export to.
Clipping and Too Little Headroom
Clipping is the one cause that genuinely damages the file. When a sample hits the maximum value the format can hold, everything above it gets cut flat, and that flat top is a permanent part of the recording. Loudness can be adjusted later. Flattened transients cannot.
A mix can sound fine in the session for a simple reason: your interface and monitors rarely play as loud as a master pushed to the ceiling. You approved that mix at 75 dB in the room. Streaming plays it near 100 dB on earbuds.
True peak and sample peak are not the same number
Your DAW meter shows sample peak, which is the highest individual sample in the file. Streaming services and CD encoding measure true peak, which accounts for the fact that the playback chain reconstructs a continuous waveform between samples, and that reconstruction can overshoot the recorded value. A file peaking at -0.3 dBFS on sample peak can still exceed 0 dBFS as true peak.
Leave yourself a margin. Keeping masters around -1 dBFS true peak costs almost nothing in perceived loudness and removes an entire category of surprises.
Gain staging versus just turning everything down
Headroom is not the same as muting the mix. Gain staging means each stage in your chain gets a sensible signal level: instrument outputs, preamps, and inserts all fed a signal they can handle. Pushing every fader down by 6 dB on the way in does not remove clipping that happens in a plugin, it just hides the meters.
On the master bus, a limiter doing gentle peak control at a low ratio is fine. A limiter cranking the mix up to 0 dBFS with heavy limiting is what creates the flat, breathless quality that people often describe as the export sounding worse.
Loudness Changes That Make the Track Sound Fatigued or Weak
Loudness is the single most common reason a bounce seems worse than the session, and it is also the easiest to test. Turn one source down and the other up until both feel equally loud. If the export immediately sounds fine, nothing was wrong with the file.
People judge loudness badly because a louder track sounds better than a quieter one at the same quality. It is a genuine perceptual effect, not bias, and it means your session and your export can be perfectly matched and still feel like different mixes if their levels differ.
The streaming targets worth knowing
| Platform | Approximate loudness target | What that means for you |
|---|---|---|
| Spotify | around -14 LUFS | Quieter masters get turned up, louder ones get turned down |
| Apple Music | around -16 LUFS | Preserves more of the dynamic range of an unmastered mix |
| YouTube | around -14 LUFS | Normalization is on by default and can be turned off per video |
| Tidal | around -14 LUFS | High-quality tier keeps more dynamics |
| Amazon Music | around -14 to -16 LUFS | Normalization applies in the mobile app |
LUFS means loudness units relative to full scale, and it measures perceived loudness rather than raw peak level. Integrated LUFS covers the whole track. For trance, house and techno, a common working range for a finished master is roughly -8 to -9 LUFS integrated if you are mastering to streaming, and lower if you care about headroom for club and DJ playback.
If your track is mastered far above that range, the streaming service will turn it down, which usually makes it sound worse than the same file auditioned at full volume on your own setup. That gap between the loud bounce and the quiet stream is where a lot of producer frustration comes from.
Wrong Export Format, Bit Depth, or Sample Rate
Switching between 44.1 kHz and 48 kHz does not inherently ruin a track. It should not, unless something else is going on. What causes damage is resampling performed badly, an incorrect codec, or repeatedly exporting from an already lossy file.
Sample rate: match your session
| Use case | Sample rate | Reason |
|---|---|---|
| Distributing to streaming | 44.1 kHz | Matches what streaming playback uses, no resampling needed |
| Video sync and film work | 48 kHz | Standard for picture, avoids any resampling stage |
| Your session is already 44.1 kHz | 44.1 kHz | Least processing between session and file |
| Your session is already 48 kHz | 48 kHz | Same reason |
Export at your session rate unless you have a specific reason not to. Video work is the usual one.
Bit depth: 24-bit is the working standard
Bit depth controls how many bits are available per sample, which sets the noise floor. A 32-bit float session gives you enormous headroom while you work, but you cannot deliver 32-bit float to a streaming service. Export 24-bit for anything leaving your computer, and 16-bit only for CD or a client who asks for it.
Lossless and lossy formats
| Format | Type | Use it for |
|---|---|---|
| WAV | Lossless | Universal delivery and archives; the safe default |
| AIFF | Lossless | Same quality as WAV, common on Mac workflows |
| FLAC | Lossless, compressed | Archiving large libraries without losing quality |
| MP3 | Lossy | Only for demos and previews, never for masters |
| AAC | Lossy | Previews and voice content |
If you must use MP3, 320 kbps is the ceiling and even that is not transparent for full-spectrum material. At 128 kbps, a mix with reverb tails and wide stereo imaging will audibly lose both. Some producers have spent months thinking their mixes fell apart on export when the file had simply been re-encoded three times at 128.
Dither, Bit Depth, and Export Noise
Dither adds a small amount of noise to a signal to break up quantization distortion. You need it when reducing bit depth from a higher depth to a lower one, and you do not need it when the bit depth stays the same or increases.
Exporting a 32-bit float session to a 24-bit WAV needs no dither. Exporting to 16-bit needs dither, ideally TPDF applied once at the export stage. Applying dither in the master chain and then letting the export dialog dither again is the common double-dither mistake, and it adds a layer of noise nobody asked for.
Dither cannot rescue clipping, and it cannot fix a file exported at too low a bitrate. If a track sounds wrong, check the bit depth and the dither state before touching anything else.
Monitoring and Playback Differences
Playback chains cause more of these problems than the DAW does. Phone players, desktop EQ and built-in audio enhancement all reshape the signal before it reaches your ears, and none of that processing is part of the file. Logic Pro’s Enhance feature, for example, applies an algorithmic level adjustment by default and changes what you hear after export.
Windows machines ship with audio enhancement software that runs silently: Realtek, DTS, Nahimic, Waves MaxxAudio, Beats Audio. The manufacturer’s knowledge base documentation for FL Studio names these explicitly as a cause of exports sounding different from the session output. If a bounce sounds different on another computer, check that machine’s sound card control panel first.
Phone speakers cut almost everything below roughly 300 Hz, which removes the entire low end and most of the perceived punch of a mix. A track will sound thin, small, and worse on a phone speaker while playing perfectly on headphones. That is physics, not an export problem.
Checks that take two minutes
- Bypass the DAW and play the file in a bare system player with no EQ.
- Confirm the audio interface buffer size is reasonable for export work.
- Disable playback enhancements in the sound card control panel.
- Match the volume of the session and the file before drawing any conclusion.
- Test on the device your listener will actually use, not only your monitors.
How to Fix a Track That Sounds Worse After Exporting
Work down this list in order and stop when the problem disappears. Each step rules out a whole category.
- Inspect the master peak. Pull up the master bus meter before exporting. Anything touching 0 dBFS needs attention first.
- Listen in the DAW, then listen outside it. Mute the session and play the export in a plain player. A difference here is a monitoring problem.
- Export a reference at matched loudness. Keep an unmastered 24-bit reference from the same master chain so you can compare later without chasing memory.
- Compare outside the DAW at equal volume. If it matches there, the file is fine and your session monitoring was flattering it.
- Check true peak, not just sample peak. Most DAWs and limiters report or display this. Leave roughly 1 dB of margin.
- Confirm format and sample rate. Match your session rate, export 24-bit, use WAV or AIFF, and make sure the file is not being written as MP3 by mistake.
- Inspect the file in a fresh session. Import the export into an empty project and read its peak and loudness values.
- Adjust the mix or master chain last. Only change the music once you know which of the above was wrong.
Export dialog paths by DAW
Menu locations change between versions, so check your own version’s documentation. The names below are accurate for current releases, but the logic is the same everywhere: lossless format, 24-bit, session sample rate, normalization off, full song range, no redundant dither.
- Ableton Live: File menu, Export Audio. Choose Audio rather than MIDI, set the format to WAV, bit depth 24, and clear Normalize. Under Render, confirm the range is Song or Selection rather than a loop region, and check Master and Midi channels are included.
- FL Studio: File, Export, Export to WAV. In the export options, the draft and quality settings per plugin matter most. Enabling HQ for all plugins forces full quality rendering instead of draft, which is the setting Image-Line points to when exports differ from playback.
- Logic Pro: File, Export, Song to Master File. Set the file format, bit depth, and sample rate, and turn off any normalization option in the same dialog. Disable the Enhance feature in Logic’s Audio preferences before judging playback.
- Cubase: File, Export, Audio Mixdown. Pick the master output or stereo mixdown, confirm 24-bit, and check that no normalization or level option is applied.
- Studio One: File, Export, Audio. Choose Mixdown rather than stems, set bit depth to 24, and leave normalization unchecked.
- Bitwig: Export Audio from the project. Match the sample rate to the session and export 24-bit WAV.
- Reason: File, Export, Audio. Export the mix bus at 24-bit and keep the sample rate identical to the device setup.
Quick Export Checklist for Electronic Music Producers
Run through this before you re-bounce anything. It takes under a minute and it catches the majority of problems.
| Check | Target | Why it matters |
|---|---|---|
| Master output level | Leaves headroom, no clipping | Clipping is the only cause that permanently damages the file |
| True peak | Around -1 dBFS or lower | Playback overshoot can clip even when the session did not |
| Export range | Full song, not a loop region | A bounce that starts late or ends early explains missing sections |
| Format | WAV or AIFF | Lossless for masters and client delivery |
| Bit depth | 24-bit | Enough noise floor for any destination |
| Sample rate | Match the session | Avoids a resampling stage |
| Normalization | Off | Turning masters up to 0 dBFS is the top beginner mistake |
| Dither | Only when dropping to 16-bit | Once, not twice |
| Plugin quality | Full quality, not draft | Draft quality renders quieter and cleaner, which changes the sound |
| Filename and metadata | Versioned and complete | Stops you auditioning the wrong file three weeks later |
| Reference copy | Keep an uncompressed master | Gives you something to compare against later |
One habit worth forming: bounce early, bounce often, and audition the bounce the day you make it rather than three weeks later when your memory of the session has softened. Fresh ears hear problems that familiarity hides, in both directions.
Frequently Asked Questions
Why does my song sound different after exporting from GarageBand?
GarageBand typically exports at 44.1 kHz and 16-bit, and its share dialog may apply normalization or convert to a compressed format. Those two changes account for most of the difference: 16-bit quantization lowers the noise floor and normalization shifts the level. Export as WAV and turn off any normalize option in the share menu, then listen again.
Should I export at 44.1 kHz or 48 kHz?
Match your session rate so no resampling happens. Use 44.1 kHz for music going to streaming services, since playback uses that rate. Use 48 kHz for anything synced to video, because picture is standardised on it. Neither rate damages a mix on its own, so the only real reason to change is a delivery requirement.
Is it better to export audio as WAV or MP3?
WAV, without hesitation, for anything you deliver or archive. It is lossless, so it keeps every sample exactly as rendered. MP3 discards audio permanently at the moment of encoding, so a track re-encoded several times degrades noticeably. Reserve MP3 for quick demos and previews, and use 320 kbps if you have to use it at all.
Does exporting at 24-bit fix clipping?
No. Bit depth has nothing to do with clipping. Once a sample hits full scale and gets flattened, that information is gone and no export setting can bring it back. A 24-bit export preserves a lower noise floor and more headroom for the future, but clipping has to be fixed in the mix or on the master bus before you export.
Why does my audio sound different after exporting it from FL Studio?
The usual culprit is plugin quality. FL Studio can render plugins in draft mode during export, which changes the sound compared to real-time playback. Image-Line’s own documentation points to this, along with media player and sound card enhancements. Enable HQ for all plugins in the export options and turn off audio enhancements in your Windows sound card control panel.
Does my DAW playback volume change the exported file?
No, the file is identical either way. Playback volume only changes what you hear, and because a louder track sounds better, comparing a quiet export against a loud session creates a false impression that the export is worse. Match the two levels before you judge anything, and check the file’s actual loudness reading in dB or LUFS.
Conclusion
Do these three things first. Compare the session and the export at matched loudness, outside the DAW. Check the peak and true peak numbers on both. Then verify the format, bit depth, sample rate, and the playback chain you are using to judge the file.
An export should reproduce the mix you built. When it sounds worse, the problem is almost always hidden clipping, a loudness difference, a plugin rendering at lower quality, or a listener and a device that changed the conditions. Find which one it is before you touch a single fader, because in most cases the mix was never the problem.