Preparing a track for a label demo means finishing the audio properly first: a clean pre-master with real headroom, exported at the right sample rate and bit depth, correctly named, fully tagged with artist, title, BPM, key and a contact point, and delivered through whichever submission route that label actually uses. Most demos do not fail on the song. They fail on the file.
Below is the workflow I use, from the moment I decide a track is worth sending to the moment the package sits in the outbox. It takes an evening, most of it spent listening rather than clicking.
Table of Contents
- What You Need
- Step-by-Step: How to Prepare a Track for a Label Demo
- 1. Confirm the track is the right submission
- 2. Choose the final approved version
- 3. Create the pre-master the mastering engineer can use
- 4. Check the mix in different playback conditions
- 5. Export the audio files the label asked for
- 6. Prepare artwork, credits and metadata
- 7. Build and test the demo package
- 8. Write a short, professional submission message
- Common Mistakes
- Frequently Asked Questions
- Should I send a pre-master or a fully mastered track to a label?
- What WAV format should I use for a label demo?
- Can I send a private SoundCloud or streaming link instead of attachments?
- How much artwork resolution does a label need?
- How should I follow up after sending a demo to a label?
- Do record labels accept previously released tracks as demos?
- Conclusion
What You Need
You need your DAW with a working bounce or export dialog, a metering plugin that reports peak and loudness, headphones you actually trust, and a text file where the track’s metadata lives. That last one sounds trivial and saves every submission.
On the audio side, know your DAW’s default export format and where to change it, and check that your meter is set to show true peak rather than only sample peak. In Ableton Live that is the Max and Loudness options on the Session View meters; in Logic it is the metering mode in the Audio Meter inspector; in FL Studio it is the peak and LUFS readouts on the mixer panel. Names differ, the job does not.
You also need three reference tracks: one from the label’s most recent release, one from a track you admire in the same sub-genre, and one of your own that you know translates well. Level-matching a demo against a reference is the fastest way to hear a mix problem you have stopped noticing.
Finally, separate two things before you start. A demo master is a listenable, non-over-limited version of the track you made for this submission. A commercial master is the loud, streaming-normalised, mastered file you would deliver on release day. If a label asks for a master, check which one they mean. Sending a squashed demo as a “master” is the single most common avoidable rejection.
Step-by-Step: How to Prepare a Track for a Label Demo
1. Confirm the track is the right submission
Read the label’s submission page before you touch your mix. Plenty of majors state plainly that they do not read unsolicited material, and independent labels often list a genre, a format and a deadline. A few forums I read on this keep circling the same point: producers burn entire weekends polishing a track for an inbox nobody opens.
Then listen to their last five releases. Ask three questions. Does the sound sit in the same family as yours? Is the roster already full of artists doing something close to what you do? Is there a listed A&R contact for your sub-genre? If the answers are no, no, and none, the track is not ready to send yet, however good it is.
Check exclusivity too. If the track is already on streaming, or you have pitched it elsewhere, say so plainly rather than hoping nobody notices. One recurring question on r/musicindustry is exactly this, and the honest answer is that a previously released track usually disqualifies a cold submission.
2. Choose the final approved version
Open every edit and bounce of the track and line them up. Compare arrangement, length, mix revision and tail. The problem is usually not which version is best but that three near-identical files have been floating around for weeks and you no longer know which one the mastering decision applies to.
Pick one, rename it something unambiguous, and treat every other version as dead. Bounce it once and listen to the bounce rather than the session. A surprising number of export problems only appear after the bounce.
3. Create the pre-master the mastering engineer can use
This is where bedroom demos usually go wrong. Producers push the master bus limiter until the meter stops moving, then wonder why the low end sounds hollow and the master has nowhere to go.
Work through the master bus in this order:
- Remove or bypass anything doing damage. Check for clipping by soloing the master and looking at peak meters; if they are sitting at 0.0 dBTP, something is limiting too hard.
- Check for DC offset, which wastes headroom. Most DAWs have a DC offset measurement in their audio analysis or scope window.
- Pull the master fader down so peaks land around -6 dBFS. That is about 6 dB of genuine headroom for whoever masters the track.
- Mute everything except the master and look for a bump in the waveform on the left side of the scope. If the trace sits above the centre line, you have DC offset.
- Run the whole track in mono. Anything that collapses or disappears is hiding a frequency fight.
- Check the start and the end. No clicks at the first sample, no truncated reverb tail, fades where the label asked for them.
Keep a copy of the reference tracks loaded at matched loudness for this whole pass. If the low end disappears on the check, it is a problem regardless of how it sounds in your room.
4. Check the mix in different playback conditions
Your monitors flatter you. Play the approved bounce on studio monitors, on headphones, on a phone speaker, in a car, and on whatever Bluetooth or smart speaker the listener will actually use.
You are listening for four things. Frequency balance, whether the low end still reads on a phone with no bass driver. Arrangement clarity, whether you can still tell what the kick and the bass are doing. Clicks and pops, which hide on big speakers and appear instantly on a phone. Level, whether the track sounds dramatically louder than everything else in your library.
Level matching is the step people skip. Drop a recent release from the label onto your playlist at the same volume and A/B them. If yours is louder, it will sound worse on repeat plays even if it is more accurate.
5. Export the audio files the label asked for
Default to 24-bit WAV at the session sample rate, or 44.1 kHz if the label asked for a standard delivery rate. Export in 32-bit float for an intermediate if you plan to keep processing, but never send a float file to an A&R; some systems mishandle them.
| Delivery route | Format | Sample rate | Bit depth | When to use it |
|---|---|---|---|---|
| Attached audio file | WAV | 44.1 or 48 kHz | 24-bit | The label asks for a file or a download link you control |
| Private streaming link | 320 kbps MP3 or lossless stream | Matches the source | 24-bit source | The default choice for independent labels and genre demos |
| 20-second highlight clip | WAV or MP3 | 44.1 kHz | 24-bit | The label asks for a short clip, or you are adding one as a second asset |
| Stems or instrumental | WAV | Session rate | 24-bit | Only when requested, or when a sync or remix deal is in play |
Dither only once, at the final export, and only when dropping to 16-bit. Export with no dither at 24-bit. In Logic this is the Dither menu in the Audio File Export dialog; in Live it is the Sample Rate and Dithering section of the export window; in FL Studio it is on the export format panel.
Then play the exported file from the first sample to the final tail. Compare it against the version you approved. Any difference in level, length or character means the export settings are wrong, and this is the last moment to catch it.
6. Prepare artwork, credits and metadata
Artwork should be 3000 by 3000 pixels, square, JPG or PNG, under about 10 MB. Put the title and artist name on the file as well as in your notes, so a downloaded copy is still identifiable a year later.
Write every credit down in one consistent place before you export:
- Artist name exactly as you want it credited
- Track title
- Featured or co-producing artists
- Songwriters, split percentages if you have them
- Producer and mix engineer names
- ISRC, if the track already has one
- BPM and musical key, both on the audio file tags and in your notes
- One contact email that you read
- Copyright year and owner, usually you or your registered company
BPM and key matter more than most producers expect. Dance labels use them for playlists and for DJ software, and a wrong key in the tags means your track gets filtered out of a smart folder nobody is reading manually.
7. Build and test the demo package
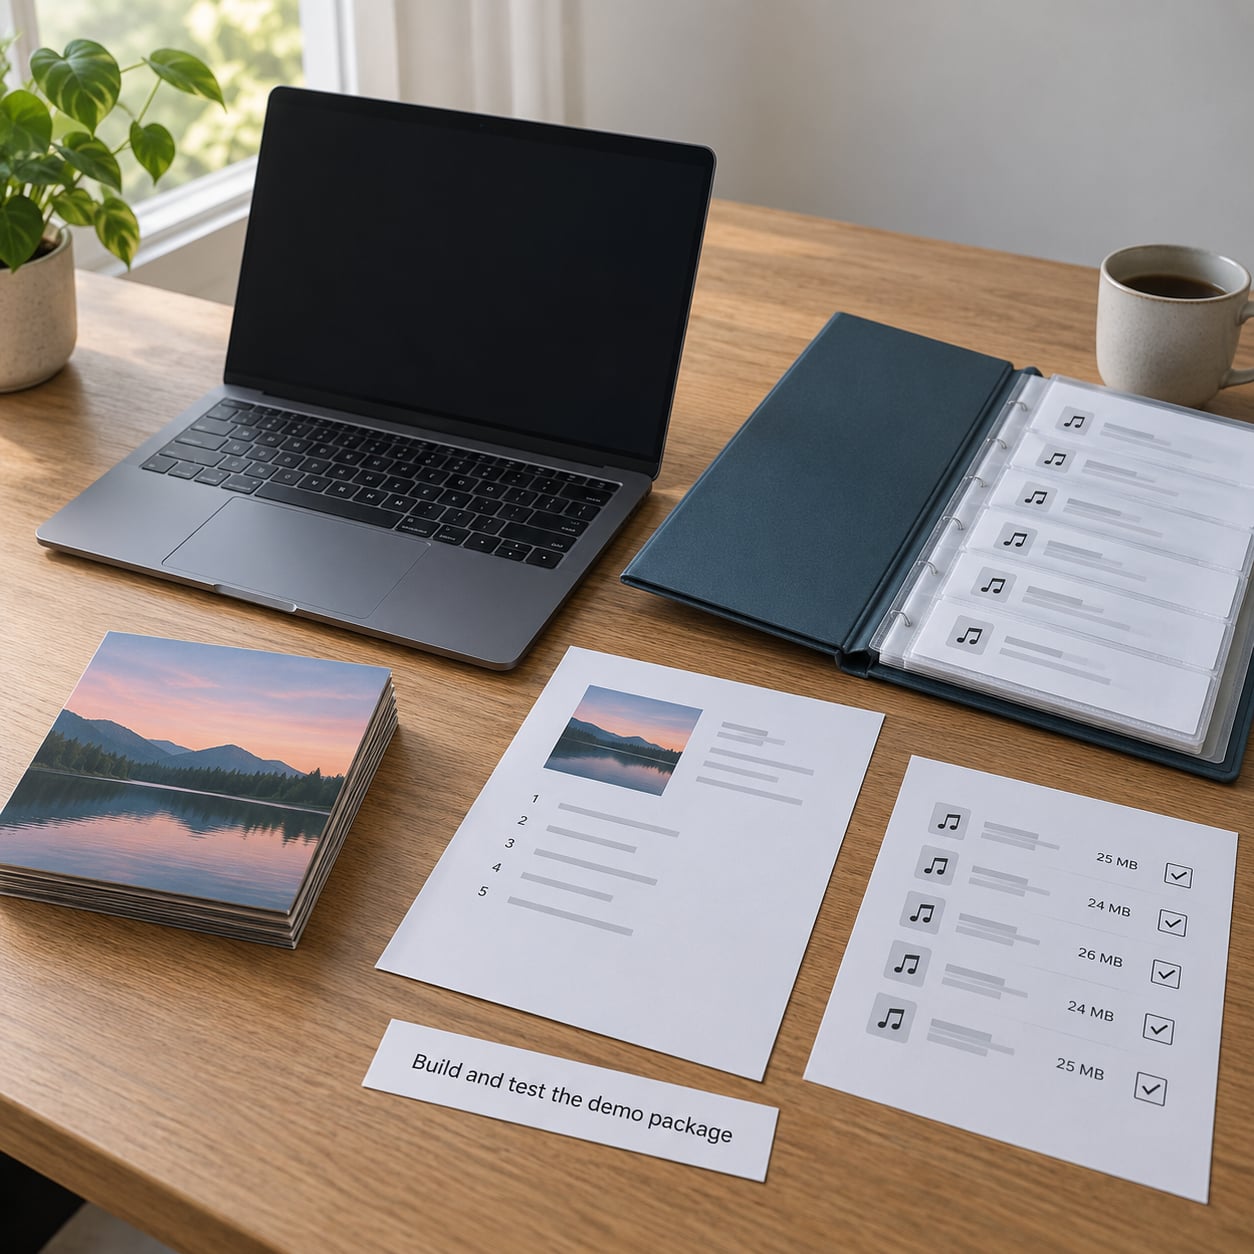
A working package is boring and small: one folder with the audio file, the artwork, a one-page document with the credits and metadata, and a 20-second clip if you have one. Nothing else. Do not attach a PDF essay, a press kit with a logo, or a folder of alternate mixes unless the label asked.
Check the total attachment size against the limit in their submission page before you attach anything. Then test the package on a different machine or a different network, open every file, and play the audio. Broken uploads and dead links are the failure modes I have seen most often, and both take a minute to prevent.
If the label uses a submission platform rather than email, upload through the platform rather than attaching, and read every field on the form. The fields are there because their A&R workflow depends on them.
8. Write a short, professional submission message
Keep it to a subject line and three or four sentences. Identify the artist and track, name one specific reason this label is the right home for it, and ask for one next step. Put the private link where it is visible without scrolling past the message.
Make the link unlisted rather than public. Anyone with the URL can play it, nobody can find it, and it must not sit behind a login or a follow request. Test it in a private window, on a device you are not signed into on, before you send it.
Then reply to the same thread if the label comes back asking for a better version. Producers worry most about this message and it is the easiest one to write: acknowledge the note, say what you changed in one sentence, attach the new file or update the link, and thank them. Never argue with the feedback in the reply, and never resend the original file with a new name.
Common Mistakes
Sending an over-limited master. If your peaks are touching 0.0 dBTP and the limiter gain reduction is pinned most of the track, there is no headroom left. Fix: pull the master down to peaks around -6 dBFS and leave the rest to whoever masters it.
Inconsistent file names. Final_Mix_v3_REALfinal tells an A&R nothing. Use Artist – Track Title – Version, the same pattern for the audio, the artwork and the document.
Attachments that fail to open. A bounced file that only works on your machine is worse than no file. Fix: play the exported file on a second device before sending.
Missing credits. Writers and splits are the first thing a label checks, and an empty credits field can stall a release. Fix: fill the credit sheet before you export, not after you get a reply.
Exceeding the file size limit. A 24-bit WAV of a four-minute track is large, and many inboxes reject anything over 25 MB. Fix: read the limit on the submission page, then decide between a WAV attachment and a private link.
Emailing an unlisted A&R address. Some labels removed demo inbox access years ago and never said so publicly. Fix: if the site has no submissions page, do not send.
Sending five tracks and a document nobody asked for. Two strong tracks is a common recommendation across the producer forums I read, and it is the right instinct. Fix: one or two tracks, no extras.
Before you hit send, run this check:
| Check | Why it matters |
|---|---|
| Submission policy read, A&R contact confirmed | Most rejections happen before anyone hears the track |
| One version locked, all other edits deleted | Stops you sending the wrong mix |
| Master peaks around -6 dBFS, no clipping, no DC offset | Leaves headroom for mastering |
| Checked on monitors, headphones, phone and car | Catches low-end and level problems your room hides |
| 24-bit WAV or clean streaming link, played back after export | Confirms the bounce matches the approved mix |
| Artwork at 3000 by 3000 pixels, under 10 MB | Meets the most common spec |
| Credits, BPM, key, contact email written down and tagged | Metadata drives playlists and internal admin |
| Link tested in a private window, no login wall | A dead link ends the submission |
| Package under the stated size limit, every file opens | A rejected attachment means silence, not a retry |
| Follow-up date noted in your calendar | Most replies never come, and a single polite nudge costs nothing |
If two weeks pass with no reply, send one short nudge in the same thread, once. After a second silence, move on. Forum consensus on this is honest rather than encouraging: most submissions go nowhere, and the ones that work usually come from being active, playing out and being known. A tidy package improves your odds. It does not replace them.
Frequently Asked Questions
Should I send a pre-master or a fully mastered track to a label?
Send a clean pre-master unless the submission page explicitly asks for a finished master. A pre-master means peaks around -6 dBFS, no heavy limiting on the master bus, and enough headroom for a mastering engineer to work with. If they do want a mastered version, check whether they mean a streaming-normalised commercial master or a listenable mix master, because those are different files.
What WAV format should I use for a label demo?
24-bit WAV at 44.1 kHz or 48 kHz is the safest default, matching the session sample rate unless the label specifies otherwise. Dither only when you drop to 16-bit, and only once at the final export. Avoid 32-bit float files for submissions, since some systems mishandle them. Play the exported file back from first sample to final tail before sending it.
Can I send a private SoundCloud or streaming link instead of attachments?
Yes, and for most independent labels it is the better option. Make the link unlisted rather than public, and never put it behind a login, a follow request or a page that asks for an email. Test it in a private window on a device you are not signed into on. Some labels ask for an attached WAV, so read the submission page before deciding.
How much artwork resolution does a label need?
3000 by 3000 pixels, square, saved as JPG or PNG and kept under roughly 10 MB, covers almost every request you will see. Include the artist name and track title inside the artwork itself so a downloaded copy stays identifiable. Have a higher-resolution version ready if they ask, but do not attach extra files that were not requested.
How should I follow up after sending a demo to a label?
Wait about two weeks, then send one short nudge in the same email thread, naming the track and asking whether they had a chance to listen. Do not attach a new file or resend the link. If there is still no reply after a second message, stop and move on. Repeated chasing rarely works and can burn a relationship with a small label that does read submissions.
Do record labels accept previously released tracks as demos?
Most independent labels will not, because an exclusive submission is the point of the demo. If a track is already on streaming or pitched elsewhere, say so in your message rather than hoping it goes unnoticed. Some labels explicitly accept released tracks for remixes and re-releases, so it depends on the submission policy, and reading that policy first saves everyone the time.
Conclusion
Start with the first action, tonight: lock one version of the track, drop the master bus so your peaks sit around -6 dBFS, and export a 24-bit WAV. Then write the credits and the metadata into one document, build a folder with that file and your artwork, and test every attachment before you write the message. That is the whole job. Everything after it is a conversation you may or may not get to have, and the packaging is the part you fully control.