A pad in Zebra is a sustained, soft-attack sound built by stacking two oscillator layers, giving them a long envelope, adding slow modulation so the sound keeps moving, then shaping it with filters and reverb. Most beginners get stuck in the module grid, so the fix is to build in a fixed order: oscillators, envelope, filter, movement, effects.
That order matters more than any specific setting. A pad is defined less by the waveform you pick and more by how slowly it enters and how much it changes while you hold the chord. Zebra gives you four ways to make that happen: wavetable or spectral oscillators, a modulation matrix, multi-stage envelopes, and a full effects rack.
This guide walks the whole build, with starting values you can type in and hear straight away. If you have never touched Zebra, expect twenty minutes for your first usable pad. If you have used it for bass and leads, the parts on MSEG and gain staging will be the useful ones.
Table of Contents
- What You Need
- Step-by-Step: How to Design a Pad in Zebra
- Start With a Simple Pad Architecture
- Create a Warm, Wide Oscillator Sound
- Shape the Pad With Filters and Amplitude Control
- Add Slow Movement With Modulation
- Use Effects to Add Space and Motion
- Automate the Pad Inside Your DAW
- Check Your Levels and Fine-Tune the Result
- Common Mistakes
- Tips for Genre-Specific Pads
- Frequently Asked Questions
- How do I make a synth pad?
- What is a pad in synth music?
- What are the best settings for an ambient pad in Zebra?
- How do I make a pad that evolves instead of sounding static?
- Should I use wavetables or FM oscillators for pads?
- Is Zebralette good enough for pads, or do I need the full Zebra?
- Conclusion
What You Need
You need a copy of Zebra and somewhere to audition it. That is genuinely it. Everything below happens inside the synth, then the patch gets dragged into your DAW as an instrument or audio track so you can hear it against a loop.
Which Zebra you have changes the labels but not the method. Zebralette is the free one and it teaches you the oscillator modes, MSEG and the basic filter. Zebra 2 and Zebra 3 both have the full modulation matrix and effects rack. ZebraHZ is the headless version of Zebra 2, aimed at headphone monitoring, and it patches the same way. The step structure below works across all of them; Zebralette simply lacks some destinations.
Before you start, know these module names, because the build refers to them constantly:
- Oscillators — OSC1 and OSC2 are the main wavetable voices, FMO adds frequency modulation, and the Noise source covers air and texture.
- Envelopes — Env1, Env2 and Env3 are the standard ADSR generators. Most pads use one on amplitude and one or two on filter and modulation.
- Filters — VCF1 and VCF2 are the two filter slots, each with its own cutoff, resonance and modulation inputs.
- Modulation — the Mod Matrix, Mod Mappers, LFO1 and LFO2, plus the MSEG multi-stage envelope generator.
- Effects — the global rack on the right, including delay, reverb, chorus, distortion, EQ and the compressor and reverb combinations most u-he patches lean on.
- Performance — XY pads and macro knobs, which turn a static patch into something you can play.
Auditioning matters because pads hide their own problems. A pad played alone sounds huge and will collapse in a mix, so as soon as you have a steady sound, put a kick and a bass line under it at a modest level. You want to hear whether the low end is fighting before you invest an hour in the sound.
A useful starting point is to open a factory patch whose name ends with a plus sign. Those are performance patches, meaning they ship with a full set of modulation and morphing already wired up. Load one, look at what is moving, then start cutting things away until you understand each part.
Step-by-Step: How to Design a Pad in Zebra
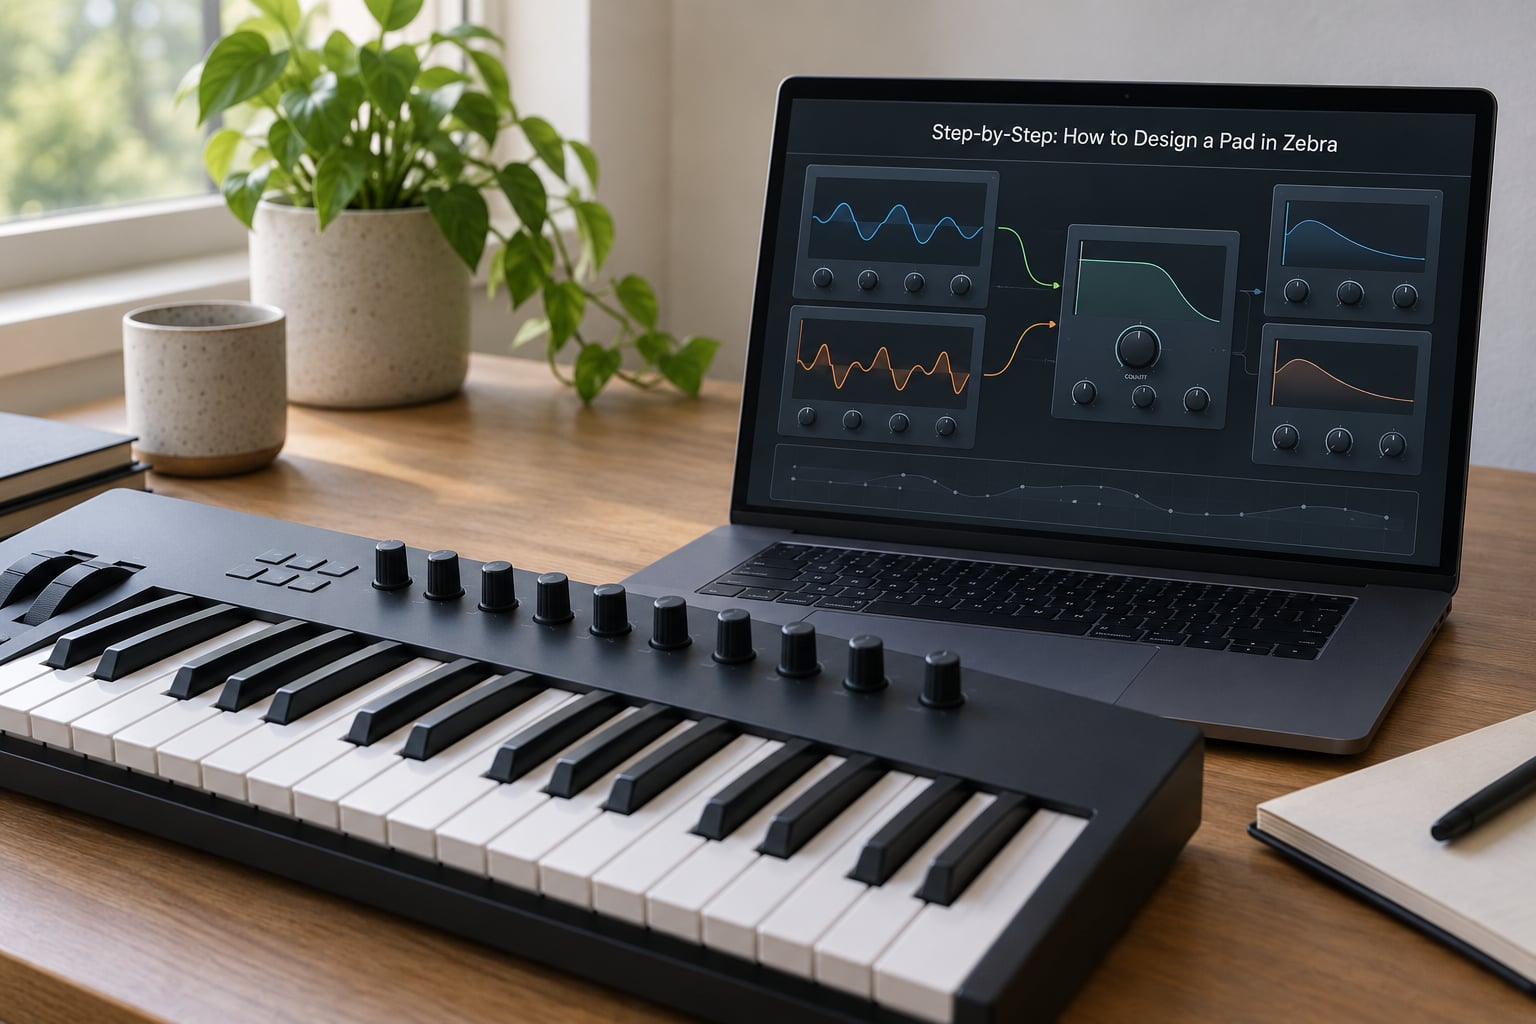
Work through these in order and audition after each one. The cheat sheet below collects the starting values so you can follow along without scrolling back.
| Block | Parameter | Starting value | Why |
|---|---|---|---|
| Env1 (amplitude) | Attack / Decay / Sustain / Release | 400 ms / 0 / 1 / 900 ms | Soft entry, no drop, long tail |
| OSC1 and OSC2 | Warp, unison voices, detune | Low warp, 5 voices, 12 cents | Thick without going sharp |
| VCF1 | Cutoff / resonance | Around 2 kHz, resonance at 15 percent | Warm, not pinched |
| LFO1 to cutoff | Amount, rate | 20 percent, 0.08 Hz | Breathing rather than wobbling |
| MSEG | Stages / delay time | 3 stages, 16 s per stage | Slow timbral drift |
| Effects | Mix / delay / reverb | 35 percent, eighth-note, 30 percent | Depth without blur |
Start With a Simple Pad Architecture
Initialize a new patch first, every time. Pick a clean preset from the initialization menu so you are not fighting leftover modulation from something else. Then decide the architecture before touching a single knob: two oscillators, one filter, one amplitude envelope, one LFO.
Two oscillators give you the choice between layered thickness and real movement. OSC1 carries the harmonic body, usually a wavetable wave at a middle warp setting. OSC2 either doubles it an octave down for weight, or plays a different wave that blends in slowly. The filter goes on VCF1 only, so you have one cutoff control to think about while you learn.
What to avoid at this stage: four oscillators, two filters, a modulator index already turned up, and a reverb send at half. When something sounds wrong in a patch this dense, you cannot tell which module is responsible. Dense setups pay off later, once you know what each layer does on its own.
Two details in the global area are worth setting before any sound exists. The polyphony setting tells you how many voices can sound at once, and pads are voice-hungry: a four-note chord with five unison voices per oscillator needs twenty. Leave it generous while you build, otherwise voices get stolen mid-chord and the pad stutters in a way that sounds like a mistake in the sound design.
The other is the tuning reference and the master volume, which is usually at the bottom right of the interface. Set your reference to A=440 Hz if your project runs at a different tuning, and get the master to a moderate level before you start. Nothing trains your ear worse than building a patch at an uncomfortable volume, because you stop noticing when the low end fills up.
One more habit pays off immediately: name your layers as you go. If OSC1 is the body and OSC2 is the air, write that in the patch notes or in a text file next to the project. When the mix turns muddy in three weeks, you will not remember which oscillator was doing the thump, and that is the single most common reason a finished pad gets abandoned.
Create a Warm, Wide Oscillator Sound
A warm pad comes from stacking waves that occupy different frequency ranges rather than from detuning one wave by a lot. Start with a saw or a pulse wave in OSC1 around the middle of the keyboard, and put a triangle or sine in OSC2 an octave lower for body.
Unison is what turns a single oscillator into a thick body. Three to seven voices with detune in the 10 to 15 cent range gives you width without the shrillness you get past 30 cents. In Zebra the voices are spread across the stereo field, and the spread amount controls how far they sit from centre. Push all way out and you lose mono compatibility, so pull the outermost voices back in a little.
Warp is the harmonic control on a wavetable wave. Lower warp values are simpler and rounder, higher values get more aggressive and bright. Since a pad lives underneath a mix, err dark: sit around the lower third of the warp range and open it later only if the pad disappears.
Now add a second, thinner layer on the top for air. This is where noise or a high warp wave earns its place: it carries almost no low-end energy, so it makes the pad sound bigger without making it heavier. If you are short on oscillators, one oscillator playing a wavetable can often cover both roles, just at two different warp settings across a chord range.
A useful alternative to raising unison is to raise the playing register. A pad voiced an octave higher occupies less space in the low end and reads as further away, which is usually what you want anyway. Most beginners build everything in the same register and then wonder why the mix is crowded.
Watch for two things while you dial in detune. Going wide with many voices at once creates a slow beating between them that many listeners hear as instability, especially on sustained chords. And if the pad is getting uncomfortable rather than just bright, the problem is usually unison width rather than filter cutoff, so narrow the spread before you open the filter.
If you want a pad with more bite than a plain wavetable can give, switch OSC2 into FMO mode. FMO turns that oscillator into a modulator, and its index controls how far it bends the carrier’s harmonics. A low index around 20 to 30 percent adds a hollow, glassy colour that pure subtractive waves cannot. This is also where the FM side of Zebra really pays off for pads, since slow index envelopes produce that drifting, formant-like quality you hear in ambient and film-score textures.
The spectral oscillator modes, Geomorph and Spectromorph, sit between wavetable and noise. Geomorph reads a still frame of a sound and lets you play it back at any speed, which produces pads that sound recorded rather than synthesized. Spectromorph does the same with a moving spectrum. Set the warp low, listen to a sustained chord, and raise it slowly until the sound stops sounding like a waveform and starts sounding like an atmosphere.
Shape the Pad With Filters and Amplitude Control
The amplitude envelope is what makes it a pad. Slow attack, full sustain, long release. Set Env1 to roughly 400 ms attack, zero decay, sustain at full and about 900 ms release as a starting point, then slow the attack further until it does not feel like a note being played.
Attack length is the single most important number in this guide. Somewhere past 600 ms you cross from a synth sound into a pad, because the ear stops hearing an onset and starts hearing a field. For ambient work, two seconds is not too much. For a trance lead-adjacent pad, 200 ms keeps it tied to the chord rhythm.
On the filter, open VCF1 to a low pass at a moderate cutoff and leave the resonance near zero. Then use a second envelope, usually Env2, on filter cutoff for shape. A small negative amount and a decay of a few hundred milliseconds gives the classic inhale: the sound opens as you hold it and settles back. Positive amounts make the pad get brighter and more insistent over time, which works for trance and progressive house.
Resonance is where most first pads go wrong. Above about 30 percent you get a whistle at the cutoff frequency that sits right where the listener’s ear is most sensitive. Keep it under 20 percent, or put it on a high-pass filter at a very high cutoff so the peak lands outside the audible focus.
Routing decisions count as much as values. If VCF1 sits after the oscillator mixer, one cutoff knob controls the whole patch. If it sits before, each oscillator keeps its own brightness and the filter only colours the sum. Put VCF1 after the mixers for a predictable pad, then add VCF2 as a high-pass at around 30 to 40 Hz to clear space for your bass.
Add Slow Movement With Modulation
A pad that never changes reads as a held chord, not as a living sound. Movement is the difference, and in Zebra it comes from four places: the mod matrix, the LFOs, the mod mappers and the MSEG.
Start in the mod matrix, because it is the most transparent. Add a source, add a destination, set an amount. The first routing I almost always make is LFO1 to VCF1 frequency, with the LFO running slow at around 0.08 Hz and the amount near 20 percent. That single connection turns a static pad into a breathing one.
For slow LFO shapes, remember that the rate controls speed and the shape controls character. A triangle shape gives a smooth swell and returns. A random or step shape with a long hold gives you irregular changes, which reads as organic rather than mechanical. The mod mappers are the tool for this: they take a continuous input and quantize it into steps, so you can drive wavetable position in discrete jumps without hand-writing an automation lane.
The MSEG is where longer movement happens. It draws a multi-stage envelope, each stage a horizontal line with a delay and a level, and it repeats until you turn it off. Set three stages at about 16 seconds each, and route it to oscillator warp or to cutoff. Over 48 seconds the pad will cycle through three distinct characters, which is longer than most listeners will track and that is the point. A pad that changes every fifteen seconds becomes wallpaper; one that changes every forty sounds like it is doing something on purpose.
A second oscillator for FM or spectral content is not always better. Two wavetable layers with the right warping often sound more like an instrument, while a spectral layer sounds more like a recording. Decide which one you are after before you start, because rebuilding the oscillator section later is more work than choosing it right now.
Keep total modulation depth modest. If you are automating, riding two or three destinations at once, the patch will wander between settings instead of following your intention. Pick the one or two parameters that define the sound and leave the rest still.
Finally, listen to the pad twice. Once with all movement on, and once with the modulators bypassed. If the still version sounds like a completely different instrument, you have gone too far and the movement is doing the work instead of colouring it. If the still version is dull but coherent, you are in the right place.
Use Effects to Add Space and Motion
Effects on a pad do two jobs: they add space around the sound, and they smooth over the seams when several detuned voices move against each other. Which effect solves which problem matters more than the preset you start from.
Delay gives motion and depth. Set it to a dotted eighth or a quarter against your project tempo, keep the feedback low at 20 to 30 percent, and let it run stereo or ping-pong if the pad is wide. Delay before reverb in the chain gives a clear sense of forward travel; reverb before delay smears into a wash.
Reverb sets the size of the world. A short plate keeps the pad close and readable, which suits house and techno. A long hall with a dark tone suits ambient and scoring. Cut the reverb’s high frequencies a little, because every reverb adds air that fights other air-heavy elements in the mix.
Chorus and the other modulation effects, phaser, flanger and the rotating speaker types, thicken a sound that still sounds too clean. On a pad, use chorus at low depth. It is the cheapest way to make two oscillators sound like four.
Waveshaping and distortion change the tone rather than the space. A mild waveshaper on a bright pad before the filter adds density and tames the top end, the way an overloaded amplifier does on a real instrument. The EQ module after it is where you carve out the 200 to 400 Hz range where pads hide from everything else.
On every effect, the mix control is a crossfade between dry and wet in Zebra, not a parallel send. Use it to compare. Bypass each effect by scrolling its mix to zero and listen to whether the pad got smaller or just duller. If it only got duller, the effect was not solving a problem.
A working order that suits most pads: distortion or waveshaping first so the filter has something with edge to work on, EQ second to carve the frequencies you are about to lose, filter-modulating effects such as chorus or phaser third, delay fourth, and reverb last. Reverb belongs at the end because everything before it feeds into it, and putting it earlier means the delay repeats get smeared before you have heard them clearly.
Keep a reference. If you are working from a track with a pad you like, pull up its reverb tail in your DAW and match the decay length roughly before you start tweaking. Matching the size first saves you from tuning pitch and cutoff against a space that is already wrong.
Automate the Pad Inside Your DAW
Drag the patch into your DAW as an instrument so you can play it from MIDI. Write a long chord, usually a triad in a low register, and let the pad play the whole eight bars. Then automate three things and nothing else.
Automate filter cutoff on the macro or on the actual cutoff parameter, so the pad brightens into the drop and closes again afterward. Automate the reverb mix so the space expands in the breakdown. Automate the MSEG delay time, or turn the MSEG on only for the last two bars of a section, so the sound drifts at the moment the arrangement needs a lift.
On the MIDI side, playing the pad as a long sustained chord exposes problems a single held note hides. Add the pitch bend or aftertouch to the mod wheel if the patch supports it, and map the mod wheel to oscillator warp or filter cutoff. That gives you a live swell during a performance, which is the difference between a pad and a loop.
Record twice at different intensities. Most of the time the quieter take with more filter variation sounds better than the loud one, and that is a habit worth building early.
Check Your Levels and Fine-Tune the Result
Turn every effect up one at a time, bring the pad’s level so the peaks sit around minus 6 dB in your DAW, then undo everything except the effects you cannot live without. Pads demand gain staging more than most sounds because they hold energy for a long time and their peaks are low.
Check mono next. Solo the pad, hit the mono button in your DAW, and listen. If any detuned voice is panned far enough to fold, pull the unison spread in until the pad collapses without a hole appearing in the middle. Width that survives a mono fold is worth keeping; width that disappears is decoration.
Then listen for masking. If the kick disappears while the pad plays, cut between 200 and 400 Hz. If the bass line disappears, cut below 120 Hz on the pad. If the pad vanishes behind a reverb return, raise the pad’s level and lower the reverb mix rather than pushing the whole track.
Give the patch a name that describes its behaviour, not its mood. “Slow Warble Dark Pad” tells you far more in six months than “Cinematic Dream.” Then save it as a variation in your own preset folder so you can compare it against the next attempt.
One last habit that separates pads that hold up in a finished track from ones that only sound good alone: play the pad while something else is playing. Bass, drums, a vocal, another synth line, whatever the actual track has. A pad designed in isolation will always surprise you later, usually by taking up space you had already filled. If you are designing for a specific song, build the pad at the volume it will actually sit at rather than turning it up to check the top end.
Common Mistakes
Five problems account for nearly every disappointing pad, and all five have a quick correction.
It sounds harsh. Resonance is the usual cause. Drop VCF1 resonance below 20 percent, or move the resonant filter to a mode where the peak sits above your top octave. If it is still sharp, close the filter cutoff by a few hundred hertz and lower the oscillator warp.
It sounds muddy. You have too many voices occupying the same low range. Give OSC2 an octave-down role only, keep it at a lower unison count, and add a high-pass at 30 to 40 Hz. If mud persists, the midrange is the real culprit, so cut a narrow band around 300 Hz.
It sounds static. Movement is too shallow or too fast. Halve the LFO rate, double the modulation amount slightly, and add an MSEG with three long stages. If it moves but feels aimless, reduce the number of modulated destinations to one.
It sounds thin in the mix. Usually a level and space problem rather than a tone problem. Raise the pad, lower its reverb mix, and add a short chorus. If it is still thin, you have not layered enough complementary content: one wave for the body and one for the air.
It costs too much CPU. Reduce unison voice counts first, since each voice multiplies the whole voice chain. Then shorten delay times, which cost more at long settings, and turn off spectral oscillator modes in patches you are not actively working on.
Tips for Genre-Specific Pads
Trance and progressive house pads sit in a bright register and need to lift with the arrangement. Use a saw or a bright wavetable wave with higher warp, an attack around 200 ms, and a positive filter envelope of 20 to 30 percent. Modulate the cutoff upward with the MSEG so the pad opens across a phrase. Keep the reverb moderate so the high end stays present.
House pads are shorter and more rhythmic. A 150 ms attack with a release around 600 ms, a low-pass filter sitting near 2 kHz, and delay on the eighth note will sit behind the vocal without competing. Chorus does more useful work here than reverb.
Techno and dub techno pads work best when they are almost static and filtered like an instrument in a mix. Long release, low cutoff, heavy chorus, and modulation from a modulator index rather than an LFO. The slow FM drift is what makes them sound alive without ever changing rhythm.
Ambient and cinematic pads are about duration. Two-second attacks, a three-stage MSEG with long delays, reverb at a high mix, and oscillator warp modulated by a slow random LFO. Take the filter nearly closed and open it gradually, and remember to mute the automation lane when you want the patch to sit still under a whole section.
For all four of these, the differences are smaller than you would guess. What separates a trance pad from an ambient one is mostly attack length, filter brightness and how much the sound moves, not the oscillators. Build the base patch once, then save four variations rather than designing four patches.
Two practical notes for longer pieces. Write the patch so it never returns exactly to the same state, since a bar-and-a-half loop is the point rather than a flaw. And keep a copy of the pad on a muted audio track as well, so you can re-render it later if the tempo or tuning changes.
Whichever genre you are aiming for, make one change at a time and write the patch down. Comparing two versions by ear, ten seconds apart, is the fastest way to learn which parameter actually does what.
Frequently Asked Questions
How do I make a synth pad?
Build it in a fixed order: stack two oscillators with a little detune, give the amplitude envelope a slow attack and long release, close a low-pass filter partway, then add slow LFO movement and reverb. A pad is defined by its envelope shape and its movement over time, not by the waveform alone. Audition it against a kick and bass early so you catch low-end problems before the sound is finished.
What is a pad in synth music?
A pad is a sustained synthesizer sound with a soft attack and a long release, usually playing chords, drones or textures rather than a melody. It fills the background of a track and gives it width, depth and harmonic movement. Because it enters slowly and leaves slowly, the ear reads it as atmosphere rather than as a note, which is why pads set the emotional bed of a track.
What are the best settings for an ambient pad in Zebra?
Start with an amplitude envelope around 400 to 800 ms attack, full sustain and roughly 900 ms release. Keep VCF1 cutoff low with resonance under 20 percent, add an LFO at about 0.08 Hz on cutoff, and run a three-stage MSEG across 16 second stages into oscillator warp. Keep the reverb mix around 30 percent and add a high-pass near 40 Hz to leave room for bass.
How do I make a pad that evolves instead of sounding static?
Combine three rates of change. A slow LFO at roughly 0.08 Hz on filter cutoff gives continuous breathing, a three-stage MSEG with 16 second stages gives larger timbral shifts, and a random LFO or mod mapper adds irregular steps so it never repeats identically. Automate the reverb mix and cutoff in your DAW as well, and keep the total modulation depth modest so the pad follows your intention.
Should I use wavetables or FM oscillators for pads?
Wavetables give you a solid, controllable harmonic body and are the safer starting point. FMO adds a glassy, formant-like colour that pure subtractive waves cannot, and a modulator index around 20 to 30 percent with a slow index envelope produces drifting textures that suit ambient and scoring. Spectral modes like Geomorph and Spectromorph sit between wavetable and noise and are useful when you want something that sounds recorded.
Is Zebralette good enough for pads, or do I need the full Zebra?
Zebralette is genuinely enough to learn pads: it has the wavetable and spectral oscillator modes, the MSEG, a filter and basic effects, and it is free with no account needed. The full Zebra 2 or Zebra 3 adds the complete modulation matrix, more destinations, a second filter and a deeper effects rack. Start free, and move up when you want modulation routings that Zebralette cannot reach.
Conclusion
Start with the simplest possible version: initialize a patch, put one oscillator in OSC1 and a second layer an octave below in OSC2, set Env1 to a 400 ms attack with a long release, and close VCF1 to somewhere warm. Audition it under a kick and a bass line before adding anything else.
Then add movement before you add polish. One slow LFO on cutoff, one three-stage MSEG on oscillator warp, and reverb mixed at about 30 percent will take you further than any effect preset. Once it sits well in the mix, save it, change one thing at a time, and build the next pad from what you learned.