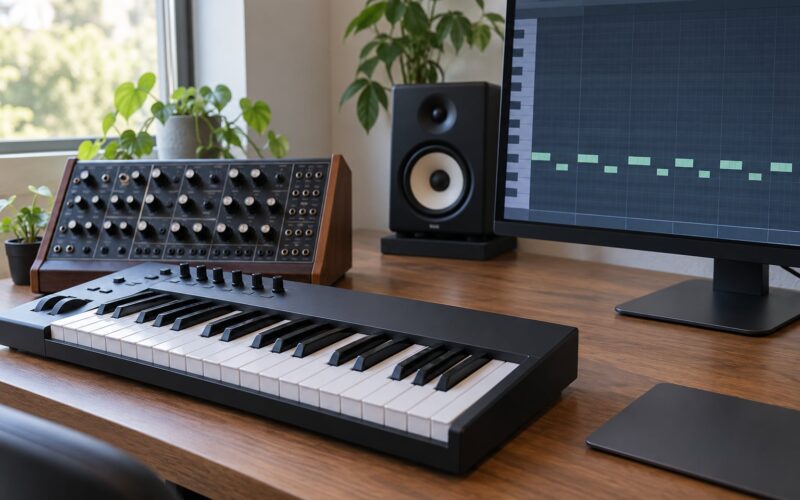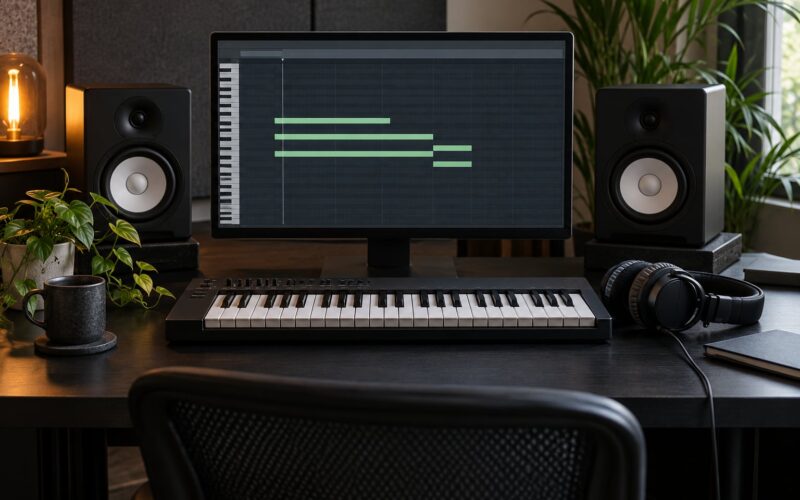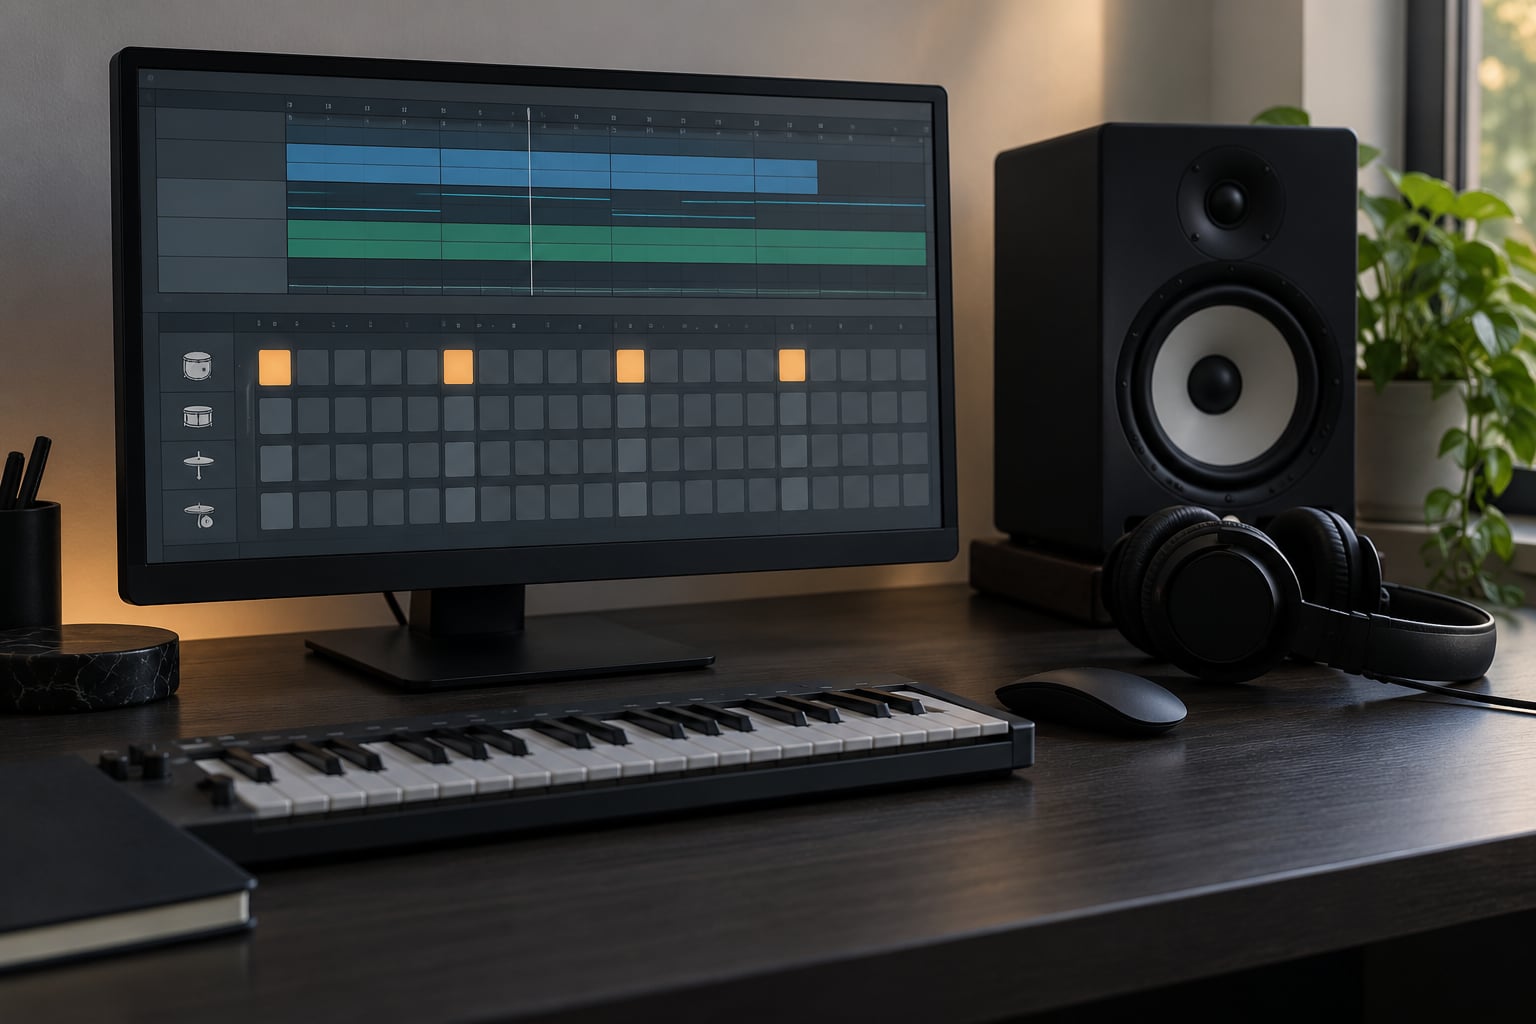
A hard trance kick pattern is a four-on-the-floor rhythm on a 16th-note grid: kicks land on steps 1, 5, 9 and 13, with ghost hits on 3, 7, 11 and 15 when the track needs extra push. The pattern takes about five minutes to draw once the sound is right, and the sound is where the real work sits. Most weak hard trance tracks aren’t badly programmed — they’re a soft kick with a pattern on top.
Here’s how I’d program one from scratch. Timbre first, pattern second: set the tempo and grid, design the click and the body, tune the fundamental, add parallel distortion, shape compression and release, then draw the pattern and check it in the mix.
Table of Contents
- What You Need
- Step-by-Step: Building the Kick
- 1. Set the Kick’s Tempo and Timing
- 2. Design a Punchy Initial Transient
- 3. Tune the Kick’s Fundamental and Sub
- 4. Add Distortion Without Killing the Sub
- 5. Shape the Compression and Release
- 6. Build the Four-on-the-Floor Pattern
- 7. EQ, Trim, and Check the Final Balance
- Common Mistakes
- Frequently Asked Questions
- Should I use a kick sample or synthesize a hard trance kick?
- What makes a trance kick sound hard?
- How do I keep a hard kick from muddying the bassline?
- Do I need velocity variation in a four-on-the-floor kick pattern?
- How much distortion and compression should I add?
- What kick length works best for hard trance?
- Conclusion: Start With the Fundamental
What You Need
The tool list is short. Most of it is already in your DAW.
- A DAW with a piano roll. Ableton Live 12, FL Studio, Logic Pro, Cubase, Studio One, Bitwig Studio or Reaper all do this job.
- One kick sound. Either a synthesized kick built from an oscillator and a pitch envelope, or a layered sample stack. Both work, and the steps below cover each.
- A short release effect. A reverb or delay thrown into a separate return, decayed to roughly 80–150 ms. This is the “stop” at the end of the hit.
- A saturator or soft clipper. Any waveshaper that adds upper harmonics without dragging the fundamental down.
- A compressor. Plain or multiband, plus a parallel option if your DAW has one.
- An EQ. For clearing mud around the body and controlling the click region.
The menu paths below use Ableton Live 12 naming. In Logic Pro the same devices are on the channel strip in the same order, and in FL Studio they live in the mixer slot rack, so the signal chain concept transfers without changes.
Step-by-Step: Building the Kick
Build the kick solo and audition it on its own before a bassline exists. Once the pattern is complete, play every stage back in context with the rest of the arrangement — most problems only show up when other instruments start competing for the low end.
1. Set the Kick’s Tempo and Timing
Hard trance lives between 138 and 150 BPM. Pick your tempo before you design anything, because the gap between hits changes how the same pattern feels.
Place the kick clip in Session View with a 2-bar or 4-bar loop, or in Arrangement View as a repeated MIDI clip. Draw notes at full resolution and quantize them to the 16th-note grid with a short strength — roughly 50% to 80% — so micro-timing survives the quantize pass. In Live, right-click the clip and set Loop to 2 Bars; in Logic, turn on Loop and set the cycle to two bars from the toolbar.
If you’re using an audio sample instead of MIDI, set Warp to Beats and add Warp Markers at every kick hit. A warped hit that sits 4 ms early reads as sloppy on a club system, and it’s nearly impossible to spot by ear in headphones.
Hit play and listen for drift. Four or more repeats should feel identical, with no flamming between the first and last hit.
2. Design a Punchy Initial Transient
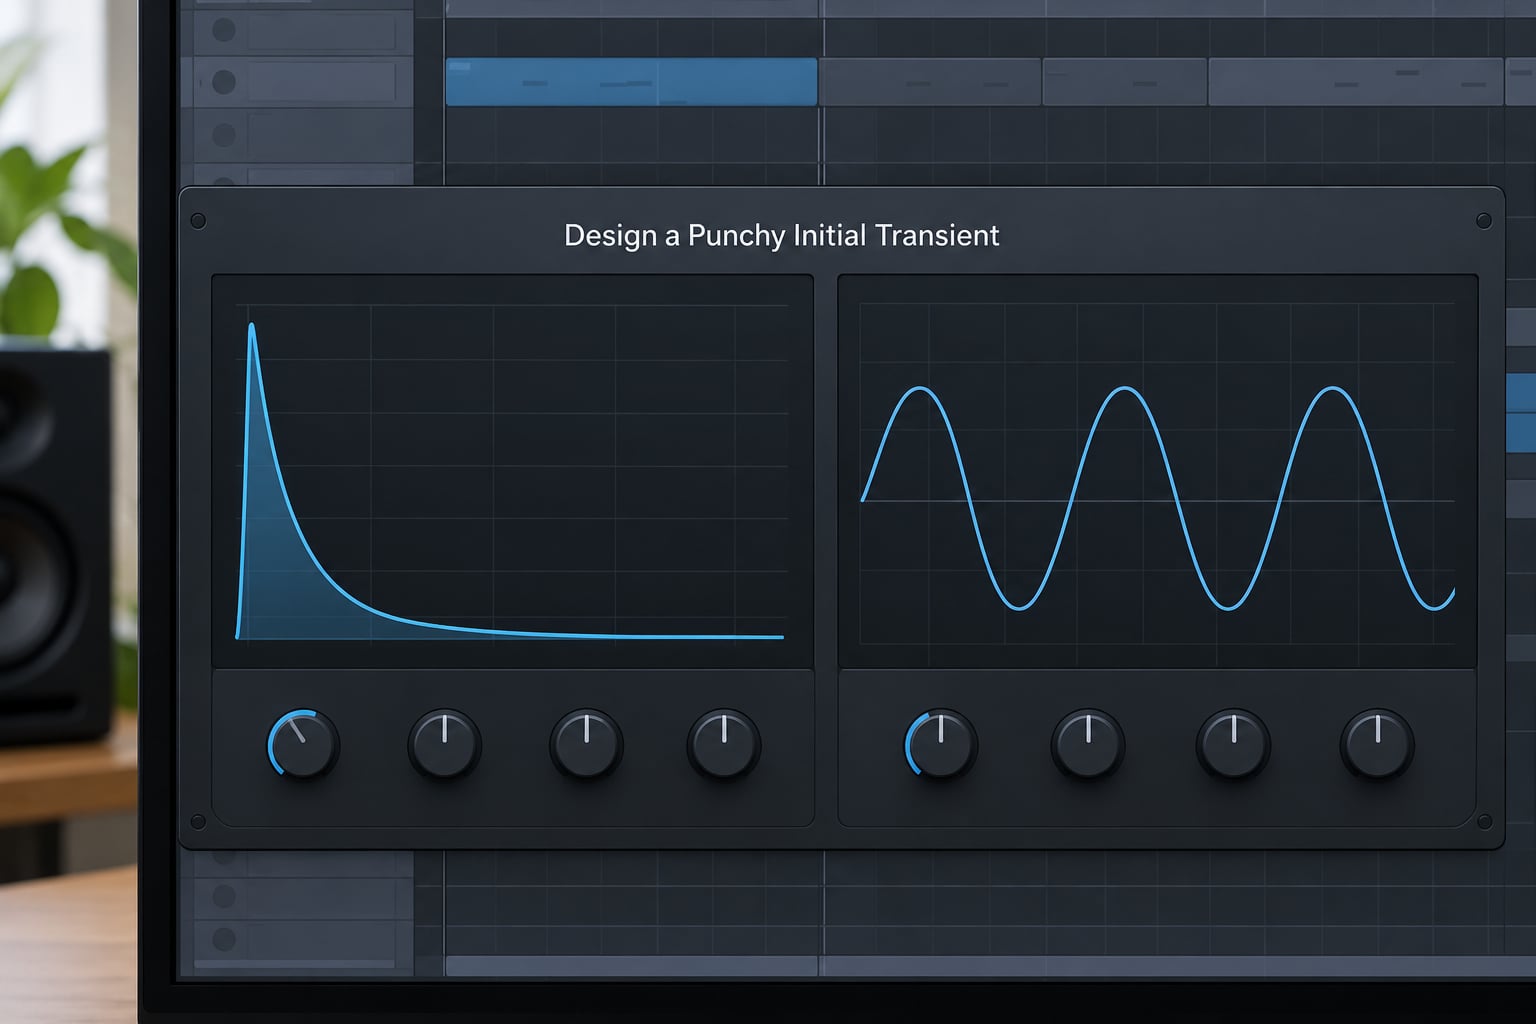
Treat the click as its own layer, not as an accident of the body. A hard trance kick usually reads as three things stacked: a short high-frequency click, a mid body, and a sub underneath. Start by adding a noise burst or a high-pitched sine for the click.
A good starting point is 1–3 kHz with an attack of 5–15 ms and a decay of 10–30 ms. In an oscillator-based kick, that click is often a second sine or a noise source gated by a fast decay envelope, sitting on its own layer with its own fader.
Check it by muting the body. If the click alone sounds like a hi-hat hit with no weight under it, it’s too bright or too long. Pull the decay down a few milliseconds and move on.
3. Tune the Kick’s Fundamental and Sub
The fundamental is what your sub and bassline have to live around, so it gets the most attention. Most hard trance fundamentals sit between 40 and 60 Hz, and the body region lives roughly between 80 and 120 Hz.
Pitch decay shapes the perceived punch. Start your pitch envelope around 200–400 Hz and let it fall to the fundamental in about 20–60 ms. A faster sweep gives a harder click; a slower sweep gives a heavier, softer hit that blends into the sub.
Tune the tail to the root note of your track. If the root is F, an untuned kick drifting a few Hz flat beats against it every bar, and listeners notice even when they can’t name what’s wrong.
Listen three ways: headphones for the click and upper harmonics, monitors for the body, and a mono-summed check for anything that collapses or disappears. If the kick vanishes in mono, it was relying on stereo information it shouldn’t have.
Don’t boost low end until the kick smears into neighbouring bass notes. If you hear the sub bleeding into the snare body region, take a couple of dB out around 300–500 Hz rather than adding more weight.
4. Add Distortion Without Killing the Sub
Distortion gives you the upper harmonics that make a kick cut through dense supersaw layers, and it adds apparent loudness without adding much weight. Do it in parallel so the clean fundamental stays intact.
Duplicate the kick channel, high-pass the duplicate around 120–200 Hz, and run only the duplicate through the saturator. Blend it back underneath the clean signal. That’s parallel waveshaping: clean low end, saturated upper body and click.
Start with low to moderate drive. Cranked distortion smears the pitch envelope and produces a smeared, flabby low end that eats headroom. If the distorted version sounds less defined than the dry one at the same loudness, back the drive down.
Verify by level-matching: pull the dry signal down until it sits at the same perceived loudness as the wet, then A/B them. The distorted version should sound brighter and thicker, not just louder.
5. Shape the Compression and Release
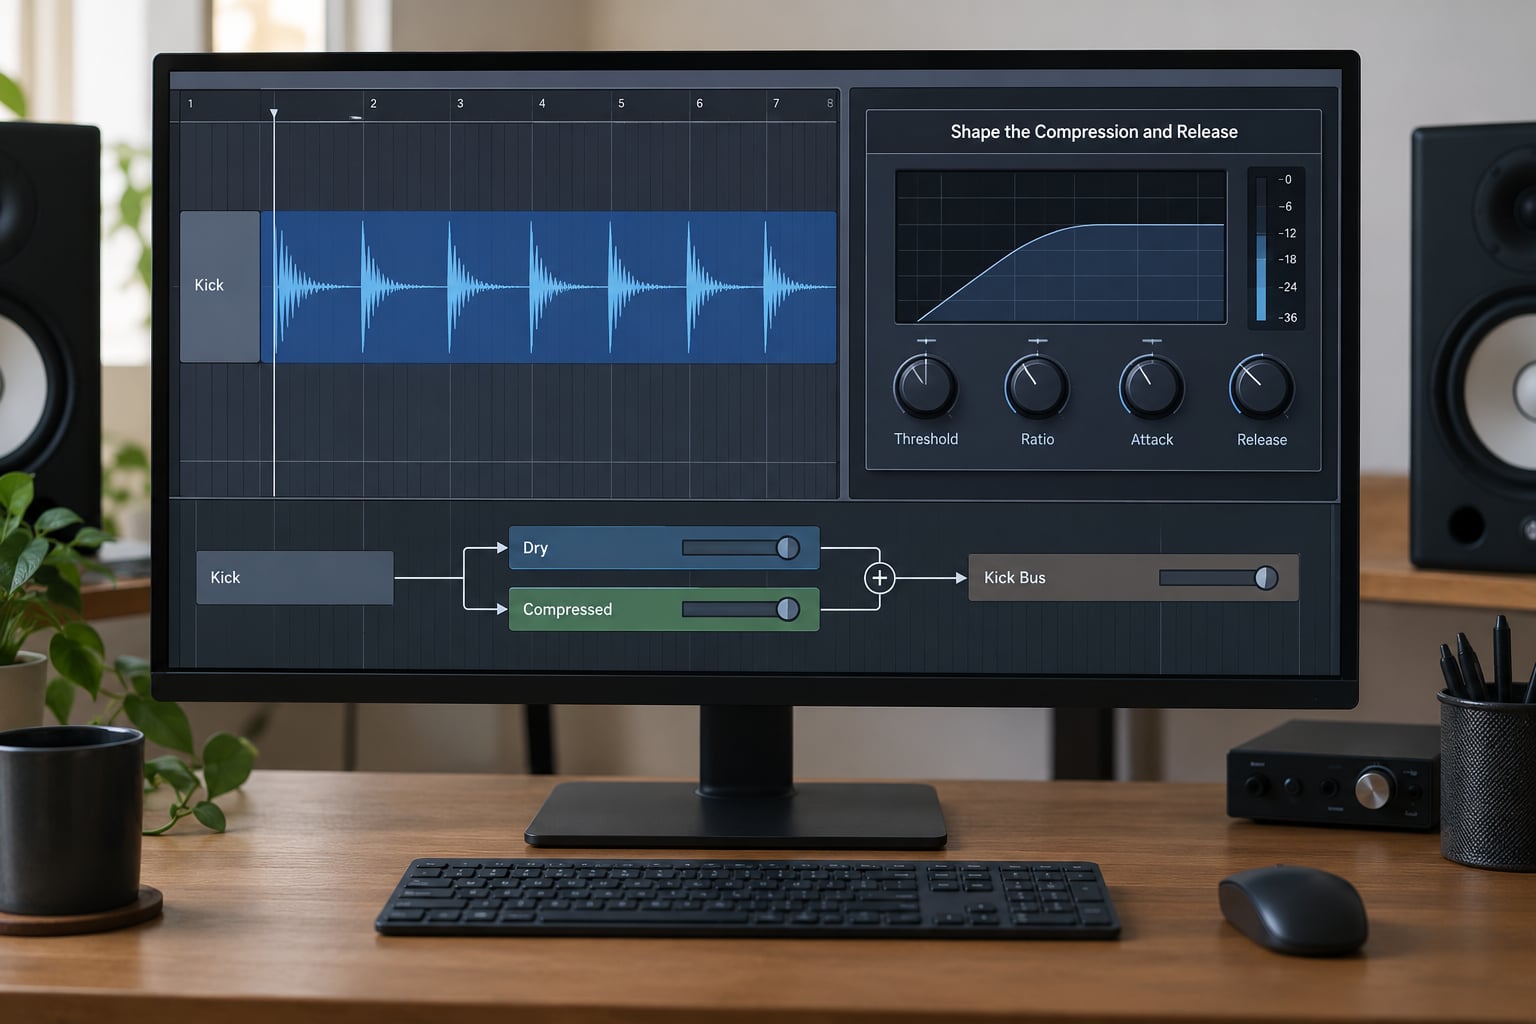
Compression controls how much the kick jumps out of the mix. A starting point: threshold set so each hit pulls down 3–4 dB, a ratio around 4:1, an attack of 10–20 ms so the initial transient passes through before the compressor clamps it, and a release of 60–120 ms.
That fast attack preserves the click. With a very slow attack, the compressor treats the whole hit as one loud event and flattens the difference between the peak and the body — every note lands with identical weight, which reads as lifeless.
Parallel compression gives you glue without the cost. Send the kick into a second compressor with a higher ratio and pull the return down around 2–3 dB. The body of the sound is a thickening layer on top of the transient.
Finish with the release effect on a send. A short reverb or filtered delay tail of 80–150 ms gives the hit a defined end, which matters because a kick without a tail can smear into the bass.
The check: mute the bassline and listen. If the kick still reads clearly on its own, it’s distinct enough to survive the full mix.
6. Build the Four-on-the-Floor Pattern
Draw the core pattern first — one kick on every quarter note, which is steps 1, 5, 9 and 13 on a 16-step grid. In 4/4 that’s four evenly spaced hits per bar, and it’s the spine of the whole genre.
Add a few more bars at the tempo before you judge the groove. At 138 BPM a four-on-the-floor pattern has noticeably more air between hits than the same pattern at 150, so a pattern that feels driving in one session can feel crowded in another.
Here’s the notation. Steps 1 to 16 are the 16ths of one bar, X is a full-velocity main hit and o is a quiet ghost hit:
| Step | 1 | 2 | 3 | 4 | 5 | 6 | 7 | 8 | 9 | 10 | 11 | 12 | 13 | 14 | 15 | 16 |
|---|---|---|---|---|---|---|---|---|---|---|---|---|---|---|---|---|
| Core | X | – | – | – | X | – | – | – | X | – | – | – | X | – | – | – |
| With ghosts | X | – | o | – | X | – | o | – | X | – | o | – | X | – | o | – |
| Build density | X | o | o | o | X | o | o | o | X | o | o | o | X | o | o | o |
The build row is where patterns get interesting. Sixteenth-note ghosts turn the sparse core into something that accelerates into a drop, and then removing them on the downbeat hits like the air went out of the room.
Then add restrained variation. Ghost kicks on the offbeats — steps 3, 7, 11 and 15 — add forward drive without cluttering the low end, as long as you keep them quiet. Dropping the velocity to roughly 70–85% of the main hits keeps them as punctuation rather than competition.
Velocity variation is what keeps the pattern from sounding robotic. Keeping every hit at 127 makes sixteen bars feel like a metronome with a bass tone. A common trick is to pull one hit per four-bar phrase down slightly, then bring it back up at the phrase start.
Let the pattern evolve across the arrangement: a sparser version through the intro, straight four-on-the-floor at the drop, extra ghost hits in a build, and the core pattern back again after the breakdown. Density changes with tempo, too — the same pattern at 150 BPM leaves less room between hits than at 138, so offbeat ghosts that feel right at 138 get crowded near 150.
7. EQ, Trim, and Check the Final Balance
Start with subtraction. Cut a narrow band around 400–600 Hz if the body is boxy, and high-pass your bass channel at roughly 30–50 Hz so the two instruments aren’t doubling the same frequencies. On small speakers, that high-pass is often the difference between a clean low end and mud.
Add a gentle boost between 2 and 4 kHz if the kick disappears behind the bass midrange. Keep it small — 1 to 2 dB — and check it on headphones, because that’s where the click will read as harsh if you’ve pushed it too far.
Watch your gain staging. Peaks around -6 dBFS on the kick bus leave room for the rest of the session, and the master should hit no higher than about -1 dBTP before limiting. If your kick bus is already clipping, no amount of plugin processing will fix it.
The final test: play the track at the loudness you’ll actually release it at, in mono, on headphones, and on a phone speaker. A kick that survives all three is done.
Common Mistakes
These are the errors that show up again and again, usually on the same tracks.
Using a kick sample with no timing control. If you can’t nudge the hit or change its decay, you can’t fix it in the mix. Pull it into a sampler or drum rack with pitch and envelope control and work there instead.
Making the sub too long. A sub tail past roughly 300 ms overlaps the next downbeat and blurs the pattern. Trim it to where the note still has body but ends before the next hit.
Applying too much distortion. Saturated low end loses definition and eats headroom. Pull the drive back and lean on the parallel blend for brightness instead.
Compressing too hard. Ratio above 10:1 with a slow attack squashes every hit to the same level. Bring the gain reduction down to 3–4 dB and let the transient through.
Duplicating low frequencies. Kick and bass covering the same 40–60 Hz range doubles the energy there and creates the low-end mud listeners describe as a weak kick. High-pass the bass and keep the kick as the sole owner of the sub.
Leaving no headroom. Mixing at a loud level and then pushing further means every processing decision gets compressed together. Mix with peaks near -6 dBFS and leave the final push for the master.
Programming every hit at the same velocity. Uniform velocity is the flattest-sounding choice available. Vary the ghost hits and leave a little dynamic range in the main pattern.
A few mix tips that tie it together: A/B against a reference on three systems rather than one, since the kick’s real test happens on a club system you’ve never heard. Check the mono fold-down. And if the kick sounds great alone but muddy in the track, the problem is almost always the bass channel, not the kick.
Frequently Asked Questions
Should I use a kick sample or synthesize a hard trance kick?
Both work. A layered sample gets you a commercial sound fastest, since the click, body and tail are already balanced. Synthesis gives you full control over pitch envelope and tuning, which matters most when your track’s root note keeps changing. Start with a sample for speed, move to synthesis once you’re chasing a specific character.
What makes a trance kick sound hard?
Punch comes from a short pitch sweep, a distinct click around 1 to 3 kHz, and a fundamental that stays clean underneath. A faster pitch envelope decay reads as harder, and a shorter overall tail keeps each hit separate from the next. Hardness comes from definition and separation, not from raw volume or distortion.
How do I keep a hard kick from muddying the bassline?
Assign ownership of the frequencies. Let the kick own roughly 40 to 60 Hz, and high-pass the bass channel at 30 to 50 Hz so it isn’t doubling that region. Sidechain the bass to the kick if the two still fight. On producers’ forums, the bass high-pass is the fix mentioned most often for a kick that sounds lost.
Do I need velocity variation in a four-on-the-floor kick pattern?
Not strictly, but it helps more than almost any other trick on this list. Keep the four main hits near full velocity and pull the offbeat ghosts down to roughly 70 to 85 percent. That small difference keeps the pattern sounding driven instead of mechanical, especially across a long eight- or sixteen-bar section.
How much distortion and compression should I add?
Start low and add in small steps. For parallel distortion, blend the saturated duplicate at a level where the kick sounds brighter but not thinner. For compression, aim for 3 to 4 dB of gain reduction per hit at a ratio near 4:1. If the kick starts sounding squashed, you’ve gone too far.
What kick length works best for hard trance?
Keep the audible body short, roughly 200 to 300 ms including the release tail. Hard trance runs at 138 to 150 BPM, so hits land close together and a long tail blurs into the next one. A short tail of 80 to 150 ms gives definition while leaving the low end clear for the sub and bassline.
Conclusion: Start With the Fundamental
Program a hard trance kick pattern by doing the unglamorous work first: set the tempo and grid, design the click, tune the fundamental to your root note, and confirm it reads on mono and on headphones. Only then add parallel distortion, compression, release and the pattern variations.
Most of the time the kick sounds weak because the low end got crowded, not because the pattern was wrong. Keep the fundamental clean, give each hit a defined end, and test the result at the loudness you plan to release it at. For the bass side of that relationship, the fix is usually a high-pass on the bass channel rather than more processing on the kick.