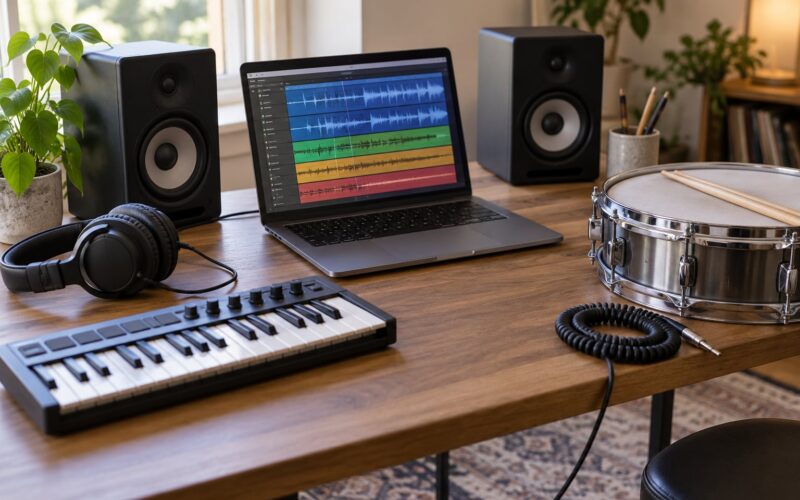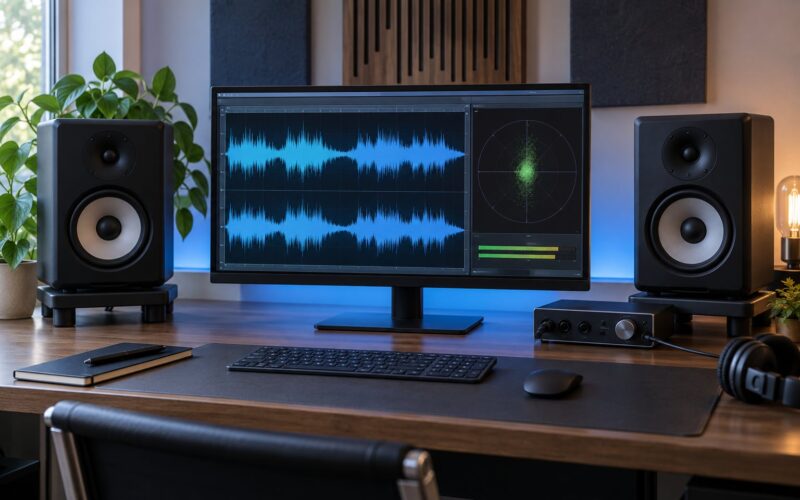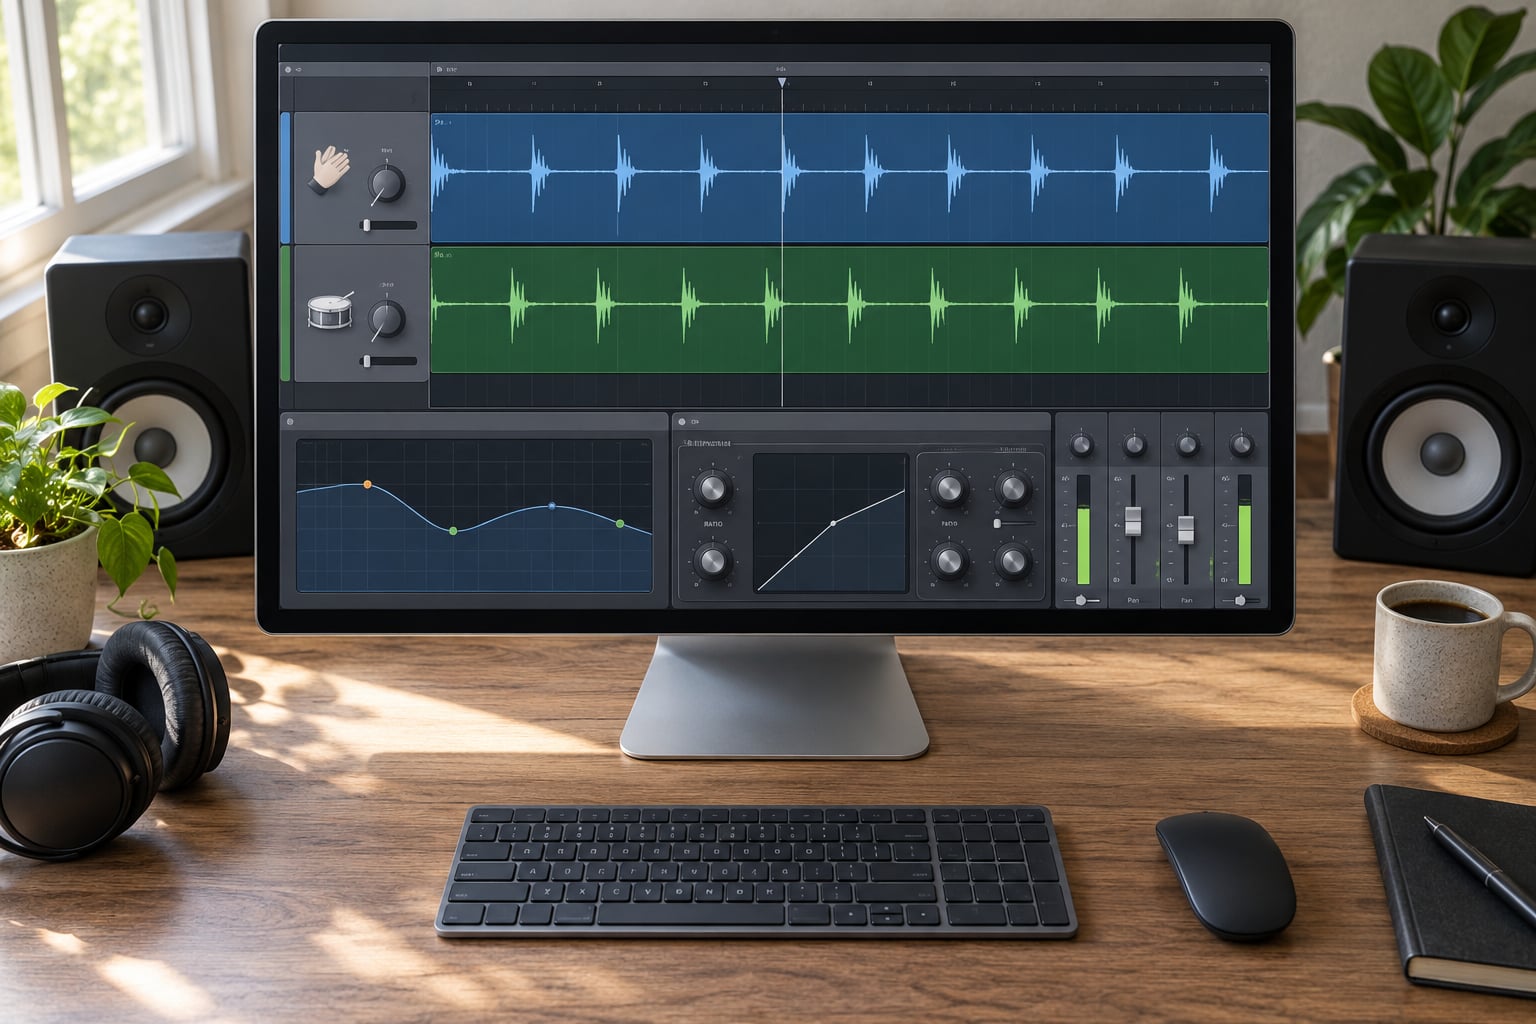
Layering claps and snares means playing two backbeat sounds at once and giving each one a job: the snare carries weight and body, the clap carries crack and snap. The trick is not volume, it is separation — matching levels, offsetting the timing by a few milliseconds, carving a small EQ notch where they collide, and keeping the first transient centered. Get those four things right and a thin single sample turns into a backbeat that hits harder without crowding the kick, bass or hats.
A note before we start: the numbers in this guide are starting points, not rules. Samples differ, and a clap from a 1970s drum machine behaves nothing like a bright 909 clap. Use them as the place you start listening from, then move them.
Table of Contents
- What You Need
- Where these live in your DAW
- Step-by-Step
- 1. Set the Reference Groove and Levels
- 2. Choose a Complementary Layer
- 3. Tune the Two Sounds to Each Other
- 4. Separate Clashes with EQ and Dynamics
- 5. Build Width Without Losing Punch
- 6. Automate, Bounce, and Judge in Context
- Common Mistakes
- Muddy low-mids
- Doubled phase
- Too much volume
- Identical transients
- Unstable stereo width
- Too much routing
- Crutch compression
- Check the First Layered Clap-and-Snare Example
- Compare Dry, Subtle, and Full-Layered Versions
- Frequently Asked Questions
- What frequency should I use when I layer claps and snares?
- Should I layer two claps or use a clap and a snare?
- How do I layer claps and snares without making them sound harsh?
- Are layered claps and snares safe on small speakers and in mono?
- How loud should the added clap or snare be?
- Does layering a clap and snare work for techno and hardstyle?
- Conclusion
What You Need
You need a main clap or snare that already sits well in the groove, one contrasting second layer, an EQ, a compressor, and your DAW. That is genuinely it — no plugin required. The bundled tools cover this job in every serious DAW.
- A main backbeat sound. One clap or snare that works on its own in context. If this one is wrong, adding a second sound will only give you two wrong sounds.
- A contrasting layer. Typically the opposite of your main layer in tone and decay length.
- A parametric or graphic EQ. For high-passing and one or two small cuts.
- A compressor. Any dynamics processor with a fast attack.
- Transient or envelope control, if your DAW has it. Useful, never essential.
Where these live in your DAW
In Ableton Live 11 and 12, the tools are EQ Eight, Compressor, Glue Compressor, Utility, Auto Filter and the stock Drum Rack. Ableton users on r/ableton often reach for transient editing inside the Sampler or Drum Rack chain to get the short, punchy clap they hear in references.
In Logic Pro, use Channel EQ, Compressor, the Adaptive Limiter, a Stereo Panner or the Panner node in the environment, and the Drum Machine Designer or Step Sequencer for the layered drum bus.
The equivalents elsewhere:
- FL Studio — Fruity Parametric EQ 2, Fruity Compressor, Fruity Balance (panning), and the Channel Rack or Patcher for routing layers.
- Cubase — Studio EQ, Compressor, Studio Pan, and the Drum Machine editor.
- Studio One — Studio EQ, Compressor, Pan knob on the mixer, and Beat (its layered drum environment).
- Bitwig — EQ, Compressor, Grid Split or a stereo panner module, and the drum container.
- Reason — the EQ, Compressor, and panner on the mixer channel.
Menu names shift between versions, so treat these as landmarks rather than exact clicks.
Step-by-Step
Here is the process I use. Each step has a result you can hear before you move on — if you cannot hear the change, the step is not finished yet.
1. Set the Reference Groove and Levels
Drop a kick, the main clap or snare, and a reference track into the session. Bypass the reference on and off so you know what you are chasing.
Gain match by peak level. Put a peak meter on both the main sound and the layer you are about to add, and pull the louder one down until the meters read the same. Loudness-matched play is far more useful than eyeballing faders, because faders only match for you at your monitor volume.
Leave yourself headroom — about 6 dB below clipping on the drum bus. If the first hit already peaks, there is nowhere to put the second layer.
You know it worked when: the main backbeat already sounds solid and consistent in the full mix, and you could add another hit on top without the bus moving.
2. Choose a Complementary Layer
Complementary does not mean different for the sake of different. It means each layer keeps the part of the spectrum it is genuinely good at.
Useful pairings:
- Bright, long-tail clap under a short, dry snare. The snare supplies the attack and weight; the clap adds air and density behind it. This is the classic EDM combination.
- Body-heavy snare under a tight, mid-forward clap. Used when the main sound is a bright 909-style clap that feels thin on a phone speaker.
- Two claps with opposite characters. One dry and low, one bright and long. Often cleaner than a clap and a snare because neither layer has a strong tonal shell to fight over.
A producer on r/edmproduction described pairing a crisp clap with a snare that has body under it, cutting the lows off the lower layer and adding a short, loud reverb. That pairing is a good default for house and progressive trance.
House and progressive trance usually want that bright clap sitting behind the beat placement of the snare. Techno often wants a drier, more centered stack with less room, because the room and the groove do the work. Keep the kick relationship in mind: the more low-mid the second layer carries, the more it will fight your kick and bassline.
3. Tune the Two Sounds to Each Other
Three situations, three answers:
- Both can share the same harmonic note. Best when both layers are noise-based with little tonal content. They will sit without beating.
- Pitch one an octave apart. When one layer has a clear shell tone and the other is broadband. It sounds deliberate and fills the gap without comb filtering.
- Leave both at the same tuning. When the main sound is already right and you are only adding air.
Use your DAW’s tuner — Pitch Correlator in Ableton Live 11 and 12, or the tuner in Logic Pro’s Voice Detection Utility if you want pitch reading on the fly. Pitching changes timbre as well as pitch, so re-check the EQ after any tuning move; the balance you set at the original tuning will not survive it.
4. Separate Clashes with EQ and Dynamics
Treat the EQ subtractively first and add only what the mix asks for.
High-pass both layers. Somewhere around 130 to 140 Hz is the classic starting point, and these figures come up repeatedly in the KVR discussion on clap and snare layering. If your samples are already thin, go higher — the body you carve away cannot come back.
Give each layer a frequency job. A clap sits roughly between 500 Hz and 20 kHz, with its character around 1 to 2 kHz. A snare splits into a tonal thud and body, roughly 165 to 530 Hz, plus broadband noise from about 4.4 to 10 kHz. Those readings come from a spectrum analysis posted on the KVR Audio Production Techniques forum.
That means the low-mid thud should belong to one layer and the bright crack to the other. Where they genuinely overlap — usually somewhere in the low mids — cut a narrow notch (about 2 to 4 dB) on one layer rather than boosting the other.
Compress with a fast attack. Set a fast attack so the transient survives, and a release that lets the tail breathe. Watch the gain reduction meter and stay near 6 dB, the ceiling that comes up most often in the KVR threads on this. If you need more than that to tame the harshness, the sample choice is the problem, not the compression setting.
Try parallel compression when the layer is only useful loud. Send the second layer to a second compressor track, crush it hard, and blend it underneath the main sound. It adds density without adding an aggressive attack on top of the main transient.
Shallow ducking gives you room. A short kick sidechain on the added layer stops low-mid energy piling up on the downbeat. Keep the release short and the amount to a few dB. It is easy to overdo, so reach for it only after level and EQ are already dialled in.
You know it worked when: the combination is less muddy and better controlled than either sound alone, and neither layer masks the other or the kick.
5. Build Width Without Losing Punch
Pan the added layer, not the main one. In Ableton Live 11 and 12, the pan control sits on the track’s mixer strip or on the Audio Track Slicer; in Logic Pro, use the Stereo Panner or a Panner node in the environment. Elsewhere it is the mixer pan knob, or a dedicated panner module in Bitwig.
Keep it modest — around 10 to 20 percent off center reads as width without becoming a stereo effect. When you want the room rather than the hit to be wide, pan the added layer a little further and delay it by 5 to 15 ms; the delayed arrival makes the two layers feel like separate events rather than one.
A short stereo layer is another option: bounce a double-tracked or doubled clap with small timing variation, keep only the texture, and pull it well down.
Then check mono compatibility, because a club PA sums to mono and a phone speaker is effectively mono too. Solo the bus, fold it down to mono, and listen for the first spike of the hit. If the punch disappears when folded, the added layer is carrying an attack that needs to come back to the center.
You know it worked when: the groove feels wide but the hit still lands as one clean punch, centered and present, on both headphones and a mono fold-down.
6. Automate, Bounce, and Judge in Context
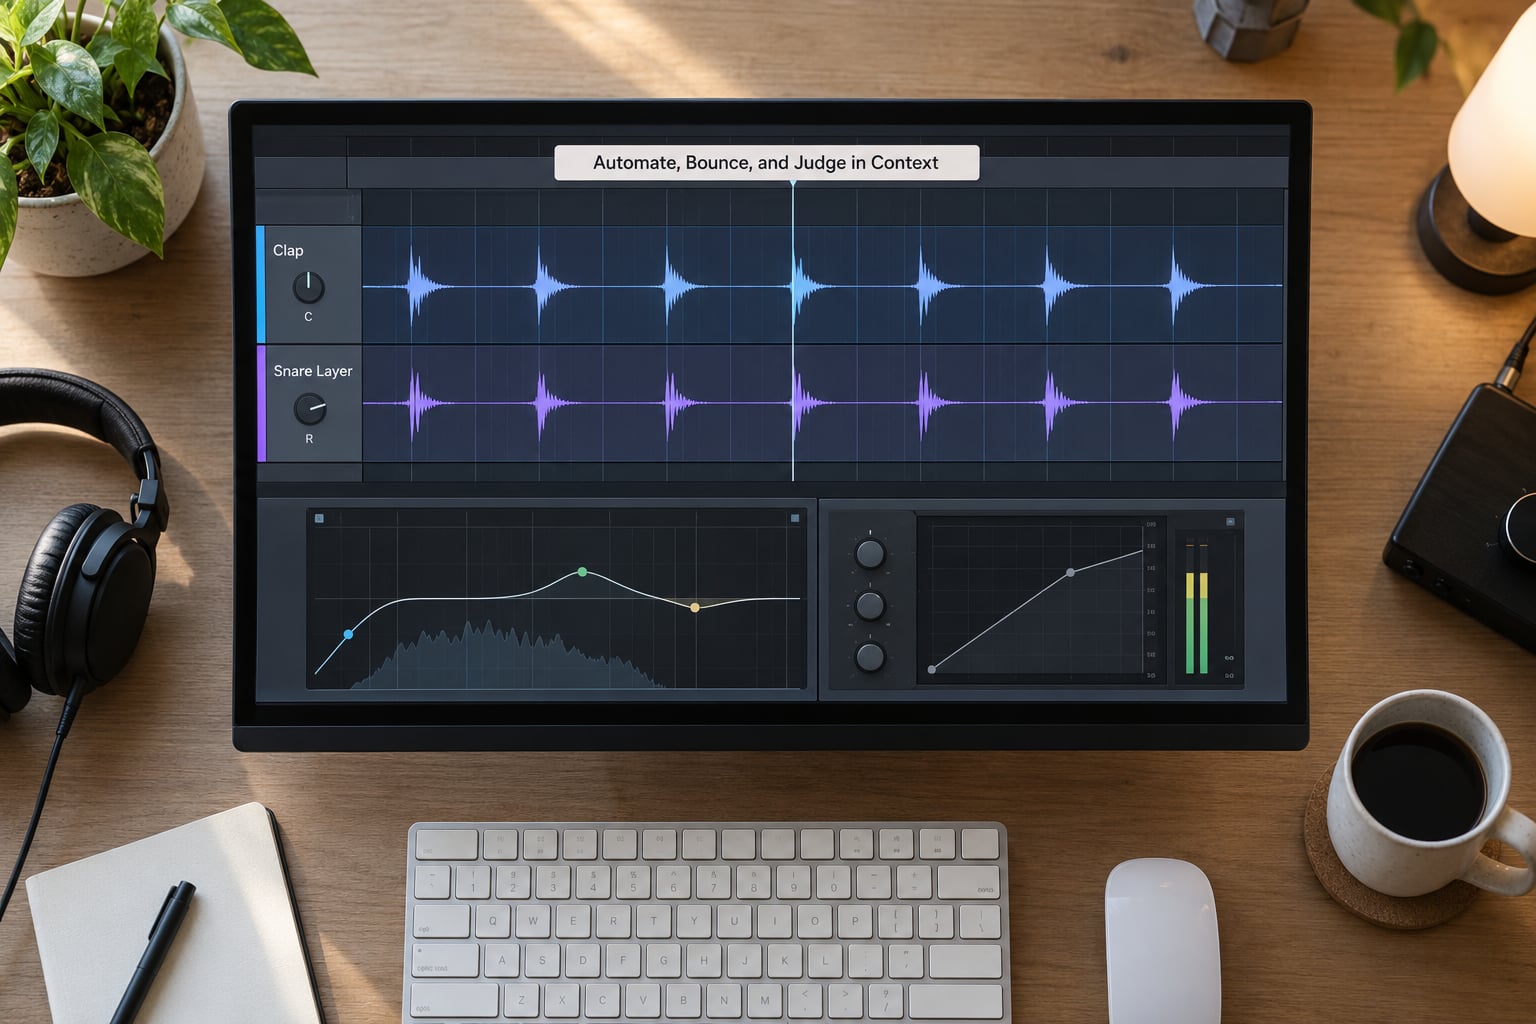
Add only restrained movement: a small level ride between the verse and the drop, or a slow filter opening on the added layer in the build-up. Both sounds hitting with identical, unchanging transients on every hit is what makes a layered groove feel static.
Bypass the added layer on alternate cycles and listen to the difference. Then inspect the transients at waveform level — the first spike should be a single clean attack, not two overlapping ones fighting in time.
Finish with three checks, in this order:
- Low end. Kick alone, then everything. The backbeat should not have swallowed the kick’s fundamental.
- Vocal and bass in place. The backbeat should leave room for both.
- Full mix, low volume, then loud. If the punch survives both, you are done.
Common Mistakes
Muddy low-mids
Two layers both carrying body, or a reverb tail you never trimmed. Fix: high-pass the added layer, cut a narrow notch where the two overlap, and shorten the room. If it is still muddy, the layer does not need to be there.
Doubled phase
Both layers were recorded in similar rooms and land within a millisecond or two of each other. Fix: nudge one layer by 5 to 15 ms and listen. Playback position can also matter more than sample phase, which is why the KVR thread on clap and snare layering includes an advocate for playing both by hand and deliberately timing them off the grid so they separate themselves.
Too much volume
The added layer is louder than the main one, so it becomes the real clap and the original becomes decoration. Fix: peak-match them, then pull the added layer another 2 to 4 dB below the main sound.
Identical transients
Two attacks landing in the same millisecond make a flat, machine-like hit. Fix: separate the timing slightly, or give one layer a noticeably shorter decay so the two reads as one hit and one texture.
Unstable stereo width
Wide claps that open and close between plays. Fix: keep the main transient centered and pan only the added texture, lightly.
Too much routing
Eleven channels of sends for a two-layer stack. Fix: group the layers, process the group, and bounce short reverbs and FX returns in rather than keeping them live — a practice that comes up repeatedly on Gearspace and KVR for a crisper result.
Crutch compression
Heavy reduction used to hide a sample that fights the mix. Fix: turn the compressor off, listen, and be honest about whether the source needs replacing. No amount of processing rescues badly chosen samples.
Check the First Layered Clap-and-Snare Example
Here is a concrete starting point: main clap centered, short snare or second clap underneath at about 6 dB lower, both high-passed with a crossover near 250 to 400 Hz, one narrow 2 to 4 dB notch in the low mids, and modest shared compression at around 4 to 6 dB of gain reduction. Restrained stereo treatment on the added layer only.
Those frequencies are starting points. Where the crossover lands depends entirely on your source samples, so sweep it while the notch plays and stop where the mud goes.
Compare Dry, Subtle, and Full-Layered Versions
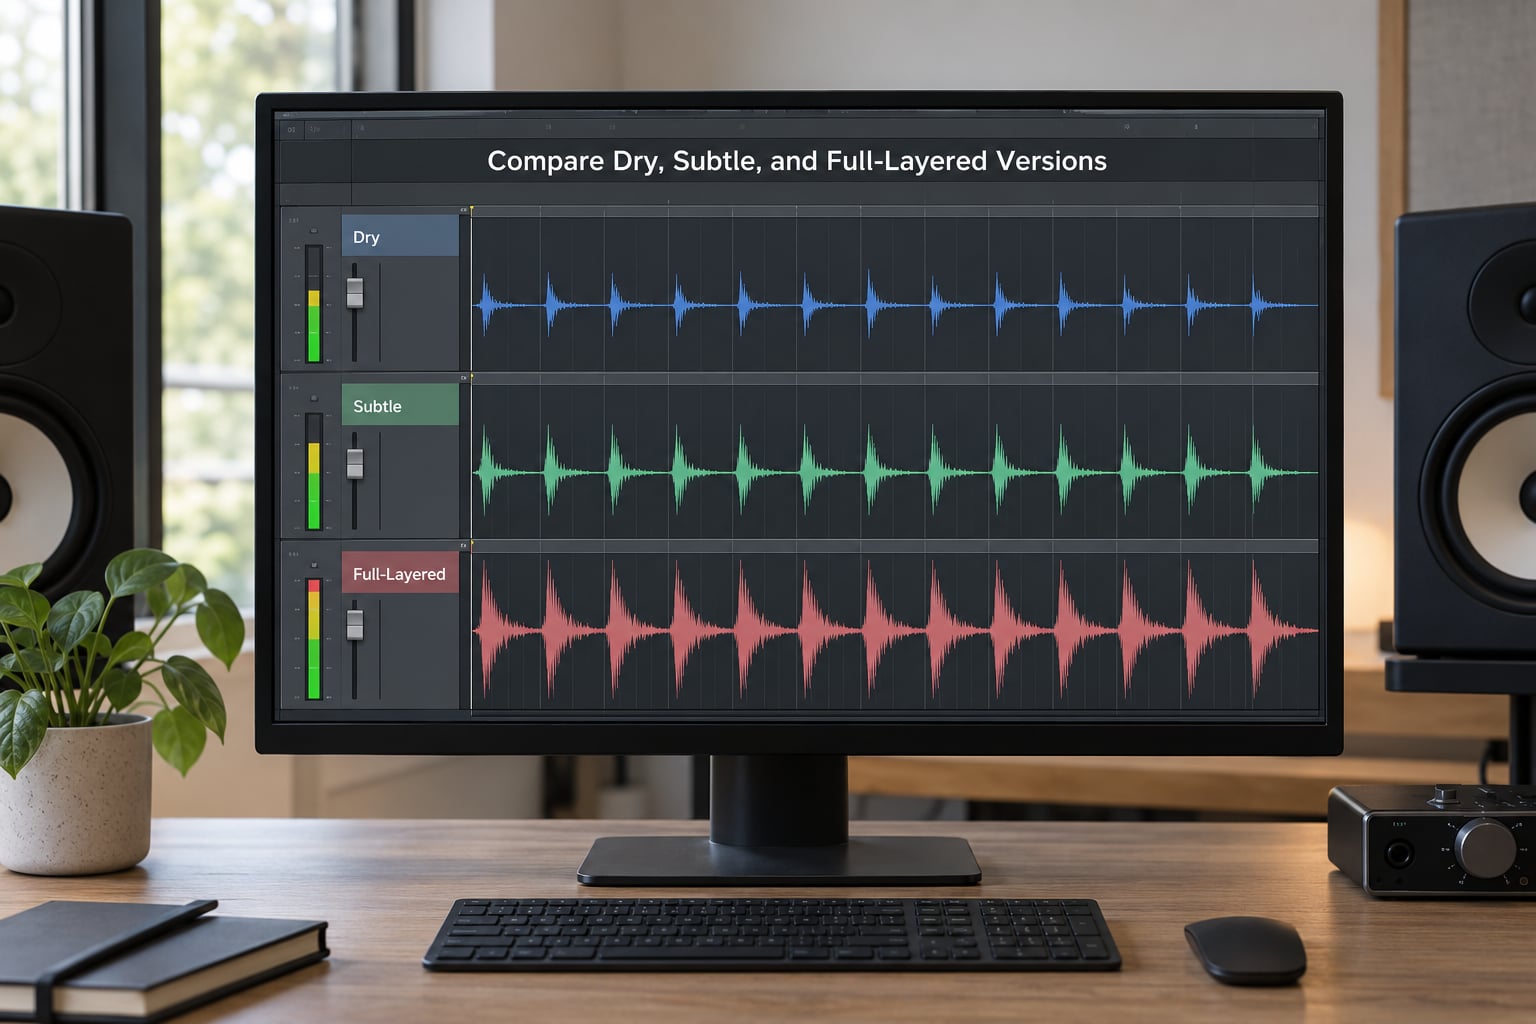
Render three versions at matched loudness and switch between them.
- Dry. One main clap or snare alone. Best clarity, least impact, most space around it.
- Subtle layering. Added layer 6 to 9 dB down, slight width. More body and a little more weight, with the original still dominant. This is usually the right answer for most mixes.
- Full layering. Added layer 3 to 4 dB down, more room, more saturation. Maximum impact and density, but noticeably less clarity and less room for everything else.
Pick the amount that supports the track. Adding layers for their own sake is the most common way this technique gets overused.
Frequently Asked Questions
What frequency should I use when I layer claps and snares?
Start by giving each layer a job instead of picking one magic number. High-pass both around 130 to 140 Hz, let the low-mid thud and body of one layer own roughly 165 to 530 Hz, and let the bright crack of the clap sit from about 500 Hz up. Where they overlap, cut a narrow notch of 2 to 4 dB on one side rather than boosting the other. Sweep the cut while the track plays.
Should I layer two claps or use a clap and a snare?
Both work, and they solve different problems. A clap and a snare is better when you need weight: the snare brings the tonal body and low-mid thud while the clap brings brightness. Two claps with opposite characters is cleaner when the tonal shells would fight, since neither layer has a strong pitched resonance to compete. Pick based on whether your main sound is too thin or too heavy.
How do I layer claps and snares without making them sound harsh?
Harshness usually comes from compression set too slow or too hard. Use a fast attack so the transient survives, a release short enough to control the tail, and watch the gain reduction meter to stay near 6 dB. Also high-pass both layers and cut a narrow notch where they overlap, so they stop fighting before the compressor has to work. If you still need heavy reduction, replace the sample.
Are layered claps and snares safe on small speakers and in mono?
They can be, but only if you keep the first transient centered and pan just the added texture. Wide claps that carry the main attack can disappear when a phone speaker or a club PA sums to mono. Solo, check, and make sure the first spike of the hit still lands in the center. If the groove survives on a phone and on a mono fold-down, it will survive almost anywhere.
How loud should the added clap or snare be?
Peak-match the added layer to the main one first, then pull it another 2 to 4 dB below. In practice that means somewhere between 6 and 9 dB down for a subtle layer, or 3 to 4 dB down for a full, dense stack. If the added layer is louder than the original, it has quietly become the main sound and the mix will lose its focus.
Does layering a clap and snare work for techno and hardstyle?
Yes, though the balance shifts by genre. Techno usually wants a drier, more centered stack with a short room, since the groove and reverb carry the weight. Hardstyle and progressive styles often want a brighter clap layered behind a punchier snare for a bigger drop. The layering method is identical; only the decay length, the room and the relative level change.
Conclusion
To layer claps and snares well, give each layer one job, separate them in time and frequency, and keep the loudest part of the hit in the center. That is the whole technique.
Start now with three moves: level-match the main sound, choose a layer that is genuinely different from it, and make a single tonal or dynamic adjustment — one EQ notch, or one small pull of the added layer’s level. Then play it against the full mix, low and loud. Everything after that is tuning.