Mixing a vocal into a trance track comes down to three things: a clean edit, a fixed chain order, and automation that changes with the arrangement. Start with a high-pass filter and corrective EQ, run two compressors in series, then send the vocal to tempo-synced delay and reverb on aux buses that the kick ducks. Budget a couple of hours for a first pass on a full topline.
Vocal trance is the sub-genre where the voice replaces the synth as the lead melodic line, usually over an uplifting or progressive trance track. Because the sub-bass, the supersaw and the sidechained pad all occupy the same space the voice needs, a trance vocal fails in a way an acoustic vocal never does. It gets buried at the drop, or it smothers the lead, or the reverb tails stack into fog.
That genre pressure is exactly what makes the workflow worth learning. The steps below are the order I use, and the numbers are honest starting points rather than rules.
Table of Contents
- What You Need
- Step-by-Step
- Prepare the Vocal and Arrange the Sections
- Remove Masking With EQ and Filtering
- Control Dynamics With Compression
- Add Reverb, Delay, and Other Effects
- Set Vocal Level and Check the Arrangement
- Common Mistakes
- Frequently Asked Questions
- In what order should you mix vocals?
- Should I use EQ before or after compression on vocals?
- How much reverb and delay should a trance vocal have?
- Is sidechain compression the right way to duck reverb under the kick?
- Why are vocals so hard to mix in EDM and trance?
- Should I use one reverb send or put reverb on each vocal track?
- Conclusion
What You Need
Before you touch a plugin, gather five things.
- A DAW with a stock plugin set. Every DAW ships an equalizer, a compressor, a de-esser, a delay and a reverb. Ableton Live, FL Studio, Logic Pro, Cubase and Reaper all cover the chain in this guide without a single purchase.
- A second compressor and a saturation stage. Native dynamics with a variable ratio or a drive control substitute for the hardware-style FET and optical emulations most guides assume you own.
- Sidechain capability and a compressor or gate that can duck. Both Logic and Cubase have native sidechain routing. Ableton and FL use a dedicated compressor on the return bus.
- Your vocal, comped and aligned. A finished topline, or a folder of one-shot vocal samples chopped to the tempo.
- A loud, mixed, finished instrumental. Vocals are the last thing mixed, and in trance they are mixed against a master that is already pushing its loudness target.
Monitoring matters more here than in most genres. A trance instrumental sounds fine on laptop speakers and falls apart on headphones, and the vocal is usually the element exposing the problem. Cross-check on both, and keep a reference track at matched loudness.
Step-by-Step
Here is the full chain order, with the reason each stage sits where it does.
- Gain staging — trim the raw take so peaks sit around -12 dBFS, which leaves clean headroom for every plugin after it.
- Subtractive cleanup — a high-pass filter plus cuts for rumble, hum and mouth noise, because compression amplifies everything it is given.
- Corrective EQ — carve space for the sub-bass and the supersaw before you add anything.
- Pitch correction — correct pitch before compression, so the compressor reacts to an even signal rather than to pitch jumps.
- Compression stage one — a fast FET-style compressor for transients and consonants.
- Compression stage two — a slower optical-style compressor that evens out the sustained phrases.
- Saturation — add harmonics and density; keep it subtle on the lead and heavier on layers and chops.
- Delay then reverb, on aux sends — never on the insert chain. Sends let you automate the space per section.
- Ducking — sidechain the delay and reverb returns off the kick so the tails stop competing with the low end.
- Volume and send automation — the step most producers postpone, and the one that decides whether the vocal feels intentional.
These are starting settings for a trance vocal, not laws. Move each one by ear once you hear it in context.
| Stage | Job | Starting setting |
|---|---|---|
| High-pass filter | Removes rumble and proximity effect | 80 to 120 Hz, 12 dB per octave, gentle slope |
| Corrective EQ | Clears room for the sub and the lead | Cut 250 to 400 Hz by 2 to 4 dB |
| Presence | Keeps consonants cutting through the pad | Boost 3 to 5 kHz by 1 to 2 dB |
| Air | Adds the open, weightless top trance loves | Shelf boost 10 to 12 kHz, 1 to 2 dB |
| Compressor one | Controls fast transients | Ratio 4:1, attack 0.1 to 1 ms, 2 to 4 dB gain reduction |
| Compressor two | Smooths sustained phrases | Ratio 2:1 to 3:1, attack 10 to 30 ms, 3 to 6 dB gain reduction |
| De-esser | Tames sibilance after compression | Threshold set to catch 5 to 8 kHz peaks |
| Delay | Rhythmic depth, tempo-locked | 1/8 note plus 1/4 note, feedback under 30 percent |
| Reverb | Depth on an aux send | 1.5 to 3 s decay, 10 to 30 ms pre-delay |
| Ducking | Stops tails fighting the kick | 2 to 4 dB reduction, medium attack |
Prepare the Vocal and Arrange the Sections
Comp first, obsessively. Audition every take at full volume with the lyrics turned up in your head, then build one vocal lane from the best third of each phrase. Crossfades of 20 to 40 ms stop the level jumps from becoming clicks.
Trim silence between phrases and align the consonants to the grid, not the tails. Keeping a few milliseconds of pre-roll before each vocal gives the compressor something to react to, and cutting hard to the transient makes it pump.
Plan the arrangement before processing anything. In most uplifting trance, the vocal carries the intro and the breakdown, then doubles or chops under the drop, then disappears for the instrumental lift. Write that map down and every later decision gets easier.
Add a 5 to 10 ms fade at the very start and end of each region. Fade-outs at the end of a phrase are more noticeable than you would guess, and they stop the reverb tails from spilling into the next section.
Remove Masking With EQ and Filtering
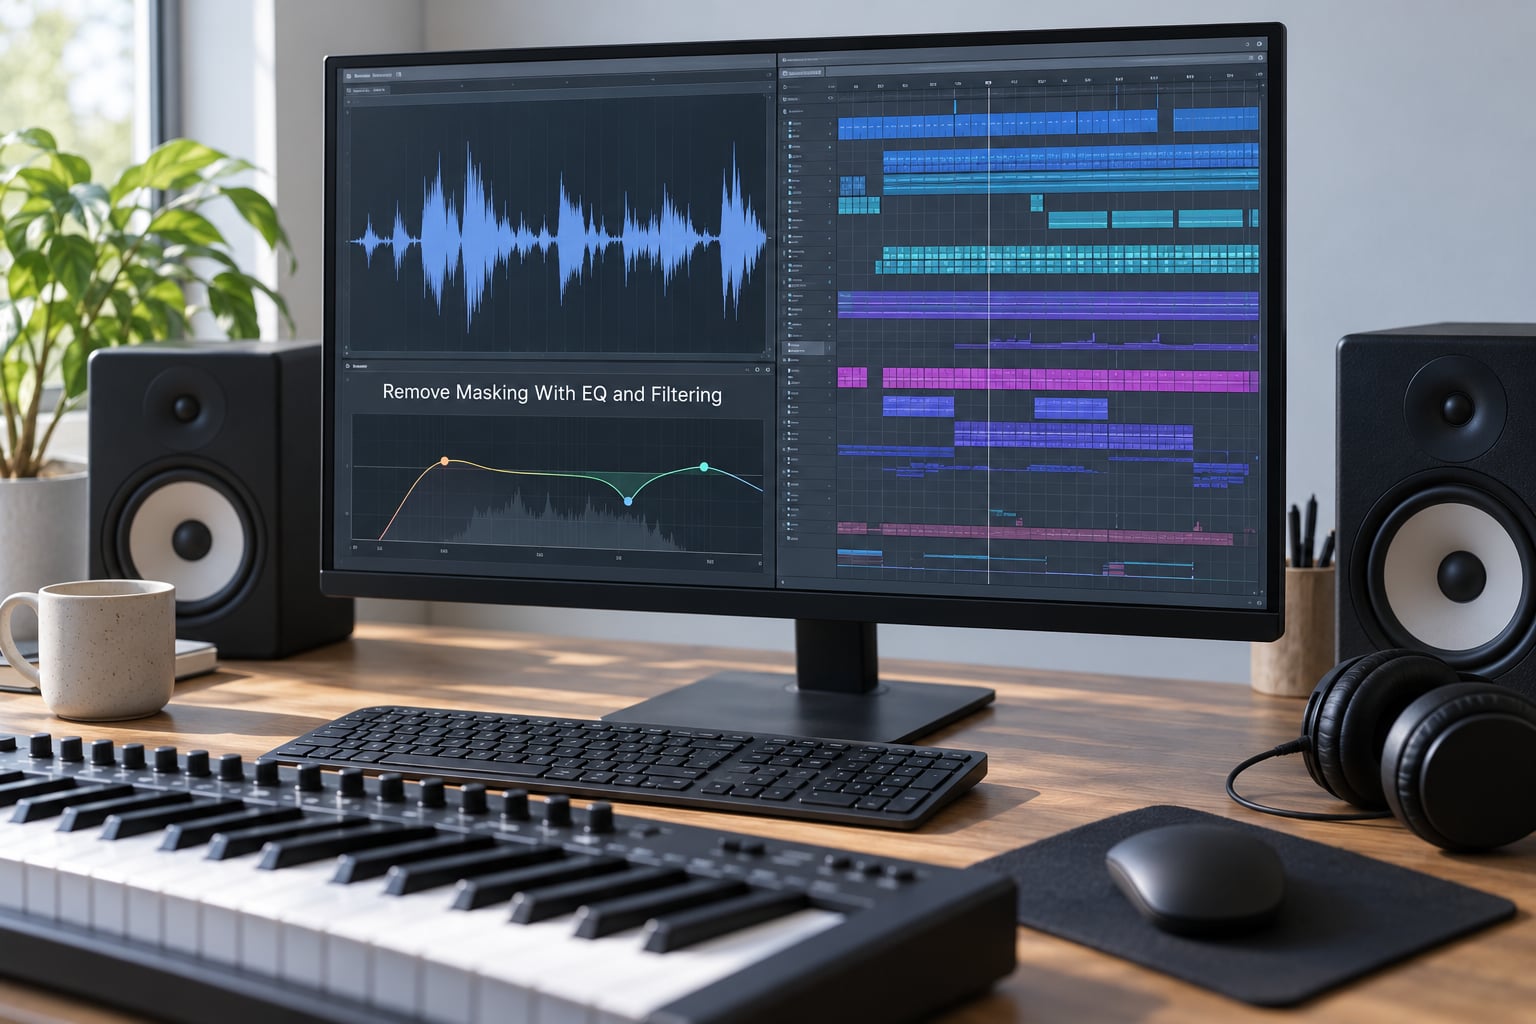
Masking is the reason trance vocals feel hard. The sub-bass sits from roughly 40 to 120 Hz, the supersaw spreads wide from 500 Hz to 5 kHz, and a kick with a long tail occupies the same territory. The vocal has to be carved out of that, and it cannot be done by boosting overall level.
Put a high-pass filter on first, between 80 and 120 Hz. Female and higher male voices can go higher, around 150 Hz, without losing body. What you are removing is room rumble, plosives and proximity effect, all of which compression would otherwise amplify.
Next, listen to the vocal and the sub-bass together in solo. When the vocal gets buried, the culprit is almost always the 200 to 400 Hz region, where vocal warmth overlaps the fundamental of the bass. A 2 to 4 dB cut with a narrow Q usually frees it.
Push clarity forward, not loud. A 1 to 2 dB boost around 3 to 5 kHz gives consonants the edge they need to survive the sidechained pad, and a small shelf above 10 kHz adds the weightless top end that reads as trance. If the boost makes the vocal sound harsh at low volume, pull the shelf down; harshness almost always comes from boosting presence and air at the same time.
Watch the stereo image. If the supersaw is wide and the vocal is centre, boosting 2 to 4 kHz too hard makes the vocal sound pinched against the sides. Solo the vocal, move it, and check that it still sounds natural at full width.
A roll-off above 16 kHz removes hiss that the reverb will otherwise smear across the whole track. De-essing belongs after the second compressor, since compression pushes sibilants up and you will be chasing a moving target before that.
Control Dynamics With Compression
Two compressors in series give you more control than one aggressive compressor. The first handles fast peaks, the second handles the slow rise and fall of sustained notes.
For the first stage, set a ratio around 4:1 with an attack between 0.1 and 1 ms and aim for 2 to 4 dB of gain reduction on the loudest phrases. That is enough to stop the consonants from spiking. The key is a short release that returns the compressor to zero between words, so quiet words stay quiet.
The second stage is slower. A ratio of 2:1 to 3:1 with a 10 to 30 ms attack and a release around 100 to 200 ms evens out phrasing without squashing emotion. Three to six dB of gain reduction is plenty. More than that and you will hear it, especially on held notes where the phrase needs to swell.
Add makeup gain after each stage and keep peaks under -6 dBFS so the next plugin has room. On r/mixingmastering, feedback threads almost always ask for more vocal compression to help a vocal sit; the fix is usually level and EQ, not extra gain reduction.
Check the compression by watching the gain reduction meter while the track plays. If it never returns to zero, your release is too slow. If it barely moves, the threshold is too high and the compressor is doing nothing but adding its own colour.
Add Reverb, Delay, and Other Effects
Both effects belong on aux sends, not as inserts. Producers on gearspace.com consistently place the best take centre with light reverb and delays, and the ones who get clean results are the ones who keep every vocal going into one pair of return buses instead of stacking plugin chains per track.
Delay comes first in the send order, because feeding echoes into reverb builds a natural decay instead of a metallic wash. Tempo-sync it and start with a 1/8 note for a tight, driving space that works at 138 BPM, adding a 1/4 note layer for weight. Keep feedback under 30 percent and low-pass the repeats so they do not brighten over time.
Reverb follows on its own send: 1.5 to 3 seconds decay, 10 to 30 ms of pre-delay so the transient stays dry and forward, and a high-pass inside the reverb so the tails do not double the sub-bass. Longer settings suit breakdowns and pads, not verses.
Then duck those sends. Sidechain compression keyed off the kick, applied to the delay and reverb returns, is cleaner than pulling the dry vocal down, and it is the single technique that fixes the pumping mess in most trance mixes. Two to four dB of reduction with a medium attack keeps the tails from smearing every low end.
For layers, doubles, harmonies and chops, go further than the lead. Double the layers a third below the lead, pan them wide, push the saturation harder, and cut their high end so they read as texture instead of a second singer. Pitch-shifted chops a fifth or an octave down make convincing chordal pads underneath the break.
Riders on r/AdvancedProduction use the reverb tail itself as a pad layer: render a long reverb from one vocal line and print it underneath the breakdown. It costs no arrangement work and fills the frequency range the drop leaves empty.
Set Vocal Level and Check the Arrangement
Setting the level is where knowing how to mix a vocal into a trance track becomes a judgement call rather than a preset. Put the lead so it sits on top of the mix without jumping out of it, then judge it on three checks: does the lyric stay intelligible on small speakers, does the word remain clear during the loudest part of the drop, and does the voice still sound like a person at the end of a two-minute build.
Most of the work from here is automation, and doing it while you mix beats leaving it to the end. Write volume rides for every phrase entrance, push the delay and reverb sends up on the last word of a line for lift, and drop them when the track goes quiet. On r/WeAreTheMusicMakers, send automation is consistently described as the most-used tool in a producer’s workflow, particularly on transitions and hits.
Automate the arrangement, not just the vocal. Mute the lead during a synth fill, raise the layers by 2 dB under the drop where the lead takes over, and widen the panning in the breakdown before it snaps back to centre. For lo-fi or vocal-forward styles, automate a low-pass filter down across the phrase so the voice recedes on purpose rather than getting buried by accident.
Finish by checking the mix in three states: the instrumental alone, the vocal alone, and both at matched loudness against your reference. Most producers on r/ratemymix find problems by comparing rather than by listening harder. If you need heavy word-level volume automation to hold a vocal in place, the mix is usually too quiet, not the vocal too weak.
Common Mistakes
Each of these shows up in almost every beginner trance vocal mix, and each has a specific correction.
- Putting reverb and delay in the insert chain. Fix: move both to aux sends so you can automate the space and stop tails stacking per track.
- Over-compressing. Fix: hold the first stage at 2 to 4 dB of gain reduction and the second at 3 to 6 dB. Emotion lives above that.
- Leaving automation until the end. Fix: draw the volume and send moves while you mix, section by section.
- Skipping the ducking. Fix: sidechain the delay and reverb returns off the kick for 2 to 4 dB.
- Ignoring the 200 to 400 Hz overlap with the bass. Fix: a narrow 2 to 4 dB cut before you touch any level.
- Syncing delay to the wrong grid. Fix: use the tempo-synced option rather than typing milliseconds by hand, or repeats flam against the beat.
- Sidechaining the dry vocal. Fix: duck the sends and let the dry vocal stay steady, or the voice starts sounding like a ducking synth.
- Riding the vocal down at the drop. Fix: lower the level, not the quality. Automate the level and let the EQ carving do the rest.
- Pitch-correcting until it sounds robotic. Fix: set a moderate retune speed, around 15 to 25 ms, and correct pitch before compression.
- Mixing at low volume. Fix: mix at a consistent, moderate level; loudness flatters a mix and hides the masking you are trying to fix.
Frequently Asked Questions
In what order should you mix vocals?
Gain stage the take, then run a high-pass filter, corrective EQ, pitch correction, a fast compressor, a slow compressor, saturation, then delay and reverb on aux sends. Finish with ducking the sends off the kick and automating volume. Corrective work comes first because every later stage makes problems louder.
Should I use EQ before or after compression on vocals?
Both, for different jobs. Use a subtractive EQ before compression to clear rumble and mask from the bass and supersaw, then a small corrective EQ after compression to fix problems the compressor created, usually sibilance or a honk in the low mids. What you never want is stacking big boosts in both places.
How much reverb and delay should a trance vocal have?
Enough to place the voice in a space, never enough to blur the lyric. Start with a 1/8 note delay at low mix and a reverb between 1.5 and 3 seconds with 10 to 30 ms of pre-delay, both on aux sends. Sidechain the returns off the kick so the tails stop competing with the low end.
Is sidechain compression the right way to duck reverb under the kick?
Yes, and it is cleaner than ducking the dry vocal, which makes the voice pump like an instrument. Put a compressor on the delay and reverb return buses, key it to the kick and snare, and start with 2 to 4 dB of reduction on a medium attack. Adjust until the tails breathe without disappearing.
Why are vocals so hard to mix in EDM and trance?
Because the instrumental is already dense and loud, and the supersaw lead and sub-bass occupy the exact frequencies a voice needs to be intelligible. Add a sidechained pad opening and closing across that space, and the vocal has no room left. The fix is deliberate carving with EQ, plus level and send automation per section.
Should I use one reverb send or put reverb on each vocal track?
One send per effect type, shared across the vocal tracks. That keeps a single tail coherent, stops tails from stacking into fog when several takes play, and lets you automate the space for a whole section with one move. Duplicate the track, not the plugin chain, and set a different send level per layer instead.
Conclusion
Start with the boring part. Clean and comp the take, trim it to peaks around -12 dBFS, high-pass it, and clear the 200 to 400 Hz band where the bass lives. Set your level against the finished instrumental and confirm it survives the drop. Only then reach for compression, sends, ducking and automation. That ordered chain is the whole answer to how to mix a vocal into a trance track, and every stage after the edit only works if the vocal underneath it was balanced correctly. No plugin on your system will fix a mix that was rushed at the start.