A progressive house pluck is a short, percussive synth sound made by running one or more detuned unison oscillators through a resonant low-pass filter, then sweeping that filter’s cutoff with a fast-decaying envelope so every note starts bright and closes down almost instantly. That filter sweep is the whole trick.
It is also where most people get stuck. Plenty of beginners load a big supersaw chord, crank the voice count, and call it a pluck, which is exactly the confusion raised on Gearspace years ago. A supersaw swells and stays; a pluck attacks and vanishes, leaving a tail of filtered harmonics. Once that distinction clicks, the recipe below takes about fifteen minutes in any DAW.
I will walk through the oscillator setup, the filter and envelope numbers, the movement, the MIDI part, the effects chain and the mixing. Nothing here depends on a specific synth or a specific host, and where the menu names differ I have said so.
Table of Contents
- What You Need
- Step-by-Step: How to Make a Progressive House Pluck
- 1. Choose a Suitable Synth or Sampler
- 2. Create the Core Progressive House Pluck Sound
- 3. Add Movement with Filter Modulation
- 4. Arrange a Repeating MIDI Pattern
- 5. Apply Reverb, Delay, and Width
- 6. Process the Pluck for a Full Mix
- Common Mistakes and How to Fix Them
- A thin pluck that sounds phasey or hollow
- A dull or harsh attack
- A muddy low end
- Repeats you cannot hear
- A pattern that feels too busy
- Frequently Asked Questions
- What synth is best for a progressive house pluck?
- Should a progressive house pluck use reverb or delay?
- How do I make my pluck sound brighter without becoming harsh?
- What MIDI pattern works best for a progressive house pluck?
- How loud should the pluck be in a progressive house mix?
What You Need
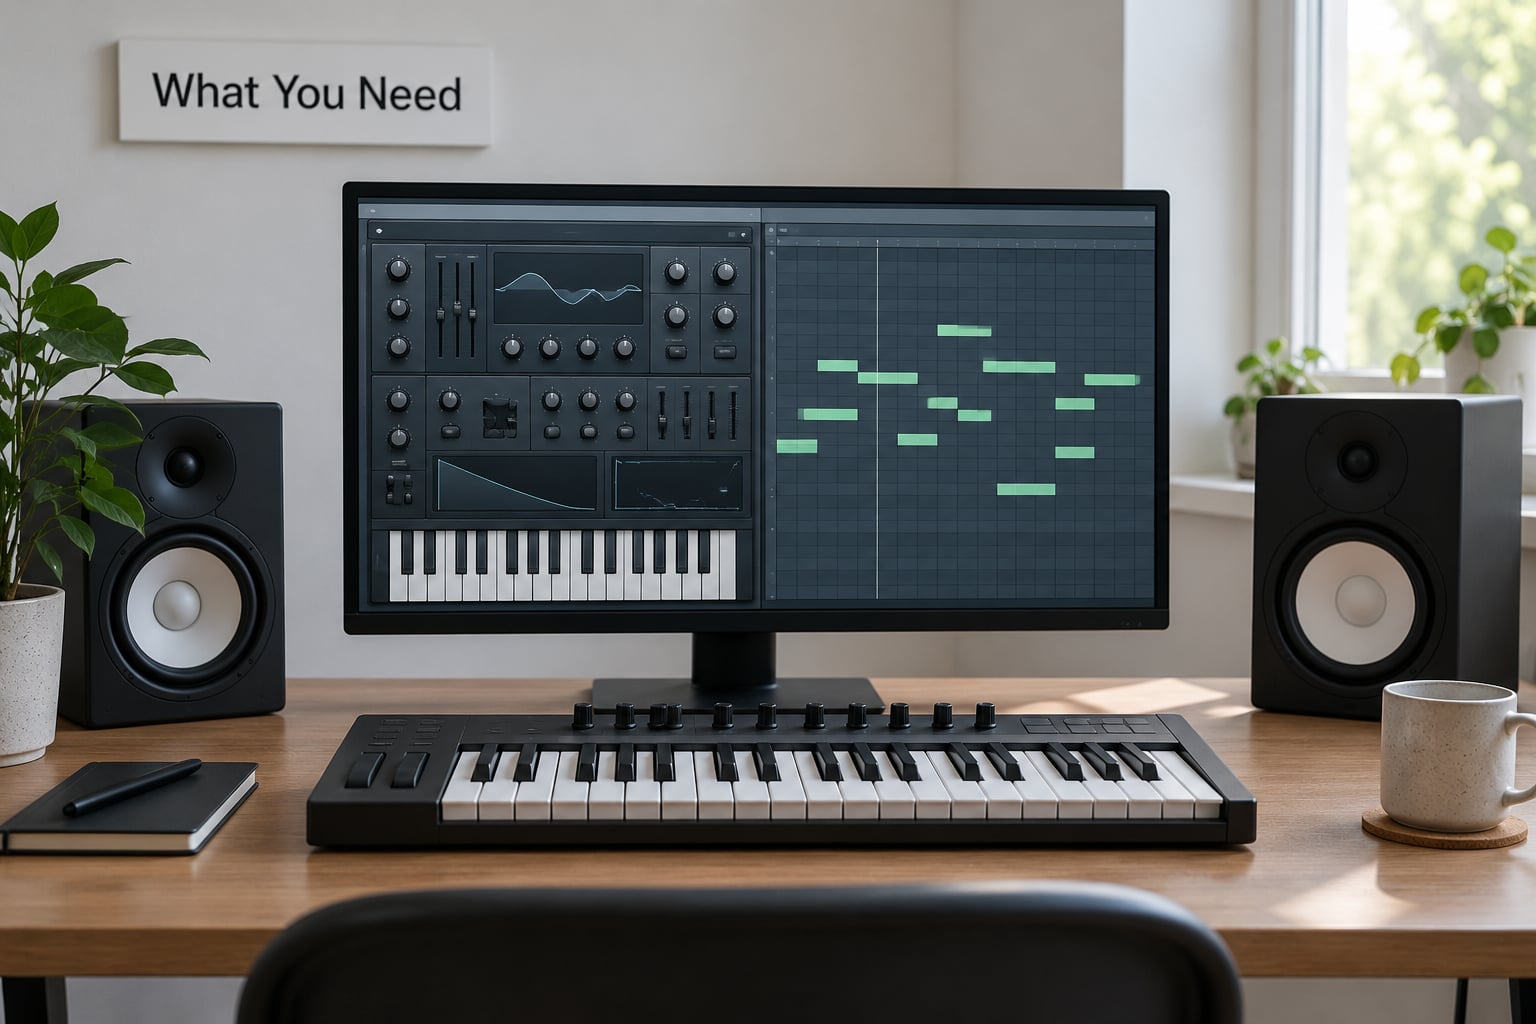
You need four things, and most of them you already have. A DAW with a synth that offers at least two oscillators, unison voices, a low-pass filter and separate filter and amp envelopes covers the entire recipe. Every major host handles it: Ableton Live, FL Studio, Logic Pro, Cubase, Studio One, Bitwig and Reason all can, though the menu labels differ. Serum calls it Osc, Massive calls it Oscillator, Wavetable calls it Partial.
The other three items are a MIDI controller (optional, but a keyboard makes playing the pattern ten times faster than drawing it), a reverb and delay (your DAW has both), and a high-pass filter and saturator (also in your DAW). No sample pack is required. As one Gearspace contributor pointed out while correcting a beginner, factory content in Sylenth1 and Massive already contains this sound, and a second instance or an arpeggiator gets you most of the way there.
| Synth | Why it works for this | Watch out for |
|---|---|---|
| Serum | Matrix routing and macro-to-cutoff mapping make the movement section fast | Free version is limited to two oscillators and 500 presets |
| Vital | Free, and the unison spread and filter drive are easy to dial in | Retriggering defaults to on, so switch it off |
| Massive | Lowpass 4 gives the steep 24 dB slope this sound needs | The routing takes a minute to understand the first time |
| Sylenth1 | Per-voice unison control, which is useful for a plucky bass variant | Retriggering is on by default and flattens the unison |
| Ableton Wavetable | Built into Live, no extra install | Unison is a single knob, so width needs a separate spread effect |
| Hardware (SH-101, DSI Rev2, Prophet Rev2, Juno-106) | Analog ladders give the slightly rounded top end analog plucks have | Resonant low-pass slope is 24 dB per octave, which works well here |
Step-by-Step: How to Make a Progressive House Pluck
The sound comes from combining five things rather than from one clever preset: a short attack, a bright transient, controlled resonance, rhythmic repetition and a small amount of automated movement. Build them in that order and each one is easy to hear on its own.
1. Choose a Suitable Synth or Sampler
Use any subtractive synth with a resonant low-pass filter and a proper unison mode. If you prefer samples, a single-cycle or one-shot pluck from a sample library works too, since the envelope, filter and effects are the same, but a synth gives you far more control over the filter sweep.
Start from something plain. Avoid presets labelled supersaw, pad or ambient, because their long release times and slow filter movement fight every setting you are about to change. A basic init patch with one saw wave is the right starting point.
2. Create the Core Progressive House Pluck Sound
Load two oscillators, one saw and one square, and tune the saw one octave above the square so the two occupy the same register. Turn unison on for both, set five to seven voices, and spread them to roughly half the width. Add a moderate detune, somewhere between 10 and 45 cents, which is the range the widely used SynthMaster pluck recipe uses at 43.5 cents.
Next, put both oscillators through a low-pass filter at 24 dB per octave. That is Lowpass 4 in Massive and the LP24 setting in most others. A 12 dB slope leaves too much top-end energy and the sound reads as a soft synth stab instead of a pluck.
Set the filter cutoff high to start, around 8 kHz, and give the filter envelope a fast decay. Attack at 0 to 3 ms, decay between 120 and 200 ms, sustain at zero, and an amp release of 30 to 80 ms. Sustain at zero is the detail people miss: a plucked sound has no held level, it just decays to nothing.
Finally, set resonance to 20 to 35 percent. Enough to give the note an audible pitch edge, not so much that it whistles on every hit.
Turn oscillator retriggering off. This is the single most cited failure mode on producer forums. When retriggering is on, every new note resets the phase of all unison voices, they re-align and the sound collapses into a thin, phasey blip. A long-running r/edmproduction synth recipe on progressive house plucks calls this out explicitly, and it applies to every synth with the option.
| Parameter | Starting value | What it does |
|---|---|---|
| Oscillators | Saw plus square, saw an octave up | Fills the midrange so the note has a body |
| Unison voices | 5 to 7 per oscillator | Thickens the decay tail |
| Detune | 10 to 45 cents | Widens without turning chorus-y |
| Retriggering | Off | Stops unison voices re-syncing on every note |
| Filter type | Low-pass, 24 dB per octave | Removes top end as the envelope closes |
| Cutoff at start | Around 8 kHz | Sets the brightness of the transient |
| Filter envelope decay | 120 to 200 ms | The length of the sweep |
| Filter envelope amount | 60 to 80 percent | How far the cutoff travels |
| Resonance | 20 to 35 percent | Gives the note a defined pitch edge |
| Amp attack | 0 to 3 ms | Keeps the transient tight |
| Amp decay | 180 to 320 ms | How long the note is audible |
| Amp sustain | 0 | Prevents the sound holding like a pad |
| Amp release | 30 to 80 ms | Short tail, no muddiness |
Now tune the whole patch to the key of your track. Detune values mean nothing in a different key, so check the root note against your bass and chord layers before you move on.
3. Add Movement with Filter Modulation
Add movement with a slow LFO on filter cutoff, or map a macro to cutoff and ride it live. The classic Anjuna-style trick is to assign a macro to the filter cutoff so you can open the sound up over eight or sixteen bars into a breakdown and close it again before the drop. Serum users often do this with Macro 1 driving the cutoff directly.
Keep the depth small. An LFO rate around 0.2 to 0.5 Hz with a depth of 10 to 20 percent gives a breathing quality without turning the pluck into a sci-fi effect. Velocity modulation works well too, and costs nothing: setting the filter envelope amount slightly higher on the MIDI side means harder hits sound brighter.
Automate the decay as well as the cutoff in the last bar before a drop, and the pluck will feel like it is opening up rather than just getting louder.
4. Arrange a Repeating MIDI Pattern
Here is the part most tutorials skip. The pluck is not a preset, it is a rhythm, and the pattern is what makes it read as progressive house rather than as an EDM stab.
First, how you write the notes. Use long note lengths, at least 90 percent of the gate, and let the short amp envelope do the shaping. If you write short MIDI notes you get a staccato chirp, which is a different instrument. The pluck comes from a held gate with a fast decay inside the synth.
Then place the hits off the beat. In 4/4 at the usual 122 to 128 BPM, the classic progressive house position is the second and fourth beats of the bar, the “and” of each, sometimes doubled at the sixteenth level. Use rests instead of velocity to create space, and let the filter movement handle the tension.
Add octave jumps, either a note an octave up at the end of each two-bar phrase or a root reinforcement an octave below. Both are common, and both give the pattern forward motion without adding more notes.
| Progression | Notes in C major | Where it fits |
|---|---|---|
| i – VI – III – VII | C, Ab, Eb, Bb | Classic uplifting breakdown, most common choice |
| vi – IV – I – V | Am, F, C, G | Warm and slightly wistful, good under a vocal |
| I – V – vi – IV | C, G, Am, F | Anthemic, suits a pre-drop hook |
| i – VII – VI – VII | C, Bb, Ab, Bb | Darker, works in breakdowns and intros |
| IV – I – V – vi | F, C, G, Am | Melancholy, sits nicely under pads |
| i – VI – VII – i | C, Ab, Bb, C | Slow build, resolves back to the root |
Finally, keep velocities consistent. A uniform 100 to 120 across the pattern makes the pluck reliable in the mix, and any accent you add should be a deliberate one or two points louder.
5. Apply Reverb, Delay, and Width
Put a high-pass filter at 300 to 500 Hz on the pluck bus first. The pluck does not need low end, and clearing that space keeps it from fighting the kick and sub bass.
Then add a short reverb with a decay of roughly 0.8 to 1.5 seconds and a small pre-delay, about 30 ms. Long reverb turns the pluck into a pad and washes out the transient that made it work. A ping-pong delay on the eighth or the dotted eighth at about 30 percent wet adds the repeats that sit behind the beat and make the groove feel wider.
Chorus is the third option, at a light mix of 20 to 30 percent. It thickens without blurring. Keep the dry pluck in the centre and let the delay and reverb carry the width, otherwise the stereo image smears and the pluck disappears behind the bass.
6. Process the Pluck for a Full Mix
Balance the level first. The pluck usually sits slightly under the lead and roughly level with or just beneath the kick, and in most progressive house mixes it is sidechain compressed to the kick so it breathes in the gaps. That pumping is part of the genre, not a mistake.
Use EQ to carve rather than to boost. Cut below 200 to 300 Hz if it is muddying the bass, take a small dip around 400 to 600 Hz if the mids feel congested, and add a modest lift between 2 and 4 kHz for presence on small speakers. If it is fizzy on headphones, pull the top shelf down rather than reaching for a de-esser.
A gentle saturator before the reverb adds harmonics that survive the filtering, and a short compression with a fast attack keeps the transients consistent. For stereo placement, pan a second detuned copy slightly apart rather than widening a single instance, and resample the track once you are happy. A pluck patch with seven unison voices on every oscillator adds up fast, and freezing it costs you nothing.
Common Mistakes and How to Fix Them
A thin pluck that sounds phasey or hollow
Turn off oscillator retriggering first, then reduce the detune slightly. Retriggering re-aligns the unison voices on every note, and no amount of extra width will fix it once they are in phase. If the sound is still thin, you have too few voices or too little detune rather than too much.
A dull or harsh attack
Shorten the amp attack to under 3 ms and raise the starting cutoff. A dull attack almost always means the filter envelope is starting too low, so the note begins filtered. A harsh, fizzy attack means the opposite, so lower the starting cutoff and pull down the top shelf.
A muddy low end
High-pass the pluck bus at 300 to 500 Hz and check the release time. A release longer than about 100 ms stacks with the next note’s body and fills the low-mid range. Cutting sustain to zero fixes the same problem at the source.
Repeats you cannot hear
Sync the delay to the tempo and check whether it is being filtered out. A high-passed delay with a long tail, or a reverb drowning the dry signal, both erase the repeats. Drop the reverb mix, set the delay to 1/8 or dotted 1/8, and check the return level before changing anything else.
A pattern that feels too busy
Cut notes, not velocity. Six to eight hits per two bars is plenty for the pluck to carry a breakdown, and removing the sixteenth-level doubles usually fixes a crowded groove instantly. If it still feels busy, lower the filter envelope amount so the added notes sit darker and further back.
A few closing tips. Build the sound without effects first, then add the chain, because it is much easier to hear what a filter change did before a reverb is covering it. And keep a second version with a longer decay and a higher cutoff, since that single variation is usually enough to build a pluck bass or a lead from the same patch.
Frequently Asked Questions
What synth is best for a progressive house pluck?
Any subtractive synth with two oscillators, unison voices and a resonant low-pass filter will do it. Serum, Vital, Massive, Sylenth1 and Ableton Wavetable all handle the recipe, and hardware like the SH-101 and DSI Rev 2 give a slightly rounder top end. The settings matter far more than the instrument, and no synth makes the sound on its own.
Should a progressive house pluck use reverb or delay?
Use both, but keep them short. A reverb with a decay of 0.8 to 1.5 seconds gives it air without turning the pluck into a pad, and a ping-pong delay on the eighth or dotted eighth puts repeats behind the beat. If you can only use one, pick delay, because the dry transient survives and the groove stays tight.
How do I make my pluck sound brighter without becoming harsh?
Raise the starting filter cutoff and add a small boost between 2 and 4 kHz rather than lifting the top shelf. High-shelf boost adds harshness that scales with your unison voices, while the 2 to 4 kHz range adds presence without fizz. If it is still sharp on headphones, pull the top shelf down a few dB instead.
What MIDI pattern works best for a progressive house pluck?
Write long notes at 90 percent gate or more and let the amp envelope create the short sound, rather than writing short MIDI notes. Place hits on the second and fourth beats of the bar with occasional sixteenths, use rests for space, and add octave jumps at the end of each two-bar phrase for forward motion.
How loud should the pluck be in a progressive house mix?
Sit it just under the lead and around level with the kick, then sidechain compress it to the kick so it breathes in the gaps. The exact level matters less than the space around it, so check the pluck on small speakers and make sure the bass and vocal still read clearly underneath.
If you want to know how to make a progressive house pluck, build it in this order: two oscillators, five to seven unison voices, retriggering off, a 24 dB low-pass filter swept by a fast envelope, sustain at zero. That gets you the sound in about fifteen minutes.
The pattern and the effects are what turn it into a progressive house sound, so write those next: long MIDI notes on the offbeats, a short reverb, a ping-pong delay on the eighth, and a filter macro you can open up into the breakdown. After that, resample and move on to the rest of the track.