Knowing how to use dither when bouncing a master comes down to one rule: turn it on only when the export bit depth is lower than the bit depth your session runs at. Dither is not a noise generator you add for taste, it is a fix for one specific problem, the distortion you hear when bit depth gets cut on the way out. On a typical EDM master the whole job takes under a minute inside the export dialog, and it goes wrong mostly through double-dithering or clipping before the bounce.
Bouncing a track, rendering it, exporting it, saving it off, they all mean the same thing in most DAWs. You are writing the finished mix out of the session as a file on your hard drive, and that file has to pick a bit depth, a sample rate and a dither setting. Pick them wrong and you hand a mastering engineer, a label or your own future self an audio file with damage baked in.
Table of Contents
- What You Need
- Step-by-Step: How to Use Dither When Bouncing a Master
- Do I Need Dither When Bouncing a Master?
- Set the Master Headroom and Levels
- Choose Dither and Noise Shaping
- Bounce and Verify the Final File
- Differences in Ableton Live, FL Studio, Logic Pro, Cubase, and Studio One
- Common Mistakes
- Frequently Asked Questions
- Should I use dither when exporting a 24-bit master?
- Is noise shaping the same as dither?
- How much headroom should I leave before bouncing a master?
- Does dither make an EDM master sound noisier?
- Should I use dither for a master uploaded to Spotify, Apple Music, or YouTube?
What You Need
Before the export dialog, four terms do all the work in this guide, and mixing them up causes most of the confusion in forums and comments threads alike.
Bit depth is how many discrete steps each sample of audio can land on. Sixteen bits gives you 65,536 steps per sample and a theoretical noise floor around minus 96 dBFS. Twenty-four bits gives you roughly 16.8 million steps and a noise floor near minus 144 dBFS. Most DAW sessions run in 32-bit float or 64-bit float, which is where nearly all your quiet detail actually lives.
Sample rate is how many times per second your audio is measured, 44,100 Hz or 48,000 Hz for music. It has nothing to do with bit depth, and changing it never creates a reason to dither.
Dither is a tiny amount of random noise added just before bit depth is reduced. It randomizes the rounding error so the error turns into an even noise floor instead of a signal-correlated distortion.
Noise shaping is a curve that pushes that noise up out of the ear’s most sensitive band, usually from around 3 to 4 kHz up toward 15 to 18 kHz, where most listeners hear it far less. Shaping and dither are partners, not the same thing, and some plugins offer shaping without adding dither at all.
For the actual work you need a finished, frozen mix with nothing else to fix, a master channel that still has 3 to 6 dB of peak headroom, a target export format decided in advance, and a way to check the result. A DAW that shows file properties on import, plus decent headphones and a playback level that does not need cranking, is enough to verify a bounce properly.
Step-by-Step: How to Use Dither When Bouncing a Master
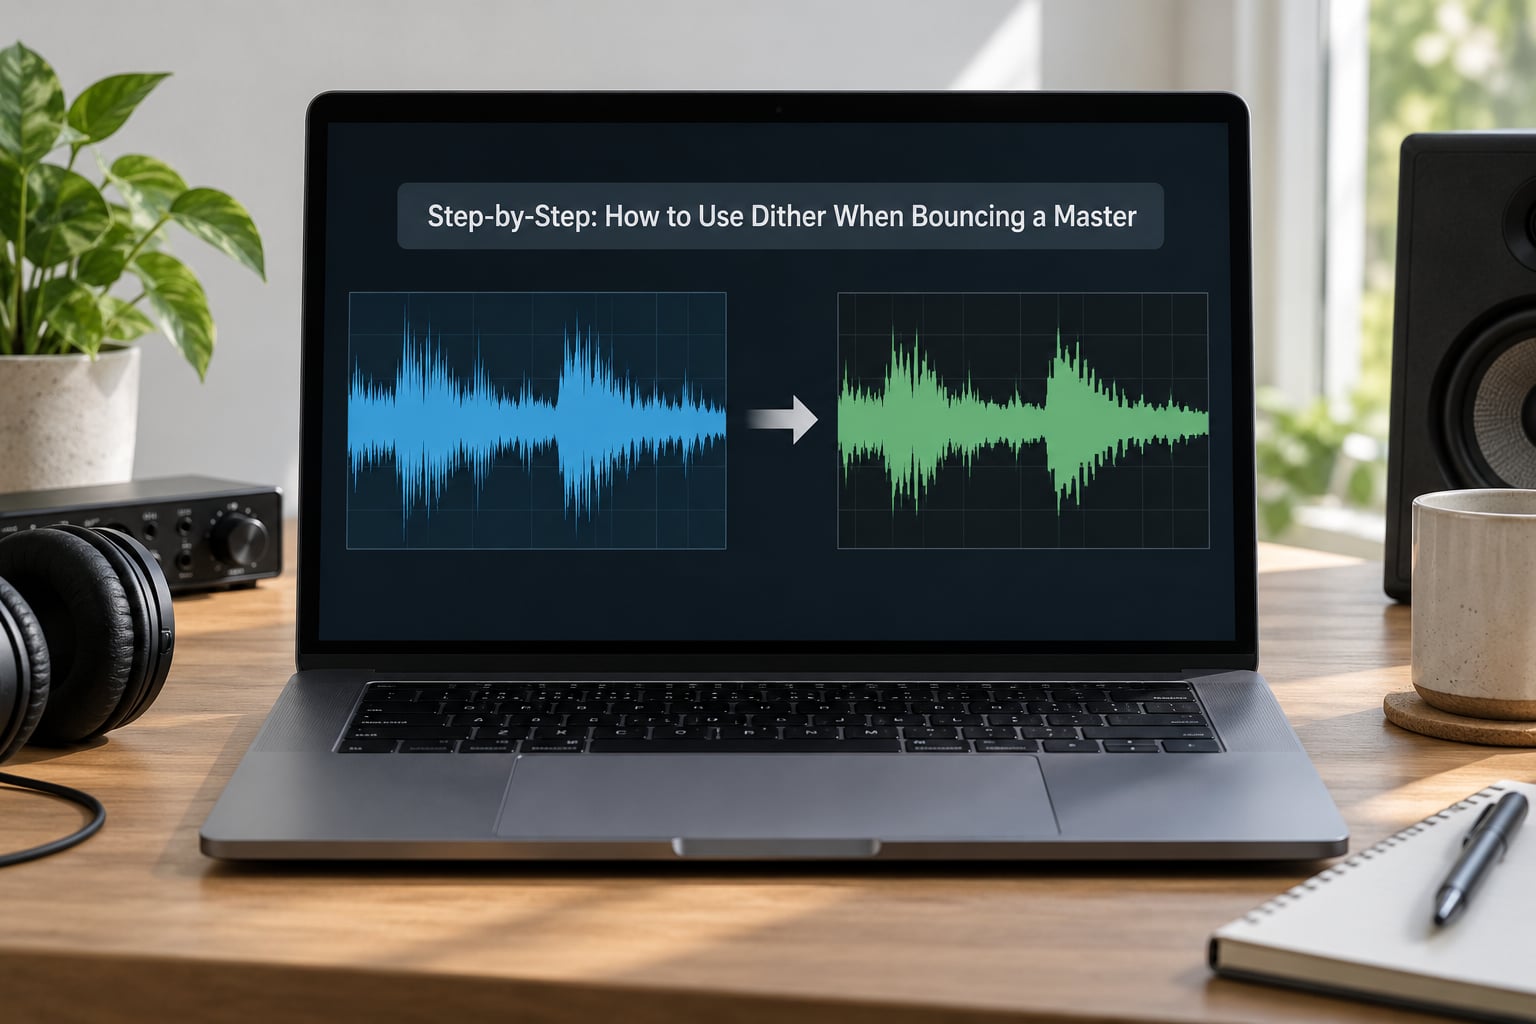
Six steps, in this order, and the order matters more than any setting.
Do I Need Dither When Bouncing a Master?
You need dither when, and only when, you reduce bit depth. Expanding it is never the answer, and neither is changing sample rate.
| Session runs at | You export at | Dither? | Reason |
|---|---|---|---|
| 32-bit float | 24-bit | No | Float to integer conversion leaves far more headroom than any finished mix uses, so truncation error sits well under the noise floor |
| 32-bit float | 16-bit | Yes | You are dropping 16 bits at once, so truncation error becomes plainly audible in quiet passages |
| 24-bit | 16-bit | Yes | The classic case, an 8-bit reduction on a mix that still has detail to lose |
| 24-bit | 24-bit | No | Nothing was truncated, so there is no rounding error to randomize |
| Any | MP3 or AAC | Dither the WAV first | Lossy encoding does not replace dither, it just hides some of the noise you get from it |
Here is why reduction needs it. Without dither, the DAW rounds or truncates each sample to the nearest point on the coarser grid, and because that rounding error is correlated with the signal itself it lands as distortion rather than as random noise. You notice it in exactly the fragile places: the first bars of an intro, a reverb tail under a vocal, the last seconds of a fade. With dither, some samples round up and others round down, so the error averages out and the extra precision from your float session survives as a quiet, steady floor instead of as crunch.
The rule that gets repeated most often on mixing and mastering forums is the same one: dither on the reduction, nothing on the same-depth export, and no dither at all when you are only resampling.
Set the Master Headroom and Levels
Leave roughly 3 to 6 dB of peak headroom on the master output and stop there. A finished mix peaking at minus 1 dBFS is normal, one peaking at 0 dBFS on every single hit is a mix that will clip on someone else’s converter, and no amount of dither fixes clipped audio because clipping happened before the noise was added.
So run the limiter first, check the peaks, and only then look at dither settings. Dither belongs after the limiter, on the very last stage of the master bus or in the export dialog itself. Putting it before the limiter means the noise gets pushed and compressed along with the music, which raises its level and makes it more audible than it needs to be.
Switch your meters to true peak mode while you check. Inter-sample peaks can push a couple of dB above your sample peaks, so a mix that reads safely in ordinary peak mode can still overshoot on the way out. If your DAW has a loudness meter, use it as a sanity check too, but do not chase a target number while you are still mixing.
Choose Dither and Noise Shaping
Use one dither stage. One. Whatever you pick, pick a single option and leave it alone.
| Option | Where you see it | Best for |
|---|---|---|
| TPDF, triangular PDF | Nearly every DAW, plain unshaped option | Stems, sample libraries, anything that reopens in a bigger project, and the safe default when you are unsure |
| TPDF with noise shaping | Ableton, Reaper, most built-in menus | General delivery where you want less audible noise |
| POW-r Type 1, 2, 3 | Pro Tools bounce dialog, Ozone Maximizer | Type 1 for quiet and dynamic material, Type 2 as a middle ground, Type 3 for loud modern masters |
| UV22HR | Logic bounce and convert dialogs | General 16-bit delivery where you want a clean, quiet result |
| MBIT+ | Ableton export dialog, Reaper render dialog | Noisy 16-bit sources such as saturated analog material |
| IDR, Increased Digital Resolution | Waves L1, L2 and L3 maximizers | Final CD and broadcast deliverables from a limiter chain |
| SoX | Command line and some Linux setups | Headless or scripted exports where you want a proven unshaped TPDF implementation |
Rectangular dither, which is plain random noise, is the one option to skip. It adds about 3 dB more noise than TPDF and gives you nothing back. TPDF uses two random sources added together, which produces a triangular distribution, decorrelates the error properly and is why most built-in dithers default to it.
On shaping, the common advice is that aggressive shaping belongs on final delivery, not on stems. Files that will rejoin a project gain nothing from shaped noise, and the shaping curve can interact badly with whatever lossy encoder touches the file later.
Bounce and Verify the Final File
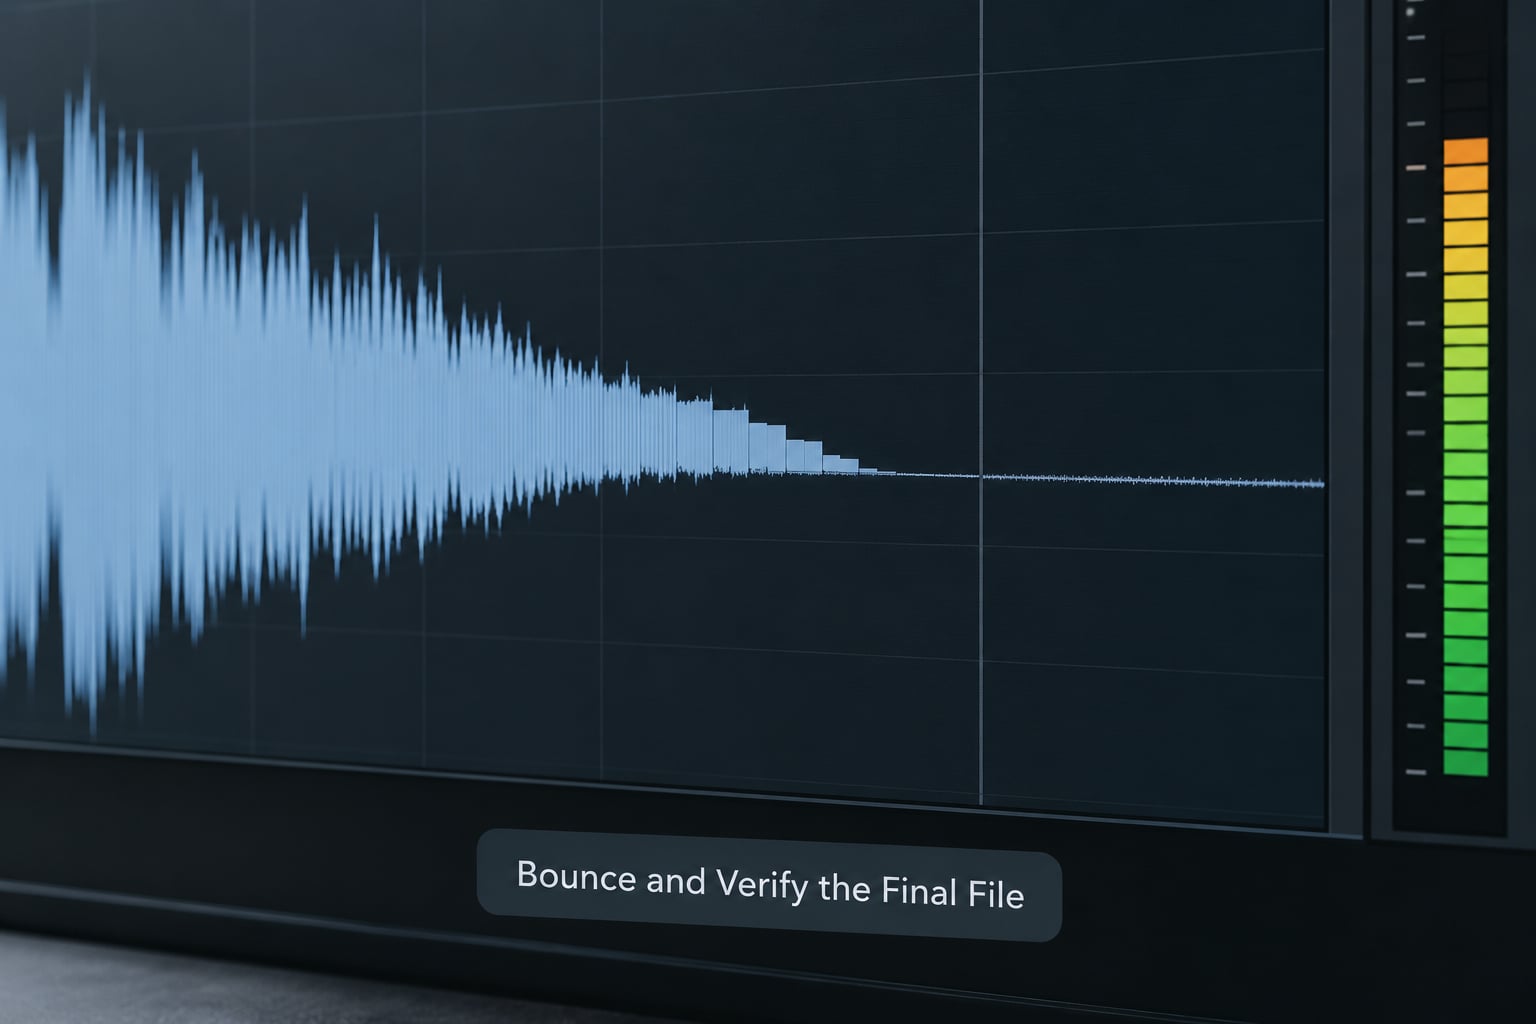
Export, then check the file rather than trusting the dialog. Import the bounce into a new empty session and look at its properties, confirming bit depth and sample rate match what you chose, and confirm the track is not quieter or duller than the session it came from. A drop in level after bouncing usually means dither was applied where it was not needed.
Listen at a matched level, then listen louder. The two moments that expose bad bounces are the quiet intro and the fade-out, and the tell for missing dither is a faint but distinct grit or scratchiness on the decay rather than a sudden click. Smooth reverb tails and clean fade endings are the whole point, so if you can hear the noise floor sitting with the track, your shaping is probably too light or your dither is running twice.
If you have a spectrogram view in your DAW, a dithered fade shows a low-level noise band spreading evenly across the spectrum. A truncated one shows the quiet passages falling into flat blocks with hard steps and sudden graininess as levels drop.
Differences in Ableton Live, FL Studio, Logic Pro, Cubase, and Studio One
Menu labels move around between versions and operating systems, so check your own version if a name differs. The logic underneath stays the same.
Ableton Live: File, then Export Audio. In the dialog, set Sample Rate and Bit Depth first, then open the Dither dropdown. The list has included None, TPDF, TPDF with Shaping, MBIT+ and MBIT+ with Shaping in recent versions, with older builds offering a plainer set. Ableton is also the DAW most people experiment with pointlessly here, since every option sounds fine on a loud master, which is exactly why TPDF with shaping, or plain None for a 24-bit export, are the two choices worth remembering.
FL Studio: File, then Export, with WAV selected. The bit-depth selector lives in the format settings, with the dither option beside it, and FL Studio has offered POW-r style choices alongside a none option depending on version. For a 24-bit delivery, set 24-bit and leave dither off. For a 16-bit file, choose the shaped option.
Logic Pro: File, then Bounce, with PCM as the format. Bit Depth sets 16, 24 or 32, and the Dither menu below it offers None, POW-r and POW-r with noise shaping. Logic also has File, then Convert Sample Rate, which changes sample rate without touching bit depth, and no dither is needed there.
Cubase: File, then Export, then Audio Mixdown. The Format tab holds the Sample Rate, Bit Depth and Word Length settings, plus a Dither menu with No Dither, Dither and Dither with Noise Shaping. Cubase also exposes dither as an insert on the master channel, which is useful when you want to check the result before exporting.
Studio One: File, then Export, and look for the bit-depth and Dither fields in the dialog, where the options cover truncation, TPDF and TPDF with shaping depending on version. Studio One applies dither on export by default in many versions, so verify what is ticked rather than assuming nothing is happening.
Two more worth naming: in Pro Tools, File then Bounce to Disk gives you bit depth plus a POW-r Type 1, 2 or 3 selector and separate dither checkboxes, and in Reaper, File then Render exposes sample rate, bit depth and a dither list that has included None, TPDF and noise-shaped options such as MBIT+.
Common Mistakes
Clipping before you dither. Once a sample is pinned at full scale, dither cannot rescue it. Leave headroom on the master and run the limiter first.
Dithering a 24-bit or 32-bit export. Going from 32-bit float to 24-bit is a common source of extra noise for no benefit. Nothing was truncated, so nothing needs dithering.
Dithering too early in the chain. A dither plugin on the master bus before your compressor or limiter means the noise gets boosted along with the music.
Stacking dither stages. A limiter such as FabFilter Pro-L, the Ozone Maximizer or a Waves L1 to L3 can carry its own dither, and then the export dialog adds a second. Check your plugin settings before you tick the box, because two stages stack into a noticeably higher and grainier noise floor.
Treating dither as noise reduction. Dither does not clean anything up. It replaces distortion with noise, and if your problem was a noisy mix, reach for the mix instead.
Re-dithering a returned master. This is the one people ask about most: your mastering engineer sends a 16-bit master, you edit it and save it again at 16-bit with dither on, and now it carries two dither stages. If you need to re-edit a finished master, ask for a 24-bit version, and if that is not possible, be deliberate about the fact that the file is already dithered.
Mastering again after the bounce. The bounce is the end of your process. If you want louder, louder belongs in the mix before the export, not in a second pass on a finished file.
Assuming a loud master hides everything. Dense masters mask dither noise well, which is why people argue that dither does not matter. It does, and the proof is the quiet intro, the breath before the drop and the fade, which is where truncation damage shows up regardless of how loud the drop is.
Frequently Asked Questions
Should I use dither when exporting a 24-bit master?
Usually no. If your session runs in 32-bit or 64-bit float and you export at 24-bit, there is more precision in the file than your mix actually uses, so the tiny truncation error sits far below the noise floor of the finished music. Dither it only if your master bus chain, such as a limiter with dither built in, is already producing an integer output. Reserve dither for exports where the target bit depth is genuinely lower than the source.
Is noise shaping the same as dither?
No, shaping is a filter applied to dither noise. Dither adds the small random signal that randomizes rounding error. Noise shaping then moves that noise up in frequency, away from the band where human hearing is most sensitive around 3 to 4 kHz and up toward 15 to 18 kHz. Some plugins let you shape without dither, which does nothing useful on its own, since shaping only redistributes noise that already exists.
How much headroom should I leave before bouncing a master?
Aim for a peak level roughly 3 to 6 dB below full scale on your master output, which most finished EDM masters sit around minus 1 dBFS. Headroom protects against inter-sample peaks that ordinary meters do not show and against clipping in whatever converter plays the file back. Run your limiter, check the peaks in true peak mode, and do not push the master to 0 dBFS on every hit just to make the meters look impressive.
Does dither make an EDM master sound noisier?
It adds a small amount of noise, yes, but that noise is steady and uncorrelated with the music, so it reads as smooth rather than as distortion. What you hear instead without dither is harsher and more noticeable, especially on quiet intros and reverb tails. Noise shaping keeps the added level low by pushing it up in frequency. If your bounce is obviously noisy, you are usually dithering twice, not dithering once properly.
Should I use dither for a master uploaded to Spotify, Apple Music, or YouTube?
Dither only if you are reducing bit depth to make that file. A 24-bit WAV uploaded straight to streaming services needs no dither, and neither does a high-resolution file. If you deliver a 16-bit master, dither the 16-bit step so the platform does not truncate it again. Streaming platforms re-encode your file with lossy codecs either way, so avoid aggressive noise shaping, which can become audible after AAC or MP3 compression.
Start with one habit and the rest follows: decide the delivery format before you touch the export dialog, then set bit depth first and dither second. Most finished masters want 24-bit at your session’s native sample rate with dither switched off, and the 16-bit cases are the ones that genuinely need it.
Take ten seconds to check whether your limiter already dithers, bounce the file, and listen to the intro and the fade before you call it done. Everything else on this list is detail that follows from those three moves.