Produce at 24-bit / 48 kHz, then export your finished master at 24-bit / 44.1 kHz, and dither only when a distributor insists on 16-bit. That is the short version of what sample rate should you produce at for EDM. Everything else is a variation on it: 44.1 kHz end to end still works fine, 96 kHz earns its keep in a narrow set of jobs, and the rate you export at is a separate decision from the rate you work in.
Most of the confusion on this topic comes from collapsing those two decisions into one. The rest comes from interfaces advertising 192 kHz and producers reading that as advice.
Table of Contents
- What Sample Rate Should You Produce At for EDM Releases?
- 44.1 kHz vs 48 kHz: Which Should You Use?
- How Do I Choose a Sample Rate for My DAW Project?
- Where is this track going?
- What are your samples and plugins already at?
- What can your interface do natively?
- How often do you change projects?
- Where the bit depth decision fits
- DAW defaults worth knowing
- Should I Produce at 96 kHz or a Higher Sample Rate?
- Three myths worth dropping
- Can I Change Sample Rate Later?
- What Sample Rate Should I Use for Streaming, Vinyl, and Demos?
- Frequently Asked Questions
- What sample rate is best for producing EDM?
- Is 44.1 kHz still good enough for music production?
- Should I make music at 44.1 kHz or 48 kHz?
- Does changing the sample rate reduce audio quality?
- Do I need to produce at 96 kHz for electronic music?
- What sample rate should I export my finished track at?
- Conclusion
What Sample Rate Should You Produce At for EDM Releases?
Work at 48 kHz, deliver at 44.1 kHz. Nearly every EDM release ends up on Spotify, Apple Music, SoundCloud or a streaming video platform, and all of those are perfectly happy with 44.1 kHz, so that is where the master ends up.
The reason to produce at 48 kHz rather than 44.1 kHz is not that it sounds better. It is that 48 kHz is the rate video runs at, and because a conversion step has a small quality cost that you can simply avoid by not converting at all.
Sample rate is the number of times per second your DAW measures the amplitude of the incoming signal. At 44.1 kHz it takes 44,100 snapshots every second, at 48 kHz it takes 48,000, and it draws straight lines between the points.
By the Nyquist theorem the highest frequency a system can represent is half the sample rate. That puts the ceiling at 22,050 Hz for 44.1 kHz and 24,000 Hz for 48 kHz, comfortably above the roughly 20 kHz most people can hear, which is why every rate on this list captures the same music.
44.1 kHz vs 48 kHz: Which Should You Use?
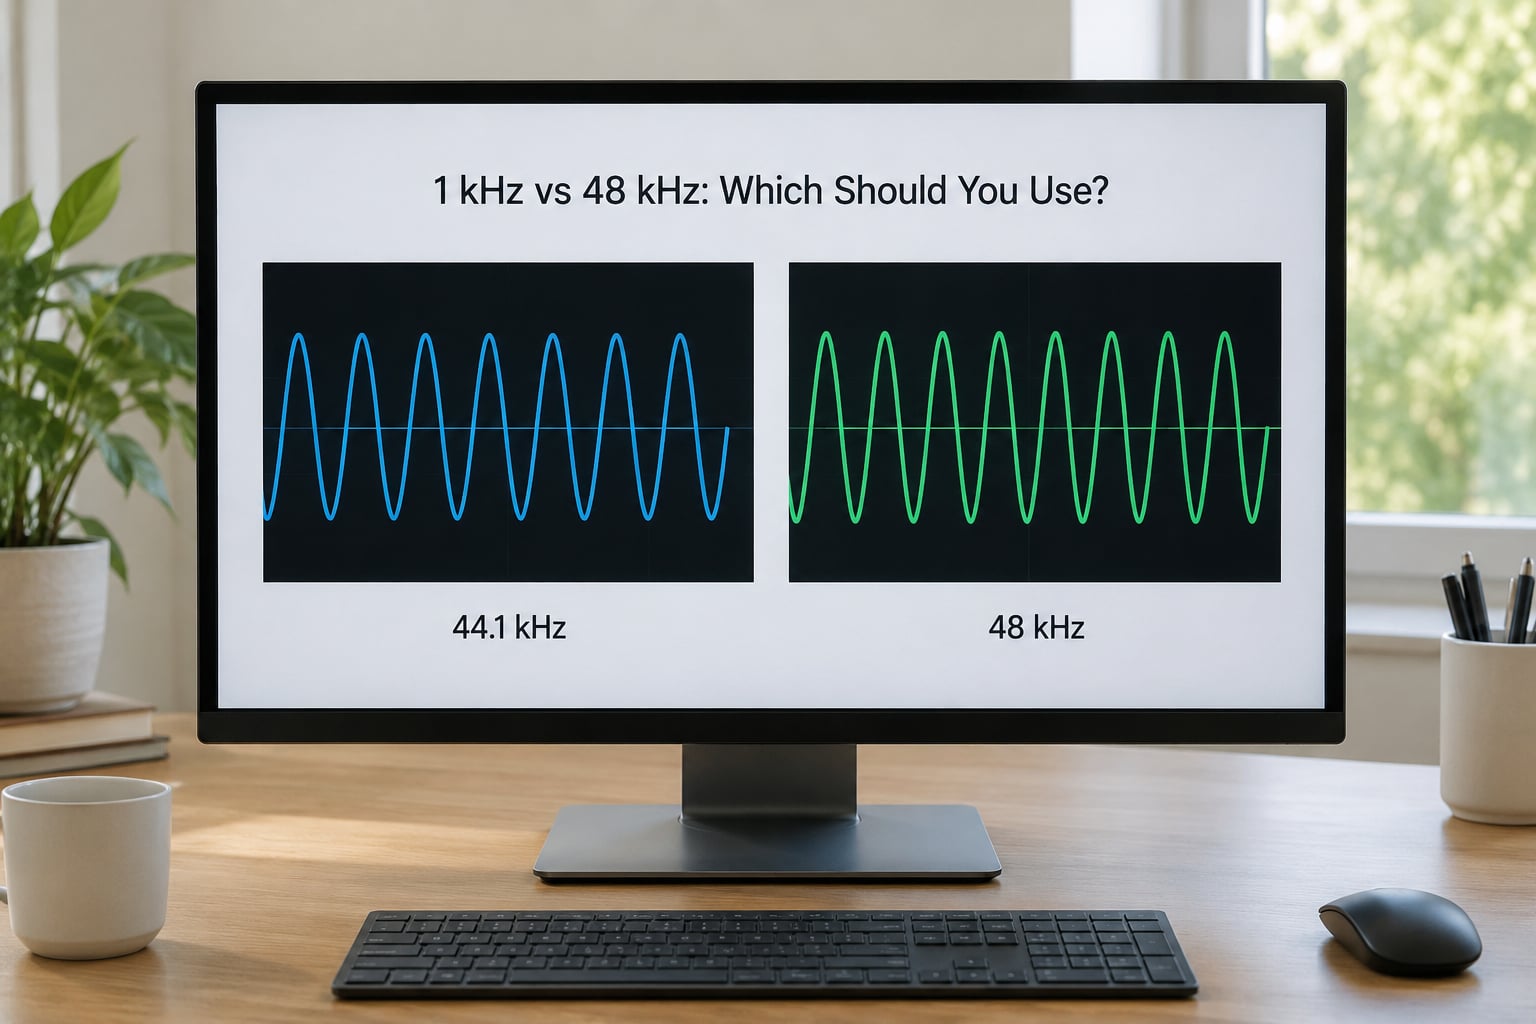
Both rates are legitimate. The split between them is history, not acoustics.
| Criterion | 44.1 kHz | 48 kHz |
|---|---|---|
| Where it came from | The CD standard, agreed by Philips and Sony in 1982 | The video and broadcast standard, tied to film and television frame rates |
| Highest representable frequency | 22,050 Hz | 24,000 Hz |
| Streaming services | Native rate for music delivery and most distributors | Accepted everywhere, but not what most music is stored as |
| Video and sync | Requires conversion if a picture element is involved | Native, no conversion |
| Typical studio hardware | Fine, but some interfaces convert internally | Most interfaces run natively here |
| Resampling risk | One conversion if you produced at 48 kHz | One conversion if you deliver at 44.1 kHz |
| Who it suits | Producers whose whole chain is already 44.1 kHz, or who deliver to CD or vinyl | Anyone recording, producing for video, or working with stems that arrived at 48 kHz |
A user on GearSpace put the practical version well: 44.1 kHz is perfect for audio, 48 kHz too if you are working with video. Neither is the wrong answer.
There is one recurring claim worth dismissing early. People sometimes report that bass disappears at 96 kHz or at 48 kHz, and it does not. The Nyquist ceiling moves up at higher rates, never down, so no low-frequency content is lost.
The reverse complaint, that high rates sound thinner or brighter, is expectation bias. On r/FL_Studio one producer described working at 48 kHz for years without knowing, switching to 96 kHz and immediately hearing an improvement, then adding that they might be biased. That is the honest part. Knowing the rate changed is enough to make something sound different.
How Do I Choose a Sample Rate for My DAW Project?
Ask four questions in order and the answer falls out of them.
Where is this track going?
Streaming music, a club playout file, a vinyl master or a distributor upload all point to 44.1 kHz at the end. Video, a live stream, a podcast, a film trailer or game audio points to 48 kHz. Mixed destinations such as a release that also ships as a music video are best handled at 48 kHz, since one conversion is cheaper than two.
What are your samples and plugins already at?
Drum one-shots from libraries are overwhelmingly 44.1 kHz, often 16-bit. Virtual instruments resample their internal content to your session rate transparently, so the library rate is not a blocker, but a project full of pre-rendered audio that cannot resample is a reason to stay at 44.1 kHz.
What can your interface do natively?
A current interface at 48 kHz is fine, and so is one at 44.1 kHz. Interfaces that run 44.1 kHz on a Windows driver but 48 kHz on a Mac are a legacy quirk worth checking before you commit, and that check takes five minutes.
How often do you change projects?
If you jump between music, podcast and video work constantly, standardise on 48 kHz so you are not re-deciding every morning. Consistency beats a marginally better choice made twice.
Where the bit depth decision fits
Sample rate is the number of snapshots. Bit depth is how many amplitude values each snapshot can hold, and that is where recording quality actually lives.
16-bit gives 65,536 values per snapshot and a theoretical noise floor around minus 96 dBFS. 24-bit gives 16,777,216 values and a floor near minus 144 dBFS, so the extra headroom sits far below anything audible in the finished track.
That headroom is what lets you record quietly and avoid clipping on a loud transient. Record a snare hit peaking at minus 3 dBFS and 16-bit runs out of room at a level most beginners think of as safe. 24-bit does not care.
Set the session to 24-bit, and 32-bit float if your DAW offers it and your machine has the headroom. Float is the internal format most DAWs use to mix in, and it removes internal clipping from the equation entirely.
DAW defaults worth knowing
Menu paths differ between versions and platforms, so treat these as the setting to look for rather than a click-by-click route.
- Ableton Live exposes sample rate and bit depth in Preferences under Audio, either as Sample Rate and Bit Depth or in the Audio Device panel depending on version.
- FL Studio shows Audio settings in the Options menu, where sample rate and bit depth sit side by side.
- Logic Pro keeps them in Preferences under Audio, in the General or Sample Rate tab.
- Cubase uses Audio Settings under the Studio menu.
- Studio One places them in Audio under Project Settings, where sample rate and bit depth are set together.
- Bitwig Studio sets them in Settings under Audio, and also allows per-track overrides.
- Reason exposes the values in the Settings window, and applies them the next time a document opens.
Should I Produce at 96 kHz or a Higher Sample Rate?
Only for a few specific jobs. For most EDM, 96 kHz costs double the storage and a chunk of CPU and buys nothing you can hear on the release.
The argument for going higher is genuinely technical. If you plan to pitch a sample down sharply, stretch a loop to twice its length, or run several generations of time-based processing, starting with more real frequency content in hand means the algorithm has more to work with and is less likely to produce aliasing artefacts.
The honest version is that oversampling helps inside a resampling algorithm, which is why some tools ask for a high-rate input. Once you are exporting a finished file at 44.1 kHz, everything above 22,050 Hz is discarded no matter what you did on the way.
| Rate | Ceiling | Stereo WAV size per minute | Worth it for |
|---|---|---|---|
| 44.1 kHz / 16-bit | 22,050 Hz | About 10 MB | CD, and little else |
| 44.1 kHz / 24-bit | 22,050 Hz | About 15 MB | Delivered masters |
| 48 kHz / 24-bit | 24,000 Hz | About 17 MB | Daily session rate |
| 96 kHz / 24-bit | 48,000 Hz | About 33 MB | Heavy resampling, archival |
| 96 kHz / 32-bit float | 48,000 Hz | About 44 MB | Archival captures |
Three myths worth dropping
Higher is always better. Above roughly 20 kHz there is no audible difference in blind tests, and any preference you feel after switching is usually expectation. Browse any r/audiophile thread and you will find dozens of titles asking whether anyone can actually hear the difference, which settles how settled the question is.
Record as hot as possible. Gain staging matters in analogue, and in digital the fixed headroom of 24-bit means you can record conservatively and still have a clean file. Pushing a track to minus 0.1 dBFS to catch a straggling peak buys nothing and risks clipping on playback.
Match your interface’s maximum rate. A spec sheet advertising 192 kHz tells you the converter can run fast. It does not tell you the converter sounds better there, and running at that rate usually means more load per plugin. Set the rate your work needs.
One genuine side effect of high rates is that tape-emulation and some nonlinear plugins behave differently, since their modelled oversampling targets change. If you like a specific tape setting, test it at the rate you will actually work in.
Can I Change Sample Rate Later?
Yes, and the DAW makes it non-destructive, which answers most of the worry in the forum threads about this. Files recorded at one rate can be dropped into a session at another and the DAW resamples them on the fly. Your original recording is untouched.
What you cannot do is get information back that was never captured. Converting 44.1 kHz audio to 48 kHz does not add real content above 22,050 Hz, it just interpolates. On its own that is inaudible. Chained conversions, doing it three times across three projects, accumulate small errors that start to show as imaging or a dull top end.
| Scenario | Convert? | What to expect |
|---|---|---|
| Project already open and half finished | No | Finish it and convert once on export |
| Stems from a collaborator at the other rate | No | The session resamples them automatically |
| 96 kHz vocals over a 44.1 kHz instrumental | No | Fine for a mix; match the rate on the print |
| Export for a distributor | Yes | One conversion, done at the bounce |
| Pitching a sample down hard | Sometimes | Record or find the source at 96 kHz first |
| Long video timeline | Yes | Match the rate to the picture and check for drift |
That third row deserves a note. Recording a vocal at 96 kHz over a 44.1 kHz instrumental is a normal, workable thing to do. The vocal gets resampled into the session, the mix happens at the session rate, and you export once.
The one case worth caring about is long-form video. When two independent clocks drive separate machines, they drift slowly against each other, and a mismatch of one sample accumulates into an audible lip-sync slip over a long sequence. Match the rate and clock everything to the same source.
The safest habit is to bounce the full mix at one rate and stamp it, rather than exporting individual tracks at whatever the session happened to be. Stem handoffs that arrive mixed rates are the most common source of grief downstream.
What Sample Rate Should I Use for Streaming, Vinyl, and Demos?
Each destination has its own answer, and the table below is the one to bookmark.
| Destination | Work at | Export at | Bit depth |
|---|---|---|---|
| Spotify, Apple Music, SoundCloud, Beatport | 48 kHz | 44.1 kHz | 24-bit |
| Club and festival playout | 48 kHz | 44.1 kHz | 24-bit |
| CD or vinyl master | 44.1 kHz | 44.1 kHz | 24-bit, dithered to 16-bit only if asked |
| YouTube, Vimeo, music video | 48 kHz | 48 kHz | 24-bit |
| Podcast and voiceover | 48 kHz | 48 kHz | 24-bit |
| Sync and production libraries | 48 kHz | As specified, usually 48 kHz | 24-bit |
| Demos and feedback | Whatever the project is | 44.1 kHz | 16-bit is fine here |
Dither is the one piece people get wrong. It is noise added when you reduce bit depth, and it exists to replace the distortion you would otherwise get by simply chopping the bottom bits off. Apply it on the final bounce only, never during the mix and never more than once.
So: dither when going 24-bit to 16-bit. Skip it when exporting 24-bit WAV for streaming, because no bit reduction is happening and dithering would only add noise. Dithering a full-scale 24-bit master is one of the few ways to make a track audibly worse.
A delivery checklist that covers almost every release: WAV, 24-bit, sample rate matching the destination table above, stereo unless it is genuinely surround, peak near minus 1 dBFS rather than at zero, a version number in the filename, and no limiter on the print unless the label asked for one.
Frequently Asked Questions
What sample rate is best for producing EDM?
Produce at 48 kHz and 24-bit, then export the finished master at 44.1 kHz. The working rate is 48 kHz because it is what video runs at and most interfaces handle it natively, so any conversion happens once at the end rather than repeatedly along the way. It is not an audible quality difference; it is a workflow one.
Is 44.1 kHz still good enough for music production?
Yes. 44.1 kHz captures frequencies up to 22,050 Hz, well above what most people can hear, and it remains the native delivery rate for CD and for music streaming. Working entirely in 44.1 kHz costs you nothing in sound. The only reason to move up is to avoid a conversion when video or 48 kHz stems are involved.
Should I make music at 44.1 kHz or 48 kHz?
Choose 48 kHz if you record, produce for video, work with collaborators sending 48 kHz stems, or switch between music and voiceover often. Choose 44.1 kHz if your samples, plugins and interface are already there and every destination is music. Both are correct answers. Pick one and stay in it for the length of the project.
Does changing the sample rate reduce audio quality?
A single conversion is essentially transparent and you will not hear it. Repeated conversions degrade quality gradually, which is the real risk, along with the risk of clock drift when two machines run separate timelines. Convert once, at the export stage, and bounce the full mix at one rate rather than exporting tracks individually at mixed rates.
Do I need to produce at 96 kHz for electronic music?
No, not for ordinary releases. 96 kHz is justified when you plan heavy pitch shifting, long time-stretching or several generations of time-based processing, because a higher rate gives the resampling algorithm more real content to work with. It also doubles your file sizes and adds CPU load, and everything above 22,050 Hz is discarded in a 44.1 kHz master anyway.
What sample rate should I export my finished track at?
Export at 44.1 kHz and 24-bit for streaming music, club playout files and most distributor uploads. Export at 48 kHz and 24-bit for anything with picture: video, live streams, podcasts and most sync briefs. Use 16-bit only for an actual CD master, and apply dither once on that final bounce rather than at any earlier stage.
Conclusion
Set the session to 24-bit / 48 kHz before you lay down a single clip, keep it there for the whole project, and bounce the master at 24-bit / 44.1 kHz when the track is finished.
If your work is already at 44.1 kHz, stay there. Nothing about switching will improve the track, and the project you already have is in good shape.
Save 96 kHz for the jobs that genuinely need it, and dither only on a real 16-bit bounce. The rest of the debate is noise in a different sense of the word.