Yes, you can master an EDM track at home, and plenty of released dance records started in a bedroom with a stock limiter and a pair of monitors. The goal is not to make the track as loud as possible. It is to make the track loud and clean, sitting properly next to commercial releases on Spotify, in a DJ set, and on a club rig, without the squashed, brittle distortion that comes from chasing numbers. That takes a finished mix, the right chain order, measured levels, and a handful of reference tracks to check your work against.
Here is the workflow I use, in the order it has to happen: prepare the mix with headroom, measure where you actually are, correct the balance with EQ, add gentle compression, check the stereo image, raise level with a true-peak limiter, then compare and export. Budget two to three focused sessions rather than one long night. EDM material is repetitive and loud, and your ears will lie to you long before the plugin meters do.
One more thing worth saying up front. Mastering cannot fix a mix that is out of balance. If the kick and sub-bass are fighting, or the reverb sits on top of the lead vocal, a home mastering chain will only amplify those problems louder, which is exactly why step one is preparation and not EQ.
Table of Contents
- What You Need Before You Start
- A finished, balanced mix
- A metering tool
- Five processors
- Reference tracks
- An export path
- Step-by-Step: How to Master an EDM Track at Home
- 1. Prepare a release-ready mix
- 2. Check levels, headroom, and the loudness target
- 3. Apply corrective EQ
- 4. Control dynamics with compression
- 5. Improve stereo imaging without losing focus
- 6. Set the final limiter and raise loudness
- 7. Compare, export, and QC the master
- Common Mistakes to Avoid
- Frequently Asked Questions
- Can I master a track myself?
- Is LUFS loud enough for a master?
- How loud should my mix be before mastering?
- Do I need a limiter to master an EDM track at home?
- Can I master an EDM track using only stock DAW plugins?
- Why does my EDM master sound distorted?
- Conclusion
What You Need Before You Start
Home mastering needs far less gear than people think. You need a reliable DAW, a way to measure loudness, five processors, and something honest to compare against. Everything else is refinement.
A finished, balanced mix
This is the whole prerequisite. If the mix is not release-ready, mastering your own track at home is the wrong task right now. Go back and fix levels, panning, and the kick-to-bass relationship in the mix.
A metering tool
Install a loudness meter that shows LUFS integrated, short-term, momentary, and true peak. Youlean Loudness Meter Free and most DAWs’ built-in meters cover this, and iLoudMeter for iOS works if you want to check on a phone. Without real numbers you are guessing.
Five processors
- EQ — corrective only, mostly subtractive.
- Compressor — one or two, set gently.
- Stereo imager or mid/side EQ — for width control and a mono check.
- Saturation — optional, but it glues a mix together nicely.
- True-peak limiter — the only plugin doing the loudness job.
Every major DAW ships all five. Ableton, Logic, FL Studio, Reaper, and Bitwig each have a stock EQ, compressor, and limiter that will do this job properly, so paid plugins are a nicety rather than a requirement.
Reference tracks
Pick two or three tracks in the same sub-genre that you know sound good on the systems you care about. These are your reality check, and they matter more than any plugin.
An export path
Plan to bounce at the session’s native sample rate and bit depth, usually 44.1 kHz or 48 kHz at 24-bit. For vinyl, cut the export at 24-bit with no dither applied.
Step-by-Step: How to Master an EDM Track at Home
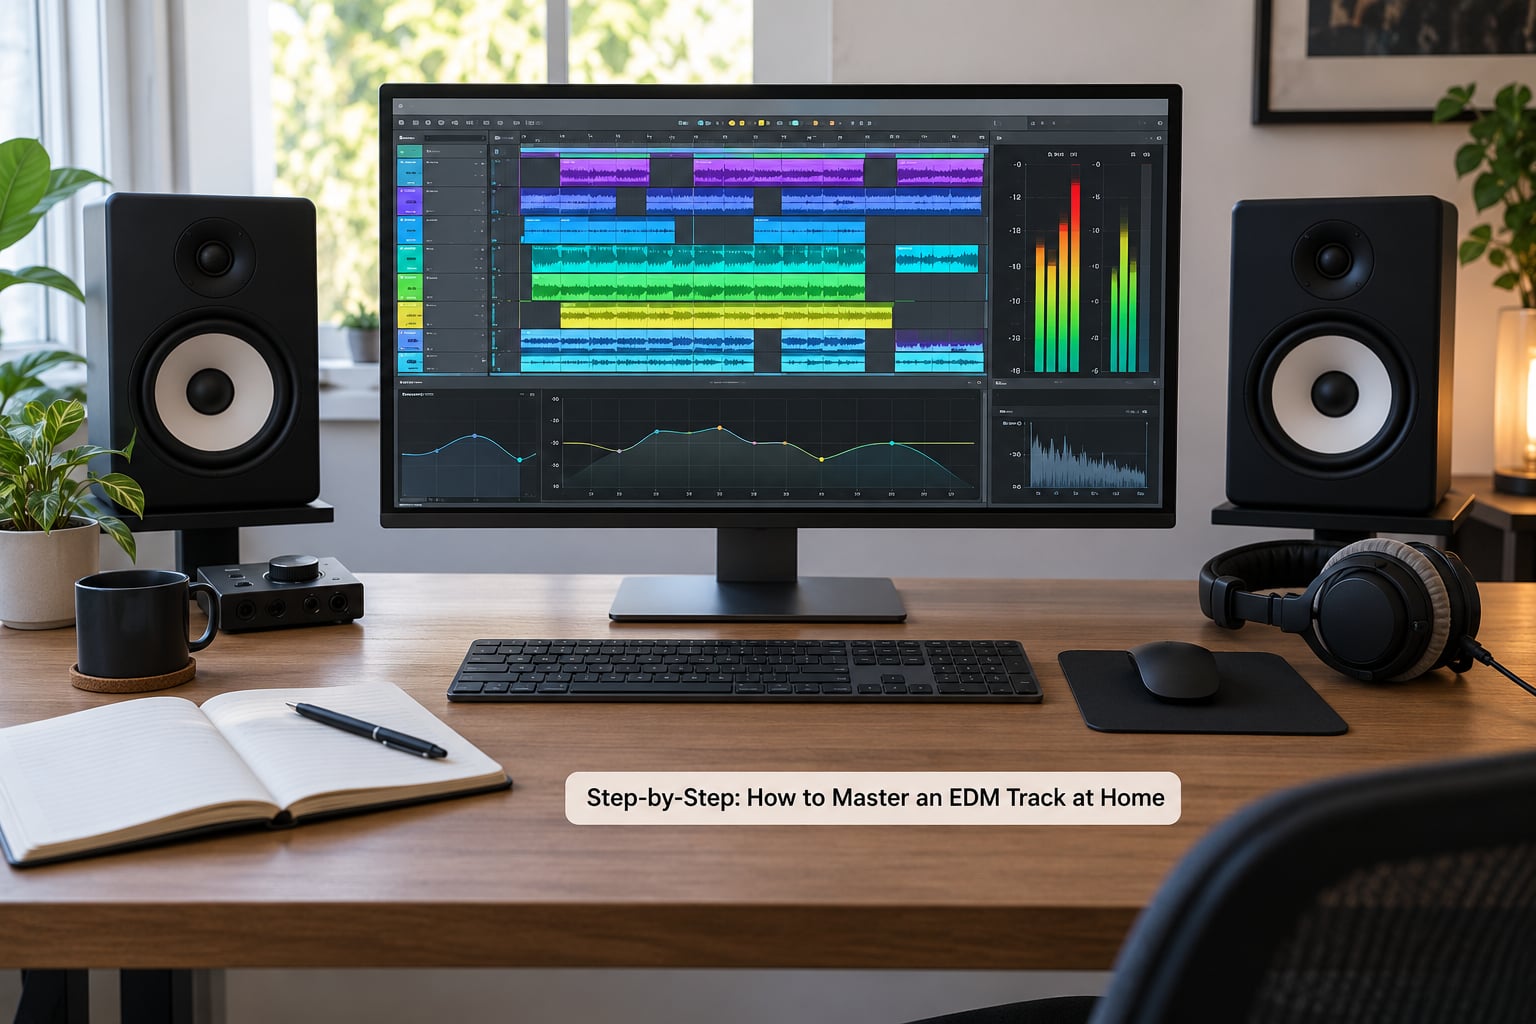
Seven steps, in this order. Each one exists for a reason, and skipping ahead usually costs you the final two steps.
1. Prepare a release-ready mix
Duplicate your session or bounce the mix to a new, empty project at full quality. Then remove any limiter from the mix bus, because the mastering limiter needs something to work with.
Export with headroom: aim for a peak around -6 dBFS and an RMS level of about -18 to -20 dB. That gives your chain room to work. Handing over a mix already pinned at 0 dBFS is the most common reason a home master ends up distorted.
Check the mix twice before you process anything: once at your normal listening level, and once turned down low. At low level you will hear the balance, the mud, and whether anything is missing. If the mix sounds right at low level and wrong at high level, the problem is headroom, not balance.
2. Check levels, headroom, and the loudness target
Read your meters before touching a plugin. LUFS integrated tells you the perceived loudness of the whole track. Short-term and momentary values show how it behaves over seconds. True peak, or dBTP, is the inter-sample peak a limiter must catch.
Pick the destination first, because that number decides everything downstream.
| Destination | Target (LUFS integrated) | True peak ceiling | Notes |
|---|---|---|---|
| Spotify | -13 to -14 | -1 dBTP | Normalization turns down anything louder |
| Apple Music | -15 to -16 | -1 dBTP | Similar behaviour, slightly quieter target |
| YouTube | -13 to -14 | -1 dBTP | Normalizes quietly on louder content |
| Beatport and DJ play | -8 to -10 | -0.5 to -1 dBTP | Club-facing, louder and more dynamic |
| Vinyl cut | -14 to -16 | -3 dBTP or lower | Extra low-end headroom for the lathe |
If you are only releasing to streaming, one master around -14 LUFS is enough. If a DJ will play it or you want a club version, export a second master 4 to 6 LU louder and keep it more dynamic, typically between -8 and -10 LUFS. The streaming master wins on clarity; the club master wins on impact.
3. Apply corrective EQ
Put a high-pass filter at around 25 to 30 Hz with a gentle slope. Nothing useful in a dance track lives down there, and clearing it frees headroom for everything else.
Then look at 150 to 300 Hz, the classic muddy zone where kick body, bass, and chord stabs pile up. A 1 to 2 dB cut there with a wide Q usually clears the fog. Above 10 kHz, if the track feels harsh on small speakers, take a dB or two off; if it feels dull on earbuds, add a gentle high shelf instead.
Work in small moves, solo each band, and compare against your reference at matched level. Mastering EQ is a clean-up tool, not a redesign. If your mix needs 6 dB of cut somewhere, the problem is in the mixdown and no mastering chain will save it.
4. Control dynamics with compression
Bus compression in EDM is a glue tool, not a loudness tool. Start with 2:1 ratio, a threshold set so you get 1 to 2 dB of gain reduction on the loudest moments, and an attack in the 10 to 30 ms range so the kick transient survives.
A faster attack catches more punch and ducks the whole groove noticeably. A slower one lets transients through and sounds smoother but looser. Either is valid; pick what suits the sub-genre and check it does not flatten the track.
Keep the sidechain pump audible. If your pads and plucks duck away under the kick, gentle mastering compression should preserve that movement rather than iron it flat. A/B the bypass version and listen for loss of impact. If the master feels dead, take the compression back rather than reaching for the limiter.
5. Improve stereo imaging without losing focus
Solo, or use a mid/side split, and check the track in mono. Anything that disappears was relying on phase differences between left and right, which is phase cancellation you cannot hear on your monitors but everybody else can.
A correlation meter helps here. Readings close to plus one mean a wide, phase-coherent image; negative values mean your side content is fighting the mid channel. If it drops sharply, narrow the element causing it rather than flipping polarity on the master bus.
Only widen parts that can take it: pads, reverb returns, delays, arpeggios. Keep the kick drum, sub-bass, bassline, and lead vocal centred. Widen the bass and your track collapses on a club system, and mono-checking it reveals the damage immediately.
6. Set the final limiter and raise loudness
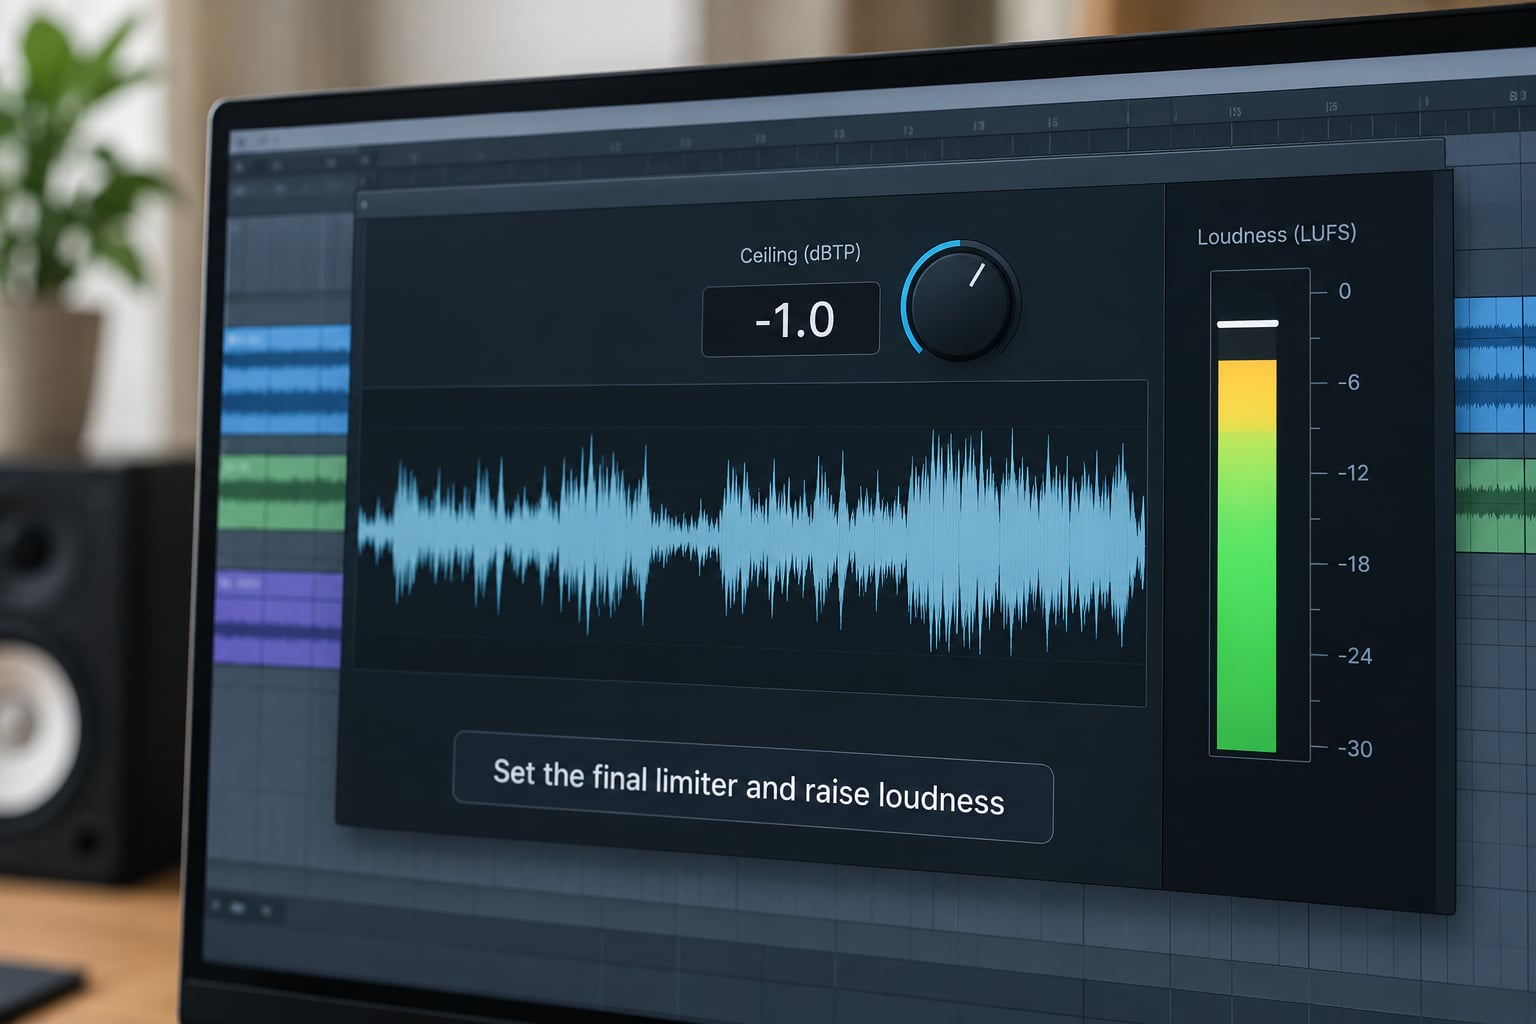
Load your limiter last, after EQ and compression. Set oversampling to at least 2x so it catches inter-sample peaks, enable look-ahead if the track has material that pulls back quickly, and set the ceiling to -1 dBTP for streaming masters or around -0.5 dBTP for a club master.
Set the release so the limiter recovers between the kick and the snare rather than over the whole bar. Around 50 to 150 ms suits most four-on-the-floor material; go shorter for busy techno, longer for slower trance.
Now drive the input gain until the loudness meter reaches your target and the reduction stays modest, ideally under 2 dB on peaks. That is the difference between a master that is loud and one that is better. If your limiter is pulling 4 dB constantly, something upstream needs fixing, and the distortion you hear is the limiter telling you so.
7. Compare, export, and QC the master
Level-match a reference before you judge anything. Measure the commercial track, set its playback gain so its integrated loudness matches yours, then flip between them at matched level. If you skip this, the louder track will always sound better and you will learn nothing.
Now test the master where people will actually hear it: headphones, nearfields, phone speakers, and a car system. Check that the kick still punches on the small speaker, the sub-bass is not disappearing, and there is no hiss or fizz in the top end.
Export at the session’s native sample rate and bit depth with no dither at the bounce stage, and never through a lossy intermediate. Check the file starts and ends at zero silence, then upload and listen on the streaming platform, because encoders change the picture.
Common Mistakes to Avoid
Almost every bad home EDM master traces back to one of these.
Mastering an unfinished mix. Fix the mix first. If you do not want to, send it to an engineer rather than making it worse yourself.
Leaving a limiter on the mix bus. The mastering chain then has nothing to grab, so you push harder and hear nothing but distortion. Bypass it before exporting the mix.
Chasing loudness. Every extra dB past your destination target is thrown away by loudness normalization and costs you transients. Stop at the number.
Pinning the mix at 0 dBFS. That is clipping, not headroom. Export at -6 dBFS peak.
Cutting the low end hard to fix mud. The problem is usually energy between 150 and 300 Hz, not the sub-bass below 60 Hz. Cut the mud band, keep the weight.
Widening the bass. Centre the kick and sub, and check in mono before you export. Wide low end disappears on a club system and on phones.
Over-using high-frequency air. Extra sparkle past 12 kHz gets harsh fast at high levels and disappears on compressed streaming. A dB or two is plenty.
Judging on one system. Headphones hide low-end problems and monitors hide harshness. Check at least three systems before you call it finished.
Working past ear fatigue. After two hours of loud, repetitive material your judgement degrades whether you notice or not. Take a 15-minute break every hour, and come back to the low-level check.
Trusting one number. LUFS tells you loudness, not quality. A track can hit -14 LUFS perfectly and still sound awful.
Frequently Asked Questions
Can I master a track myself?
Yes. Most independent releases are mastered at home or self-mastered before a quick outside review. What matters is a finished mix with headroom, a short correct chain, measured levels, and regular comparison against reference tracks. What you cannot do at home is fix a broken mix or fully compensate for a poor room, so check the result on several playback systems.
Is LUFS loud enough for a master?
LUFS measures perceived loudness, not quality, so there is no threshold where a master becomes good. For streaming, -13 to -14 LUFS integrated is a normal target and anything louder gets turned down by normalization. For DJ and club use, aim between -8 and -10 LUFS. Judge the result by listening, not by the meter alone.
How loud should my mix be before mastering?
Export the mix at roughly -6 dBFS peak with an RMS level around -18 to -20 dB, and remove any limiter from the mix bus first. That headroom lets the mastering chain apply EQ, compression, and limiting without clipping. A mix sitting at 0 dBFS has no room left and will only get more distorted.
Do I need a limiter to master an EDM track at home?
Practically, yes. The limiter is what raises the master to its loudness target while holding the ceiling below 0 dBTP so streaming encoders do not clip. Set oversampling to 2x or higher, use look-ahead, and keep gain reduction under about 2 dB on peaks. Constant heavy reduction means the level is too high.
Can I master an EDM track using only stock DAW plugins?
Yes, and most producers start there. Every major DAW includes an EQ, a compressor, a stereo imager, a saturator, and a true-peak limiter that handle this workflow. Use a free loudness meter such as Youlean Loudness Meter Free for LUFS and true peak. Paid plugins add convenience and character, not capability.
Why does my EDM master sound distorted?
Distortion almost always means too much level for the material. Common causes: a limiter still engaged on the mix bus, pushing gain reduction past 4 dB, cutting the low end so hard the limiter has to work constantly, or exporting at 0 dBFS. Back off the target, fix the upstream problem, and export with headroom.
Conclusion
Learning how to master an EDM track at home comes down to discipline, not plugin count. Confirm the mix is balanced, measure where it already sits, make small corrective moves in EQ and compression, keep the stereo image mono-safe and the low end centred, then raise the level last with a true-peak limiter set to your destination target.
Start today by bouncing your current track at -6 dBFS peak with the bus limiter off, and reading the integrated loudness. That number, plus one level-matched reference track, tells you more than another hour of guessing. Export in 24-bit at your native sample rate, check the result on three systems, and take a break before you decide whether it is finished.