Parallel compression blends a heavily compressed copy of your drum bus underneath the original dry signal, so the kit gains weight, body and sustain while the dry track keeps its natural transients and dynamics. It takes about ten minutes to set up and stays useful for the rest of the session, and no special hardware is required. This guide covers the routing, the compressor settings, the blend level and the failure modes that trip people up.
The technique shows up in nearly every record you can think of, and engineers on the r/mixingmastering and GearSpace threads describe it the same way: it sets a minimum volume for the drums, so quiet fills stop dropping out of the mix. Everything below is DAW-agnostic first, with routing notes for Ableton Live, Logic Pro X, FL Studio and Pro Tools at the end of each step.
Table of Contents
- What You Need
- Step-by-Step
- 1. Choose the Drum Sources to Process
- 2. Create a Parallel Compression Send
- 3. Add Aggressive Compression Settings
- 4. Blend the Processed Signal With the Dry Drums
- 5. Check the Result in Context
- Common Mistakes
- Frequently Asked Questions
- What is the best compressor setting for parallel compression on drums?
- Should I use parallel compression on the kick, snare, or the entire drum bus?
- How much gain reduction should I use for parallel drum compression?
- Why does my parallel-compressed drum sound quieter or less punchy?
- Can I use parallel compression without making my mix mono?
- Is parallel compression better than regular compression on a drum bus?
- Conclusion
What You Need
You need four things, and three of them you already own.
A DAW that can route an output to another track. Every major DAW does this through a send, a return or a routing matrix. A drum bus or at least a group that your kick, snare, toms and overheads feed into. A compressor, and the stock one in your DAW is genuinely enough for this, since you mostly need an adjustable ratio, a release you can hear move, and a gain reduction meter.
Your headphones or monitors matter more than usual here, because the blend decision is a listening decision. Some parallel-processing utilities help if your DAW has them: Ableton’s Racks, Logic’s multiple instances, a mixer send, or a plugin with a built-in mix knob. None of them are mandatory.
One preparation step before you start: commit to your drum balance and rough level first. Parallel processing on an unmixed bus just mixes up a mess you have not solved yet. If you want a broader foundation, our guide to drum mixing basics covers the level balance that comes before this.
Step-by-Step
1. Choose the Drum Sources to Process
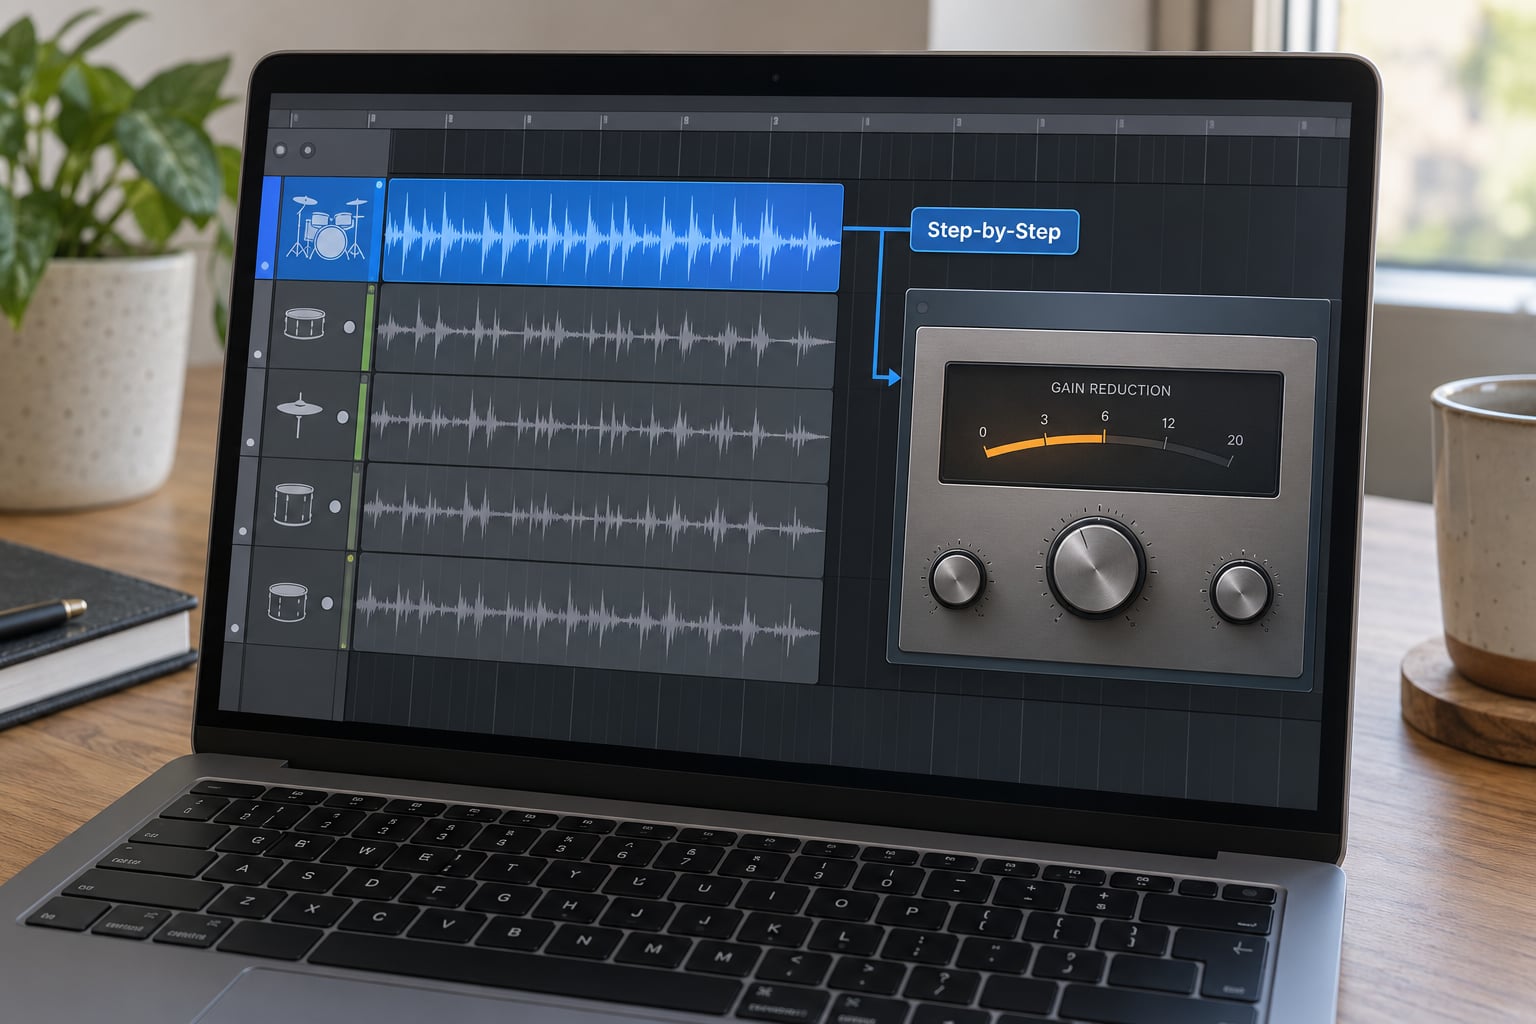
Start with the whole drum bus, because that is the fastest way to hear whether the technique works for you at all. Group your kick, snare, toms, overheads and room mics into one bus, or use the drum subgroup your template already gives you.
Then audition the alternatives, because they solve different problems. A snare-only send adds weight to the backbeat without touching the kick, which is useful when your kick already has plenty of low end. Grouping the toms and overheads together, or the whole kit apart from the kick, keeps the low end clean and stops the parallel layer from dragging sub around with it.
A useful check: solo the send return and listen to it on its own. If the crushed layer already sounds like a different, worse drum sound, you have gone too far, or the wrong source is feeding it.
2. Create a Parallel Compression Send
Create a new stereo return track and name it something clear, like DRUM PARALLEL. Then send the drum bus to it at 0 dB, pre-fader. That means the level feeding the parallel path stays constant no matter where you move the drum bus fader, so the wet-to-dry ratio does not drift every time you ride the drums.
A post-fader send is the common mistake. Post-fader is fine if you want the parallel amount to follow the drum level, which some people like in a breakdown, but as a default it makes the balance unpredictable and it is the first thing to fix when the layer suddenly disappears mid-mix.
Set the compressor plugin’s own wet/dry mix to 100% wet. The return track fader is doing the blending, so any dry signal inside the plugin is a second, unblended copy of the drums and it will confuse everything you hear.
Routing per DAW:
- Ableton Live: on the Group track holding your drums, enable a send (the two knobs under the track’s output section) to a new audio track, or drag from the group’s send arrows. Set the send to pre-fader if you want a fixed ratio.
- Logic Pro X: create an Audio Track, set its Output to a bus you name DRUM PARALLEL, then on the drum bus choose that bus under Sends. Insert the compressor on the return, not on the drum bus.
- FL Studio: create a Mixer Track, then on the drum bus right-click and choose Send to this track. Put the compressor in that mixer’s insert slot, and set the mixer’s fader to control the blend.
- Pro Tools: create a mono or stereo aux input, insert the compressor on it, and set the drum bus input as its source from the I/O window.
3. Add Aggressive Compression Settings
This is where the technique earns its name: the parallel layer is deliberately over-compressed, far past anything you would use as an insert. Engineers on the r/mixingmastering thread describe starting extreme, around a 10:1 ratio with a very low threshold, and then bringing the fader up and taming it.
A good starting point:
- Ratio: 8:1 to 20:1. Higher ratios on individual drum samples make the layer feel squashed and consistent.
- Threshold: low enough that you see 10 to 20 dB of steady gain reduction on the meter while a typical bar plays.
- Attack: 1 ms for a tight, aggressive layer that keeps the initial hit intact, or 20 to 30 ms for a slower, New York style layer that lets transients through before the compressor clamps down. The slow setting is why some layers sound phasey to beginners: it makes the quiet parts pass nearly unprocessed, so the layer’s character changes between hits.
- Knee: hard, so the compression stays consistent rather than easing in and out.
- Release: around 100 ms, set so gain reduction recovers between hits instead of sagging during a fill.
Makeup gain does not matter much here because the fader handles level, but watch one thing: if the threshold is too low, the layer also lifts room mics, bleed and noise floor. On an acoustic kit with real cymbals, that noise comes straight back up under your mix.
| Parameter | Drum bus parallel | Snare-only parallel |
|---|---|---|
| Ratio | 10:1 to 20:1 | 8:1 to 15:1 |
| Gain reduction | 10 to 20 dB | 8 to 15 dB |
| Attack | 1 ms, or 20 to 30 ms for New York style | 1 ms |
| Release | Around 100 ms | 80 to 120 ms |
| Knee | Hard | Hard |
| High-pass filter | 60 to 100 Hz | 150 to 250 Hz |
| Send level | 0 dB, pre-fader | 0 dB, pre-fader |
| New York EQ lifts | +6 to +10 dB at 100 Hz and 8 to 10 kHz | +4 to +6 dB at 8 kHz |
High-pass the parallel bus before the compressor, or at least before you commit to a blend. Without it, sub energy that was previously under the mix floor gets lifted into audible range and the kit turns to mud. For a New York style drum sound, boost around 100 Hz and 8 to 10 kHz after compression to fatten the layer and bring out the crack of the cymbals.
Alternative routing: instead of a send and return, use a compressor with a built-in mix or wet/dry knob as an insert on the drum bus, then turn the dry signal fully down and treat the plugin output as your parallel return. That gets you there in one plugin slot, but you lose the ability to automate the blend separately and the dry path is no longer independent.
4. Blend the Processed Signal With the Dry Drums
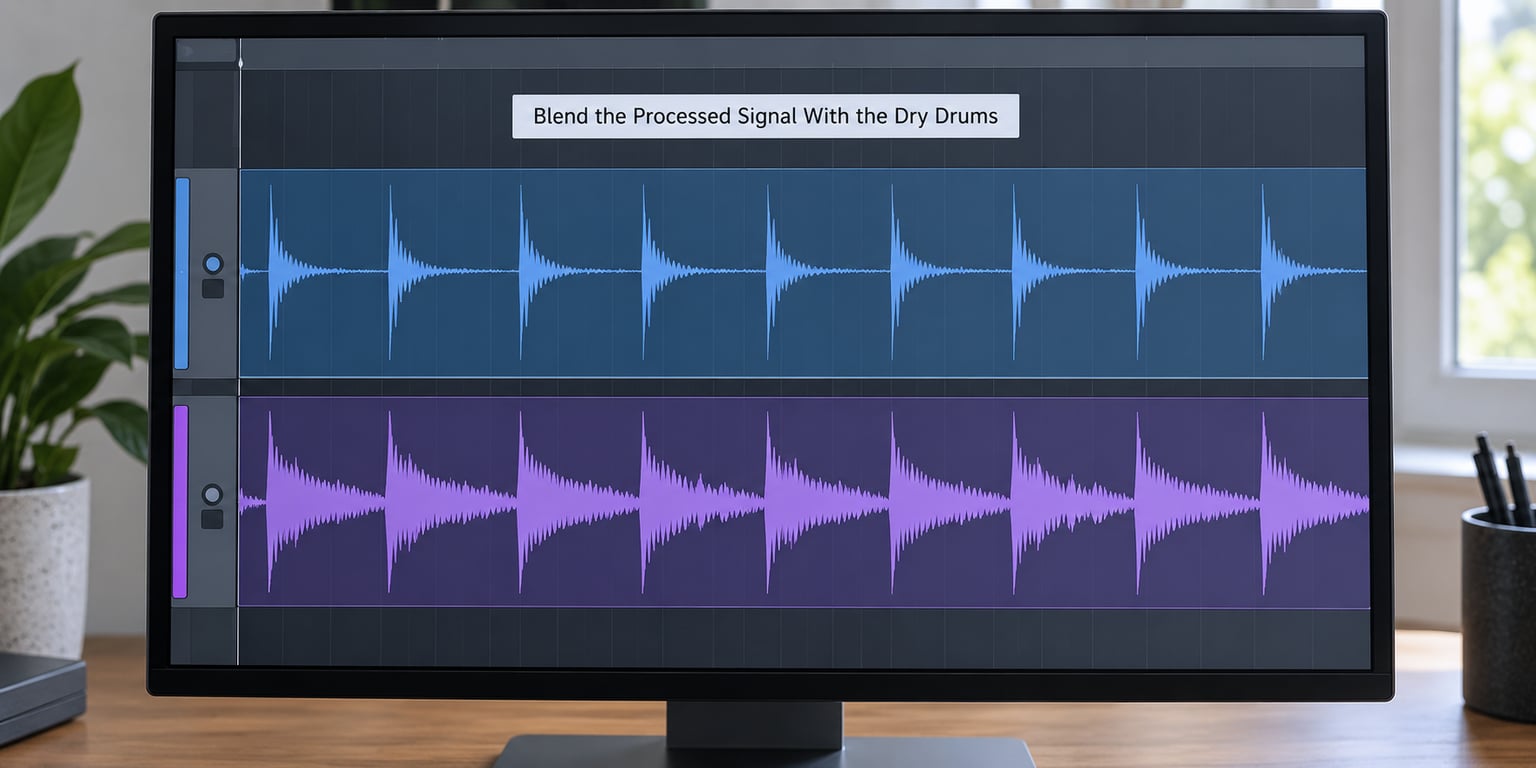
Bring the return fader up slowly from silence while a bar plays. Most of the time you will hear the kit get bigger and the quiet notes get pulled up before the obvious change, which is exactly the effect people describe on GearSpace: a minimum volume for the drums.
Stop before it goes flat. A practical heuristic is to back the blend off 1 to 2 dB from the point where the kit stops sounding like it has punch. Over-blending flattens the very transients the technique was meant to preserve, and you end up with drums that sound bigger and duller at the same time.
Two checks worth doing before you move on. First, solo the return and confirm it is doing something, because a return with no send feeding it looks identical to a working one when the drums are quiet. Second, A/B by muting and unmuting the return on a loop, and check the blend holds up at a different level. If the drums only work with the layer cranked, the send level is wrong.
5. Check the Result in Context
Soloing the parallel bus is a trap. It can sound fantastic alone and do nothing in the mix, or it can be fine in a loop and fall apart under the full arrangement. Bounce or play the whole track with the drums, the bass and the rest in place, and check the section before the one you have been working on.
Compare against the other instruments. If the kick is a sub-heavy 808, keep the kick out of the parallel bus, otherwise the sub and the crushed layer double up. If guitars or synths are already heavily compressed, less parallel drum compression is needed than you think.
Automate the return where the arrangement changes. A lower level in a breakdown and a higher level in the final chorus usually sounds more deliberate than one static setting, and a slow 2 dB move into the drop does a lot of work. If you parallel process bass or vocals later, the same routing pattern applies with slower attack and less gain reduction.
Common Mistakes
The parallel channel is set too softly. If the layer sounds fine soloed but the mix barely changes, the send level is the culprit. Pull the return fader down and confirm the meter is showing steady gain reduction of 10 dB or more during a bar.
The dry signal is already compressed. Heavy insert compression on the drum bus plus a parallel layer means you have flattened the kit twice. Reset the bus insert and let the parallel layer do the density work.
The wet return is too high. This is the most common failure. It sounds louder on the return fader but the mix gets worse, because you are hearing the layer without the dry transients to balance it. Back it off 1 to 2 dB.
Transient definition disappears. Usually a fast attack plus too much blend, or two compressions stacked. Slow the attack to 20 to 30 ms, or trim the layer level.
Attack and release times suit the wrong material. A 1 ms attack flattens rock transients, while a slow attack on a one-shot EDM loop makes the layer inconsistent between hits. Set release around 100 ms so gain reduction recovers between hits rather than sagging through a fill.
Room mics and bleed come up with the layer. Raise the threshold, high-pass harder, or pull the room channels out of the send. This one sneaks in on live kits because the noise is pleasant at low level and awful once it is parallel-compressed.
It sounds phasey or thin in the mix. Check delay compensation first, then move the attack time. As people on r/audioengineering and r/musicproduction point out, most phase problems blamed on parallel compression are really a slow attack or a disabled latency setting.
Two closing tips. Keep the drum bus and the parallel return as separate groups so you can print or bypass the whole thing later, and give the return track its own automation lane. Both save an afternoon when the chorus needs to be 2 dB fatter and you have to hunt for a buried plugin.
Frequently Asked Questions
What is the best compressor setting for parallel compression on drums?
Start at a 10:1 to 20:1 ratio with 10 to 20 dB of gain reduction, a hard knee and around a 100 ms release. Use a 1 ms attack for a tight, aggressive layer, or 20 to 30 ms for a slower New York style that lets transients through first. High-pass the parallel bus at 60 to 100 Hz and remember the return fader, not makeup gain, sets the final level.
Should I use parallel compression on the kick, snare, or the entire drum bus?
Start with the whole drum bus so you can hear whether the technique suits your mix at all. Move to a snare-only send when the kit already has heavy low end and you only want backbeat weight, or to everything except the kick when sub content would turn to mud. Sending the whole bus pulls every drum toward the same sound, so per-group sends give you more control.
How much gain reduction should I use for parallel drum compression?
Aim for 10 to 20 dB of steady gain reduction on the parallel channel while a normal bar plays. That is deliberately far past any insert setting you would use on the drum bus, and it is safe because the layer only becomes audible in proportion to the return fader. If you see more than about 20 dB on a live kit, room mics and noise are likely coming up with it.
Why does my parallel-compressed drum sound quieter or less punchy?
Usually the wet return is too high, so the crushed layer is masking the dry transients that carry the attack. Back the blend off 1 to 2 dB from the point where it stops sounding bigger. A second cause is stacking compression: reset the compressor on the dry drum bus and let the parallel layer handle density on its own.
Can I use parallel compression without making my mix mono?
Yes. Keep the parallel return stereo and the drum bus stereo, and the wet and dry signals sum in stereo the same way they are recorded. Problems come from multiband or dynamics-only processing on the same bus rather than from parallel compression itself. If the mix collapses, check that you have not routed a stereo return into a mono channel.
Is parallel compression better than regular compression on a drum bus?
It solves a different problem. Regular compression controls peaks and keeps the kit consistent but reduces the punch that makes drums cut through. Parallel compression adds perceived loudness and body while the dry signal keeps its transient impact, which is why both are often used together. If your kit already sounds flat before you start, fix that first.
Conclusion
If you do one thing first: group your drums, create a stereo return, send pre-fader at 0 dB, and set a 10:1 ratio with 10 to 20 dB of gain reduction and a 1 ms attack. High-pass that return at 60 to 100 Hz, bring the fader up until the kit feels bigger, then back off 1 to 2 dB before it sounds flat. Start small and add the parallel layer in context, not soloed.