How to use a limiter without squashing the mix comes down to restraint: leave the mix with a few dB of headroom, set the ceiling first, and pull the threshold down only until the loudest moments touch it. A limiter is just a compressor with an effectively infinite ratio, so every dB it removes is dynamic range you cannot get back. Most mixes sound flat not because the limiter is a bad tool, but because someone chased loudness with it.
Squashed limiting means the gain reduction is so aggressive and held so long that transients flatten, the crest factor collapses and the whole track loses impact. It usually sounds like every instrument sits at exactly one volume, with kick, snare and vocal mashed into the same slab.
This guide covers the workflow, the numbers and the listening checks, and it works with whatever limiter ships in your DAW. Menu names differ between Logic, Ableton and FL Studio, but the underlying controls are the same four: ceiling, threshold, attack, release.
Table of Contents
- What You Need
- Step-by-Step: How to Use a Limiter Without Squashing the Mix
- How to Set the Limiter Without Losing Dynamics
- Common Mistakes That Squash a Mix
- Pushing the threshold too far down
- Setting the ceiling wrong
- Setting the release too slow
- Limiting a mix that is already distorted upstream
- Boosting output after clipping
- Judging by loudness alone
- Leaving the limiter engaged on the mix bus all session
- Choosing Limiter Settings for Different Styles
- How to Check the Limited Mix
- Frequently Asked Questions
- How much gain reduction should I use on a limiter?
- What limiter settings preserve punch and dynamics?
- Should I limit my drum bus or the full mix?
- Why does limiting make my mix sound flat?
- What dB ceiling should I set for electronic music?
- Can I use volume normalization instead of a limiter?
- Conclusion
What You Need
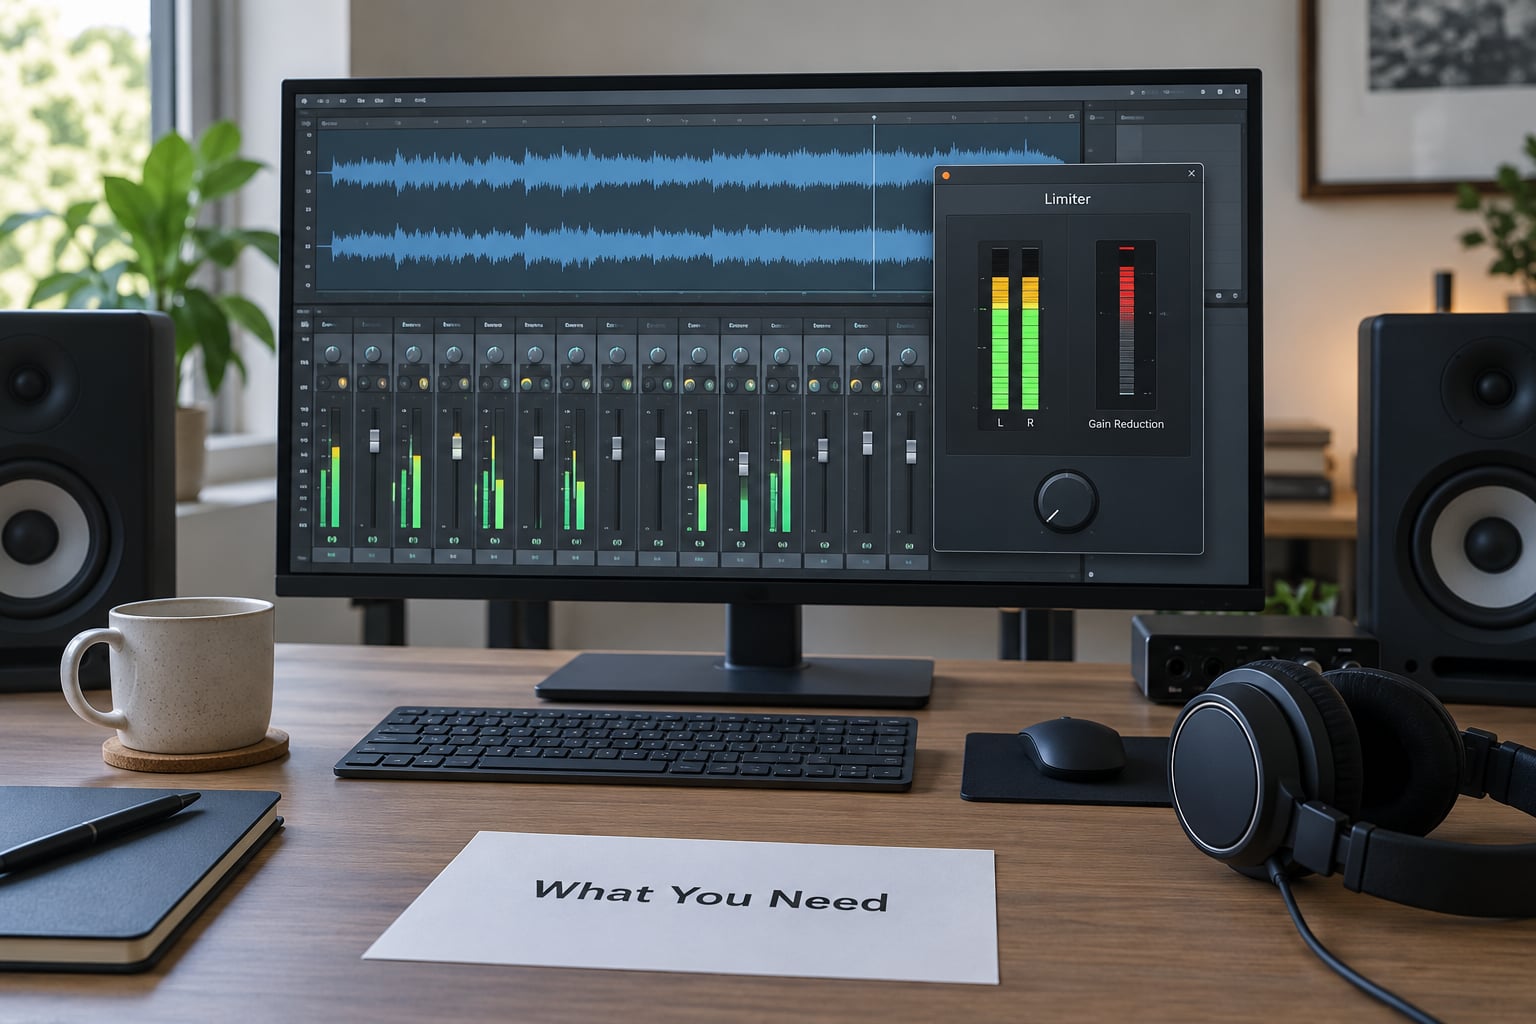
Before you touch a single knob, get four things in place. Skipping this prep is the single biggest reason limiter settings go wrong.
- A finished rough mix, or a complete one. A limiter on a half-built mix will pin whatever is loud right now and freeze you out of later balance decisions.
- 3 to 6 dB of headroom on the master fader. Peaks should be sitting near -6 dBFS before the limiter, not touching 0. Practitioners on the Fractal Audio forum describe mixing down to roughly -12 dB and using the limiter purely to set the final output level.
- A limiter already in your DAW. Every major DAW ships one, and it is good enough to learn the craft on.
- A true-peak and loudness meter. Built-in or plugin. Sample-peak meters lie about inter-sample peaks, and without a LUFS readout you are limiting blind.
- One reference track. A commercial track in the same genre, level-matched, on repeat. This is what tells you whether your limiter is honest.
Look for the equivalent of threshold, gain reduction meter, attack, release, ceiling and true-peak output controls in your DAW. Ableton’s glue compressor and limiter, Logic’s Adaptive Limiter and Master Limiter, and FL Studio’s Fruity Limiter all expose them under different labels.
One rule before you start: keep the limiter off while you are mixing. The recordingrevolution thread on mixing with a limiter makes the case clearly. A limiter on the mix bus during mixing skews your perception of the balance, so you stop hearing the real dynamics and start compensating for the limiting instead.
Step-by-Step: How to Use a Limiter Without Squashing the Mix
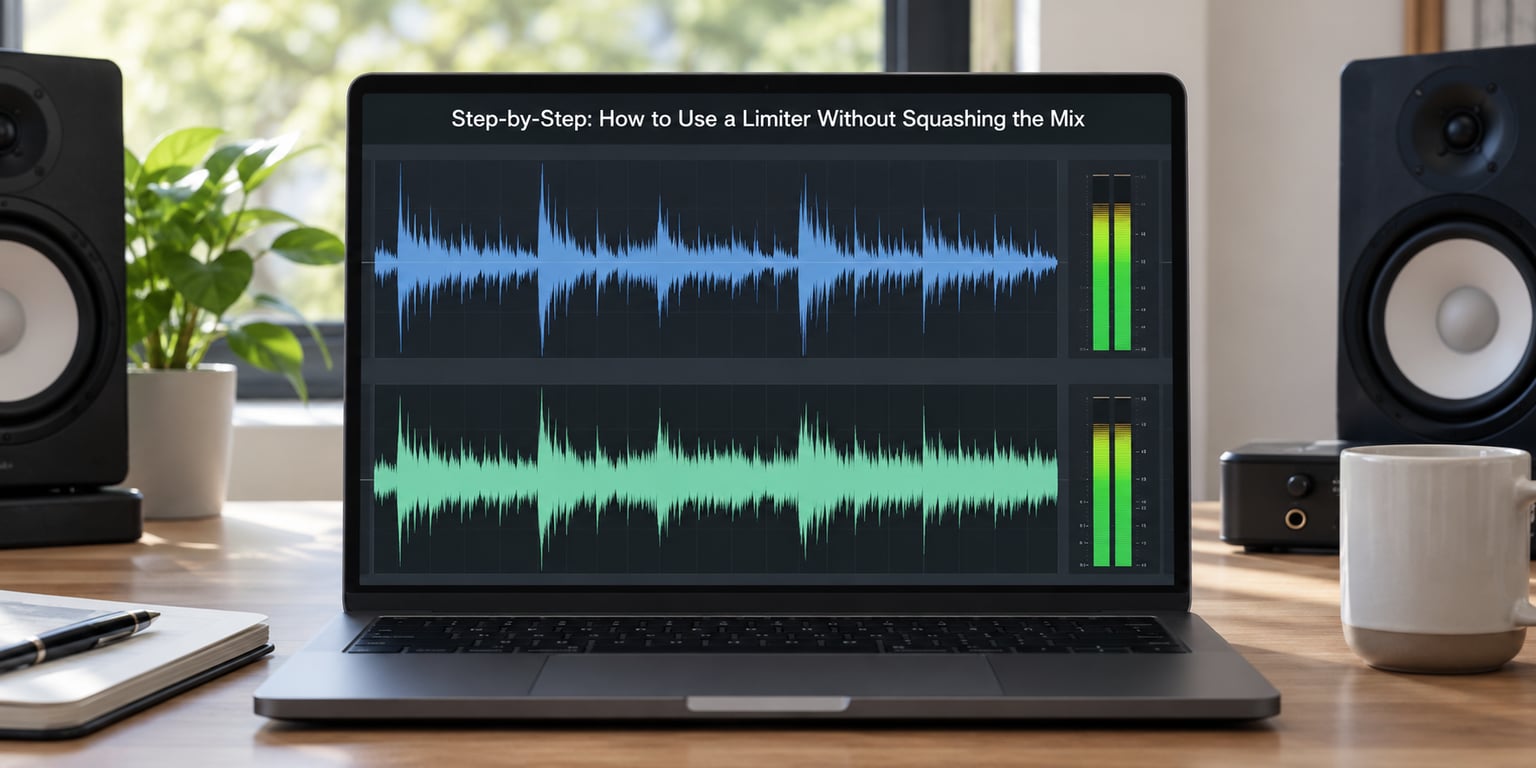
Work through these in order. The sequence matters because each step assumes the previous one is done, and skipping ahead is how mixes end up pinned and lifeless.
- Bounce or print the mix without the limiter. This is your unprocessed reference and your A/B partner for the rest of the session.
- Choose your limiter and set oversampling. Use the DAW limiter first. Turn oversampling to 2x or 4x so inter-sample peaks are caught rather than wrapping back over the ceiling on encode.
- Set the ceiling before the threshold. For streaming, -1.0 dBTP is the usual target. Set it, confirm the output meter never exceeds it, and leave it alone.
- Set the threshold so only the loudest moments touch the ceiling. Expect the gain reduction meter to sit around 2 to 4 dB. More than that and you are compressing, not limiting.
- Add gain reduction gently. Watch the GR meter, not just the output level. If it is sitting pinned at 5 dB through the whole track, drop the threshold until it only moves on peaks.
- Choose attack and release behaviour. Slower attack lets transients through and gives you punch; faster attack catches more peaks but can soften the leading edge. Release should let the gain recover between hits and sit short enough to avoid pumping.
- Audition loud, then level-matched. First pass, match the loudness of the limited and unlimited versions by ear or with the loudness meter. A limiter sounds worse at a higher volume even when it is fine.
- Export, then compare against your reference. Play the bounce next to the commercial track. If your master is louder but hits lighter, the limiter took more than it gave.
How to Set the Limiter Without Losing Dynamics
This is the core of it: raise the ceiling, lower the threshold only as far as needed, and keep gain reduction short and shallow. Deep reduction held for seconds is compression wearing a limiter’s clothes.
Start with these values and adjust from what you hear. Numbers differ per plugin, but the ranges hold across most of them.
- Ceiling: -1.0 dBTP. A hard upper limit. Set it before anything else and leave it there.
- Threshold: peaks just touching the ceiling, roughly 2 to 4 dB of gain reduction. This decides how often the limiter engages.
- Attack: slow to medium, 0.1 to 1 ms. How much of the transient survives.
- Lookahead: 1 to 3 ms if available. Catches peaks before they arrive.
- Release: 50 to 200 ms, or auto with a short range. Controls how fast gain returns between transients.
- Oversampling: 2x or 4x. Inter-sample peak accuracy.
There is one confusing detail worth knowing. On many limiters the attack knob actually shapes release behaviour rather than true attack time, which is the correction made in the Fractal Audio limiter thread. If your attack control changes how the sound decays rather than how it starts, that is a feature, not a bug.
Now split the difference into three looks. A transparent setting uses slow attack and minimal gain reduction, and it sounds almost identical to the unprocessed mix with only the peaks tamed. A punchy setting uses a moderate ceiling like -1 dBTP with slightly faster attack, catching the snare and kick leading edges without touching the sustained parts. A loud setting drops the ceiling to -3 dBTP and lets more reduction happen, which gives you weight on small speakers and costs you some dynamics.
Common Mistakes That Squash a Mix
Almost every flattened mix I have heard traces back to one of these. Each one has a fix and a quick way to verify it worked.
Pushing the threshold too far down
The mistake: treating the limiter as a volume control and pulling reduction until the track is loud enough. The fix: set the threshold so gain reduction only moves on the loudest moments. Check the GR meter during the loudest chorus; if it holds 4 dB or more continuously, raise the threshold until it dips between hits.
Setting the ceiling wrong
The mistake: leaving a 0.0 dBFS ceiling and hoping nothing overs. A sample-peak ceiling of 0 still allows inter-sample peaks above 0, and those turn to distortion after encoding. The fix: use a true-peak ceiling, typically -1.0 dBTP. Verify it with a true-peak meter on the output, not the DAW’s default sample meter.
Setting the release too slow
The mistake: a release long enough that the gain never comes back, so the GR meter reads like a second compressor. That is where pumping and flattened envelopes come from. The fix: shorten the release until the meter visibly recovers between snare hits. In dub techno and other slow genres you can afford longer; in drum-heavy house and trap, keep it short.
Limiting a mix that is already distorted upstream
The mistake: stacking saturation, clipping and heavy compression, then wondering why the limiter sounds bad. The fix: a limiter cannot clean up a mix that is already clipping. Bypass the limiter, fix the offending channel, and re-bounce. If a mix arrives at an engineer already squashed, the usual advice is to ask for an unlimited version, because no mastering chain restores removed transients.
Boosting output after clipping
The mistake: pushing makeup gain or the master fader up until the track is loud enough, which clips peaks you cannot see on a sample meter. The fix: set the ceiling once and never touch output level afterwards. Watch the clip indicator; if it lights, back off.
Judging by loudness alone
The mistake: choosing the loudest version every time. The fix: level-match the limited and unlimited versions before you decide. Forum discussion on over-limiting is consistent here: loud-for-loud, a quieter dynamic mix usually wins, and loudness alone is not evidence of a better master.
Leaving the limiter engaged on the mix bus all session
The mistake: mixing through a limiter for hours. The fix: bypass it, or put it on a separate print channel fed from the 2-bus that you only use for client previews. That way your loud print is loud, and your mix decisions still happen on honest dynamics.
Choosing Limiter Settings for Different Styles
Genre is a starting point rather than a preset. The arrangement matters more than the style label, and your reference track beats both.
Trance and progressive. These lean on long build-ups and a big drop, so keep the ceiling near -1 dBTP and limit only the drop. The build can sit 4 to 6 dB lower without hurting anything. If you automate the ceiling, you can hold the pre-chorus quieter and open it up at the drop without touching dynamics.
House and deep house. Steady four-on-the-floor energy means the limiter is engaged constantly, which is exactly where it turns into compression. Keep the ceiling at -1 dBTP, use a short release and accept 2 to 3 dB of reduction. Sidechain-keying the limiter from the kick keeps the bass elements out of the way without pushing the threshold up.
Techno. Long repetitive sections reward a slower release and slightly lower ceiling, around -2 to -3 dBTP. Since the arrangement is static, automation gives you more than knob-twiddling: pull the ceiling down under the intro and let the track open up as elements stack.
Trap and hip-hop. The snare needs to dominate, so limit the master lightly and consider a limiter on the snare bus for peak control, followed by bus compression for glue. Practice on the Fractal forum runs the same order: limiter for control on the bus, compressor for glue.
Acoustic and dynamic material. If the reference is a folk record or a jazz trio, limiting hard is the wrong instinct. Dynamic range is the point. Leave the crest factor alone and let the quiet parts stay quiet.
Two techniques fill the gaps no preset covers. Automate the ceiling or threshold across sections, so the drop and the breakdown behave differently. And sidechain-key the limiter from the kick or vocal when you want everything to duck under a moment without compressing the whole track.
Where automation is too slow, remember the rule forum producers keep repeating: automating a wildly variable source is cleaner than limiting it, just more work.
How to Check the Limited Mix
Limiting is done when you can no longer hear it working. Here is the routine, and the numbers are typical ranges from real mastering practice rather than delivery requirements.
First, check the true peak. Your output meter should never exceed the ceiling you set, and no clip indicator should light at any point in the track.
Second, listen at matched loudness. Play the limited version and the unprocessed bounce, matched to the same perceived volume, and switch between them. A transparent limiter is hard to detect in this test. If you hear an obvious difference, something is being taken from the music.
Third, watch the waveform. Peaks should be flat-topped at the ceiling only on the loudest moments, with the valleys between them still clearly visible. A waveform that looks like a solid block has no dynamics left, whatever the loudness meter says.
Fourth, watch the gain reduction meter over a full arrangement. It should move on hits and sit still during sustained parts. Constantly pinned means the threshold is too low.
Fifth, solo the critical elements. Listen to the kick and snare alone, then the bass alone, then the lead vocal. Limiting compresses the relationship between them, and a mix that sounded balanced can collapse into the loudest element. Forum complaints about the master bus going uneven, one section pinning everything, almost always trace to this.
Sixth, check the intro, the drop and the quietest breakdown. Drops tend to expose limiting because the density jumps. Breakdowns reveal it too, because a thin section next to a squashed chorus sounds obviously worse.
These ranges tell you whether you are in normal territory:
- Crest factor: 8 to 10 dB. A warning sign is anything below 5 dB, which means almost nothing is left.
- Loudness range (LRA): 4 to 9 LU. Under 3 LU sounds uniformly loud.
- True peak ceiling: -1.0 dBTP. A warning sign is the clip indicator lighting at any point.
- Integrated loudness: around -14 LUFS for streaming. Much louder than that, with no added impact, is the problem case.
- Mix headroom before limiting: 3 to 6 dB. A warning sign is peaks already sitting at 0 dBFS.
- Gain reduction: 2 to 4 dB. Holding 6 dB or more continuously means the threshold is too low.
Loudness targets also depend on genre and on how the streaming service normalises. Those numbers are a sanity check on your mix, not a rule to hit exactly.
Frequently Asked Questions
How much gain reduction should I use on a limiter?
For transparent limiting, aim for 2 to 4 dB of gain reduction on your loudest moments, not across the whole track. The gain reduction meter should move on snare hits and peaks, then fall back between them. If it holds above 4 dB continuously, you have turned the limiter into a compressor and the mix will lose its transient detail. Bypass and compare level-matched if you are unsure.
What limiter settings preserve punch and dynamics?
Keep the ceiling at -1.0 dBTP, set the threshold so only peaks engage, use a slower attack so leading edges survive, and keep release short enough for the meter to recover between hits. Oversample at 2x or 4x to catch inter-sample peaks. The real measure is not the numbers but the level-matched bypass test: if you cannot hear the limiter working, the settings are right.
Should I limit my drum bus or the full mix?
Both, for different jobs. Limit the snare or drum bus for peak control, then follow it with bus compression for glue, which is the order most producers recommend. Limit the full mix last, with shallow gain reduction, only to set the ceiling. Limiting a drum bus hard is fine because drums are already dense; limiting the whole mix hard is what flattens everything.
Why does limiting make my mix sound flat?
A limiter trades dynamic range for level. When the threshold is too low, gain reduction is held across the whole track instead of touching only peaks, which flattens transients and collapses the crest factor. Loudness goes up while perceived impact goes down. Reduce the amount of gain reduction, shorten the release so the meter recovers, and check the mix level-matched against the unprocessed bounce.
What dB ceiling should I set for electronic music?
Around -1.0 dBTP for streaming delivery, measured on a true-peak meter. A 0.0 dBFS sample-peak setting still allows inter-sample peaks to exceed 0 and distort after encoding. For club and DJ-oriented material, dropping to -2 or -3 dBTP gives more headroom on large systems and keeps transients more intact.
Can I use volume normalization instead of a limiter?
Normalization only raises or lowers overall level to hit a loudness target. It cannot control peaks, so it can clip, and it will not make a quiet mix sound balanced. A limiter handles peaks while keeping the ceiling set; loudness normalisation then simply turns the whole file up or down. Use the limiter first, normalisation after.
Conclusion
Leave headroom, set the ceiling at -1.0 dBTP, then add only the gain reduction the peaks actually need. Compare that result to your unprocessed bounce at matched loudness before you export, and if you can hear the limiter working, take another decibel off the threshold. That single habit is most of how to use a limiter without squashing the mix.