Multiband compression on a mix bus means running your stereo mix through a compressor that splits it into frequency bands and compresses each band on its own, so you can steady a runaway low end or a harsh presence range without flattening the whole track. The short version: get the bus loud first, split near 120 Hz, 400 Hz, 3 kHz and 8 kHz, then set one band at a time and hold total gain reduction to 1-3 dB.
That takes 30 to 60 minutes on a first pass if you already have a balanced mix, and you will probably undo about a third of what you set. Producers working on trance, house, techno and drum-heavy hip-hop get the most out of it, because those mixes stack sub energy, arpeggios and leads into the same bus and a single-band compressor pumps on every kick.
One thing worth saying up front: several mastering engineers advise against putting multiband on the mix bus at all when you are handing the track off. The compromise that works for most people is to use it as a gentle corrective, leave real headroom in the render, and keep an unprocessed bounce next to the processed one.
Table of Contents
- What You Need
- Step-by-Step: How to Use Multiband Compression on a Mix Bus
- Prepare the Mix Bus and Choose the Problem
- Set Useful Frequency Bands
- Set Thresholds and Ratios Conservatively
- Shape Attack and Release for Electronic Music
- Control Gain Reduction and Check the Balance
- Automate the Multiband Compressor When Needed
- Export and Compare the Final Mix
- Common Mistakes
- Frequently Asked Questions
- Should I use multiband compression on a mix bus?
- What frequency should I set the crossover on a multiband compressor?
- How much gain reduction is right on a mix bus?
- Should multiband go before or after the single-band bus compressor?
- What are good starting settings for multiband compression on a mix bus?
- Does multiband compression reduce audio quality?
- Conclusion
What You Need
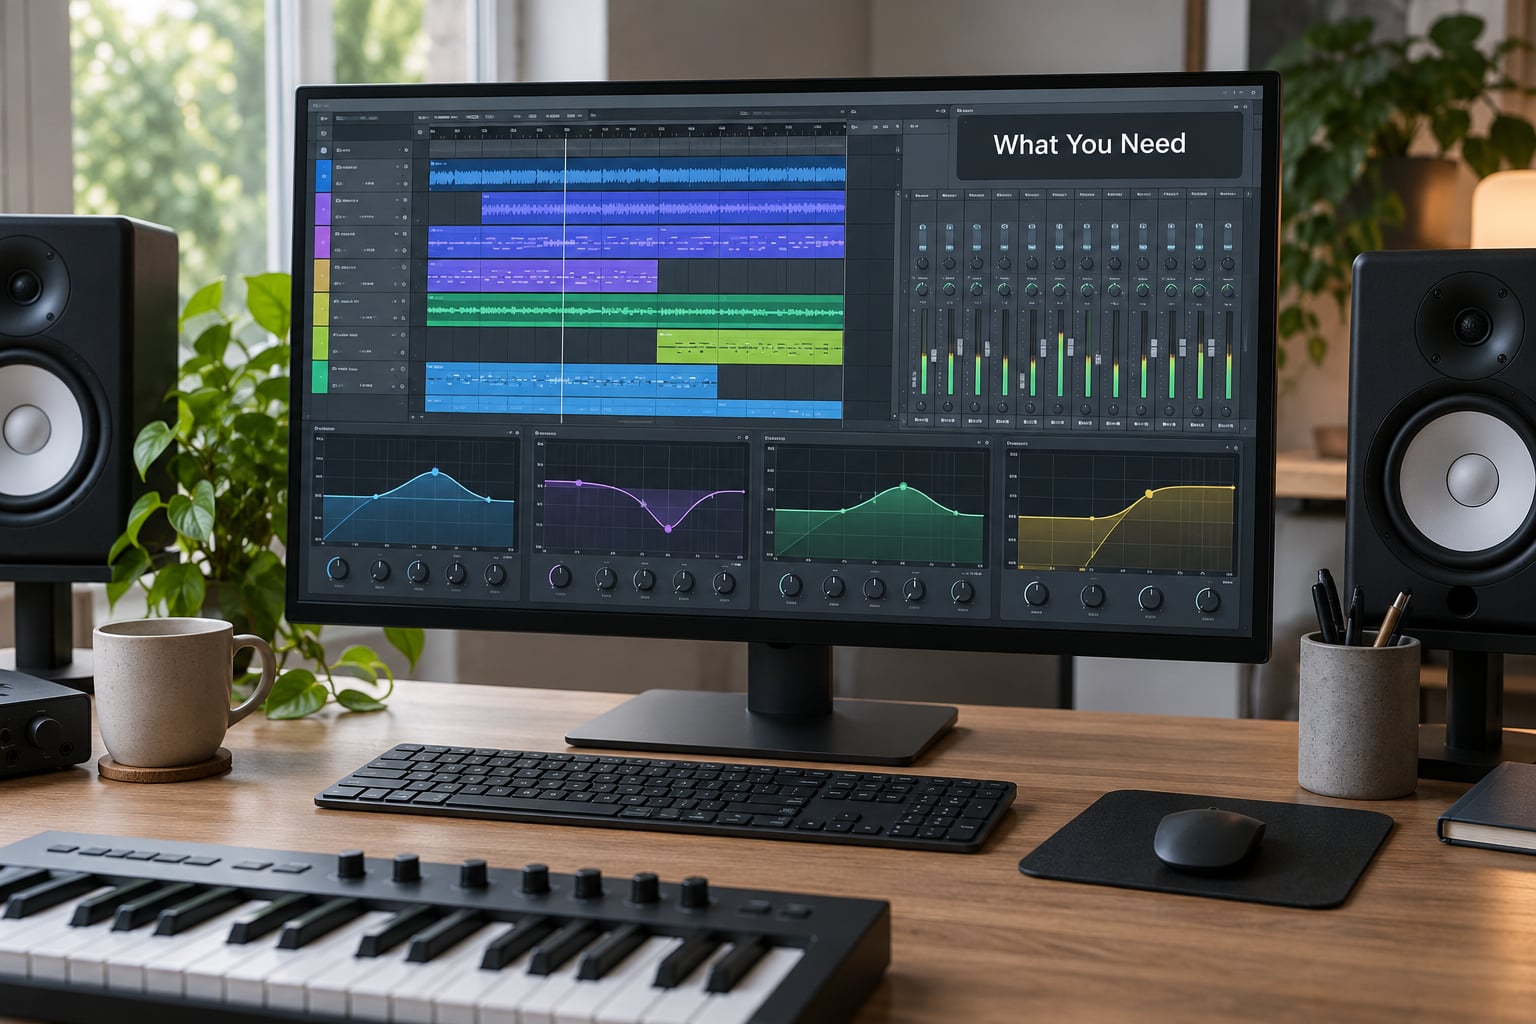
You need four things, and only the first one costs money you might not have.
A DAW with a stock multiband compressor. Every major DAW ships one, so the plugin list is not a reason to stall. In Ableton Live, the stock Compressor has a band-split mode that gives you two or three frequency ranges. Logic Pro has Multipressor and the more capable Compressor X. Cubase has VST Multiband. FL Studio users can use Multiband Enveloper, or split the bus into frequency bands with Fruity Parametric EQ and feed each into its own compressor. Bitwig pairs Dynamics with the Frequency Splitter, and Reason’s stock Compressor is single-band, so split the bus first and compress the bands separately. Studio One covers the same ground with a multiband dynamics section in its channel tools, depending on version. In Pro Tools, Dyn3 and Lo-Fi cover band work, and Ultimate’s stock multiband handles the job directly.
A loud mix bus. If your bus is sitting 12 dB below where the meters are useful, no compressor setting will behave predictably, because the detector never sees a real signal.
A reference track you know well, plus a rough undo. Reference material is the fastest way to hear whether a band is being helped or just flattened.
Monitoring conditions that do not lie. Match the level when you bypass, and if your monitors are tired, say so and take a break before trusting a judgment call.
Step-by-Step: How to Use Multiband Compression on a Mix Bus
Prepare the Mix Bus and Choose the Problem
Build a dedicated stereo bus, route your mix to it, and put nothing on it yet. Name it something other than “master” so you remember it is a mix bus and not a mastering chain.
Raise the bus fader until a typical loud section peaks around -6 dBFS and the loudest hits sit near -3 dBFS. Metering that close to 0 dBFS gives you real resolution for watching gain reduction instead of guessing.
Now write down the actual problem in one sentence before you open a plugin. “The low end grows every time the chorus hits,” “the vocal presence gets piercing when the hats come in,” and “the whole mix loses impact after the drop” are three different problems, and only one of them wants multiband compression. A mix that simply lacks balance needs EQ and arrangement work first, and no amount of bus processing will fix that.
Set Useful Frequency Bands
Crossover frequency placement is where most beginners lose the plot, so slow down here. A crossover is simply the frequency where one band ends and the next begins, and there is no magic number, only a number that suits your material.
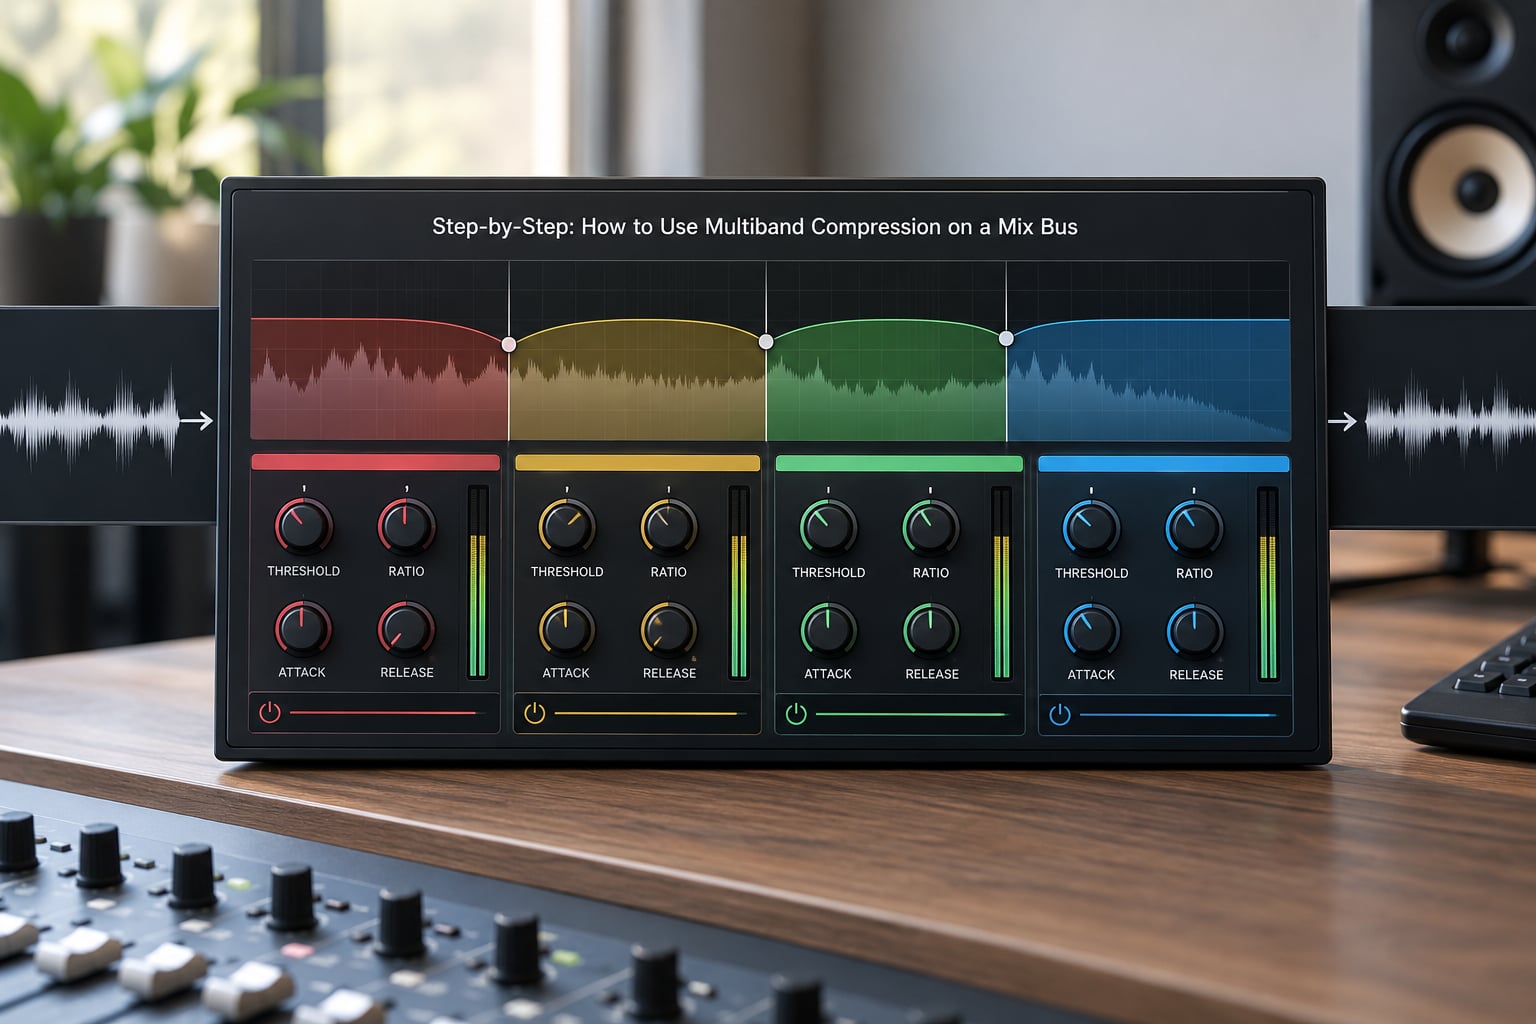
For a full-range electronic mix, a four-band split at roughly 120 Hz, 400 Hz, 3 kHz and 8 kHz covers the useful cases. That low band holds sub and kick weight, 120 Hz to 400 Hz is the boxy and muddy zone, 400 Hz to 3 kHz is where vocal presence and harshness live, and everything above 8 kHz is air, cymbals and sibilance.
Check your crossovers by soloing each band with the compressor disengaged. If a kick drum is landing in two bands at once because you set the first crossover at 80 Hz, move it to 120 Hz or higher. A band that contains a chunk of one sound rather than all of it will compress that sound unevenly, which is where pumping comes from.
Many busy mixes also need a high-pass filter inside the detector rather than on the signal. Raising the sidechain filter frequency makes the compressor react only to the higher frequency content, which is how you get smoother bus behaviour on sub-heavy material. It leaves the sub alone while the mids and highs are smoothed, and it is the single most useful trick for electronic music.
Set Thresholds and Ratios Conservatively
Start conservative or you will not be able to hear what you did. Set a ratio of 2:1 in any band you intend to touch, leave the others at their defaults, and use a soft knee where the plugin offers one.
Then lower the threshold on the first band until you see roughly 1-3 dB of gain reduction on the loudest moments and almost none in the quiet parts. If the meter is sitting pinned at 6 dB or more through the whole track, the compressor is doing a job that EQ, gain staging and arrangement were supposed to do.
Move to the next band and repeat. Bands that need nothing should be doing nothing, and knowing which two bands do nothing is a useful result, not a failure.
Here is a starting table to work from. Every number is a starting point, not a rule, and one working band is a better mix than four over-tuned ones.
| Band | Crossover range | Ratio | Attack | Release | Target gain reduction | What it fixes |
|---|---|---|---|---|---|---|
| Low | Below 120 Hz | 2:1 | 40-50 ms | 120-150 ms | 1-2 dB | Sub and kick weight that drifts between sections |
| Low-mid | 120-400 Hz | 2:1 | 30-40 ms | 100-150 ms | 1-2 dB | Boxy buildup, muddy bass competing with kick |
| Mid and presence | 400 Hz-3 kHz | 2:1 to 3:1 | 20-30 ms | 80-120 ms | 1-3 dB | Harsh vocal presence, vocal volume jumps between sections |
| Air | Above 8 kHz | 1.5:1 to 2:1 | 10-20 ms | 60-100 ms | 1-2 dB | Sibilance and cymbal wash that only appears in loud sections |
Shape Attack and Release for Electronic Music
Attack decides what the compressor is allowed to touch, and release decides how fast the mix comes back to life. In a mix bus context, a long attack plus a moderate release behaves like a leveller rather than a crusher, which is usually what a mix needs.
For 20-50 ms attack, the compressor lets the transient through before it starts pulling, so your kick and snare keep their punch. Go much faster, under 10 ms, and the entire mix gets squashed on every hit, which is how mixes start to sound small and flat.
For release, 60-150 ms keeps the compressor working through a bar of four-on-the-floor energy without inflating the next downbeat. Faster than about 50 ms and the mix breathes audibly between hits, which on a dance track reads as a pumping effect you did not ask for.
The low band can afford a slower attack and a slower release than the presence band, because the sub does not need to punch as hard as the vocal. Set per band rather than globally wherever your plugin allows it.
Control Gain Reduction and Check the Balance
Set makeup gain so the processed mix matches the bypassed one in loudness. If the processed version is quieter, you will convince yourself it is better because it sounds “restrained”, and you will be wrong.
Then A-B in small loops at matched level. What you are listening for is transients still being present, the balance between kick and bass unchanged, and no band sitting forward in the mix where it used to sit back. The honest version of this process is unglamorous: a gentle 1-3 dB of gain reduction with most of the low end high-passed in the detector, so the mids and highs are simply smoothed.
Watch each band’s gain reduction meter during the loudest eight bars of the track, and solo bands to check the balance after processing. A band that took 1 dB down and came back up 2 dB in makeup has quietly become louder than it was, and two of those will leave your mix front-heavy and thin.
Check mono compatibility too. Compressing the sides harder than the centre narrows the image, and a mono fold-down check on the bus catches it before export.
Automate the Multiband Compressor When Needed
Automation is the right tool when a section needs a different amount of control, not when you want the whole track to feel processed. A trance track that is sparse in the breakdown and dense in the drop is the classic case.
Draw on the threshold or on band gain rather than on makeup, and keep the moves slow. A threshold ramp of 2-3 dB across eight bars is enough to change the character of a breakdown without anyone hearing a moving knob.
On transitions and risers, a small amount of ride is fine. On the drop itself, pull the threshold back to where it was in the verse so the drop hits as hard as it did untreated. Pulling the whole mix down into a drop and then bringing it back up is a level move, not a compression move, and it gets confused with one constantly.
Export and Compare the Final Mix
Render the processed bus at the same sample rate and bit depth as the unprocessed bounce, and do not normalise either one. Normalisation hides exactly the level changes you need to judge.
Play the pair at low and high monitoring levels. Low reveals imbalance and muddiness in the low band, high reveals sibilance and fatigue in the air band. If the processed file only wins at one volume, it is not finished.
Leave real headroom. Roughly 6 dB of peak, or an integrated loudness number in the low teens, gives a mastering engineer room to work and signals that you know what your job ended. Keep the dry bounce, too, because the honest truth is that most of the time you will end up using less multiband compression than you set in the first ten minutes.
Common Mistakes
Most bad mix bus multiband passes share the same handful of causes.
- Crossovers set too low. When 80 Hz sits inside the first band, the kick and sub trigger a band that also contains bass guitar and pads, so the compressor reacts to energy it has no business reacting to. Fix: raise the first crossover to 120 Hz or above and solo the bands with compression off to confirm each sound sits in exactly one band.
- Compressing every band the same amount. A processor with four bands does not mean four jobs. Fix: give each band a written purpose before you touch it, and leave the ones without a purpose bypassed.
- Band makeup gain stacking. Add 2 dB on two bands and the mix bus ends up 4 dB louder in those ranges than the bypassed version. Fix: level-match the whole plugin once, then use band gain for balance, never for loudness.
- Crushing the low band. The sub band responds to kick and 808 energy hardest, and it is the first thing to go. Fix: 1-2 dB of gain reduction, a slow attack, and a high-pass filter in the detector so the sub is not triggering the mids and highs.
- Using multiband instead of mixing. Balance, arrangement and gain staging happen before the bus processor exists. Fix: if the problem is a vocal that is 6 dB loud in the chorus, no band setting replaces riding that fader.
- Bypassing at a different level. Turning the plugin off and hearing a quieter or louder mix is the fastest way to fool yourself. Fix: set makeup gain to match, then bypass in a loop.
- Over-long chains. Multiband after a heavy bus compressor after saturation after an EQ boost is four decisions fighting each other. Fix: pick one job per device, and a common order is EQ, then a gentle single-band bus compressor, then multiband, then a limiter for the mix print only.
- Judging it without a reference. Fix: level-match your track against a commercial track in the same genre at the loudness you would actually play it at.
Two more honest ones. If your monitors are at 90 dB and you have been mixing for three hours, every band sounds fine because your ears have stopped giving you useful information, so take the break before the final decision. And if you are sending the track to a mastering engineer who has already told you they handle bus dynamics, leave the multiband out and give them a mix with headroom.
Frequently Asked Questions
Should I use multiband compression on a mix bus?
Use it when one frequency range is out of control while the rest of the mix is fine: a sub that swells in the drop, vocal presence that turns piercing when hats enter, or a mix that pumps because the kick drives a single-band compressor. Skip it when the problem is overall balance, arrangement or level, because multiband will not fix those. If you are sending to a mastering engineer, ask them first, and keep an unprocessed bounce ready.
What frequency should I set the crossover on a multiband compressor?
For a full-range electronic mix, start at roughly 120 Hz, 400 Hz, 3 kHz and 8 kHz. Keep each sound inside a single band by soloing bands with compression off and listening for overlap, then move the crossover until it does not. Very low crossovers, under 80 Hz, are the most common cause of pumping, because the kick triggers bands that also contain bass and pads.
How much gain reduction is right on a mix bus?
Between 1 and 3 dB on the loudest moments, and close to zero in quiet sections. A gentle 1-3 dB with most of the low end high-passed inside the detector is a good target. If the gain reduction meter is pinned above 5 dB through the whole track, the compression is doing work that gain staging and arrangement were meant to handle.
Should multiband go before or after the single-band bus compressor?
Usually after. A gentle single-band compressor on the mix bus handles macro dynamics and cohesion, then multiband handles the specific frequency problem you diagnosed. Reversing the order also works, but you end up chasing a moving target because the band input level changes. Keep the bus chain short, and leave limiting to the mix print rather than the mix bus.
What are good starting settings for multiband compression on a mix bus?
Use 2:1 as a starting ratio, 20-50 ms of attack so transients survive, and 60-150 ms of release so the compressor does not inflate the next downbeat. Add a sidechain filter in the detector set above your sub range, around 120 to 150 Hz, so the kick and 808 do not trigger the mids and highs. Then adjust one band at a time and keep total gain reduction small.
Does multiband compression reduce audio quality?
A properly set multiband compressor is transparent, but three things cause audible damage: crossovers placed too low, so a single sound is split across two bands and compressed unevenly; band makeup gain stacking, which unbalances the mix; and hard settings with fast attack and short release, which choke transients and make the mix small and flat. Solo your bands, level-match your bypass, and keep your fades short to spot these.
Conclusion
Start with the crossover, not the compressor. That is the practical core of how to use multiband compression on a mix bus. Set the split at 120 Hz, 400 Hz, 3 kHz and 8 kHz, solo the bands with compression off, and find the one range that is genuinely out of control. Compress that band at 2:1 with a 20-50 ms attack and 60-150 ms release, hold it to 1-3 dB of gain reduction, and leave the rest of the plugin alone.
If the level-matched A/B does not show a clear improvement, delete the plugin. A mix bus that nobody can hear working is a mix bus that is only costing you headroom.