If you want a trance lead that sounds enormous on a festival system, you build it from four ingredients: a detuned unison stack, a high-pass filter that leaves the low end alone, heavy saturation, and octave layers sitting behind it. Getting the whole thing to translate outside your headphones is where most people stall.
A big room lead is the wide, saturated synth melody that carries the drop in trance and big room house. It is built from seven or eight slightly detuned saw oscillators, high-passed so it never fights the kick, pushed into distortion until the detuning fuses into one dense wall of sound, then widened across the stereo field with octave and reverb layers. It is a stack, not a one-click preset.
This guide walks the whole recipe in seven stages, from the hook to the bounce. Budget about an hour for the first pass.
Table of Contents
- What You Need
- Step-by-Step: How to Make a Big Room Lead in Your DAW
- 1. Start with a focused trance hook
- 2. Pick a bright lead sound that reads as a big room lead
- 3. Add octave and unison layers
- 4. Shape the movement and brightness
- 5. Add controlled space and movement
- 6. Keep the low end clear and the lead dominant
- 7. Test, bounce, and refine the result
- Common Mistakes
- Frequently Asked Questions
- What is the best synth for making a big room lead?
- Can I make a big room lead in any DAW?
- Should a trance lead be panned wide or kept in the center?
- How do I create a supersaw lead without it sounding harsh?
- Does a big room lead need sidechain compression?
- How loud should the lead be compared with the bass and drums?
- Conclusion
What You Need
Nothing here requires a paid plugin. The workflow transfers to Ableton Live 11 and 12, FL Studio, Logic Pro, Cubase, Studio One, Bitwig and Reason, because the signal chain is what matters rather than the menu names.
- A supporting hook. A filtered chord, a short arp or a bass movement that carries the track while the lead rests.
- A bright synth voice. A supersaw, a unison stack or a pluck-style patch. A unison-capable synth engine with per-oscillator detune and fine-tune gets you most of the way.
- A second and third layer. An octave-up repetition and a midrange support voice are what turn a single patch into a stack.
- A transient shaper. Saturation and a soft-clip stage live in almost every DAW: a distortion unit, a waveshaper, an oversampled drive.
- A filter and an EQ. A high-pass filter on the lead itself, then a parametric EQ for cutting the low-mids on the master bus.
- A delay and a reverb. Tempo-synced ping-pong delay does most of the work; a short plate or hall adds air.
- A limiter. Glue compression or limiting on the lead bus so the drop does not fall apart when you stack layers.
Menu names differ, so I will describe routing in general terms: insert, audio effect, distortion on most DAWs, with Ableton Live routing it through two Audio Effect racks on a dedicated lead track.
Step-by-Step: How to Make a Big Room Lead in Your DAW
1. Start with a focused trance hook
Build the foundation first: a filtered chord, a two-bar arpeggio, or a bass line that moves. Keep it to one or two elements so the lead has somewhere to land.
A big room lead only sounds big because it is stacked on top of something. The hook gives the drop its harmonic motion, and the lead rides above it.
How to know it worked: play the hook alone at low volume and check that you can still follow the melody without any other element. If elements compete, mute one until the hook reads clearly, then bring the lead in.
2. Pick a bright lead sound that reads as a big room lead
Choose something with presence in the upper midrange, roughly 2 kHz to 5 kHz, because that is where the lead needs energy to cut through a kick and a sub. A wavetable synth or a basic supersaw oscillator works; you do not need a specialist plugin.
Set one saw oscillator with unison enabled at seven or eight voices. Detune sits somewhere around 300 to 800 depending on the synth, fine-tune each voice by roughly plus or minus 15 cents, and push the stereo width control up. Leave retriggering off so the pitch movement stays smooth between notes.
Add a short attack and a release long enough to smear into the next note. Very fast releases give you the dry, staccato pluck that trance leads often use instead of a legato wall of sound.
How to know it worked: turn the volume down to a whisper. If you can still recognise the character and the top end still glints, the patch is bright enough. If it turns to mush at low volume, the midrange needs a boost and the release needs shortening.
3. Add octave and unison layers
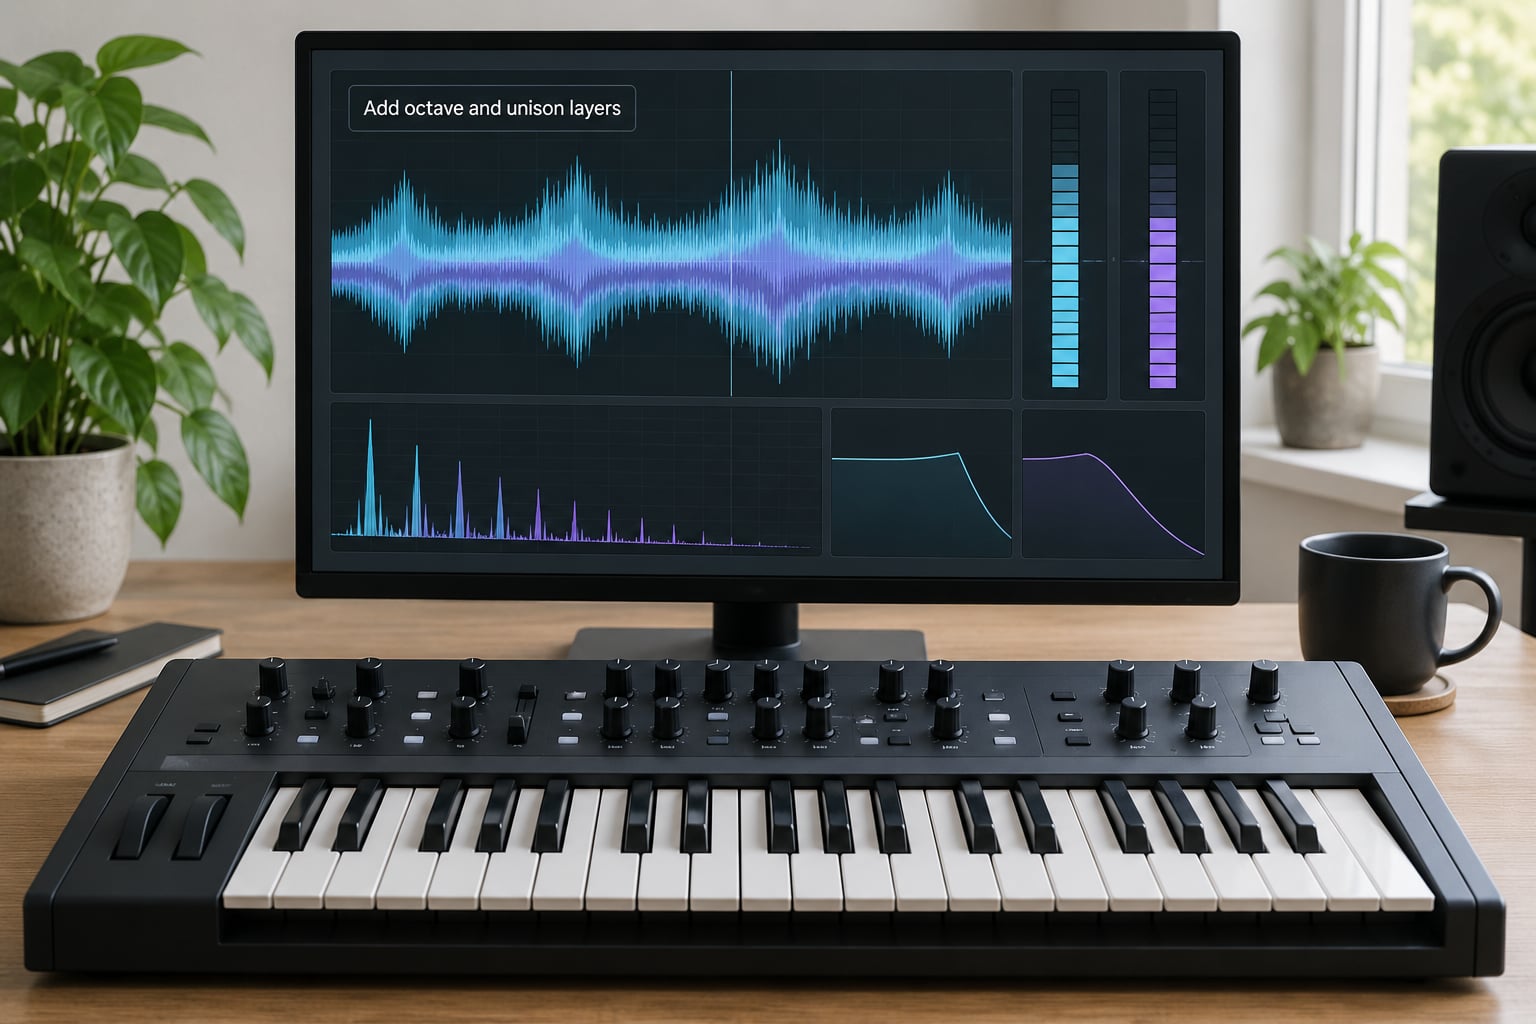
Duplicate the lead and pitch one copy up an octave. This upper layer adds apparent brightness without adding any low-mid weight, which is exactly what a big room lead needs.
Then add a third layer a fifth or an octave below the main voice for body, and drop its level 4 to 6 dB under the others. Detune the lower layer more gently than the top one, otherwise the stack smears instead of sharpening.
Balance the three by ear and then by meter: the main lead peaks around 0 dBFS, the octave layer sits 6 to 8 dB below it, and the low support layer sits another 3 to 4 dB below that. Complementary layers, not louder ones, are what create size.
How to know it worked: solo each layer in turn. Every one should sound like a usable lead on its own. If a layer only works as filler, it is probably taking up space in the same frequency range as another layer.
4. Shape the movement and brightness
Give the hook somewhere to go. Automate the filter cutoff from around 400 Hz up to the full range over two bars into the drop, and let a short riser or reverse cymbal cover the transition.
Keep the brightness even. High-pass everything below about 120 Hz, and if the resonance is getting shrill, pull the filter Q down or move the cutoff frequency instead of reaching for the master fader.
Pitch movement matters more than most people expect. A slow envelope modulating pitch by a few hundred cents over roughly 300 ms creates the swaying, unstable quality that reads as large. Retrigger the modulation so it starts with each note.
How to know it worked: watch the filter move and the automation curve together. If the opening sounds thin and the drop sounds harsh, the brightness gap between the two is too wide. Steepen it less or raise the pre-drop level.
5. Add controlled space and movement
Send the lead to a tempo-synced ping-pong delay, set around a dotted eighth against the project tempo, and keep the feedback under a third so repeats stay separate.
Add a short plate reverb on a send, with a pre-delay of roughly 30 to 60 ms. Longer pre-delay keeps the transient intact while still thickening the tail, which matters more than wet level.
Automate the reverb send rather than the whole track. A short reverb before the drop and a longer one after gives the drop room to open up without washing out the groove.
How to know it worked: check the delay returns in mono. If the drops disappear when you collapse the stereo image, the ping-pong is folding in on itself. Reduce the feedback or widen the source before touching the return level.
6. Keep the low end clear and the lead dominant
Identify where the lead actually sits against the kick. Anything below roughly 150 Hz in the lead is usually wasted headroom, so high-pass it before it reaches the bus.
Arrange the automation so the lead volume rises a bar or two before the drop lands, rather than jumping on the downbeat. Early gain gives the listener time to hear it arrive.
Set compression and limiting on the lead bus after the volume automation, not before. Glued and restrained is the goal; a lead that ducks every kick thump loses its punch and the drop loses its weight.
How to know it worked: test in three passes. Lead alone at low volume, then with drums and bass, then at a realistic playlist level. If it disappears on the third pass, it needs level rather than more distortion.
7. Test, bounce, and refine the result
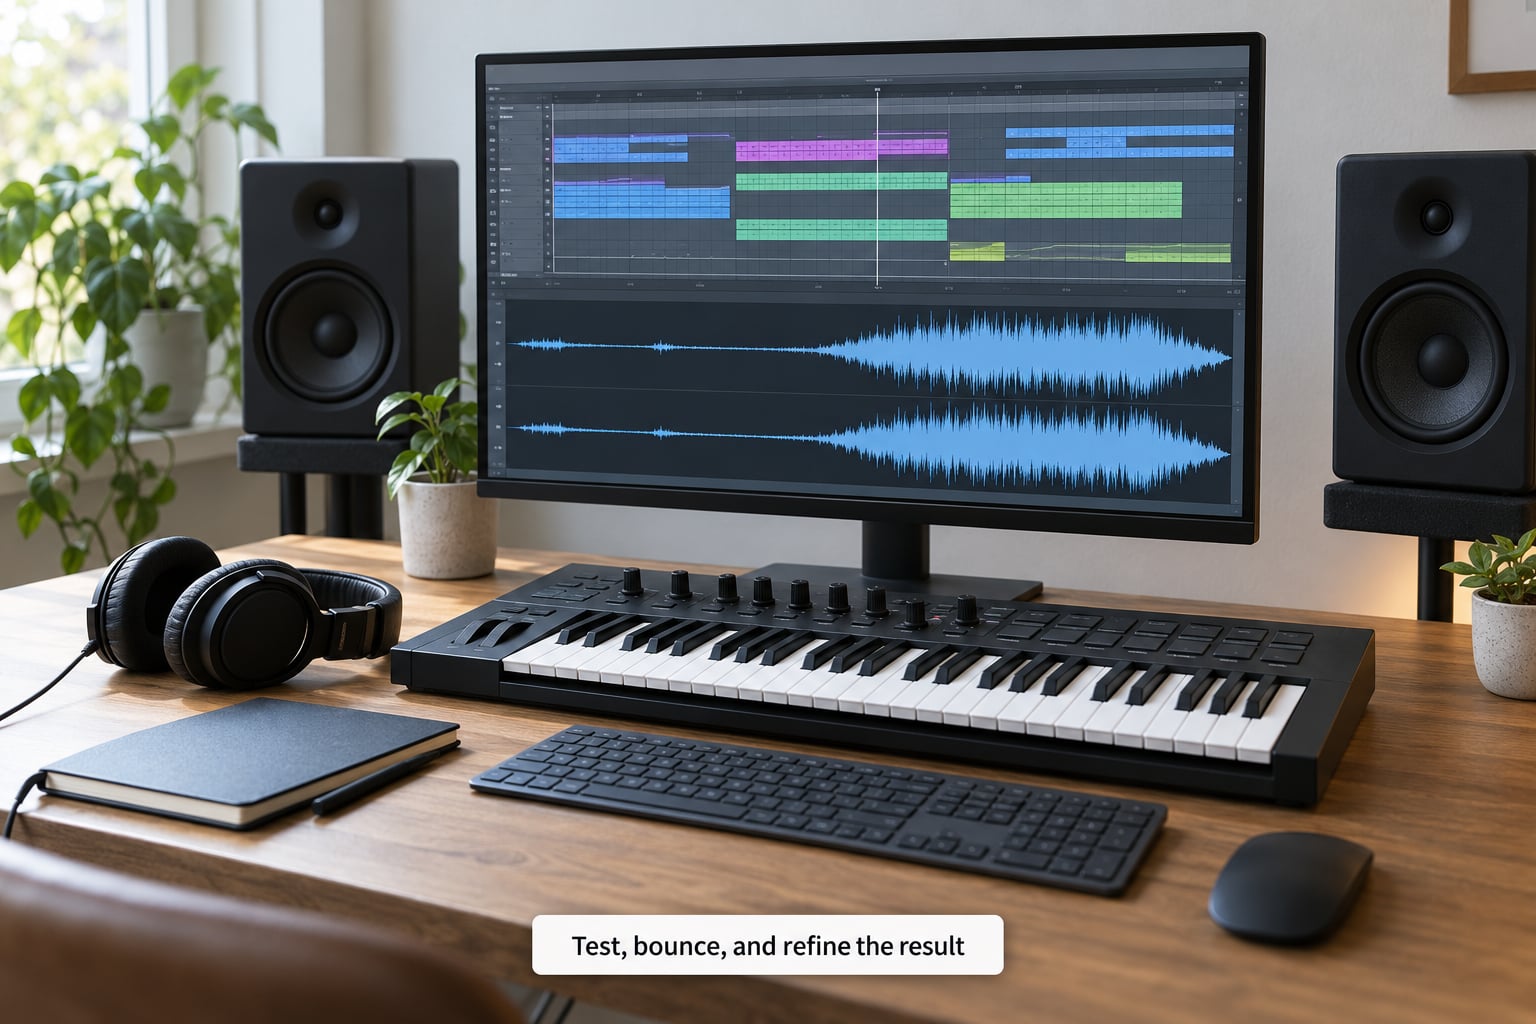
Compare the lead at three volumes: quiet, moderate, and loud. A lead that holds its character at low volume usually holds it better in a club system than one that only works at full blast.
Check mono compatibility on the lead bus and again on the full mix. Collapse to mono and listen for anything that thins out or disappears. Keep at least one element, usually a delay return or a doubling voice, in mono so there is something anchoring the centre.
Inspect the bounce for clipping at the inter-sample peaks, then export a reference file and compare it against the session version. Most perceived dullness after a bounce comes from lost high-frequency energy rather than a wrong sound design decision.
Run through this final checklist before you call it done:
- The lead peaks without clipping after limiting.
- No energy below 120 Hz in the lead bus.
- The kick and sub still read clearly with the lead at full level.
- Delay repeats stay separate and audible in mono.
- The lead arrives a bar or two before the drop, not on it.
- Each of the three layers still sounds usable when soloed.
Common Mistakes
The lead is too wide. Full stereo width on every layer leaves nothing in the centre. Widen the octave layer, keep the low support layer narrow and centred.
Too many layers in the same range. Three layers all sitting between 500 Hz and 2 kHz sum into mud. Pick sounds that complement each other across the frequency spectrum rather than stacking identical registers.
Reverb and delay are doing the work instead of the sound. If the lead only sounds good in the reverb return, the dry layer is the problem. Cut the send, listen to the dry, fix the sound, then add space back.
The transient is gone. Long attacks and heavy early reverb soften the front of each note. Shorten the attack, pull the pre-delay back, and use a fast transient-shaper or a short saturator on the dry layer.
Volume automation lands too late. A lead that only reaches full level on the downbeat gets missed. Start the rise earlier and take a little off the peak so the arrival reads as growth rather than a jump.
Every note is played by hand. Hand-played lines drift, and drift reads as unintentional in trance. Write the melody, quantise it, then add slight humanisation to release timing only.
Loudness is confused with presence. Turning everything up compresses the mix until nothing moves. Presence comes from the filter and the distortion stage; level comes last.
A few habits keep this repeatable. High-pass before you distort, not after. Layer for complementary frequency ranges. Compare against a reference track from the first minute rather than at the end of a session.
Frequently Asked Questions
What is the best synth for making a big room lead?
Any synth with a usable supersaw oscillator and per-voice detune will do. Serum, Sylenth1, Spire and Vital all expose the controls you need, and every major DAW ships a capable unison synth in its factory library. Pick whichever one you already own rather than buying anything, then apply the values from the steps above.
Can I make a big room lead in any DAW?
Yes, because the recipe is a signal chain rather than a feature list: unison saw, high-pass filter, saturation, EQ, sends, limiter. Every DAW has all six. The menu names differ, so map each stage to its equivalent and copy the numbers across rather than hunting for matching labels.
Should a trance lead be panned wide or kept in the center?
The main lead sits centred so it stays present in a club system, while octave and delay layers carry the width. Panning the whole stack wide leaves the centre empty and the drop sounds thin. Widen the upper octave and the ping-pong returns, keep the fundamental and the low support layer in the middle.
How do I create a supersaw lead without it sounding harsh?
Start with fewer voices, around seven, and a moderate detune value, then raise distortion slowly while checking the top end. Keep a high-pass filter on the output, lower the resonance if it gets shrill, and automate the filter cutoff into the drop rather than leaving it wide open the whole time.
Does a big room lead need sidechain compression?
No, and in many cases it should not be sidechained, because the pumping movement distracts from the lead. A high-pass filter and an EQ carve on the master bus usually solve the kick collision more cleanly. Sidechaining only the reverb and delay sends gives movement without touching the lead itself.
How loud should the lead be compared with the bass and drums?
Aim for the lead to peak around the same level as the kick, then check with the sub and bass underneath it. If the low end disappears, the lead is masking it, so cut the lead between 100 and 250 Hz instead of pulling the whole track down. Balance by ear at a realistic volume, not at a whisper.
Conclusion
Start with a simple hook, build one bright lead from seven or eight detuned saws, high-pass it, saturate it, and add only the delay and reverb the arrangement actually needs. Test it against the full track at a realistic volume, adjust the level rather than the timbre, and check that the kick still reads underneath. Those seven stages are the whole recipe, and they work the same way in any DAW you own.