If you know how to automate filters for smooth transitions, a flat synth pad turns into a real build, a breakdown starts to feel like pressure, and your drop lands because you prepared the listener for it. The technique is simple: draw keyframe points on an automation lane so the cutoff frequency moves gradually instead of sitting still. Most producers get it working in about 20 minutes per transition, and the only tricky part is resisting the urge to make the sweep fast.
Filter automation is drawing a DAW automation lane for filter parameters such as cutoff frequency, resonance or filter mode, so those values change over time instead of staying static. Your DAW reads the keyframes and interpolates every value in between, which is what makes the filter glide rather than step. Because it changes tone without changing level, it moves a transition further than a plain volume fade.
Below you get what you need first, a six-step workflow, the curve shapes that stop sweeps sounding cheap, per-DAW clicks, and the mistakes that make automated filters sound clicky or dead. Updated for 2026.
Table of Contents
- What You Need
- Step-by-Step: How to Automate Filters for Smooth Transitions
- Step 1: Choose the transition and its musical purpose
- Step 2: Set up a clean filter start point
- Step 3: Draw the cutoff automation curve
- Step 4: Add modulation for musical movement
- Step 5: Automate the transition across the full mix
- Step 6: Refine timing, volume and intensity
- Common Mistakes
- Moving the cutoff too quickly
- Too much resonance
- Linear curves with grid-snapped points
- Automating the wrong parameter
- Making the transition too loud
- Copying a curve without matching the phrase
- Filtering the whole mix
- Frequently Asked Questions
- Should I use volume automation or filter automation for transitions?
- How do I make a filter sweep sound smooth instead of jumpy?
- How much resonance is safe when I automate cutoff?
- What is the difference between a low-pass and high-pass filter move?
- Does the DAW I use change how I automate a filter?
- How many automation points does a filter sweep need?
- Conclusion
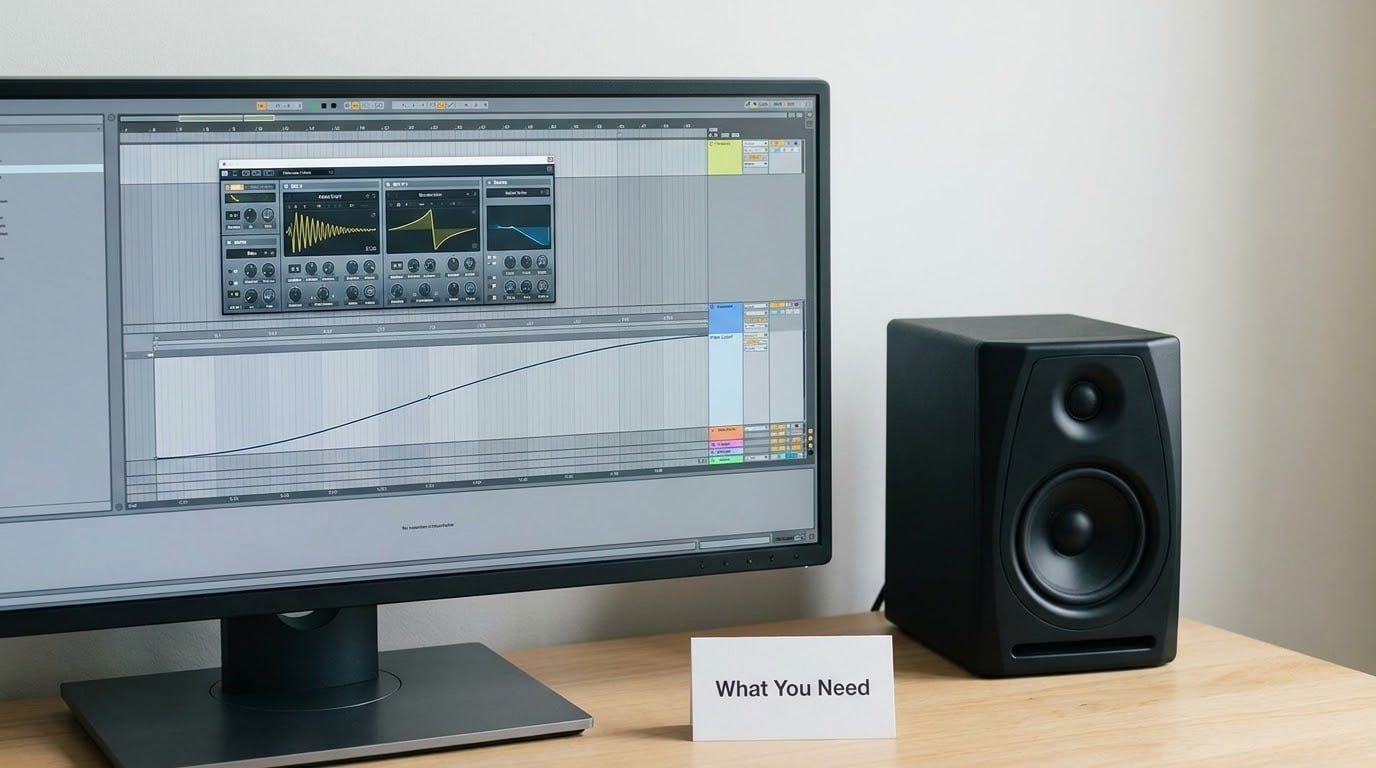
What You Need
You need five things, and three of them are free. None of this requires a hardware synth or a paid plugin — every major DAW ships with a usable filter and an automation lane.
- A sound with a filter you can actually reach. The instrument’s own low-pass filter (Operator in Ableton, Alchemy or the Channel EQ in Logic, 3xOsc in FL Studio) works fine. If the instrument has no filter, put any EQ or filter plugin on the track and automate its cutoff instead.
- A written transition with bar numbers. Decide that your build runs from bar 33 to bar 48 and the drop lands on bar 49 before you touch a single knob. Numbers are what stop a sweep from starting two beats late.
- An automation lane on that track. Every DAW in the table below has one; it is usually hidden behind a button.
- About 6 dB of gain headroom on the track. Opening a filter raises perceived level even though the fader stays put, so a move that seemed balanced in mono will jump when you widen the source.
- A reference track with a transition you like. Loop the 16 bars around its build so you can hear whether yours sits at the same level of intensity.
Budget 15 to 30 minutes per transition for a first pass, and treat it as beginner-friendly difficulty. The hard part is not clicking, it is musical judgement about how far to move.
Step-by-Step: How to Automate Filters for Smooth Transitions
Step 1: Choose the transition and its musical purpose
Start by naming the transition as one of four moves: a gradual opening, a closing fade, a rhythmic sweep tied to the beat, or an energy change that swaps bright for dark. Each one wants a different filter direction and a different length.
A gradual opening pulls the cutoff upward over a long phrase. A closing fade pushes the cutoff down before a quieter section so the new material feels like it arrived rather than switched on. Rhythmic sweeps repeat over a bar or two and suit drum loops and resampled breaks. An energy change flips between two settings on a downbeat and works well under a verse-to-chorus switch.
| Transition | Filter move | Cutoff start and end | Length | Notes |
|---|---|---|---|---|
| Build-up into a drop | Slow opening low-pass | 400 Hz to 16 kHz | 8 to 16 bars | Land the top of the curve one bar before the drop so the release has room |
| Breakdown to full mix | Open from a high-pass | 800 Hz down to 20 Hz | 2 to 4 bars | Start above the vocal range so the section sounds thin, not silent |
| Drop reveal | Close quickly then reopen | 16 kHz to 1 kHz, then back up | 1 bar down, 2 bars up | Works best on one sound, not the whole mix |
| Verse to chorus | Narrow band-pass | Mid focus, then widen the Q | 2 bars | Cheaper trick than a filter sweep and often less obvious |
| Intro to first drop | Slow opening low-pass | 200 Hz to 14 kHz | 16 to 32 bars | The longest move in most tracks, so use the smoothest curve |
| Rhythmic sweep | Repeating band-pass | 200 Hz to 2 kHz, cycling | 1 bar loop | Tie to hi-hats or a resampled break for rhythmic reveals |
For sync scoring and cinematic work, treat the transition as storytelling instead of energy: a slow close over a string swell reads as a scene ending, and a hard reopen on the downbeat reads as a new one starting.
Step 2: Set up a clean filter start point
Before automating anything, dial in the static version of the sound you want at the start of the move. Automation only makes the movement believable if the endpoints are already good on their own.
Find four settings and write them down: the cutoff frequency, the resonance, the filter slope, and the filter mode.
- Cutoff frequency is the point where the filter starts removing high frequencies. Lower the number and the sound gets darker and thinner.
- Resonance boosts frequencies right at the cutoff, which adds a whistle. Keep it below about 40 percent of the knob range while automating a long move.
- Filter slope decides how sharply frequencies are removed, usually 12 or 24 dB per octave. A 12 dB slope sounds gradual and open, a 24 dB slope sounds decisive.
- Filter mode is low-pass (keeps the low end), high-pass (removes the low end), band-pass (keeps a middle window) or notch (cuts a middle window).
A high-pass filter exists to remove low frequencies below a set cutoff point, and it is the fastest way to make a dense mix feel like it just lost weight and gained space. A low-pass does the opposite: it removes everything above the cutoff so the sound gets darker over time. Knowing which direction removes the mud matters more than any curve trick.
Play the start point on its own for ten seconds with the rest of the arrangement muted. If it is already dull, lifeless or harsh with no automation involved, a sweep will not rescue it.
Step 3: Draw the cutoff automation curve
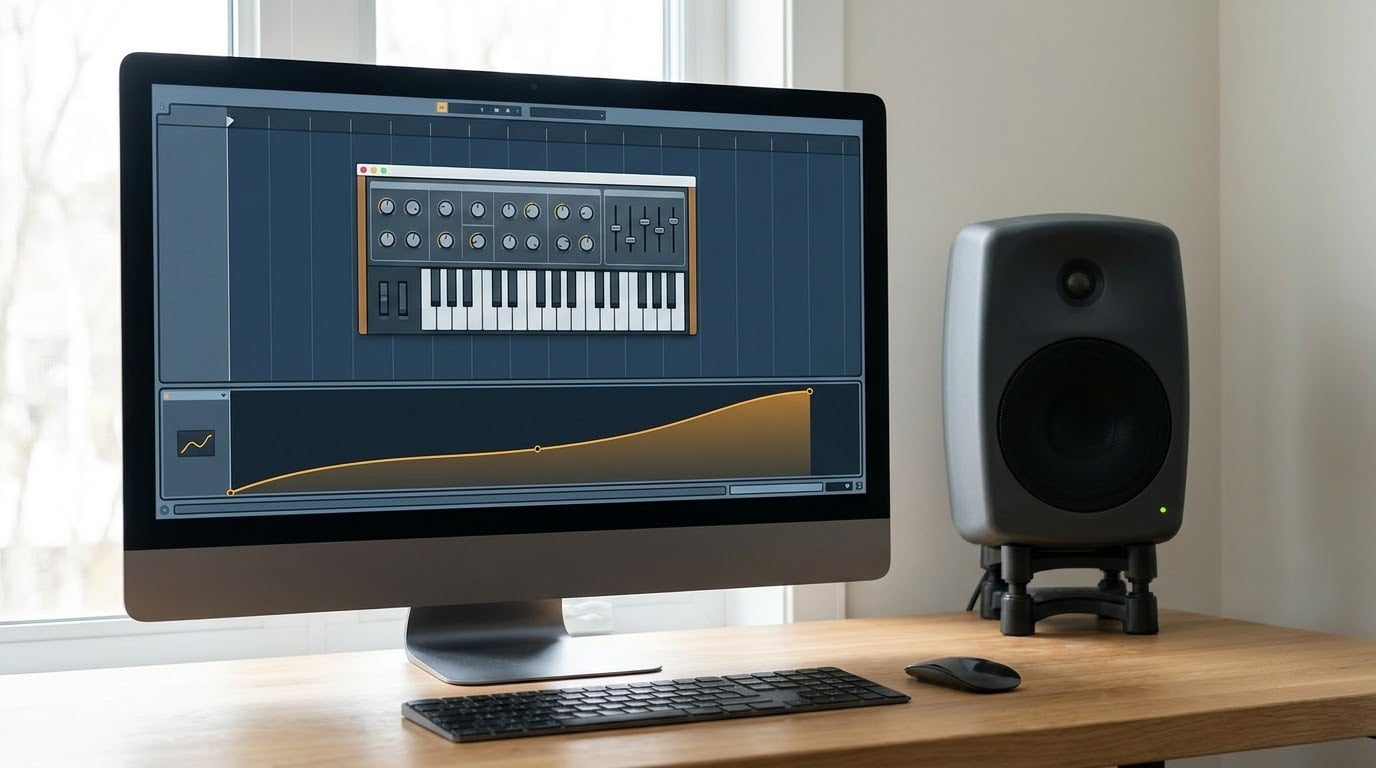
Add keyframe points rather than clicking the knob while playing. Two points with a long space between them beat eight points spaced one beat apart every single time, because more points means more chances for the ear to hear a step.
Now shape the space between them. This is the whole craft, and the DAW-by-DAW table below shows where each host keeps the curve-shape controls.
| DAW | Open the automation lane | Draw the curve | Shape the curve |
|---|---|---|---|
| Ableton Live | Click the Automation Draw button, or press Tab, at the bottom of the session window | Click the lane at the start bar, click again at the end bar | Bottom-left buttons switch between breakpoints, ramps, tension curves and S-shaped segments |
| Logic Pro | Window > Automation, or Control+Shift+A, then pick the parameter from the lane selector | Click in the lane, then drag the diamond points vertically | Right-click a point for Curve or Smoother, and use Tension in the point menu to ease the slope |
| FL Studio | Right-click the filter knob and choose Create Automation Clip, or open the automation toolbar | Draw the clip with the pencil; points snap to the beat by default | Right-click the clip and toggle Linear, or drag its tension handles for a curve |
| Reaper | Track > Automation, then right-click the parameter and choose Automate | Right-click the envelope to insert a point, then drag it up or down | Right-click the envelope and change Segment or Shape to Bezier for easing |
| Studio One | Show Automation Lanes in the Console, then assign the parameter to a lane | Click in the lane to add points and drag between them | Drag the segment handles to change slope; use the Smooth curve tool in the lane menu |
| Cubase | Show Automation in the left panel, then pick the parameter from the list | Add points with the pencil tool and drag them vertically | Use the R (read) mode to review and the Shape tool for tension on the segments |
| Bitwig | Open the automation lane under the device and enable Write on the modulation button | Drag a horizontal line to create it, then drag its ends | Right-click a segment to switch between linear, exponential and sine shapes |
| Reason | Right-click the parameter and select Automate, which creates an automation lane below the device | Draw with the pencil tool in the lane | Right-click the segment to choose Linear, S-curve or free-hand shape |
Three shapes cover almost everything. A linear ramp moves at a constant rate and is fine for short, precise moves. An exponential or tension curve starts slow and accelerates, which suits a build-up because it feels like it is gathering force. An S-curve eases in and eases out, and it is the safest choice for a first attempt because both ends of the move stay nearly still before changing.
Two habits prevent most of the clickiness producers complain about. Turn off snap-to-grid while drawing the curve, or set the automation grid to something finer than 1/16 so points are not locked to positions you did not want. And keep every point at least a bar from the next change, because a curve that moves and stops constantly reads as a machine poking the sound rather than a filter opening.
Step 4: Add modulation for musical movement
Once the cutoff ramp works on its own, decide whether it needs help staying alive. Slow sweeps over 16 bars can sound static, because a filter that never changes sounds like a filter that is broken.
Four options, in order of subtlety:
- A small resonance move. Bring resonance up by about 10 percent at the end of the build so the top of the sweep has a faint edge.
- Filter drive or saturation. A little drive on the opening bars makes a rise feel like it is heating up rather than just getting louder.
- An LFO on top of the ramp. Use a slow, tempo-synced LFO at a low depth (under 15 percent) so the cutoff wobbles gently inside the sweep instead of sitting on a straight line.
- Sidechain-linked movement. If your DAW supports it, have the filter duck briefly on each kick so the cutoff breathes with the beat. This is a good trick for rhythmic reveals.
Use velocity instead if the source is a sampler or a resampled break: draw a velocity curve that lifts over the last four bars and the filter move becomes a layer on top of it rather than the whole story.
Step 5: Automate the transition across the full mix
An isolated filter sweep sounds like a solo patch. The transition only feels intentional when other parameters move with it, and this is where the volume-versus-filter question actually gets settled.
Use filter automation when you want the character to change but the level to stay roughly where it is, such as a build that keeps getting brighter and more present. Use volume automation when you want the part to arrive or leave, such as a breakdown where everything has to actually get quieter. Most of the time you want both: a small volume dip of 2 to 4 dB through the middle of the transition, with the filter opening across it.
Three supporting moves make the biggest difference:
- Reverb send. Pull the send down a few dB at the start and let it rise back as the filter opens. It is the cheapest depth trick there is.
- Arrangement density. Filter automation cannot add elements that are not there. If the section is empty of drums or layers, add them before expecting the sweep to carry it.
- Panning or width. A slow widening from narrow to full stereo over 8 bars gives the ear something to follow even when the pitch content is static.
Put a complementary move on another part at the same time: a high-pass opening on one layer while a low-pass opens on another, and the middle of the section briefly sounds like it is in focus. Two moves in opposition at the same moment read as depth rather than as an effect.
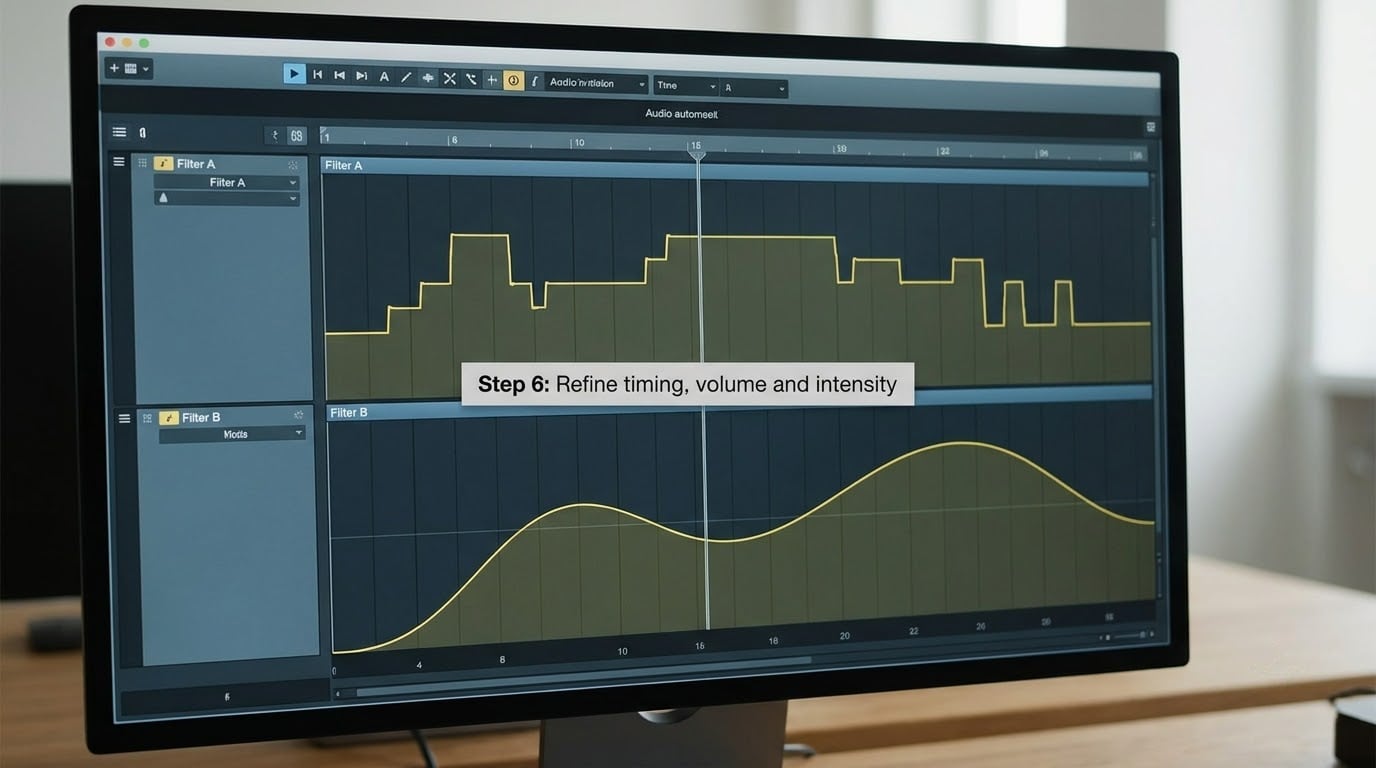
Step 6: Refine timing, volume and intensity
Play the transition with the full arrangement from at least bar 20 before it starts, so you hear the contrast, not just the move. Then fix the four things that usually need fixing.
- Timing. Nudge the whole curve in small increments until the change lands on the bar you intended. A sweep that finishes one beat late reads as sloppy in a way listeners notice without being able to name.
- Level. Compare the loudest moment of the transition against the section before it. If the opening filter jump makes the track feel louder, pull the track fader or the automation volume lane down to match.
- Masking. If the sweep disappears, the problem is usually something sitting in the same range, not the sweep itself. Cut a band out of the bass or the vocal with EQ, or close the filter slightly further than you planned.
- Clipping. Leave roughly 6 dB of headroom on the master. An automated filter pushing a mix into the limiter flattens the very movement you spent twenty minutes shaping.
Then check it in three places: headphones, the monitors, and the phone speaker. A sweep that works on headphones and disappears on a small speaker is sitting too high in the spectrum. A sweep that only works on monitors and sounds thin on headphones is sitting too low.
Turn the automation lane off and play the section again. If the transition still has energy without it, the curve is doing its job. If it sounds flat, the arrangement was carrying the move, not the filter.
Common Mistakes
Almost every complaint about automated filters comes down to speed, resonance or the wrong parameter. Each of these has a fix you can apply in under a minute.
Moving the cutoff too quickly
A sweep that completes in half a bar reads as an effect. Lengthen it to at least one full phrase and add an S-curve so the ends stay steady. If you only have two bars, narrow the frequency range instead of speeding the move up: a change from 2 kHz to 6 kHz reads as a shift, while 200 Hz to 18 kHz in two bars reads as a riser.
Too much resonance
Resonance on an automated cutoff produces a piercing whistle that gets worse the further you open the filter. Keep it under about 40 percent and automate it downward rather than upward. If you want edge, use filter drive instead, which adds harmonics without a single whistle.
Linear curves with grid-snapped points
This is the clicky-sweep problem in one sentence. A straight line between points snapped to a coarse grid creates small discontinuities the ear picks up as zipper noise. Set the automation grid finer than 1/16, disable snapping while drawing, and use curved segments between the two endpoints.
Automating the wrong parameter
If the goal is “the section should feel like it is arriving”, a filter sweep may be the wrong tool. Automate volume and reverb send instead, and save the filter for the moment you want the timbre to change. Producers reach for cutoff by default and end up with transitions that feel busy but not bigger.
Making the transition too loud
Opening a low-pass reveals energy that was always in the source, so the perceived level jumps even though the fader did not move. Compare against the section before the transition and match the level deliberately, usually by pulling the track fader down 2 to 4 dB or automating the volume lane in a shallow dip.
Copying a curve without matching the phrase
A 16-bar curve copied onto a section with an 8-bar vocal phrase ends in the middle of a line. The move has to fit the musical phrase length, not the bar count you liked in another track. Re-time the endpoints every time, even when the shape is identical.
Filtering the whole mix
Automating one filter across a bus can pull the bass and the vocal into the same move, and the result is muddy. Filter one or two layers, not the full mix, and if you want the whole track to change, automate the master EQ with a low-pass rather than a high-pass so the low end stays intact.
A five-point checklist before you bounce: the endpoints sound good with the lane off, the curve lands on the bar you planned, the level matches the section before it, the resonance is under control, and the whole thing was checked on more than one playback system.
Frequently Asked Questions
Should I use volume automation or filter automation for transitions?
Use volume automation when the part needs to arrive or leave, because it changes how loud the section is. Use filter automation when the character needs to change while the level stays put, such as a build that gets brighter without getting louder. In practice most transitions use both: a shallow volume dip with a filter opening across it.
How do I make a filter sweep sound smooth instead of jumpy?
Draw only two points instead of many, disable grid snapping while drawing, and set the automation grid finer than 1/16. Use an S-curve or tension curve rather than a straight line so the curve eases in and out at both ends. Keep at least a bar between any two curve changes, since constant motion is what listeners hear as jumpy.
How much resonance is safe when I automate cutoff?
Keep resonance under roughly 40 percent of its range while automating. Resonance boosts frequencies right at the cutoff, so it becomes a whistle that gets more obvious the further you open the filter. If you want extra edge on a build, automate resonance downward instead of up, or use filter drive, which adds harmonics without the whistle.
What is the difference between a low-pass and high-pass filter move?
A low-pass removes frequencies above the cutoff, so automating it upward makes a sound brighter and more present over time. A high-pass removes frequencies below the cutoff, so automating it downward makes a section lighter and thinner as it moves. Low-pass suits builds and reveals, high-pass suits breakdowns and clearing space before a drop.
Does the DAW I use change how I automate a filter?
The idea is identical everywhere: open the automation lane, add keyframe points, and change the value between them. What differs is where the lane is hidden and where the curve shapes live. Ableton puts shapes in the bottom-left automation buttons, Logic uses right-click curve options and Tension, FL Studio toggles linear in the automation clip menu, and Reaper uses the envelope segment type.
How many automation points does a filter sweep need?
Two points are enough for almost every filter sweep, with the curve shape between them creating the movement. Add a third point only when the phrase changes, such as an acceleration in the final two bars before a drop. More points than that tend to make the filter sound mechanically poked rather than continuously opening.
Conclusion
Pick one transition in your current project, write down the bar it starts and the bar it lands on, and automate a single cutoff slowly across that phrase with an S-curve. Play it inside the full arrangement, and only change the curve once the movement supports the music rather than announcing itself. Once that one move sits right, the same two-keyframe shape will cover most of the builds, breakdowns and reveals in the rest of your track.