An FL Studio template is a saved project file (.FLP) that already has your instruments, mixer tracks, routing, effect chains and basic arrangement loaded into it. Build it once, save it into FL Studio’s Templates folder, and every new session opens on your preferred setup instead of a blank project. Getting how to build a template in FL Studio right takes about an hour, and it saves a few minutes of setup on every track you start from then on.
This walkthrough covers FL Studio 21 and the folder changes that arrived in FL Studio 20, since the file paths moved and a lot of tutorials online still show the old ones. Menu names shift a little between releases and between Windows and macOS, so I have flagged where that happens.
Table of Contents
- What You Need
- Step-by-Step
- 1. Start With a Clean Project and Choose the Template Purpose
- 2. Set the Project Structure and Basic Template Settings
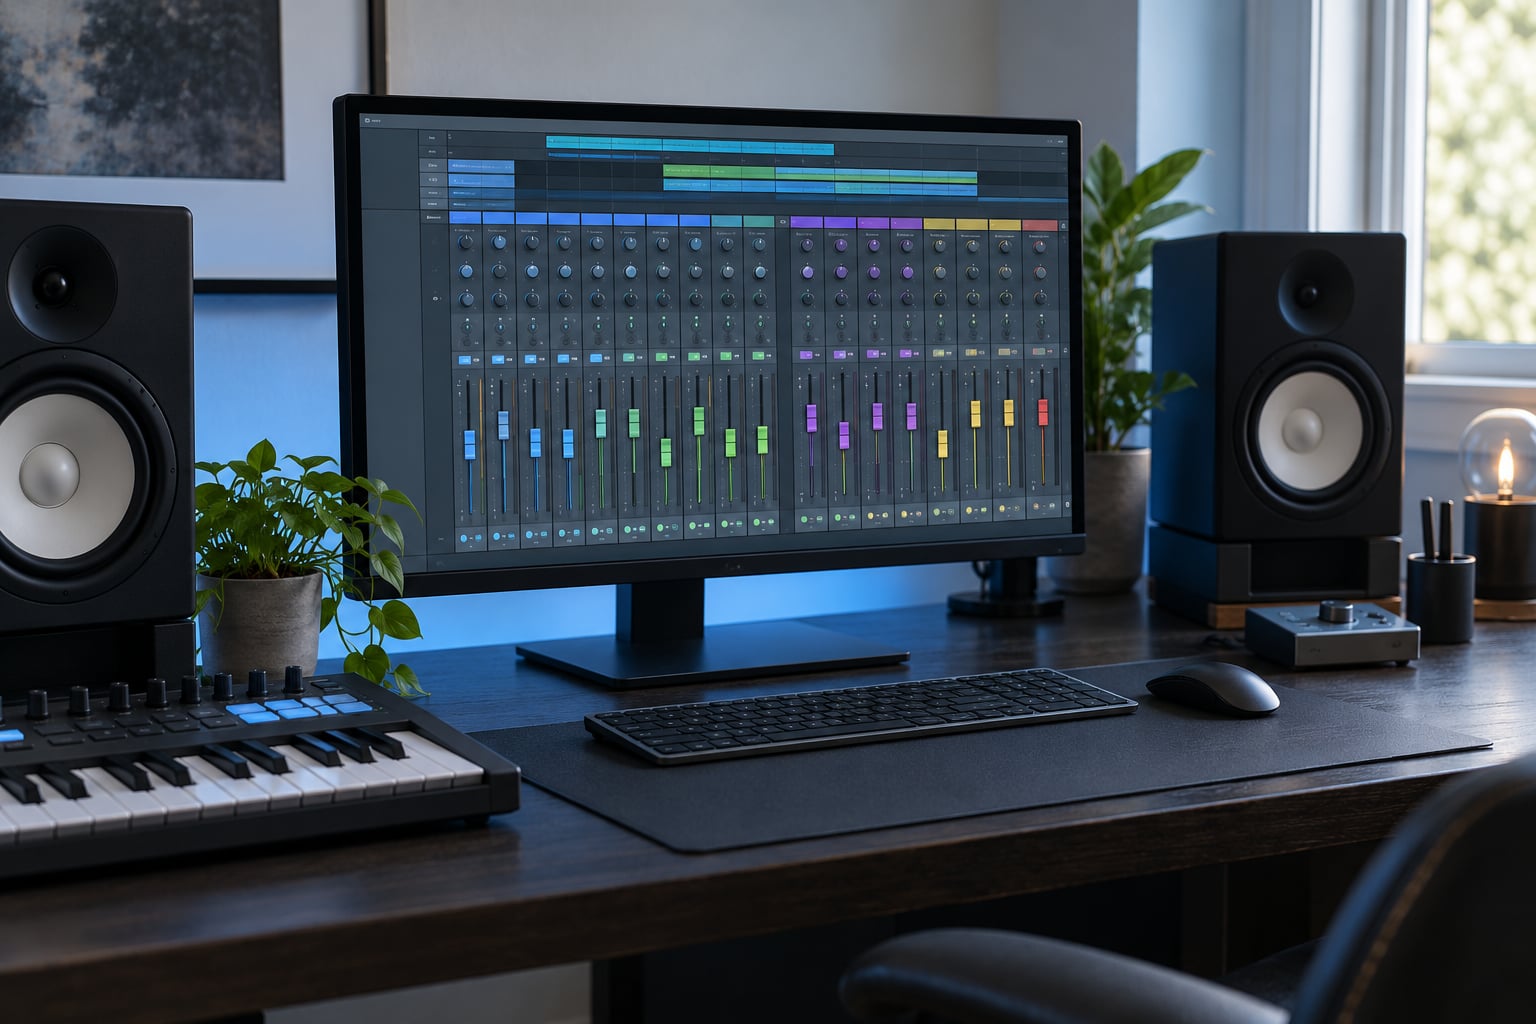
- 3. Add the Mixer Routing and Essential Insert Channels
- 4. Add Channel Presets, Groups, and Utility Processing
- 5. Organize the Playlist, Browser, and Workflow Tools
- 6. Save, Test, and Export the FL Studio Template
- Common Mistakes
- Frequently Asked Questions
- Does FL Studio have templates?
- How do I save templates in FL Studio?
- How do I save a file as a template?
- How do I create my own templates in FL Studio?
- Where does FL Studio store templates on my computer?
- What do Ctrl+L and Ctrl+G do in FL Studio?
- Conclusion
What You Need
You need one FL Studio project that already resembles a working session, not an empty one. That project is your starting material, because building a template from scratch is slower than pruning a session you already trust.
Before you open the mixer, decide what the template is for, because that choice shapes everything that follows. If you are building one for speed, you are making a production template: instruments loaded, routing pre-wired, markers in place. A mixing template instead opens with your track layout already built and only needs audio dropped in. A recording template opens with inputs armed and monitoring set up. Trying to serve all three at once produces the bloated templates that pile up in everyone’s Documents folder and never get opened.
It also helps to know your routing conventions before you build anything. Gearspace’s “Template Tips and Tricks” thread is a good sanity check for most people: parametric EQ on every channel with a 120 Hz roll-off except on bass and kick, 80 Hz on the snare, reverb plus long and short delay sends, and a bass channel already side-chained to the kick. That sidechain alone is reported to save roughly two minutes per session.
Finally, know where your FL Studio Data folder lives before you save anything. FL Studio 20 moved user data out of the install directory, and pre-20 users still have templates sitting in the old Program Files location. You will find the current path in Options > File > Data folders.
Step-by-Step
1. Start With a Clean Project and Choose the Template Purpose
Open File > New to get a blank project, or duplicate a session you have already finished with. Duplicating is faster and safer, because the instrument racks, plugin choices and mixer routing are already proven.
Write the purpose into the project title as you work. Something like “EDM production template v2” tells you in three months what the file is for, and it stops you from nesting a mixing template inside a production template by accident.
Verify this step by asking one question: if a collaborator opened this file with no explanation, would they know whether to record, write or mix? If not, go back and narrow the purpose.
2. Set the Project Structure and Basic Template Settings
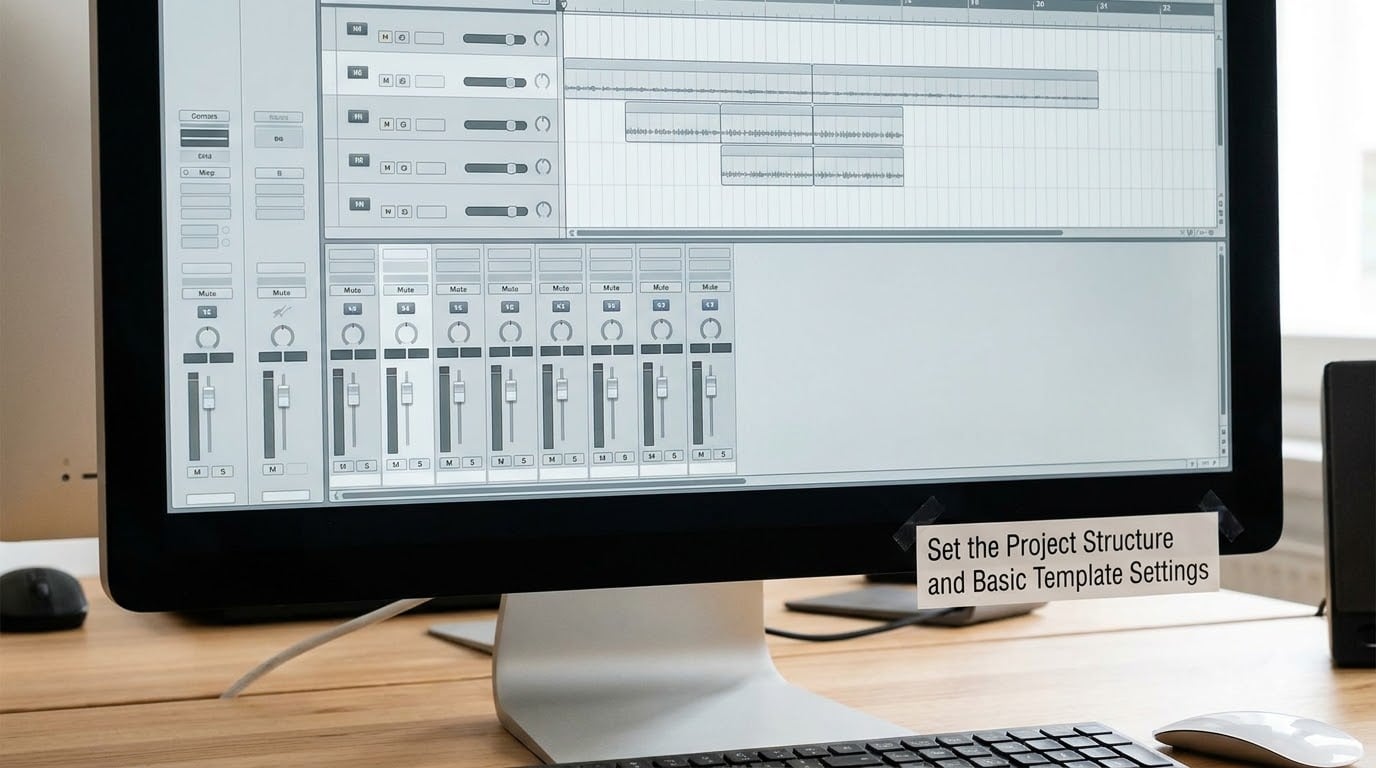
Set the project-wide options before adding any sound. Set your sample rate to match whatever you deliver in, 44.1 kHz or 48 kHz, and pick a default tempo and time signature that suit the template’s genre. A lo-fi hip hop template sitting at 140 BPM still gets dragged down every time you use it.
Open the Playlist and decide your arrangement convention. Most people lay down a marker structure of intro, build, drop, breakdown, outro, spaced a few bars apart, so that a new idea has somewhere obvious to land. Then mute every channel you are not actively testing so the template loads silent and you can build up deliberately.
Confirm the settings took by reloading the project from disk. If the tempo and sample rate survive the reload, you have a stable base.
Check the master track settings too. Decide here whether your master insert is a limiter or a soft clipper, and leave it at zero gain reduction until you are mixing. The point is to decide once, not to decide every session.
3. Add the Mixer Routing and Essential Insert Channels
Now build the insert tracks. For most electronic styles the working set is kick, snare, clap, percussion, bass, lead, chords, pads, two or three FX returns, and a master. That gives you a routing skeleton that covers trance, house and techno without locking you into any one of them.
Rename every insert and colour-code it. Right-click a channel header to rename it, and use the same colour for the matching channel rack instrument. A template with sixteen tracks called “Insert 1” through “Insert 16” saves nothing, because you still have to read every one when you load it.
The table below is a reasonable starting configuration. Treat the numbers as defaults to overwrite, not rules.
| Channel | Insert chain | EQ starting point | Sends | Routing |
|---|---|---|---|---|
| Kick | EQ, compressor, soft clipper | High-pass around 30 Hz | None | To master |
| Snare | EQ, compressor | High-pass around 80 Hz | Reverb, short delay | To master |
| Clap and percussion | EQ, light compression | High-pass around 200 Hz | Reverb, short delay | To master |
| Bass | EQ, compressor | High-pass around 30 Hz, no 120 Hz cut | None | Side-chained to kick |
| Lead | EQ, compressor | 120 Hz roll-off | Reverb, long delay | To master |
| Chords and pads | EQ, reverb | 120 Hz roll-off | Reverb, long delay | To master |
| FX return A | Reverb | High-pass around 200 Hz | To master | Receives sends |
| FX return B | Delay, filtered | High-pass around 300 Hz | To master | Receives sends |
| Master | Limiter, meter | No EQ cuts | None | Output |
Wire the sends from the individual channels to the FX return tracks rather than duplicating reverb on every insert. One reverb on a return gives you a single place to change the tail length for the whole project, which is far better than six copies you have to tune one by one.
For the bass sidechain, right-click the bass insert, choose Side-chain to Kick, and pick the kick track. Sidechain routing in FL Studio is nested several menus deep and trips up nearly everyone the first time. Check it worked by playing a kick pattern and watching the bass volume dip under each hit.
4. Add Channel Presets, Groups, and Utility Processing
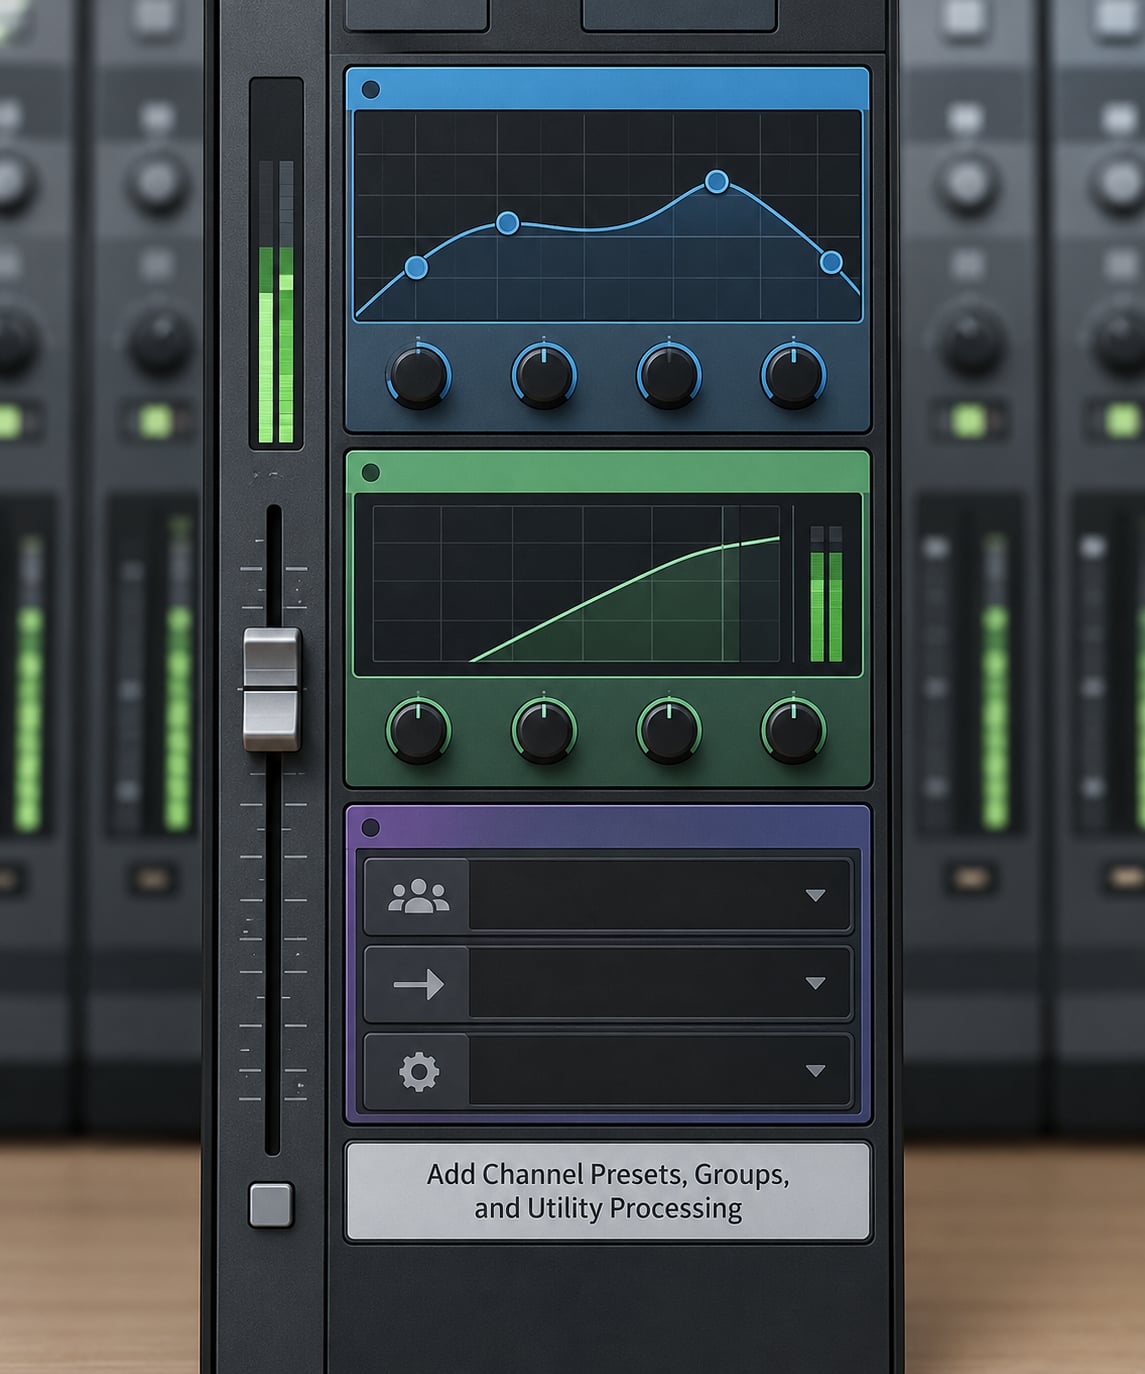
Utility processing is what separates a template from an empty mixer. Start every insert with a limiter or soft clipper so you have somewhere to push volume later without blowing out, and put a three-band EQ on anything that needs tone shaping.
Right-click a plugin’s header and save its state as a preset, then name the preset for the channel rather than the plugin. A preset called “SATURATE” travels between channels better than one called “Fruity Parametric EQ 2 setting”. This is the habit that lets a new channel inherit a known-good starting point in one click.
Build a couple of group channels for parallel compression or for drum bussing. Groups keep mixes consistent across sessions, and they are the first thing other producers notice when they borrow your template.
Keep the volumes and pans in a neutral place. If a template opens with lead at +4 dB and the pads buried at -9 dB, every project starts with a level fight that you did not choose. Save the balance as a mix reference instead, on a muted group you can pull up later.
Verify by soloing each track in turn. Anything that jumps in volume on its own needs its fader pulled back before the template gets saved.
5. Organize the Playlist, Browser, and Workflow Tools
Load only the browser collections you actually use into the project. A template that scans thousands of unrelated samples on every load slows down your file browsing as well as the load itself. In the Channel rack, keep a small number of combis that reflect the template’s purpose, such as drums, bass and chords.
Name the playlist and channel rack the same thing as the project. Consistent naming is what lets you navigate a template six months later without opening every panel.
If you produce mostly from the same handful of window arrangements, consider FL Studio’s template sets alongside the project template. The Gearspace thread describes someone who abandoned project templates entirely in favour of saved window layouts plus macros, and reported a large jump in daily workflow. Templates and window layouts solve different problems, and running both costs nothing.
Test the navigation honestly. Load the template cold, then look for a kick sound and a reverb preset without clicking anything decorative. If that takes more than a few seconds, your naming is not doing its job.
6. Save, Test, and Export the FL Studio Template
Save with File > Save As, keep the .FLP format, and navigate to the Templates folder inside your Data directory. On FL Studio 20 and later that path sits under your user-configured Data folder in Options > File > Data folders. On pre-20 installs it was Program FilesImage-LineFL StudioDataProjectsTemplates, which is where long-time users often have a second copy of a template they thought they had lost.
The difference between Save As and New from Template matters. Save As writes the project to disk. New from Template reads a template into a new, unsaved session so the template file itself stays clean. Save into the Templates folder once when you build the template, then always load through New from Template afterwards.
Set it as the default so it loads on every new project: go to Options > File, and point the default template option at the file you just saved. Confirm it by doing File > New and checking that your template loads instead of an empty session.
Test it properly by opening it in a brand new session and playing for five minutes. Check for missing plugins, missing samples and silent channels. FL Studio will warn you about missing plugins on load, but it will not tell you that a sample path quietly pointed somewhere else.
Copy the template file somewhere outside the FL Studio Data folder as a backup. Templates stored only inside the application data directory are the ones that vanish during a reinstall, and the Image-Line forum thread on template management names this exact risk. A dated copy in your own project folder costs nothing.
Finally, record what the template needs: the FL Studio version it was built on and any third-party plugins it references. Without that note you cannot tell later whether a file stopped working because of an update or because you moved machines.
Common Mistakes
Saving over the master template. This is the mistake people worry about most, and for good reason. Once you open a template and start working, the file on disk is no longer a template, it is a project with your latest idea in it. Load through New from Template, not by double-clicking the file, and the original stays untouched.
Over-processing the inserts. A template where every channel runs a compressor, a saturator and three EQ bands sounds impressive and mixes terribly, because you have no headroom left to solve problems. One useful plugin per slot, everything else empty, is the version that survives contact with a real track.
Missing plugin references. A template built around a third-party plugin will open with silent channels on any machine that does not have it installed. If you plan to share templates, keep the core routing on native FL Studio plugins and treat third-party processors as optional extras. That keeps the file usable for a collaborator who owns none of your tools.
Routing mistakes baked in. A send pointed at the wrong insert, or a group feeding the master twice, will not announce itself until much later in the mix. Check every send destination once before saving, and prefer the visual routing panel over guessing from the sound.
Making the template too specific. The moment you bake a fixed chord progression or a full arrangement in, the template is a song waiting to happen rather than a tool. Keep markers and spacers, drop the actual notes.
Over-organizing. Colour-coding everything is genuinely useful until it becomes the task. One r/FL_Studio producer stopped naming and colour-coding every channel because the effort outweighed the benefit and moved to mixer buses instead. Build the structure once, then stop fiddling.
Assuming a template is always the answer. There is real dissent on the Gearspace thread from producers who start every song from scratch, including CJ Mastering, who argues that every song needs different handling and that pre-bussing conditions the music before it has decided where it is going. That criticism has merit. If your work changes shape on every project, a template will slow you down, and starting from an empty project is the honest choice.
Frequently Asked Questions
Does FL Studio have templates?
Yes. FL Studio ships with its own templates and supports custom ones. A template is simply an FL Studio project file (.FLP) saved into the Templates folder of your Data directory. Once it is there, it shows up under New from Template and can be set as the default project loaded by File u0026gt; New.
How do I save templates in FL Studio?
Open the project you want to reuse, then choose File u0026gt; Save As, keep the .FLP format and point the dialog at the Templates folder inside your FL Studio Data directory. From FL Studio 20 onwards that folder lives in the user data path shown under Options u0026gt; File u0026gt; Data folders. Older installations used Program Filesu005cImage-Lineu005cFL Studiou005cDatau005cProjectsu005cTemplates.
How do I save a file as a template?
Use File u0026gt; Save As rather than Ctrl+S, then navigate into the Templates folder and give the file a descriptive name. Save As writes a new file and leaves the currently open project pointing at that new copy. That is the safe way to freeze a template, because it never overwrites the session you were working in.
How do I create my own templates in FL Studio?
Build a normal project with the setup you always start from: mixer inserts named and colour-coded, send effects on returns, a limiter on the master, instruments loaded in the channel rack and playlist markers in place. Then save that project as a template file. Keep only the sounds and routing you use on most sessions, since a template stuffed with one-off plugins slows you down.
Where does FL Studio store templates on my computer?
On FL Studio 20 and later, templates sit in a Templates folder inside your user data directory, and the exact location is shown under Options u0026gt; File u0026gt; Data folders. On installations older than FL Studio 20 the path was Program Filesu005cImage-Lineu005cFL Studiou005cDatau005cProjectsu005cTemplates. If a template seems to have vanished after an update, check the old location.
What do Ctrl+L and Ctrl+G do in FL Studio?
These are window switching shortcuts and their defaults depend on your keyboard preset. Ctrl+G commonly toggles the Channel rack and Ctrl+L the Playlist or its toolbar, but FL Studio lets you remap every key command under Options u0026gt; Settings u0026gt; Keyboard shortcuts, so check your own mapping before relying on either one.
Conclusion
Start by saving a clean project file with a clear purpose, then add only the routing and processing you know you will repeat: named and colour-coded inserts, send effects on returns, a side-chained bass, a limiter on the master and playlist markers for structure. Save that into the Templates folder through File > Save As, set it as the default under Options > File, and test it in a brand new session before you trust it. Keep a dated backup outside the FL Studio Data folder, and never work on the template file itself, only on sessions loaded from it.