If you want to know how to make a sound evolve over eight bars, the whole method comes down to this: pick one source sound, choose a single parameter that carries the movement, and draw one slow automation curve across eight bars. Add a second layer, a modulation source and some effects only once the main shape is in place.
It takes about fifteen minutes on an eight-bar loop at 128 BPM, and the skill is easier than it sounds. Most producers already own every tool needed: a synth or sample, a filter, an LFO, a compressor and a reverb.
Quick takeaways before the detail:
- One primary parameter, moved slowly, beats six parameters moved quickly.
- Bars 1 to 2 set the character, bars 3 to 5 develop, bars 6 to 7 open up, bar 8 lands or loops.
- Pitch bends want at least 5 semitones of range; 7 to 12 semitones sounds intentional rather than comical.
- Layering is what holds the movement together. Very rarely does a single element carry eight bars of evolution on its own.
- The ending should get more interesting, not just louder. Volume is the weakest tool in the box.
Table of Contents
- What You Need
- Step-by-Step: How to Make a Sound Evolve Over Eight Bars
- Step 1: Prepare an Eight-Bar Loop
- Step 2: Design the Starting and Ending Sounds
- Step 3: Choose One Main Parameter So the Sound Evolves Rather Than Rises
- Step 4: Add Modulation and Motion
- Step 5: Layer or Resample for a Stronger Change
- Step 6: Process the Transition and Ending
- Step 7: Write and Refine the Automation
- Step 8: Check the Result in Context
- Common Mistakes
- Quick DAW Automation Examples
- Frequently Asked Questions
- How many automation points do I need for an eight-bar evolution?
- Does this method work with audio instead of MIDI?
- How do I make the evolution dramatic without raising the volume?
- How do I make the eight bars loop without a seam?
- Should the sound change on every bar?
- Is eight bars really 32 beats?
- Conclusion
What You Need
You need very little to run this process. Everything below comes with the DAW you already own.
- An eight-bar loop or MIDI pattern as the thing you are evolving.
- One sound source: a synth patch, a one-shot sample, white noise, or a recorded foley layer.
- A DAW with automation lanes. Ableton Live, FL Studio, Logic Pro, Cubase, Studio One, Bitwig Studio and Reason all cover this method.
- A filter or EQ on the channel, since cutoff is the most reliable evolution parameter.
- A modulation source: an LFO, an envelope follower or a macro control.
- At least two insert effects, usually a filter or distortion plus a reverb or delay on a send.
Menu names shift between DAWs and versions, and Mac and Windows builds sometimes label the same control differently. The idea behind each click stays the same though: open a lane, draw a line, listen.
Step-by-Step: How to Make a Sound Evolve Over Eight Bars
Step 1: Prepare an Eight-Bar Loop
Set your loop length to eight bars and know exactly where bar 1 and bar 8 start. In most DAWs that means drawing a clip boundary over 32 beats in 4/4 time and putting a loop or punch marker at the ends.
A simple test pattern works fine: a repeating synth arpeggio on sixteenths, or a basic kick and hat pattern. Give the source track some headroom, roughly 3 dB, so a layer can come in later without pushing the whole thing into the red.
Play the loop three or four times before touching anything. Knowing how dull it sounds flat tells you how much movement you need.
Step 2: Design the Starting and Ending Sounds
Decide what bar 1 sounds like and what bar 8 sounds like before you draw a single point. If you skip this, the automation wanders and lands somewhere arbitrary.
Describe both states in plain terms. Bar 1 might be a dark, narrow, short pluck sitting in one register. Bar 8 might be a bright, wide, sustained texture sitting an octave higher with noise folded in. That gap between the two descriptions is your evolution.
Useful dimensions to change: brightness, register, density, stereo width, sustain length and texture. Pick two or three. Changing all six at once leaves you with a different patch rather than an evolving one.
Step 3: Choose One Main Parameter So the Sound Evolves Rather Than Rises
This is the step most people skip, and it is the one that decides whether the result sounds intentional. Choose one parameter and let it carry the movement: filter cutoff, resonance, pitch, wavetable position, amp envelope release, noise level or an effect send.
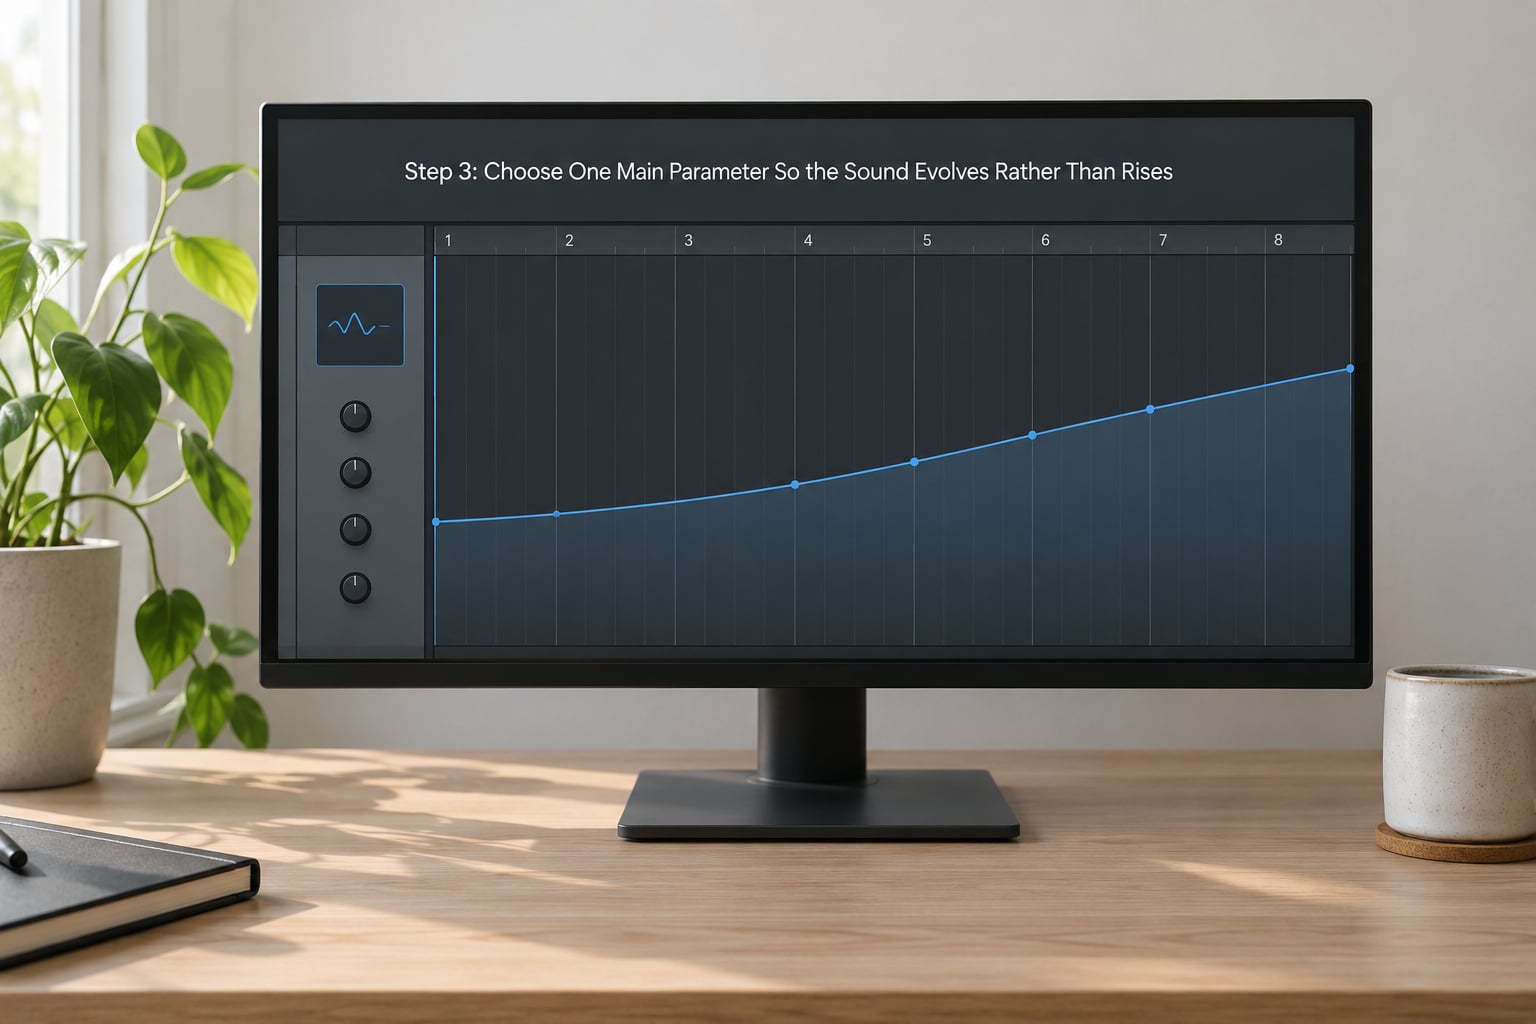
Cutoff is the safest first choice because it is easy to hear and easy to reverse. A rising filter on a static sound reads as growth. A falling filter on the same sound reads as distance, which works beautifully on breakdowns and outros.
Change it gradually. A full sweep across eight bars should feel like weather arriving, not like someone turning a knob. If you can hear the automation as a mechanism, the curve is too steep or too stepped.
Step 4: Add Modulation and Motion
Once the main curve exists, add smaller movements inside it. An LFO mapped to cutoff gives you a wobble on top of the sweep. An envelope follower keyed off your drums gives you movement that pulses with the track. A macro control lets you nudge both by hand later.
Useful destinations: filter cutoff for shimmer, wavetable or waveform position for tone drift, amp level for breathing, pan for width, and effect mix for the reverb tail opening up.
Sync any LFO to the grid. A rate of 1/8 or 1/16 note usually sits right under the main sweep without fighting it. Producers working this way often keep one parameter wobbling slightly across four or eight bars to stop a loop sounding mechanical, which is a cheaper trick than any plugin.
Watch for the classic mistake: an LFO fighting the main automation curve. If the two move in opposite directions, mute the LFO and decide which one you actually want.
Step 5: Layer or Resample for a Stronger Change
One layer rarely carries eight bars alone. Duplicate the sound, then change the copy rather than the original. A concrete example: keep the clean pluck running underneath through bars 1 to 4, then bring in a brighter, noisier, wider version of it from bar 5 and let the original fade beneath it.
Other ways to force a real change:
- Crossfade two versions of the same patch so one hands over to the other mid-phrase.
- Reverse an element and place it at the front of the phrase. On the vi-control forums, one producer described this as the cheapest riser there is: play anything you like for as long as you like, reverse the clip, snap it to the grid, add effects.
- Resample the output of the layer into a new audio track so you can treat it as a fixed sound.
- Stack an octave down underneath for weight, then automate it out before the low end gets crowded.
Another vi-control contributor automated the waveform across several oscillators so the tones crossfaded like waves overlapping. It sounds like a much bigger sound than one oscillator because it genuinely is several.
Step 6: Process the Transition and Ending
Treat the last two bars as a separate mix problem. That is where risers usually fall apart, because the effects that made the build feel exciting start covering the drop that follows.
A few things that work well in the final bars: a longer reverb tail, more delay feedback, a touch of saturation to glue the harmonics together, a short riser sample tucked under the last bar, and a high-pass filter opening up to clear space for whatever comes next.
Keep the low end under control. Build-ups that stack sub content with your bass turn to mud within two bars, so high-pass the build somewhere sensible, or leave the low register to a single element. A high-pass sweep that opens during bars 6 to 8 does two jobs at once: it clears room and it adds brightness.
For a delay that sits in the pocket, a dotted eighth around 375 ms at 128 BPM is a well-worn setting and it stays musical because it is derived from the tempo rather than guessed.
Step 7: Write and Refine the Automation
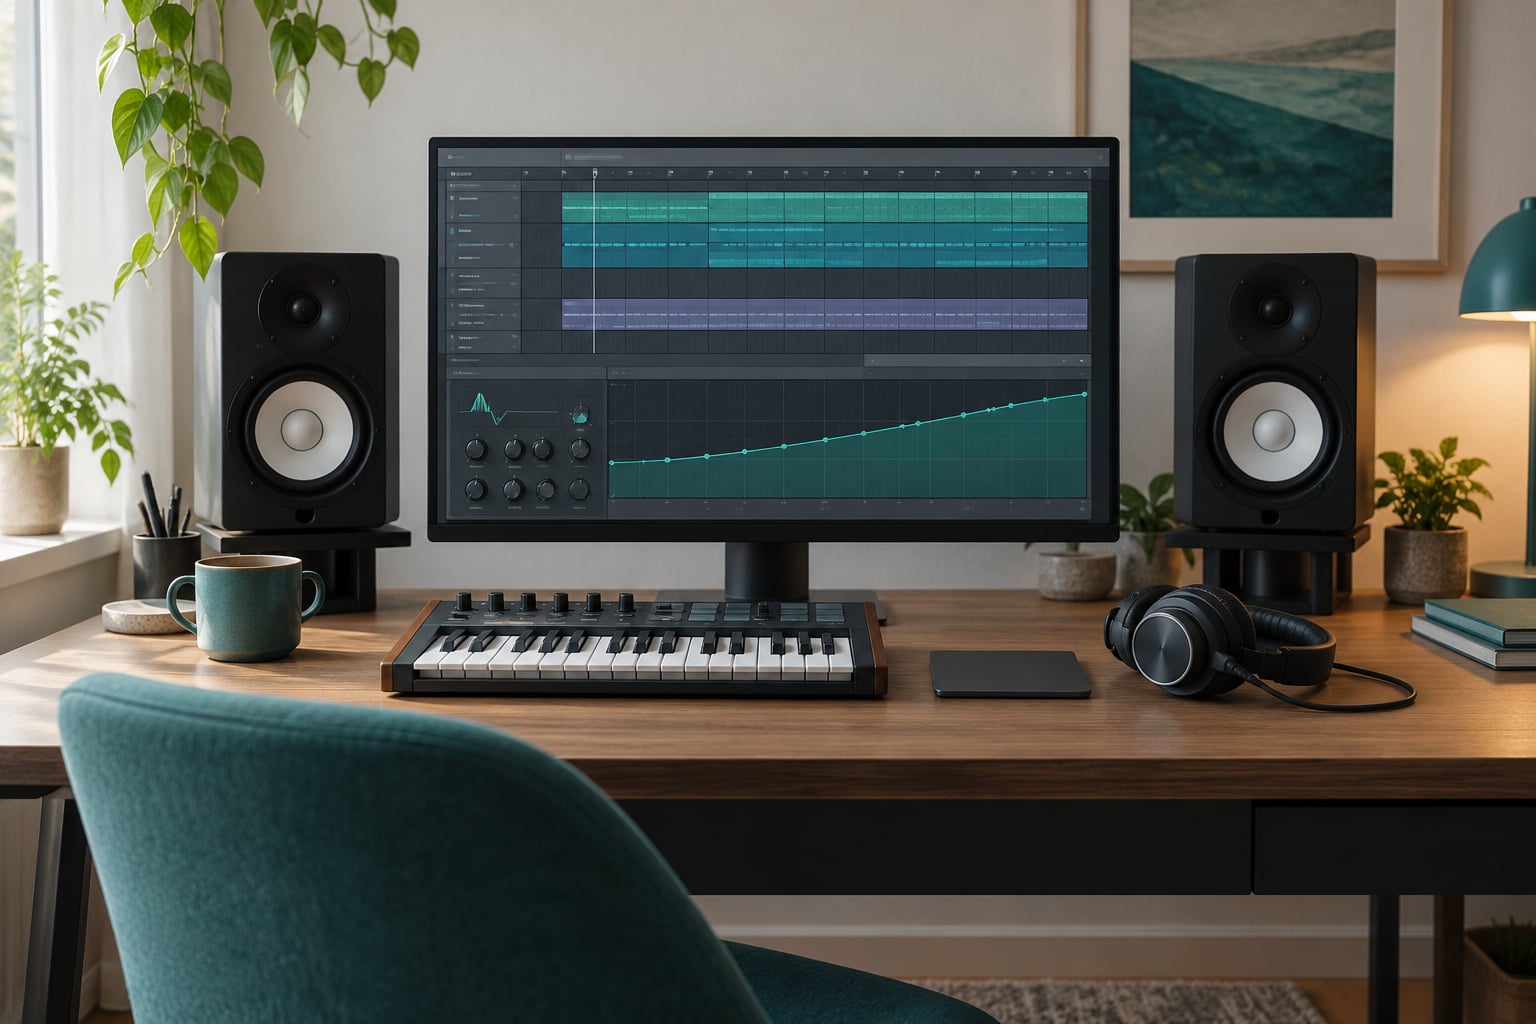
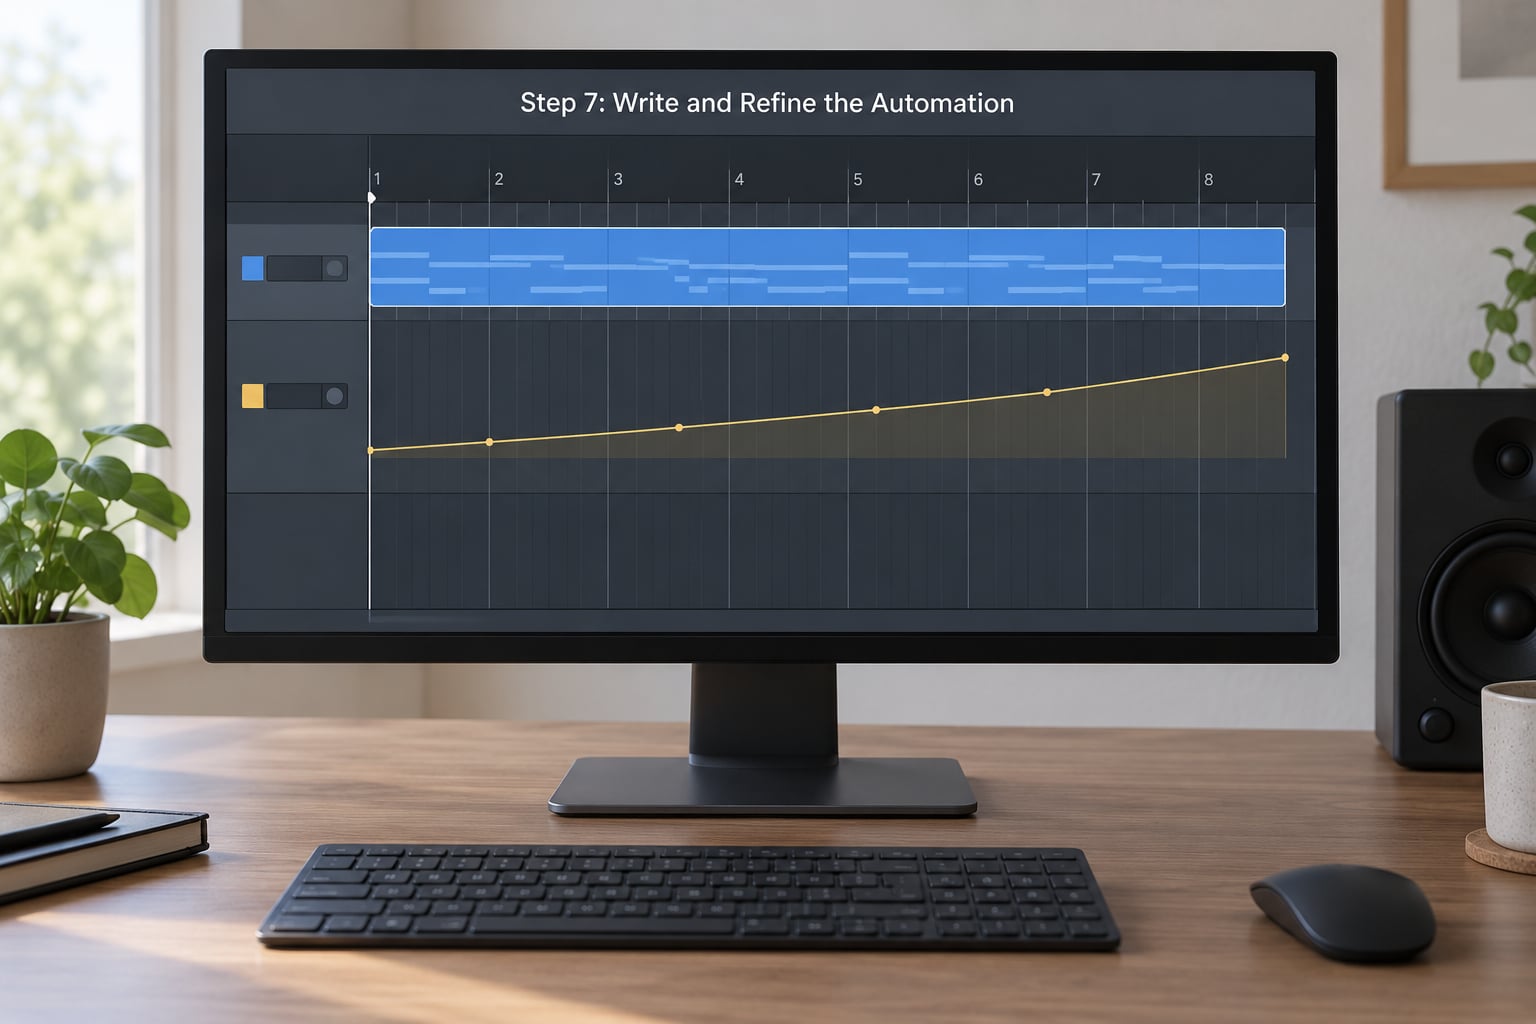
Draw the curve with the phrase structure in mind. Four points is often enough to start: a low value at bar 1, a small step at bar 3, a bigger move at bar 6 and your final value at bar 8.
| Phrase section | Low-pass cutoff | Pitch | Level | Rhythm and motion |
|---|---|---|---|---|
| Bars 1 to 2 | Set it low, around 400 to 800 Hz | At pitch, or -12 semitones below | Lowest, roughly -12 dB under the main layer | Restrained, maybe an LFO on 1/16 at shallow depth |
| Bars 3 to 5 | Ramp to around 3 to 5 kHz | Steady, no more than 2 semitones of drift | Rises roughly 3 to 5 dB | Add delay feedback growth and a subtle pan drift |
| Bars 6 to 7 | Open to 10 to 14 kHz | Rise 5 to 12 semitones, or swap to a brighter layer | Rises another 3 dB, still under the drums | Snare roll or arpeggio doubles the subdivision |
| Bar 8 | Hold or dip slightly | Land on the root or revert to bar 1 for a loop | Settle back so the next section has room | Short riser tail, then silence or the loop restart |
Use ramps for the steady middle, curves where you want acceleration, and repeated points where you want a staircase. A staircase of small steps reads as rhythm; a single long ramp reads as drift. Which one you want depends on whether the phrase is meant to build or to wander.
Velocity is the forgotten third parameter. Raising the velocity of hits across the phrase makes a sound brighter as well as louder, which buys you movement without touching the fader. Nudged timing does the opposite, pulling hits back to loosen a rigid pattern by a few milliseconds.
For pitch bends, widen the bend range before automating. Anything under about 5 semitones tends to sound thin and unintentional; 7 to 12 semitones reads as a deliberate move. Pairs of opposed bends, one up and one down by a semitone, create chaos that works for tension if your track can take it.
Step 8: Check the Result in Context
Bounce or render the evolved version and A/B it against the original. Play the loop four times in a row, because the test is whether it holds up on repetition rather than whether it sounds good once.
Then check it in the full track:
- Listen with drums, bass and vocals present. A build that only works alone usually falls apart in context.
- Listen at low volume. If the movement disappears, the midrange is doing too much work.
- Check mono compatibility, especially on layers with wide stereo effects or heavy phase.
- Solo the low end and confirm nothing has piled up below roughly 150 Hz.
A quick failure test: if bar 8 sounds bright enough to fatigue your ears, muddy in the mids, louder than the section it leads into, or busier than everything before it, dial the last two bars back until only the character changes. Interesting beats loud.
Common Mistakes
Changing too many settings at once. The result is a new patch, not an evolution. Pick one parameter, automate it properly, then add a second.
Making every bar identical. Flatness is the problem you set out to fix. Even small changes on bars 3 and 5 break the static feel.
Automating too aggressively. Steep curves and dense point clusters sound like a machine moving. Fewer points with longer ramps almost always sound better.
Losing the low end. Layers that stack sub content with the bass create mud. High-pass a build layer, or keep the low register to one element only.
Letting modulation fight the automation. An LFO pushing cutoff down while the filter sweep pushes it up creates a wobble nobody asked for. Mute one of them.
Making bar 8 louder instead of more interesting. A pure volume jump compresses everything and dulls the payoff. Change brightness, width or texture and keep the level honest.
Forgetting the loop point. If your eight bars loop, bar 8 has to lead back into bar 1 without a jump. Land the pitch on the root, drop the filter back or use a short tail that decays before bar 1.
Leaving too much on the return. Heavy reverb and delay on the last bars blur the section that follows. Automate the sends back down as bar 8 lands.
Quick DAW Automation Examples
The workflow is identical in each of these; only the route to the automation lane changes. Names shift a little between versions and operating systems.
Ableton Live: enable automation mode with A on the track, or turn on the automation view in the clip. Draw the curve in the clip’s envelope editor, or open the automation panel for the device. Draw curves with the mouse and hold a modifier for curve shapes.
FL Studio: right-click a parameter and choose automation, or use the automation clip tool on the toolbar. FL Studio calls these automation clips and they sit on their own channel, so keep the volume around -6 dB so the clip sits near unity when it opens. Curiosity Sound’s short walkthrough builds a white-noise riser with 3xOsc and Fruity Free Filter this way, and the note in the piano roll does not matter for a noise source.
Logic Pro: open the automation with A on the selected track, or use the automation parameter list on the left edge. Logic keeps automation lanes tied to track timing, so drawing over an eight-bar region with snap on gives you clean phrasing.
Cubase: enable the automation lane for the track, click the write or touch mode button, and move a parameter to record values. Use the range tool to scale the automation so the same gestures produce a bigger or smaller sweep.
Studio One: click the Automation button in the track header, then click the parameter you want to record. Touch and latch modes both work; touch mode returns control to you after each pass.
Bitwig Studio: open the modulators and devices panel, then enable modulation on the parameter. Bitwig is especially quick here because modulators can be shaped independently and layered on top of clip automation.
Reason: write automation into the parameter using the automation mode on the device, and split the ramp into smaller segments if you want stepped values rather than one continuous curve.
Frequently Asked Questions
How many automation points do I need for an eight-bar evolution?
Four points is a good starting point: one at bar 1, one around bar 3, one at bar 6 and one at bar 8. That gives you an opening state, a development stage, an increase and a landing point. Add more only when you hear a specific reason, because dense point clusters tend to sound mechanical rather than gradual.
Does this method work with audio instead of MIDI?
Yes, and audio often needs it more. You cannot open a filter on a sample inside a sampler and automate the cutoff, but you can place any audio clip on its own track with a stock filter and EQ, then automate those the same way. Reversing, stretching and re-triggering the clip are all valid evolution tools that MIDI does not offer.
How do I make the evolution dramatic without raising the volume?
Change brightness, width and texture instead. Open the filter, swap in a brighter layer, widen the stereo image and lengthen the reverb tail while keeping the fader still. Dramatic does not have to mean loud, and keeping the level honest means the section that follows the build lands with real contrast.
How do I make the eight bars loop without a seam?
Make bar 8 end where bar 1 begins. Land the pitch on the root, drop the filter back to its starting value or let a riser tail decay before bar 1 starts. Check the join by looping the region continuously and listening to the transition several times, since the join only shows up on repetition.
Should the sound change on every bar?
No. If every bar moves noticeably, the phrase has no resting point and the ending means nothing. Change the sound across the eight bars in stages: hold bars 1 and 2, develop through 3 to 5, open up across 6 and 7, then settle on 8. Repetition with intention beats constant change.
Is eight bars really 32 beats?
In 4/4 time, yes. A bar contains four beats, so eight bars contain 32 beats. At 128 BPM that is 32 beats in 15 seconds. At 120 BPM it is 16 seconds and at 140 BPM it is about 13.7 seconds, so the phrase gets shorter as the tempo climbs.
Conclusion
To make a sound evolve over eight bars, pick a source sound, choose one parameter to carry the movement, draw a gradual curve across the phrase, then add only the modulation, layer and processing that support that curve.
Start with the simplest version today. Duplicate your sound, put a filter on the copy, drop the cutoff around 500 Hz at bar 1, and drag it to roughly 12 kHz by bar 8 with four points in between. Bounce it, compare it against the flat version, and only then decide what else needs to move.