A delay throw is a separate delay bus that feeds a lead vocal only at chosen moments, usually the end of a phrase, so the repeats stretch the line out without sitting on top of the dry vocal the whole way through. If you want to know how to use delay throws on a lead, the whole technique is three things: route the vocal into a send, put the delay on the return, and automate the send level so the effect opens up for a second or two at the right places.
It takes about 20 minutes to set up the first one, and the fussy part is level matching rather than routing. Most beginners can get a sound coming out in five minutes, then spend an hour working out why the vocal got louder instead of wider. That part is covered below, because it is the single most common thing that goes wrong.
This guide covers the workflow in a DAW-agnostic way first, then the routing differences between the six DAWs people ask about most. I am assuming you already know what a send is and what reverb does. If you do not, start at the first section and it will still make sense.
Table of Contents
- What You Need
- Step-by-Step: How to Use Delay Throws on a Lead
- 1. Create a Clean Lead Part
- 2. Set the Delay Timing and Feedback
- 3. How to Use Delay Throws on Selected Phrases
- 4. Filter and Shape the Repeats
- 5. Balance Dry Lead and Delay Throws
- 6. Automate Throws Through the Arrangement
- Common Mistakes
- Frequently Asked Questions
- What are the best delay settings for vocals?
- Should the delay return be set to 100% wet?
- Why does my vocal sound louder when I automate the delay send?
- What is slapback in music, and when should I use it?
- Is a ping pong delay good for a lead vocal?
- How do I print or bounce delay throws for a mix engineer?
- Conclusion
What You Need
None of this needs hardware or a paid plugin. Every major DAW ships with a delay that can do everything described here.
- A lead part. A recorded vocal or a synth lead, already edited and comped. Timing work comes before delay work, not after.
- A DAW with aux sends. Logic Pro, Pro Tools, Ableton Live, FL Studio, Cubase, Studio One and REAPER all qualify. Mixing-console-style workflows with buses and groups work the same way.
- A delay plugin. The stock one is fine to start. The stock one is what you will use to learn whether you like the technique at all.
- A compressor, optional but useful. Only for the ducking recipe in the shaping section. Stock compression is enough.
- Headphones or monitors. You need to solo the return to hear it properly, which is awkward on laptop speakers.
- Tempo set correctly. If the project tempo is wrong, every synced delay time is wrong too.
One prep step saves a lot of grief later: decide which phrases get the throw before you touch a single plugin. I keep a text file or a marker list with the phrase positions noted. When the automation comes up against an empty timeline at two in the morning, having the list is the difference between a two-minute job and an hour.
Step-by-Step: How to Use Delay Throws on a Lead
1. Create a Clean Lead Part
Comp and edit the lead first, then deal with timing. Nothing about a delay throw rescues a vocal that wanders off the grid, because the repeats amplify every timing problem you already had.
Trim breaths and mouth noise with short fades rather than aggressive gating. Gate artifacts sit in the room tone, and delay repeats those artifacts with every pass, so a track that sounded fine dry turns into a machine-gun mess once the send opens up.
Most of the time you will leave the lead alone. The temptation is to reach for a compressor on the way in, and a moving lead makes the repeats arrive at varying levels, which makes the throw sound uneven rather than deliberate. Get the lead sitting where you want it first, then send from there.
Listen for the phrases where the vocal runs out of energy. That is usually where a throw belongs, because it is where the arrangement wants more space and where a listener reads a held note as a section ending rather than as a syllable.
2. Set the Delay Timing and Feedback
Set the delay to 100% wet before anything else. This is the setting people skip, and it is the cause of the most common complaint in the forums: automating a send makes the whole vocal louder. If any dry signal passes through the effect, raising the send adds more copies of the dry vocal on top of the original. A long member on Gearspace called this out directly when someone described exactly that symptom.
On a send-and-return setup, the return should carry repeats only. If your DAW insists on mixing, set the dry to zero and the wet to full on the return, then control the amount of throw from the send knob instead.
For timing, choose a musical division rather than a round millisecond number. Turn on tempo sync and pick a note value. A quarter note is the most common choice for a lead vocal. Dotted eighth suits trap and modern R&B, where the repeats land between the vocal’s own subdivisions. Eighth works for rock and anything with eighth-note hats competing for space. Sixteenth reads as texture rather than as an obvious echo.
If the repeats sound like disconnected echoes rather than one effect, the time is too long for the tempo. A quarter note at 160 BPM is around 375 milliseconds, which is far enough apart that the ear treats each repeat as its own event. Shorten it before you reach for feedback.
Here is the tempo math, so you can work it out yourself instead of trusting a plugin’s menu. Quarter note length in milliseconds is 60000 divided by the tempo, and every other division is a fraction of that.
| BPM | Quarter | Dotted eighth | Eighth | Sixteenth |
|---|---|---|---|---|
| 90 | 667 ms | 500 ms | 333 ms | 167 ms |
| 100 | 600 ms | 450 ms | 300 ms | 150 ms |
| 110 | 545 ms | 409 ms | 273 ms | 136 ms |
| 120 | 500 ms | 375 ms | 250 ms | 125 ms |
| 128 | 469 ms | 352 ms | 234 ms | 117 ms |
| 140 | 429 ms | 321 ms | 214 ms | 107 ms |
| 160 | 375 ms | 281 ms | 188 ms | 94 ms |
Feedback is how many extra repeats you get. Start at around 20% and raise it only if the tail dies before the phrase does. High feedback with a long time turns into a wash that swallows the next line, and one forum user described automating feedback for more repeats as simply sounding artificial, which is what happens when the repeats are spaced too far apart in the first place.
3. How to Use Delay Throws on Selected Phrases
Now the part people find fiddling. With the send at zero, you are hearing the dry vocal with a delay bus attached. Now draw the send level up. This is where the technique stops being theory: the phrase either widens or it does not, and you know within one pass.
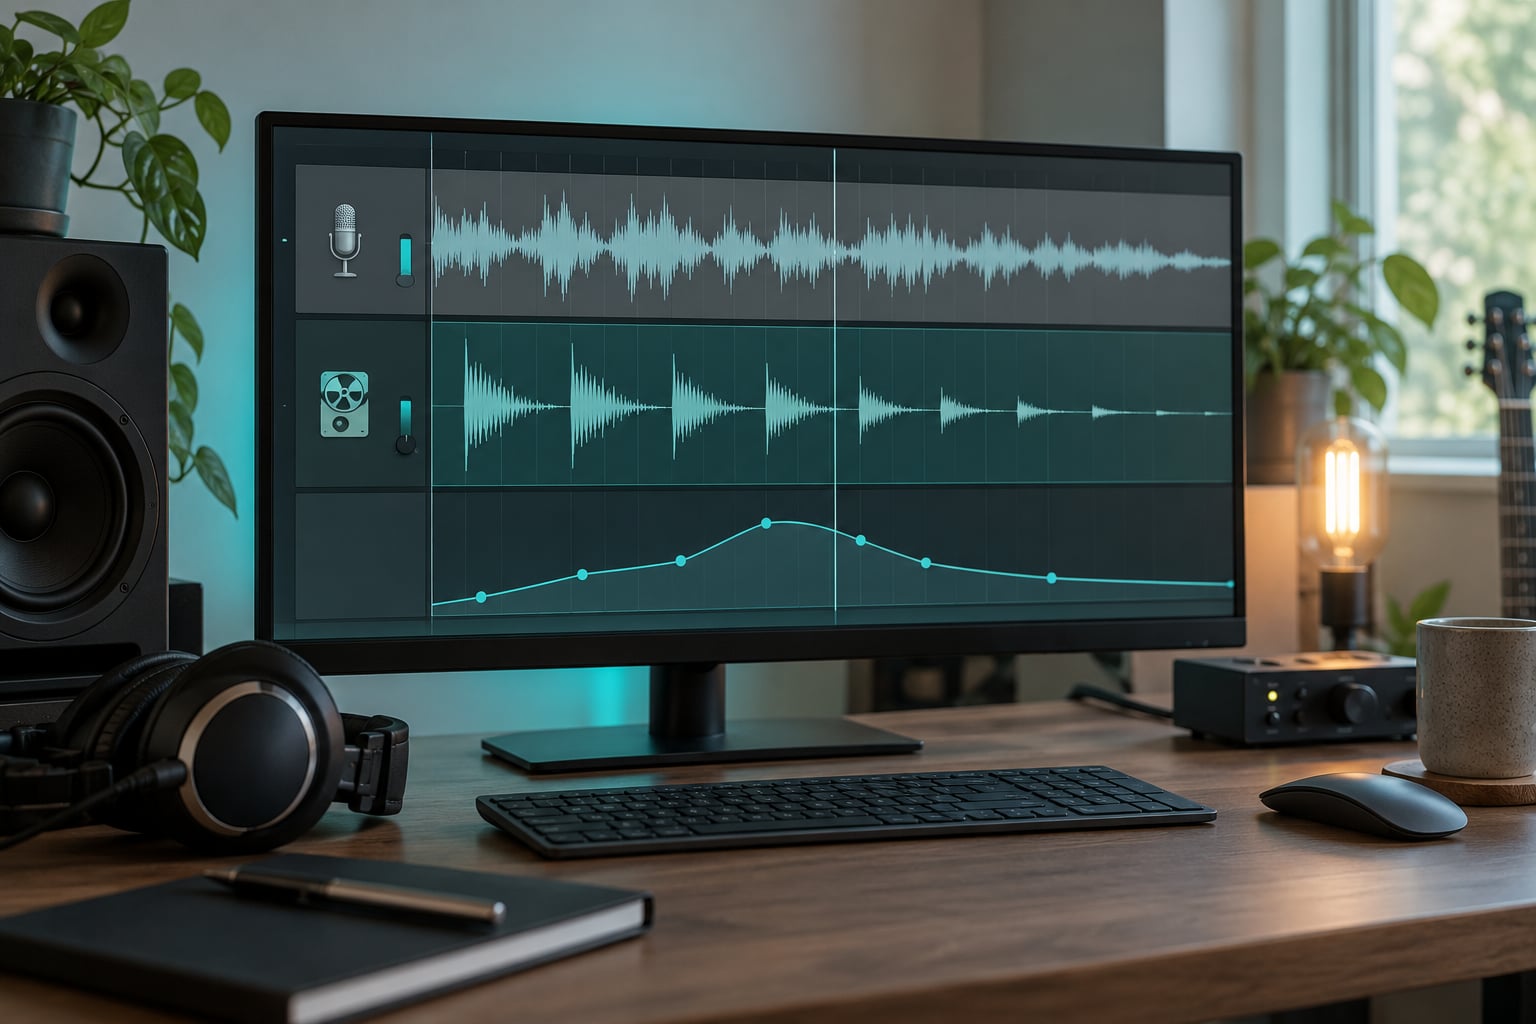
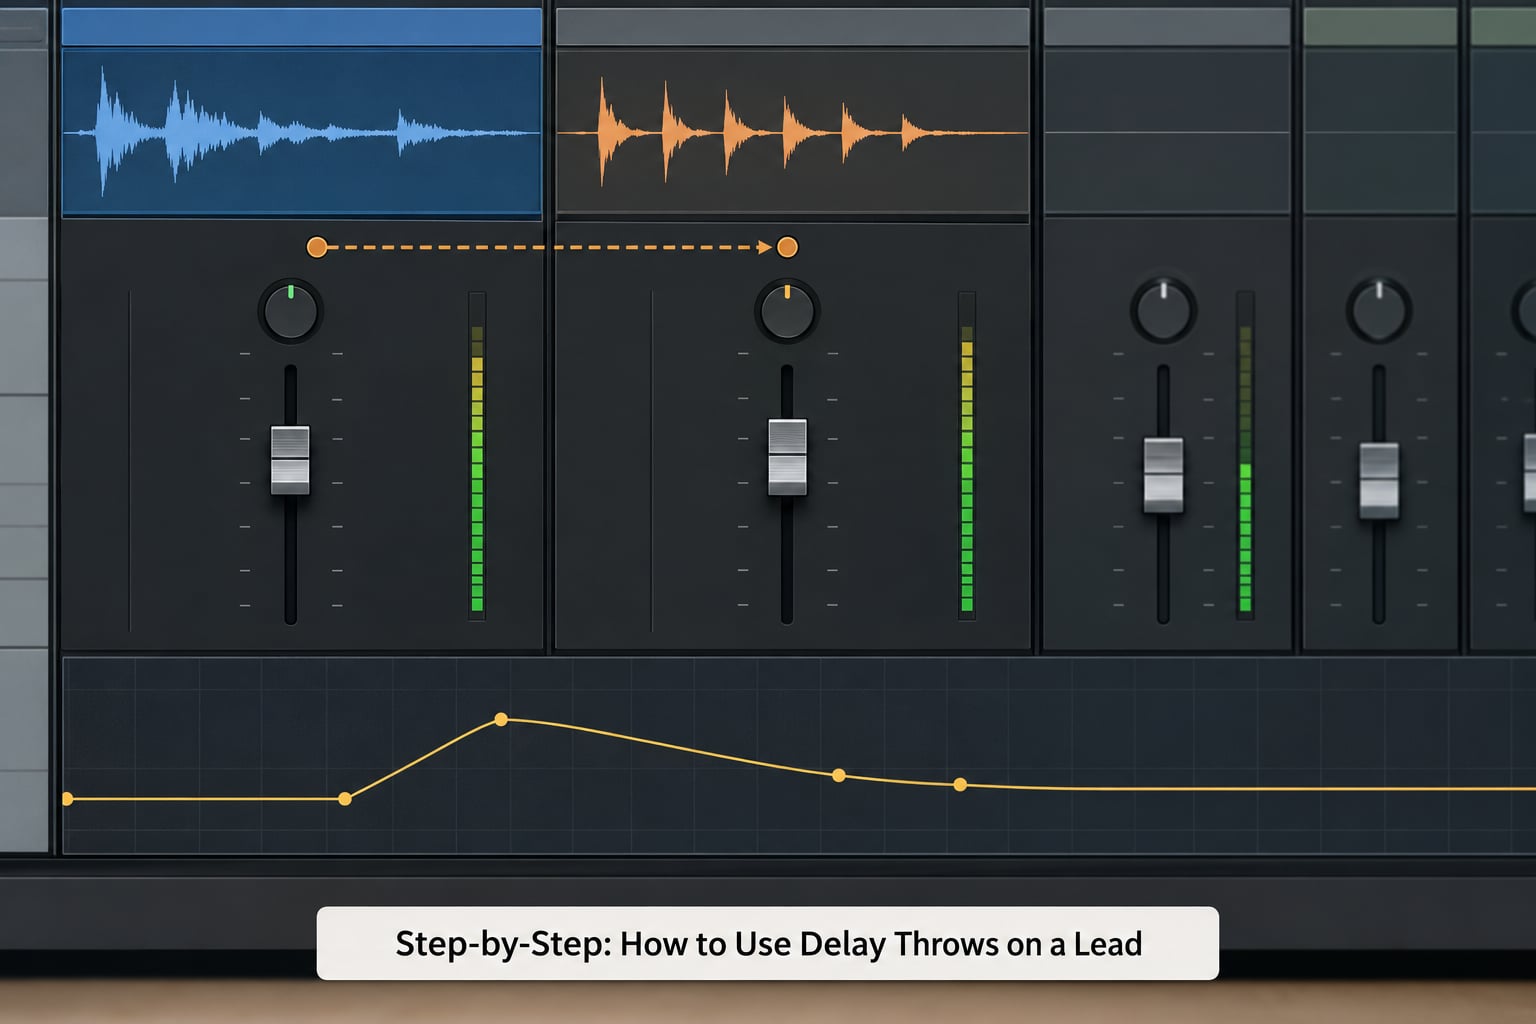
Open the send’s automation lane, place a breakpoint a bar or half bar before the phrase ends, ramp the send up over roughly a beat, then bring it back to zero when the last repeat has faded out. Leaving the send open afterwards is the second classic error: the delay runs through the silence into the next phrase and muddies everything it touches.
A gap of a bar or two before the next vocal line is the usual spacing. If there is no gap, shorten the throw rather than shortening the delay time. The time defines the character of the throw, the duration defines how long it lives.
If you want the repeats to fill an entire pre-chorus instead of punctuating it, automate the send up once at the start of the section and let it ride, then drop it hard at the pre-drop. That single move is most of what makes a build feel like a build.
4. Filter and Shape the Repeats
Unfiltered repeats carry every frequency the dry vocal carries, so they fight it for space in the same way a doubled vocal does. A high-pass filter on the return at somewhere around 200 to 400 Hz removes the body of the repeats and leaves the character, which is what you actually want behind the dry vocal.
A low-pass filter around 6 to 8 kHz takes the edge off so the repeats sit behind instead of in front. On bright or heavily compressed leads, the low-pass matters more than the high-pass. A throw that competes with the dry vocal for attention is almost always a brightness problem before it is a level problem.
Light saturation on the return does something the filters cannot. It glues the repeats to each other so they read as one texture rather than as separate copies.
For ducking, the recipe that experienced users rely on is worth copying exactly. Put a compressor after the delay insert on the return, sidechain it to the lead vocal, set the attack around 10 ms and the release somewhere between 1.5 and 2 seconds, and add a modest ratio of about 3 to 1. That comes from a Gearspace user’s six-step answer and it does exactly what you want: the repeats stay out of the way while the singer is singing, then bloom in the gap after the line ends. A release shorter than a second chops the tail off in the middle, which undoes the point of the throw.
One advanced touch: give the delay return its own send to a reverb bus. The repeats then get reverb on them too, so they arrive airier and wetter than the dry vocal instead of simply longer. On Gearspace, users describe each repeat becoming noticeably airier this way, which is a better way to get an expansive tail than pushing feedback up.
5. Balance Dry Lead and Delay Throws
Start with the send at zero and the dry lead sitting where you want it. Do not move the dry from this point. Every remaining decision is about the send.
Raise the send until the first repeat is clearly audible, then pull it back until it sits just underneath where the dry vocal was. The test is simple: solo the return, note the level, then solo the dry and note that. They should be within about 6 to 10 dB of each other, with the dry louder. When the send comes up at the phrase ending, the combined level should rise without the dry itself jumping.
If it feels like the vocal got louder rather than wider, the send is too hot or the return is not fully wet. Both produce the same symptom and the second one is the usual cause.
Check the whole arrangement, not just the phrase. Delay tails from one section will still be ringing into the next if you leave the send open, and they will collide with the bass in the low end unless the high-pass is doing its job.
Ping pong mode is worth trying once the mono version is right. It alternates repeats left and right, which widens the stereo image without touching the dry vocal’s position. It suits trance and house leads where the melody already sits wide. On a sparse acoustic lead it can sound like a gimmick.
6. Automate Throws Through the Arrangement
Getting one throw to sound right is the easy half. Deciding where the throws belong across a whole song is the part that separates a lead that feels wider from a lead that sounds like it is wearing an effect. Most sessions use one delay type with a handful of throws placed at the structural moments, not a different delay on every line. Changing the effect constantly is the over-engineered version that forum users fall into and later regret.
A workable map for a full song: a short throw on the last word of a verse line, a longer one riding the second half of the final pre-chorus, a big filtered throw on the last word before a drop, and a long high-feedback throw on the final held note of the outro. That is four automation events for a three-minute track, which is plenty.
Beyond send level, the other parameters are worth automating on a hero throw. Feedback, filter cutoff and delay mix can all move during the tail. A throw that opens its low-pass filter and its feedback as the tail runs turns a static repeat into something that builds. Automate the delay time and you get pitch-bending repeats, which is a deliberate effect rather than a mixing choice, so use it once per song at most.
Bounce the delay return separately before sending the session to someone else, rather than printing it into the dry vocal track. The Cubase forum has a long-running unanswered question about exactly this, and the answer is straightforward: it is usually the send level and the delay return gain that they need to move, and those are invisible once the throw is flattened into the vocal stem.
If you are triggering throws live instead of in a session, the mental model is the same. On a hardware mixer, put the send bus on a DCA or a mute group and ride that fader; in a sampler or pad controller, map a knob to the send level and have a snapshot recalled at the section change. Live singers get the same effect, just triggered by a hand instead of an automation lane.
Common Mistakes
These are the problems that come up over and over, with the cause and the fix for each.
The vocal gets louder when the send opens up. The return is not at 100% wet, so the send is carrying dry signal into the effect and adding a second copy of the vocal. Set the dry to zero on the return, control everything from the send, and this disappears immediately.
The delay sounds like disconnected echoes. The time is too long for the tempo, often a quarter note at 140 BPM or faster. Shorten the division before you raise the feedback. Repeats spaced close enough to read as one texture need less feedback than people expect.
Too many repeats, and they wash into the next line. The tail is outlasting the gap. Either shorten the feedback decay or close the send earlier so the throw dies before the next phrase starts. A throw that bleeds into the following lyric reads as a mixing error, not as an effect.
The dry vocal loses clarity. The repeats are unfiltered and unducked. High-pass the return around 200 to 400 Hz, low-pass it between 6 and 8 kHz if it still sits forward, and add the sidechain duck so the tail only appears in the silence after the line.
The delay masks the bass. The low end of the repeats is stacking with the bass and the kick. This is a high-pass problem first. If the low-pass and high-pass are already right and it still muddies, shorten the throw so it stops before the bass section enters.
Every phrase gets the same throw. The effect stops meaning anything. A throw works because it is an event, so keep it to the structural moments and leave it off most lines.
Automating the wrong parameter. Automating the return gain to change repeat count raises the whole effect including the dry signal passing through it. Automate the send level to open and close the throw, and the dry vocal stays exactly where it was.
The send is never fully closed. You set the automation up but forgot the return to zero after the tail. Solo the return and play the whole arrangement to find where it is still open.
One more that gets confused with delay: reverb doing the same job. Delay repeats are rhythmically related to the vocal and read as part of the performance. Reverb tails sit behind in a way that pushes the vocal back in depth. If you want the phrase to feel longer, that is delay. If you want it to feel further away, that is reverb, and they answer different questions.
Frequently Asked Questions
What are the best delay settings for vocals?
Start with a quarter note tempo-synced delay at 100% wet, feedback around 20%, and a send level 6 to 10 dB under the dry vocal. High-pass the return around 200 to 400 Hz and low-pass it near 6 to 8 kHz so repeats sit behind the dry. Trapping and modern R and B often suit a dotted eighth instead. Adjust the send, not the return gain, whenever you change the amount of throw.
Should the delay return be set to 100% wet?
Yes, on any send-and-return setup. The send carries the signal, so if the delay also passes dry signal you are adding a second copy of the dry vocal every time the send opens. That is why automating the send makes the whole lead sound louder instead of wider. Set dry to zero and wet to full on the return, then ride the send level for the throw.
Why does my vocal sound louder when I automate the delay send?
Two causes, both common. First, the delay return is not at 100% wet, so raising the send pushes dry vocal into the effect along with the repeats. Second, the send level is simply too hot. Fix the wet setting first, then match the return against the dry: solo each, compare, and aim for the repeat to sit roughly 6 to 10 dB below the dry lead.
What is slapback in music, and when should I use it?
Slapback is a single very short repeat placed close behind the vocal, usually around 90 to 120 milliseconds, with almost no feedback. Phil Collins’ lead on In the Air Tonight is the reference everyone points to. It suits intimate, conversational verses and ballad sections where a long tail would push the vocal backwards. For trance and house leads you want a tempo-synced quarter note instead.
Is a ping pong delay good for a lead vocal?
It can be, and it is worth trying once the mono version is balanced. Ping pong alternates each repeat left and right, which widens the image without moving the dry vocal out of the centre. It works well on trance, house and wide synth leads where the arrangement is already spacious. On a sparse acoustic lead it can sound like a trick rather than a texture, so judge it in context.
How do I print or bounce delay throws for a mix engineer?
Bounce the delay return as its own audio track rather than flattening the throw into the dry vocal stem. Whoever mixes next will almost certainly want to move the send level or the return gain, and neither is recoverable once the throw is baked into the vocal file. Keep the dry vocal clean and hand over the printed return alongside it.
Conclusion
Pick the last word of one phrase in your song, set up a send to a return running a quarter note delay at 100% wet, and automate the send up on that phrase only. Leave the dry vocal exactly where it is and judge the result on whether the repeat sits behind the line rather than in front of it.
Once that one throw sounds right, add a second on the pre-chorus ending. Two good throws per section is more than most songs need, and adding the third is where delay automation usually starts to sound like a novelty rather than a decision.