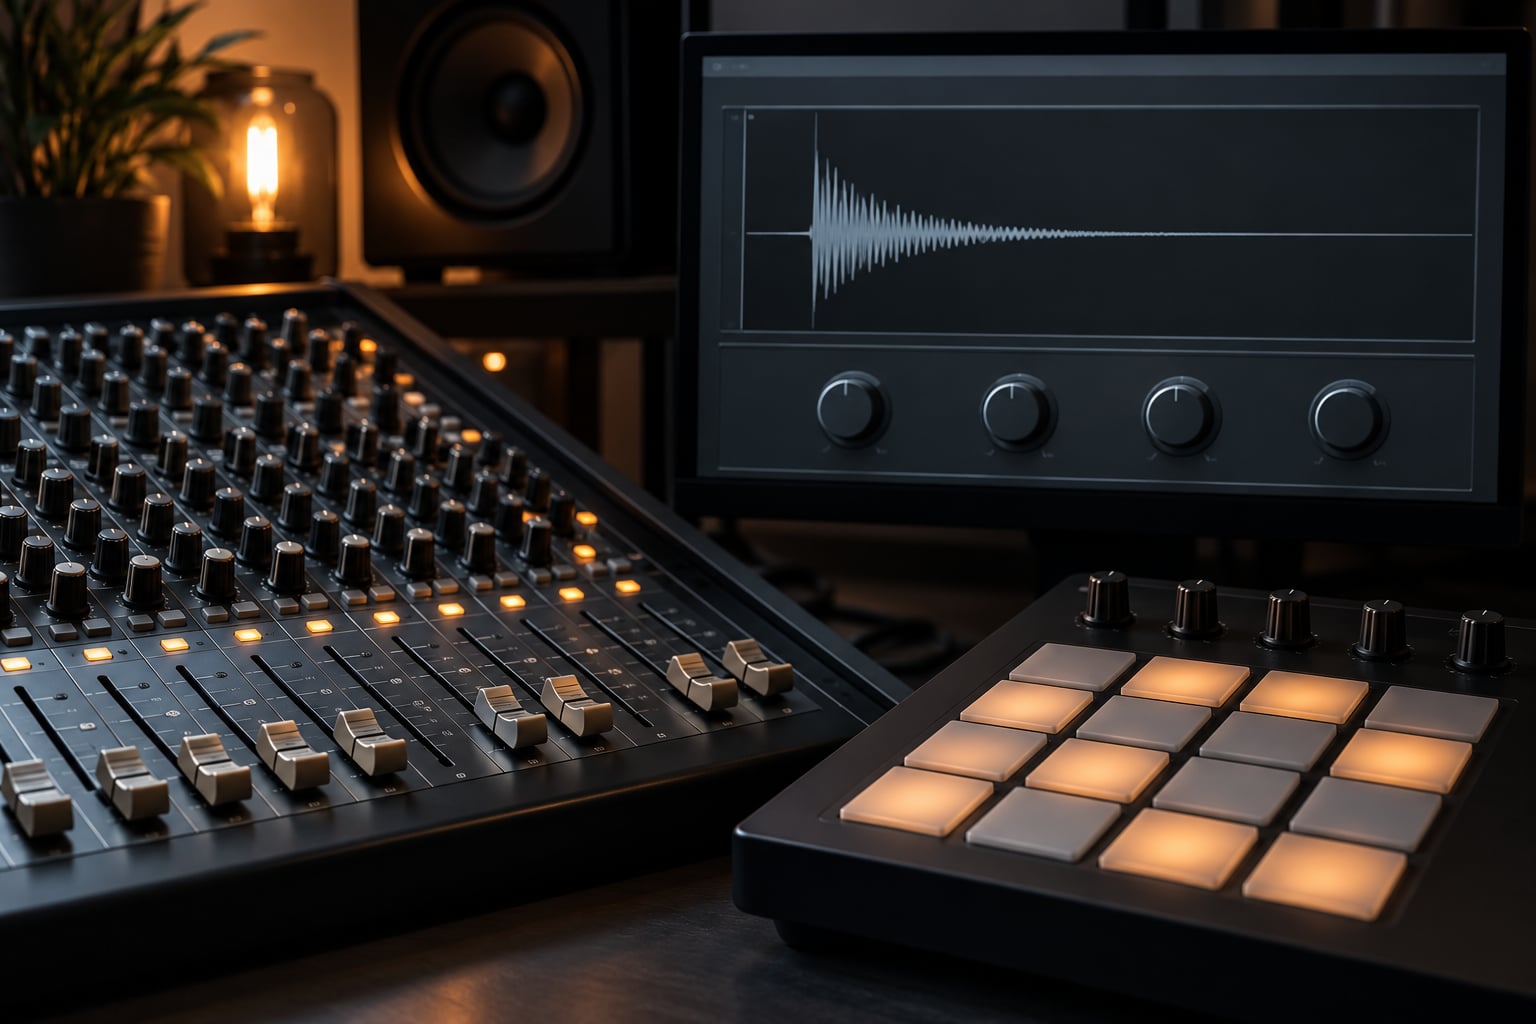
A transient shaper changes the shape of a drum hit rather than its level: it boosts or cuts the attack at the front of the sound and the sustain in the tail, with no threshold and no ratio. That is what makes it the quickest way to add punch to a kick or snare, or to tighten a washed-out drum break, without the pumping that heavy compression creates.
On a drum bus the whole process takes about ten minutes. Working source by source takes longer, but it is where the real control is. The settings below are current for the tools shipping in 2026.
Table of Contents
- What You Need
- Step-by-Step: How to Use a Transient Shaper on Drums
- Set Up a Clean Drum Bus
- Choose Attack or Sustain Processing
- Shape Low-Frequency Impact
- Process Drums Individually When Needed
- Tune the Shape by Ear and Reference
- Common Mistakes
- Frequently Asked Questions
- Do I need a transient shaper if I already use compression on my drums?
- Is a transient shaper better than a compressor for punchy drums?
- Should I use a transient shaper before or after my drum compressor?
- Can I use a transient shaper on an individual kick or snare?
- Why does adding a transient shaper make my drums sound harsh?
- Does a transient shaper add loudness without changing the drum tone?
What You Need
Four things, and nothing exotic. If you have a DAW you already own drums in, you are most of the way there.
- A DAW. Ableton Live, Logic Pro, FL Studio, Bitwig Studio, Reaper, Cubase. The controls described here exist in all of them, sometimes under different names.
- A drum bus or an insert slot. A bus that kick, snare, clap, toms and cymbals feed into, or a single drum channel you can process on its own.
- A transient shaper. Start with what you already have: FL Studio ships a Transient Processor in the All Plugins edition, Bitwig has a Transient Shaper, Logic Pro’s Enveloper does the same job, and Ableton users have transient racks for Max for Live. Third-party options like Waves Renaissance Transient, iZotope Trash 2, SPL Transient Designer and Transient Master all give you more control over detection range and curve shape.
- A reference and a bypass button. A soloed drum mix you already like, and the ability to switch the plugin off mid-playback. Level matching only works if you can flip between wet and dry fast.
You do not need all of that to follow the steps below. A stock processor covers attack and sustain on nearly every drum, and if one of the named tools is not in your DAW, the technique transfers to whatever you already have open.
Step-by-Step: How to Use a Transient Shaper on Drums
Every transient shaper works the same way under different labels. The workflow below is the one I come back to, and it holds whether you are in a stock rack or a dedicated plugin.
Set Up a Clean Drum Bus
Group your kick, snare, clap, toms and cymbals onto a single bus, insert the shaper on that bus, and leave it bypassed while you check the levels going in. A transient shaper on an unbalanced bus just makes the loudest element louder.
Balance the individual channels by ear first, because masking hides a lot of problems. If the kick sits well above the snare, the kit has no consistent punch and any amount of shaping will only exaggerate that gap. Pull the loudest element down until the kit reads as one instrument.
If the bus mix is fighting you, duplicate it, mute the original, and treat the copy as a parallel layer. Shape the duplicate, pull its fader down, and bring it back in under the dry bus. Thirty to forty percent is usually enough to thicken the kit without doubling the transients.
You know this step worked when the fader position of the bus matches where the individual channels were sitting, and the kit has a clear order: kick and snare forward, cymbals behind.
Choose Attack or Sustain Processing
Attack is the leading edge of the hit, the spike in the waveform. Positive values sharpen it, which reads as punch and crack; negative values soften it, which rounds the drum off and pushes it further back. Sustain is everything after that spike. Positive sustain fattens the drum and brings up body; negative sustain tightens the tail and removes wash.
Here is why attacking the whole bus tends to disappoint. A bus attack boost applies to every channel at once, so the hats get sharper, the toms get sharper, and the kit turns brittle in a way that reads as harsh rather than powerful. In most mixes, the attack work belongs on individual sources and the sustain work belongs on the bus.
How to tell: raise attack on the bus, and if the first thing you notice is more treble across the whole kit, that is your cue to move to step four and do it per track.
Shape Low-Frequency Impact
Most shapers give you a low-frequency sensitivity control, and most let you narrow the range the detector listens to. Turning low-frequency sensitivity up makes the low band of the signal react harder to shaping than the top, which is how you add weight to a kick fundamental or the low body of a snare without brightening the whole kit.
The trap is chasing thickness. If your kick and bass start competing, adding more low impact will not fix it, because the problem is arrangement and EQ, not envelope shape. Pull the low sensitivity back a few steps, or cut sustain on the kick so it leaves the bass room, rather than pushing the knob higher.
One specific warning here: on an 808-style kick, sustain is the body. Cut too much of it and the low end disappears entirely, which is the most common way people lose an 808 while trying to tighten it. Boost attack a little and leave sustain alone, or take it the other way.
You know it worked when the kick still has weight when you turn the monitors down.
Process Drums Individually When Needed
This is where learning how to use a transient shaper on drums per source pays off. A kick that needs thump, a snare that needs crack, a clap that disappears, and a room channel that is too washy are four different problems, and one bus setting cannot solve all four.
Each instance needs its own decisions. On the kick, start with a small attack boost and a modest sustain cut, then listen for whether the bass still has space. On the snare, a couple of decibels of attack adds crack; cutting a few decibels of sustain tightens the ring without thinning the shell. On a close-mic’d snare, remember that raising sustain raises hi-hat bleed and room noise along with the body, so watch the noise floor as much as the tone. On the room channel, usually a gentle attack reduction is enough to keep the ambience from blurring the rhythm.
Set output gain on each instance to match the dry level before you judge it. If the shaped version reads louder, you will chase volume and convince yourself the change is an improvement when it is not.
Tune the Shape by Ear and Reference
Bypass in real time at the same playback position. Play the same bar dry, then wet, then dry again. If you cannot tell which one is which, the change is not doing anything useful yet.
Then check it at more than one volume, and on a small speaker if you have one. Drums that only work at loud playback levels are a mix problem, not a transient problem. Solo is a diagnostic tool, not a test.
Automate where the arrangement changes. A verse and chorus rarely want the same amount of attack, and pulling the attack back in a breakdown is usually more effective than boosting it harder in the hook.
The final check is against your reference. Punch, clarity and tonal balance should all improve, and none of the three should come at the cost of the other two.
Common Mistakes
Most of these are quick to fix once you can name them.
- Too much attack. Push it past roughly +5 dB on a snare and you will hear clicks rather than crack. Back off until the click disappears; if the drum still is not enough, the problem is probably gain staging or layering, not envelope shape.
- Cutting sustain too far. A shorter tail is the goal, not a missing one. If the kick or snare thins out or the low end vanishes, you have gone past tightening into removing part of the instrument.
- Ignoring the output level. A shaped signal often measures louder. Pull the output down to match the dry signal before you decide anything, or you will mistake volume for improvement.
- Double-processing an already compressed drum. If the bus is already squashed by a heavy compressor, a shaper on top has nothing left to work with. Go back, reduce the compression, and shape first.
- Using the wrong frequency range. A wide detection range picks up cymbals, room tone and noise, then shapes them along with the drums. Narrow the range so the detector hears the source you actually want to change.
- Skipping the parallel and volume checks. Compare a parallel blend against the dry bus at matched levels before committing. If the improvement only shows up louder, it is not there.
One last habit: write down the numbers you settled on. Almost every drum mix ends up with a small note of attack and sustain values per source, and that note is worth more the next time you start a session from scratch.
Frequently Asked Questions
Do I need a transient shaper if I already use compression on my drums?
Usually you need both, because they do different jobs. Compression evens out level differences between hits, while transient shaping changes the shape of each hit. If your drums are already balanced and even but feel flat and lifeless, more compression will not bring the snap back. Put the shaper first and the compressor after, so the compressor has consistent material to even out.
Is a transient shaper better than a compressor for punchy drums?
For punch, yes. A shaper applies gain directly to the attack and the tail with no threshold and no ratio, so it sharpens the initial hit without pumping. That said, a compressor with a very fast attack and release can behave similarly over the first 100 milliseconds, which is why some engineers swap them out. Compression remains the better tool for level consistency and glue.
Should I use a transient shaper before or after my drum compressor?
Before, in most cases. Shape the transients first, then compress to even out the level differences that are left. A compressor placed first smooths the attack you just designed, and the shaper then has to work harder to put it back. A second shaper after the compressor is a creative choice, used deliberately when you want a saturated and pumping sound-design effect.
Can I use a transient shaper on an individual kick or snare?
Yes, and for solving one specific problem that is usually the better place for it. A kick that lacks thump and a snare that needs crack are single-source issues, so a per-track instance with its own attack, sustain, sensitivity and output level is far more controllable than a bus-wide setting. Keep any bus shaper gentle so the two stages do not fight each other.
Why does adding a transient shaper make my drums sound harsh?
Usually one of four things: too much attack gain, raising sustain so mic bleed and room noise come up with the body, pushing the output into clipping, or a wide detection range that catches cymbals and room tone. Drop the attack a few decibels, narrow the detection range, and pull the output down to match the dry level before deciding the tool is at fault.
Does a transient shaper add loudness without changing the drum tone?
It adds perceived loudness, not measured loudness, and it changes shape rather than tone. A sharper attack reads as louder and more present because our hearing weights fast transients heavily, so the same peak level feels bigger. That is exactly why you must level match the shaped output against the dry signal, or you will chase a volume change and believe you have gained punch.
Start with the sustain control on your drum bus at a small negative value, level match the output, and only then touch attack. Once that sounds right, move the attack work onto the kick and the snare individually, where you can solve for the actual problem instead of the whole kit.