If a synth is loud on its fader and still disappears behind the kick and bass, saturation is usually the missing piece. To use saturation to make synths sit forward, you run the signal through a gentle clipping stage so it gains a partial set of harmonically related overtones, then level-match the before and after so your ears are not fooled by loudness. That extra harmonic information is what makes a clean, thin digital sound read as present, without turning the fader up or stacking 3 dB of boost on an upper-mid EQ band.
The whole job takes about ten minutes per synth once you know where the stages go, and it works in any DAW because every host ships something usable. Below is the chain I keep coming back to: cleanup, saturate, shape, control the low end, then audition honestly.
Table of Contents
- What You Need
- How to Use Saturation to Make Synths Sit Forward, Step by Step
- 1. Set a clear target for the synth
- 2. Balance the synth before adding saturation
- 3. Learn how to use saturation to make synths sit forward
- 4. Shape the added harmonics with EQ
- 5. Control low-end buildup
- 6. Use parallel saturation when transparency matters
- 7. Level-match and audition the before and after
- Which saturation style to reach for
- Common Mistakes
- Frequently Asked Questions
- Should I use EQ before or after saturation?
- What type of saturation is best for making a synth sound more present?
- How much saturation should I add to a synth lead?
- Is saturation better than compression for a forward sound?
- Should I use parallel saturation for synths?
- How do I stop saturated synths from sounding harsh?
- What to Do First
What You Need
Four things, and none of them expensive. Most people already own three of them without realizing it.
- A synth part to work on. A rendered audio track or a live instrument track, either is fine. Audio is easier to A/B, because you can drop it on two faders and instantly compare.
- Your DAW. Anything with inserts and sends.
- An EQ. Every DAW has one built in, and a parametric or semi-parametric EQ gives you the control you need for the shaping and filtering stages.
- A saturation processor. Look for one with at least four controls: drive amount, a tone or color control, a mix or wet/dry control, and an output trim.
That last control is the one people overlook, and it is the one that saves you from fooling yourself. Auto-makeup gain is fine to use, but an output trim means you can drive the circuit hard and bring the level back down yourself instead of letting the plugin decide.
Every major DAW has a stock saturator that will do this job. Ableton Live ships Saturator on an audio effect rack, Logic Pro has Exciter, FL Studio has Saturn, and Reaper, Studio One and Cubase all have a stock tape or tube style saturator. If you want more choice later, the well-known third-party options fall into four families, and I get to those further down.
How to Use Saturation to Make Synths Sit Forward, Step by Step
1. Set a clear target for the synth
Before you touch a single knob, know what is wrong. “It sounds bad” is not a setting. Sit with the full mix for a minute and write down one sentence about what the synth is failing to do. It might lose its attack behind the kick, or the pad might feel like a wall of noise rather than a place in the arrangement, or the arp might sound thin and plastic on a phone speaker.
While you listen, write down three things. The current level, and where it sits relative to the lead and the bass. The rough frequency balance, especially whether the low-mids feel crowded. And the relationship to the kick and bass, because that is usually where the real problem is hiding.
The single most useful diagnostic is the bypass test: solo the synth, listen, then listen to the synth alone in the arrangement at exactly the same level. If the synth sounds great alone and vanishes in the mix, you have a masking and level problem. Saturation helps, but it is not a substitute for a fix.
2. Balance the synth before adding saturation
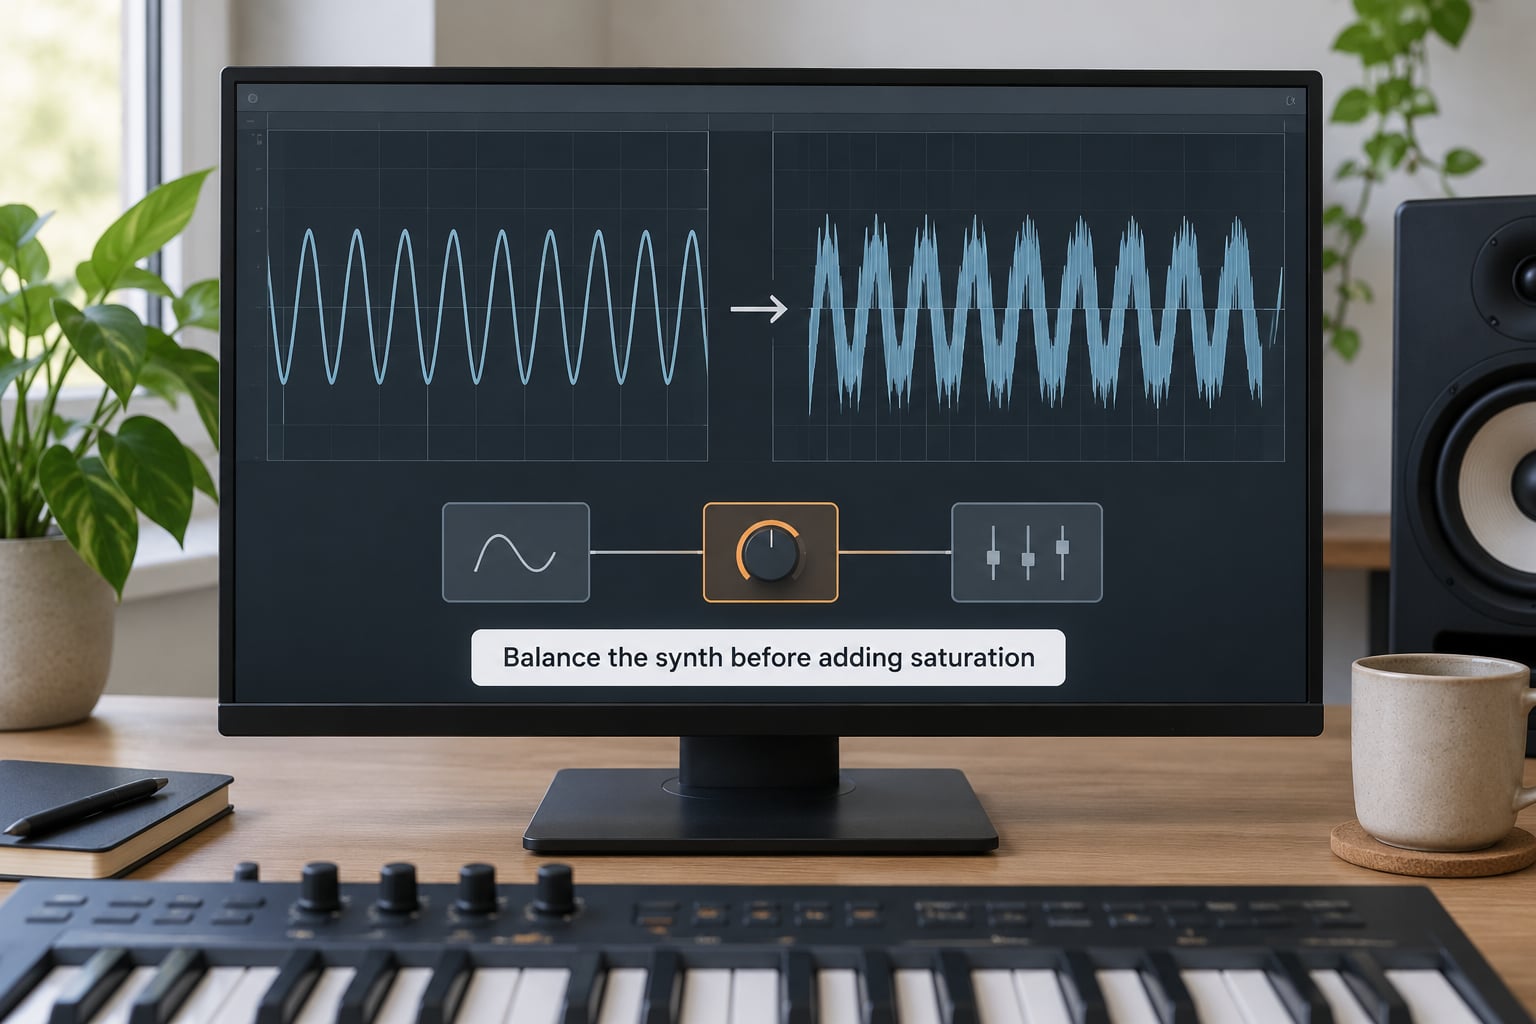
Saturation amplifies whatever is already there, including problems. If a synth has a 400 Hz buildup that makes it boxy, driving it will turn that into a thick, muffled tone that is harder to fix later. Get the level and the balance right first.
Set the fader to roughly where you want it to sit against the bass, then add a high-pass filter at the point where the synth stops contributing useful bass energy. For a pluck or an arp that shares the low end with a mono bass, somewhere between 60 and 120 Hz is a normal starting point. For a bass synth that owns the sub, high-pass far lower or not at all, because you want that fundamental intact.
Then EQ out the masking. If the synth disappears behind the kick, the culprit is usually a narrow dip in the synth around 200 to 500 Hz where the kick’s body sits, or the reverse: a narrow cut in the kick. Subtraction before addition is the pattern producers in the EDM communities keep repeating, and it is the fastest way to create space without touching a compressor.
On the forums, the advice is consistent and unglamorous. A recurring comment on r/edmproduction is to put a hard low-pass on the EQ first, cut the fizzy top end so the source sounds audibly filtered, and only then add a distortion or saturation stage. Doing the subtraction first means the saturator has a cleaner signal to work with.
3. Learn how to use saturation to make synths sit forward
Now add the saturator as an insert after the EQ, set the tone control to neutral or mildly colored, and turn the mix control to fully wet so you hear only the processed signal. Start the drive low and go up in small increments while you bypass.
A rough guide by source, from what tends to work:
- Lead synth: start around 10 to 20% effective saturation. Enough to thicken the upper mids without smearing the attack.
- Pad: 15 to 25%, and go slower. Pads are sustained, so any added harshness accumulates over seconds instead of milliseconds.
- Pluck and arp: 10 to 20%. Short notes are quick to become harsh, because the transient is where the clipping shows up first.
- Bass synth: 10 to 20% on everything above the sub. Leave the fundamental alone, or the note stops sounding like a note.
Those percentages are starting points, not targets, and how much a given percentage does depends entirely on the plugin and the input level. Feed the saturator a hotter signal and the same percentage does more work.
Here is what the change sounds like in practice. A trance lead that was dull and slightly plastic sits at a normal level against a kick and a bass. Low drive leaves it thin. Around 20% it gains a layer of upper-mid content, the attack gets a rounded edge instead of a digital corner, and it cuts through the pad without anyone needing to raise it. Push to 50% and the same lead turns crunchy and the midrange gets brittle. The window between those two states is usually much narrower than people expect, which is why you go up in small steps.
4. Shape the added harmonics with EQ
Saturation throws energy across the spectrum, but not evenly. The new content tends to gather in the low mids and the upper mids, and those are the two regions most useful for presence.
Around 200 to 500 Hz you get body and density. That is the band that makes a thin patch sound like it has mass, and it is also the band that turns to mud if you overdo it. Around 2 to 5 kHz you get attack and articulation, the range that lets a pluck or a lead cut through a dense arrangement.
Make small moves. A narrow boost of a decibel or two with a moderate Q is usually plenty. Listen for clarity rather than for a number on the screen, and always check the result with the saturation stage in and out. A boost that sounds like more presence with the saturator on but like a hollow honk with it off is compensating for something the saturator should have been fixing.
Be careful with the low-mid cuts people reflexively reach for. An aggressive scoop in the 200 to 400 Hz range removes the same region the new harmonics are trying to fill, so the synth ends up thin and slightly nasal rather than clear.
5. Control low-end buildup
This is the stage that separates a clean saturation move from a muddy one. Clipping generates low-frequency content, even harmonics and DC-ish offsets, and on a synth that already had low energy this piles up fast. The result is a patch that sounds heavier and flabbier without being more audible in the right places.
Three ways to handle it. Put a high-pass filter after the saturator, slightly above where you placed the one before it, and lower it in small steps until the synth sits without wobbling. Add a low-pass sidechain triggered by the kick, which ducks the new low energy on every hit and gives the low end room to breathe. Or simply mix the saturation stage below the dry signal so the added bass never reaches full strength.
Check your work in mono, since a lot of low-end energy hides in the difference between the channels. Then solo the synth and the kick together at their real levels. If the kick’s fundamental disappears every time the synth plays, you have too much saturation down low.
6. Use parallel saturation when transparency matters
Parallel saturation means duplicating the synth, saturating only one copy, and blending the loud, harmonically rich return underneath the original. The dry signal keeps its dynamics and its transient; the parallel return adds density without touching the source’s shape.
To set it up: print or duplicate the synth to a second track, high-pass the copy at around 150 to 300 Hz, put a saturator on it with the drive turned up well past what you would use in serial, then drop the whole return track until it sits roughly 12 to 18 dB below the dry synth. Bring it up gradually until you can hear the patch thicken, then back off a decibel or two. Keep the EQ moves from step four on the parallel return, not on the dry track.
Watch the phase. A parallel return that is time-aligned and not polarity-flipped sits perfectly, and when you blend it in it just adds weight. The moment it flutters as you change the blend, check your alignment.
Parallel saturation is the safest way to go harder, which is why it is the standard recommendation on mixing forums for anything that needs to be louder in character but unchanged in behavior. It is also the natural answer to the parallel mixing question that comes up constantly for vocals, since the principle is identical: keep the clean source, add a saturated layer underneath it.
7. Level-match and audition the before and after
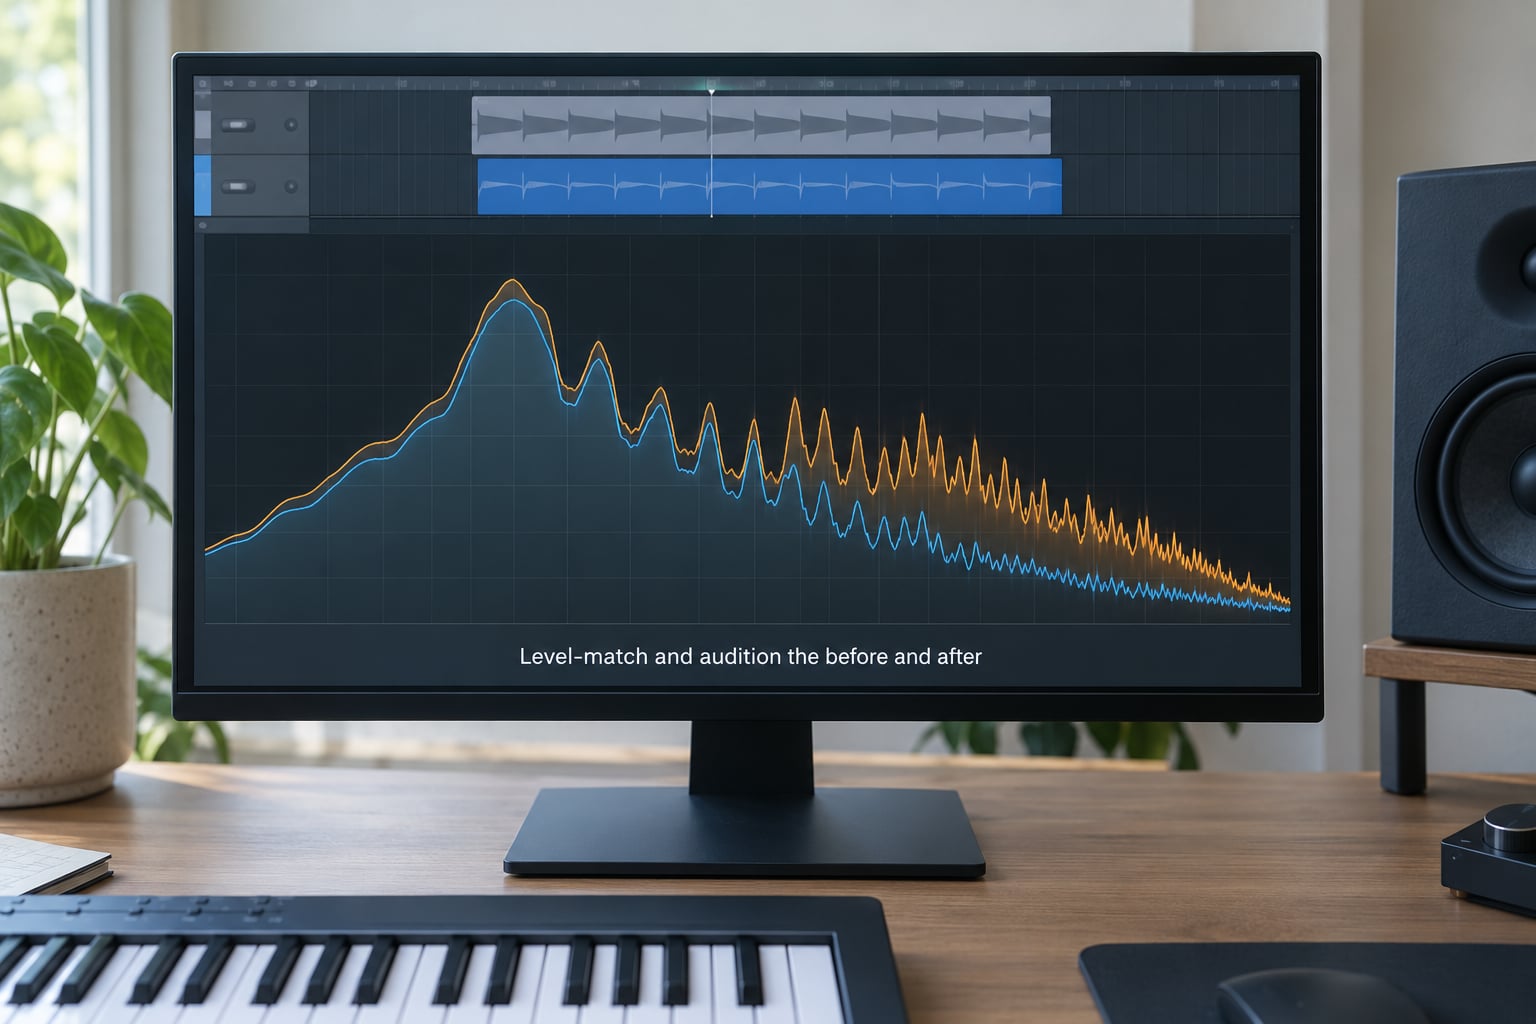
This is the step everyone skips, and skipping it is why saturation gets blamed for making things louder when it was making them denser. Do a three-pass test.
First, play the full mix with the saturator bypassed at its loudest moment, and note your approximate volume. Second, engage the saturation, trim the output so the peak or perceived loudness matches what you heard, and leave it there. Third, listen to a full loop of both, not just the loud section.
If a fader riding up is the only difference between the two states, the saturation is working. If the processed version simply feels louder and you keep wanting to pull it down, you have gain-staged the drive, or the plugin is making up gain it should not have. Disable auto-makeup and manage the output trim yourself.
Then check the frequency bands. Solo the low end, then the low mids, then 2 to 5 kHz, and confirm nothing new is doing damage in a region you are not listening to. That is where aliasing and added hiss usually hide, particularly on bright saw leads and on patches with lots of high-frequency content.
Which saturation style to reach for
Four families cover almost everything, and they differ in which harmonics they generate and how gently they bend the waveform.
- Tape saturation bends the waveform around a soft knee and adds both even and odd harmonics, with a gentle lift in the low end. This is the most forgiving option for pads and for a mix bus, and it is the one most producers mean when they say warm.
- Tube saturation is asymmetric, which means it generates more even-order harmonics, and it adds upper-mid content. That upper-mid emphasis is why a tube style is a good first choice when your goal is presence rather than warmth.
- Transformer saturation is subtle, with a smooth high-frequency roll-off and a gentle low-end push. Useful when you want density without changing the brightness of the patch.
- Transistor saturation clips harder and earlier, so it adds more aggressive upper harmonics with less increase in density. Treat it like light distortion and use it sparingly on bright material.
One rule worth keeping: do not stack the same style twice in one chain. Two stages of the same emulation generate harmonics that pile up in the same regions and the result goes flat and two-dimensional, which is the most common complaint about saturation in the first place. If you want more from that direction, change style on the second stage instead.
Where you place saturation relative to compression is the other thing people get wrong. Putting saturation first means the compressor sees a signal with rounder peaks, so it can work with a gentler ratio. Putting it after compression lets the compressor behave normally and then adds density at the end, which tends to preserve transients better on leads. For a lead trying to cut through, saturation after compression is the safer bet. For a pad that needs to feel glued and controlled, saturation first is often cleaner.
Common Mistakes
Most of the time a saturation move backfires, it is doing one of these things.
- Using too much drive too early. Start at 10% and walk up. If you begin at maximum and back off, you lose the ability to hear where the useful range is.
- Raising the fader after saturating. Saturation changes density and perceived loudness, not level. If it needs to be louder to sit forward, the fix is more drive and a matched trim, not a fader push.
- Using saturation to fix masking. No amount of harmonics creates space at 300 Hz. Cut the conflicting frequency first, then saturate.
- Cutting the wrong frequencies afterward. Scooping 200 to 400 Hz after saturating removes the body you just added and leaves a nasal patch.
- Ignoring low-end buildup. The new bass energy has to be high-passed, sidechained or kept under the dry level, or everything below 150 Hz turns to sludge.
- Trusting a bypass at different levels. A louder bypass comparison always favors the processed version. Level-match, every time.
- Using identical settings on every synth. A dark, already-filtered pluck needs less drive and less tone than a bright, open saw lead. One setting across a whole track is why many people decide saturation does not work for them.
A few per-source tips that hold up in practice. On leads, keep the saturation after compression and automate the drive so it lifts in the drop and pulls back in quieter sections. On plucks and arps, high-pass the parallel return and watch the short transients, because those turn to click and fizz before anything else does. On pads, use tape style, go slowly, and multiband saturation targeting only the low mids works well here, since it thickens the body of the pad while leaving the high end clear. On bass synths, stay out of the sub region entirely and let the added harmonics carry the presence on small speakers instead. On layered trance sounds, bus the layers together and saturate the bus lightly, because the individual parts already have enough character and a shared stage keeps the stack cohesive.
On the mix bus itself, keep it boring. A very small amount, mixed in at a low level, adds glue to the whole picture, and the advice floating around the forums is that around 15% is a reasonable starting point. But bus saturation does not rescue individual parts, so it is the last thing you reach for, not the first.
Two more things worth checking. On very bright synths, look for an oversampling or high-quality mode in the plugin, because a bright saw stack through a low-quality saturator can alias badly and the artifacts sit right in the presence range you are trying to build. And on sparse, quiet sections, analog-style emulations can bring a noise floor with them, so check an intro at low monitoring levels before you commit.
Frequently Asked Questions
Should I use EQ before or after saturation?
Usually before. A high-pass filter and a few subtractive moves clear out low-mid buildup and masking, so the saturator receives a cleaner signal and does not amplify problems you have not dealt with yet. After saturation, use EQ only to shape the new harmonics, with small moves around 200 to 500 Hz for body and 2 to 5 kHz for articulation. If a boost only sounds good with the saturator off, it is compensating for something the saturator should have handled.
What type of saturation is best for making a synth sound more present?
Tube-style saturation, because it is asymmetric and emphasizes the upper mids where the ear reads presence. If the synth is already bright or harsh, switch to tape or transformer saturation for gentler high-frequency behavior, or run a high-pass filter first so only the useful band reaches the drive stage. The style matters far less than the level and the filtering after it.
How much saturation should I add to a synth lead?
Start around 10 to 20% effective saturation and walk up in small steps while bypassing. Lead notes are transient-heavy, so harshness shows up on the attack long before it shows up anywhere else. If the lead starts sounding crunchy and the midrange turns brittle, you are past the useful range. When in doubt, use a parallel return set roughly 12 to 18 dB under the dry signal, which lets you push harder without touching the original.
Is saturation better than compression for a forward sound?
They do different jobs. Compression controls dynamics and peak level. Saturation adds harmonic content, which is what makes a sound read as present and translates to small speakers. A synth can be perfectly compressed and still vanish in the mix. What matters is order: saturation before compression gives the compressor rounder peaks to work with, while saturation after compression preserves transients, which usually suits a lead trying to cut through.
Should I use parallel saturation for synths?
Yes, whenever transparency matters or you want more than a serial stage can give safely. Duplicate the synth, high-pass the copy, saturate it hard, and drop the return roughly 12 to 18 dB below the dry track before blending it up. The dry signal keeps its dynamics and its transient while the return adds density. It is also the shared technique behind parallel vocal processing, so the same routing habits transfer straight across.
How do I stop saturated synths from sounding harsh?
Drive less, and filter more. Cut low frequencies before the saturator so it is not adding bass energy nobody asked for, then use a parallel return rather than pushing the main insert. Tone down the saturation tone or color control, and check the result in context on a full loop rather than in isolation. If it still bites, an oversampling or high-quality mode in the plugin will often clear up the fizz.
What to Do First
Balance the synth first, meaning level, high-pass and any masking cuts, then add a small amount of saturation with the drive no higher than 20%. Filter the low-end buildup that comes with it, and automate the intensity so it rises where the arrangement needs it.
Then judge it properly. Level-match the dry and processed versions, listen to a full loop rather than a two-second loop, and check the result in mono and on a phone speaker. If it sounds denser and more assertive at the same loudness, you have made the synth sit forward. If it only sounds louder, pull the drive back and start again.