To automate reverb size for drama, you draw a curve on a reverb’s size or decay parameter in your DAW so the space around your sound grows into a build and collapse after the drop, then shape that curve so the change reads as emotion rather than a filter sweep. Twenty minutes on a single transition is enough to hear the difference, and every DAW has the mode and the menu path to do it. The catch most guides skip is that size and level are two different knobs, and the drama lives on size.
Since the plugin menus in Logic, Ableton, FL Studio and Cubase get renamed and shuffled between major versions, this walks the current versions as of 2026 and names the button to look for instead of relying on menu positions alone. Nothing here needs a specific reverb brand. Any algorithmic reverb with a room-size or decay control will work, and if yours only has one, that one parameter does most of the job.
Table of Contents
- What You Need
- Step-by-Step
- Choose the Reverb Character
- Assign a Reverb Size Control
- Draw the Dramatic Movement
- Shape the Automation
- Check the Result in Context
- Common Mistakes
- Frequently Asked Questions
- What does automating reverb size actually change?
- Should I automate reverb size or reverb decay for drama?
- What is the best reverb parameter to automate?
- How do I create smooth reverb automation in my DAW?
- Can I automate reverb size with a macro or MIDI controller?
- How much reverb automation is too much?
- Conclusion
What You Need
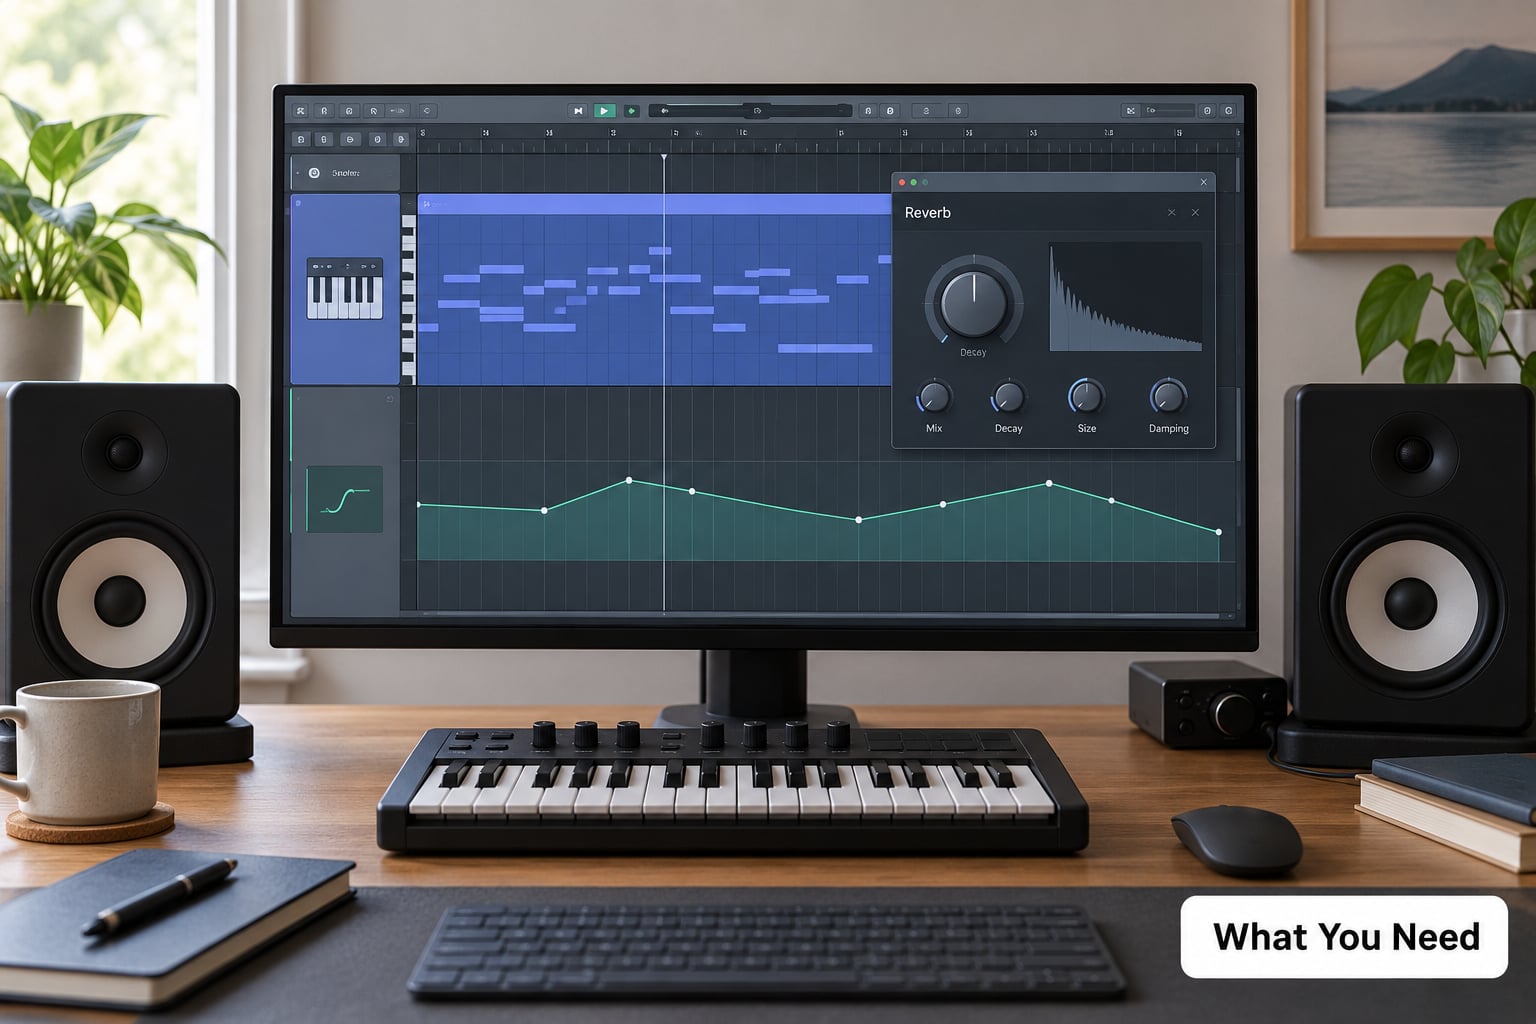
You need four things, and only the first one is a purchase decision most people ever have to make.
- A reverb with a real size control. An algorithmic reverb with a room size, room dimensions or decay time parameter is ideal. A convolution reverb still works, but the length is fixed by the impulse response, so you automate the level and the filtering instead.
- A DAW project with something playing. A synth pad, a vocal, a snare, whatever is playing during the moment you want to dramatize. The reverb needs a source, and a loop is more useful than a full mix because you can hear what is changing.
- A MIDI or audio source routed to that reverb. On a send, a return or a bus, not straight into the insert. Sends are easier to automate because one curve controls everything feeding the space.
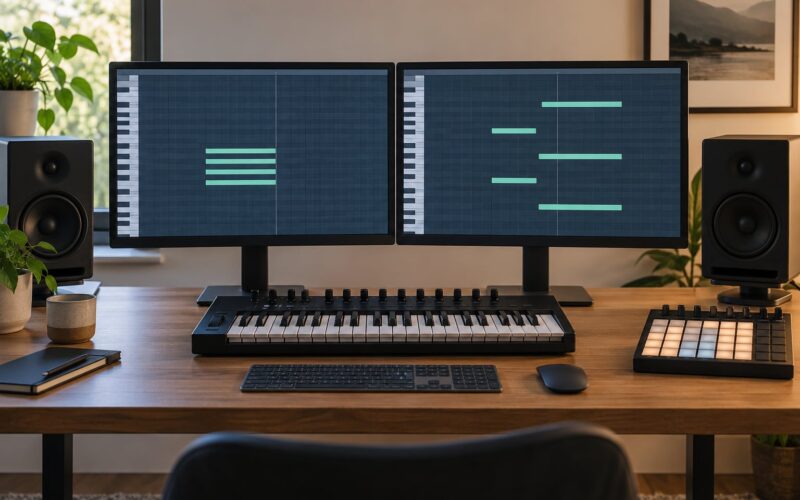
- Optional: a hardware controller with knobs. A six-knob MIDI controller lets you ride the size while playing the automation in, which is faster than hunting for a knob in a plugin window on a small screen.
Before you touch a single automation value, audition the dry signal on its own for a minute. You want to know what the sound is doing without the reverb, because every dramatic move you make is relative to that baseline.
Step-by-Step
Choose the Reverb Character
Choose a reverb that responds audibly to size changes, which means checking the size parameter actually alters the tail length and not just the tone. A room control that is wired to a preset switch will not give you continuous movement, while a decay time in seconds will.
| Parameter | What it changes | Dramatic effect | Safe starting range |
|---|---|---|---|
| Size or decay | Tail length, RT60 | The main lever. A short tail feels close, a long one opens the scene up | 0.8 s small to 4-6 s large |
| Pre-delay | Gap between the hit and the tail | Keeps transients readable; too long and the reverb detaches from the source | 10-30 ms |
| Damping | How fast highs fade from the tail | Stops a big space from turning bright and fizzy | Ride it downward as size rises |
| High-cut | Top end of the reverb return | Pushes the space behind the source instead of on top of it | Around 6-9 kHz on busy mixes |
| Low-cut | Bass in the return bus | Stops the tail smearing the low mids of your track | 250-300 Hz |
| Wet/dry | Amount of reverb | Contrast tool. Level moves can sit on the same curve as size | 5-20% on a return bus |
On the reverb type, a hall or a long chamber gives you the widest sweep for drama. A plate is dense and metallic, so it responds quickly and suits short throws on a snare. A tight room is useful for the opposite effect, shrinking hard to make a build feel claustrophobic.
Assign a Reverb Size Control
Assign the size control so it is reachable from the arrangement view, because drawing a curve while the plugin is buried in a window slows you down.
- Ableton Live: right-click the reverb’s decay or size knob and choose Map, or open the automation lane with the Show Automation button in the device title bar. The Macro chain in a rack is another option when you want one knob driving several parameters at once.
- Logic Pro: enable Automation in the main toolbar, open the Track’s Show Automation menu and pick the reverb parameter, or use the Automation Parameter List to add it. The Touch, Latch and Write mode buttons sit in the automation toolbar at the top of the window.
- FL Studio: right-click the parameter knob and choose Multilink to controller, which is the accepted route to an automation clip. On the channel rack, open the automation link and draw the clip underneath the pattern.
- Pro Tools: right-click the plugin’s parameter and choose Automation, then create the lane on the track and select the parameter from the top of the lane. Switch between Touch, Latch, Trim and Write in the Automation window.
- Cubase: show the Automation panel, add the parameter from the list, and open the lane in the lower zone. The Automation panel’s mode buttons cover Read, Touch, Latch and Write.
- Reaper: hold Ctrl and click the parameter for a parameter menu with automation options, or open the Track’s Envelopes and add the plugin parameter. Latch and Auto-arm options live in the envelope point’s context menu.
- Studio One, Bitwig and Reason: each exposes a per-parameter automation menu in the plugin window, and Bitwig’s modulation system and Reason’s Combinator both work as macro containers when you would rather control several parameters with one knob.
If you have knobs in front of you, map the size parameter to a MIDI CC instead. Learning one CC per reverb saves a lot of time once you start automating a whole track.
Draw the Dramatic Movement
Draw the movement where the arrangement already has tension. The goal is growth into the moment and a collapse afterwards, not constant motion.
- Build into a drop: hold a small size for the first 8 bars of the build, then ramp upward over the last 4 to reach the largest decay on bar one of the drop. Start the ramp before the last snare roll rather than on the downbeat.
- Tail bridging a downbeat: let the last word of a vocal phrase sit in a 3 to 4 second tail that carries across the bar line, so the next section starts inside the previous one’s reverb.
- Space collapse across a build: run the opposite movement, shrinking the room bar by bar as the build gets more energy. Shrinking while the music gets busier creates tension, and r/tranceproduction is where this trick gets discussed most often.
- Riser and impact push: for score, game audio or a big hit, ride size up through the riser and drop the wet level right on the impact, so the impact sounds dry and close after a very large space.
- Downlift outro: shrink from a hall down to a tight room over 8 bars as the track ends. It leaves the listener feeling the room closing in rather than the track just stopping.
For a first pass, set the small end near 0.8 seconds and the large end around 4 to 6 seconds. Those two numbers cover most of what a dramatic mix needs, and you can push past them once you hear what the arrangement will take.
Shape the Automation
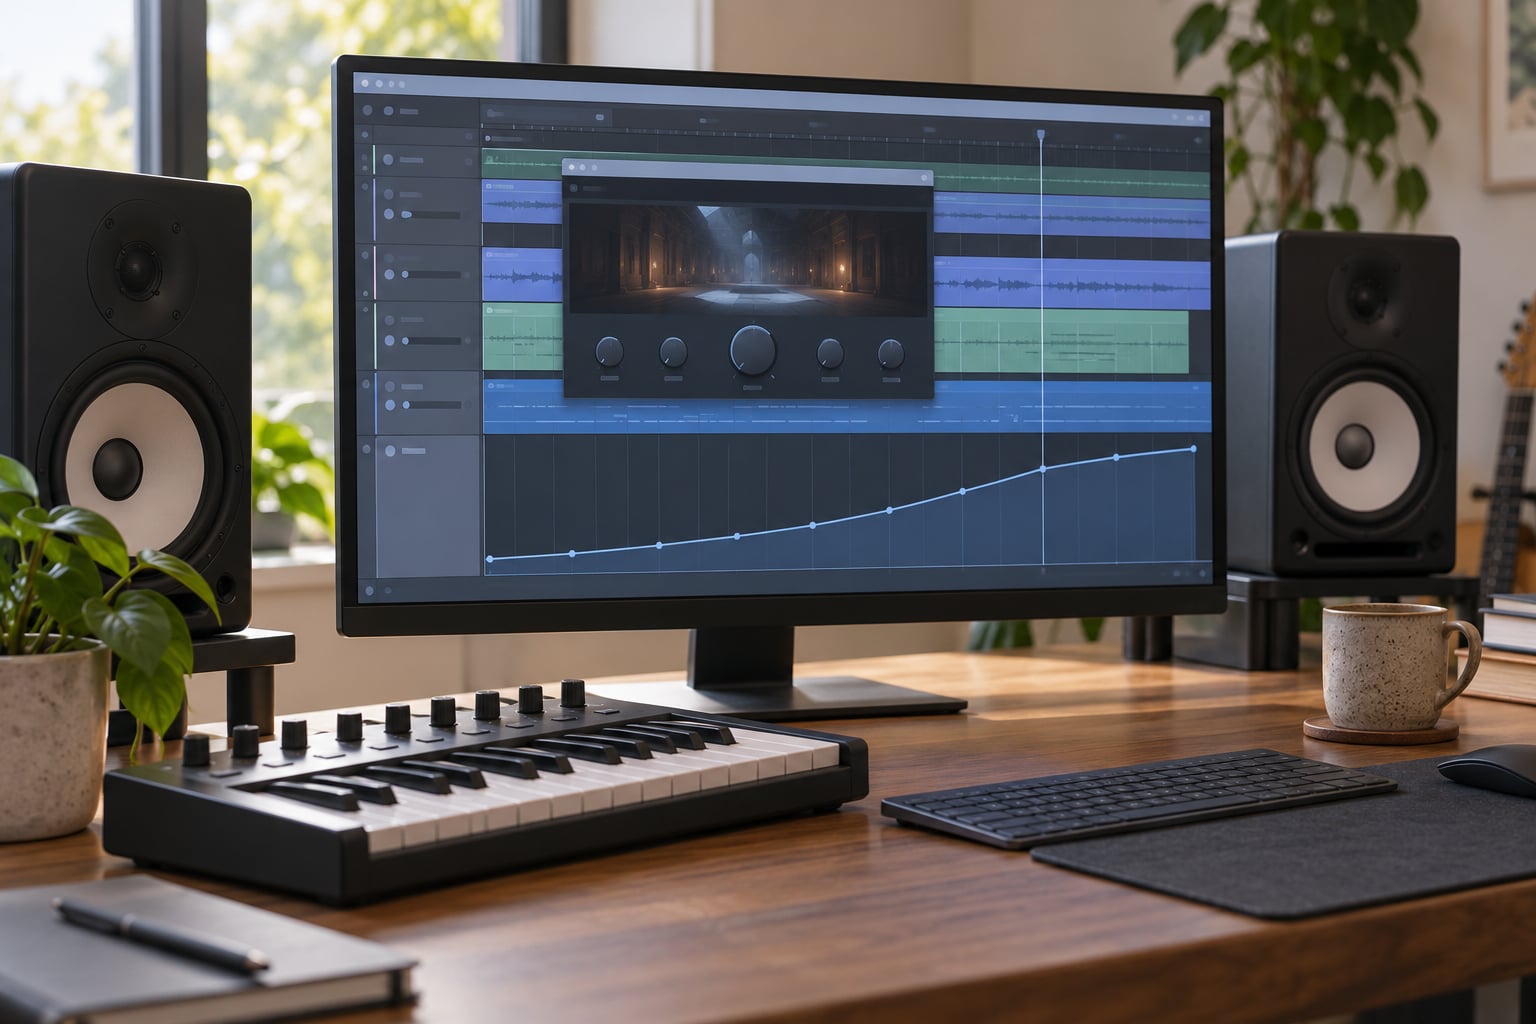
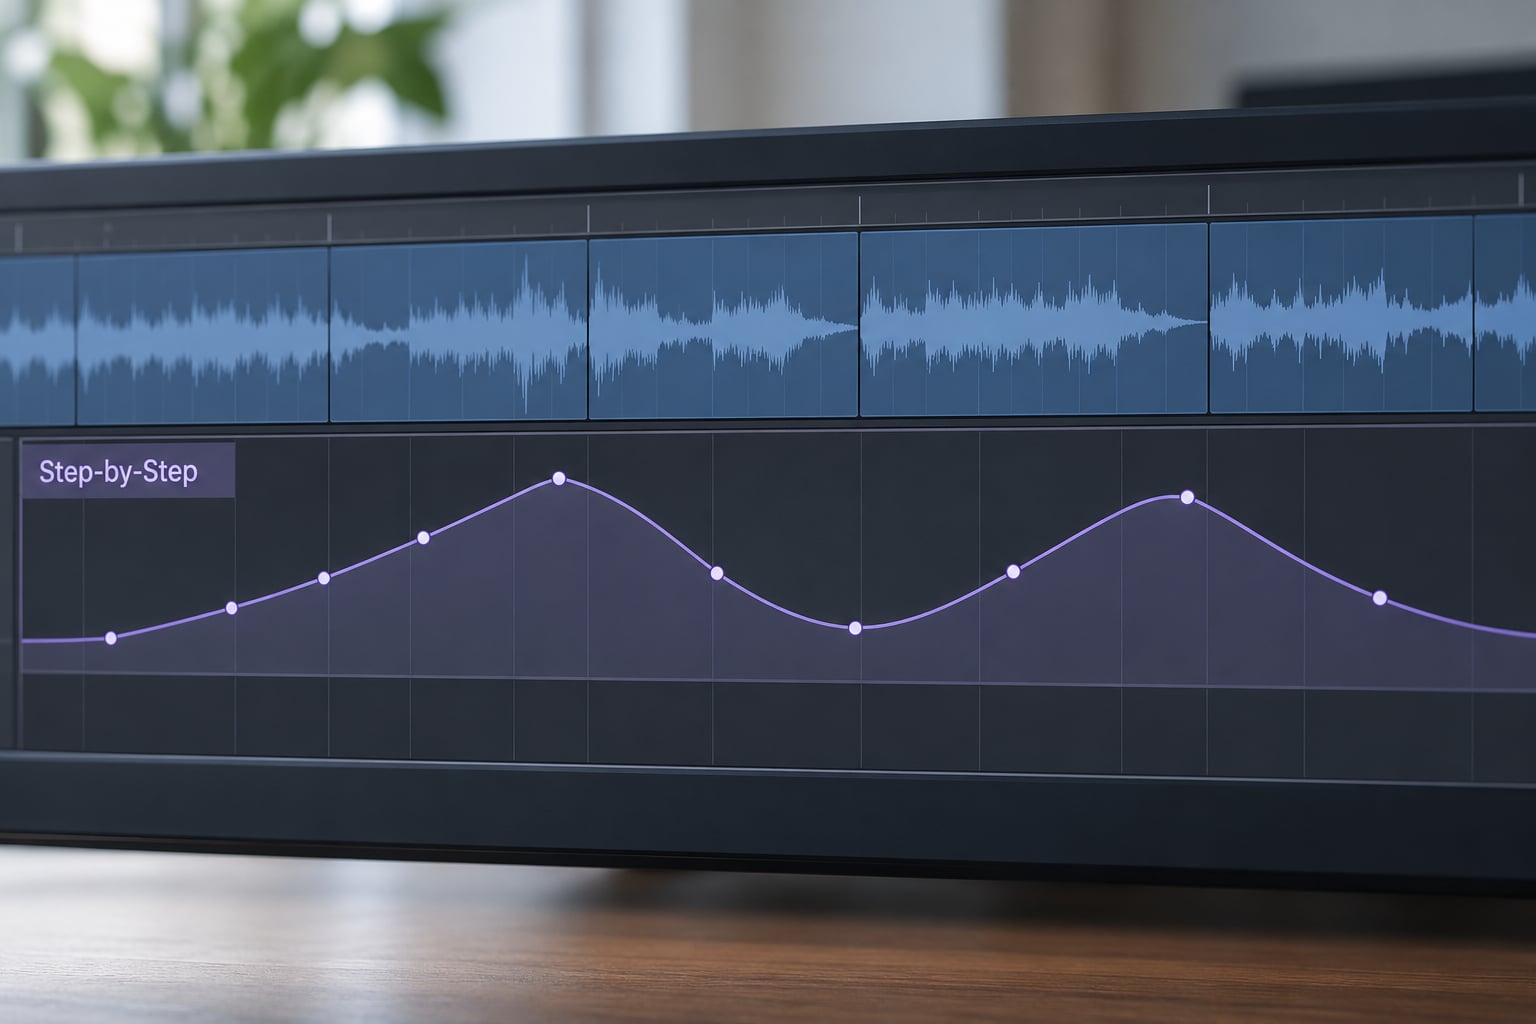
Shape the curve so the change is musical. The default linear ramp in most DAWs sounds mechanical for this because real space grows unevenly.
- Draw only a few breakpoints, then bend the line between them. Three or four points across an 8 bar build is plenty.
- Use a slower start and a faster finish, the shape of a curve that stays close for two bars and then opens up, which reads as anticipation.
- Move several points at once to a rising slope for a smooth ramp, then reduce the parameter range in the plugin so the knob only travels across the useful span.
- Ride damping or the return high-cut downward as size rises. A 6 second tail with full top end sounds like a bathroom, while the same tail with damping closed down sits behind the music.
- For film and game scoring, film and game audio engineers often layer two reverbs and switch between them with a bypass automation rather than riding one plugin’s size, which is worth trying when one reverb cannot reach far enough.
Use Latch or Touch while you play the automation in by ear, then switch to Read and refine the drawn points. Write is for capturing fader moves you already know you want, and it overwrites anything on the lane as it goes, so I rarely leave it armed.
Check the Result in Context
Check the result with the same routine every time, because a huge space that sounds exciting in isolation can wreck the loudest moment of the track.
- Bypass the reverb entirely and play the full section. Note whether the dry mix still has impact.
- Put the low-cut back on the return at 250 to 300 Hz. If the downbeat loses punch, this is usually why.
- Listen on both your main monitors and headphones. Big tails that read as scale on headphones often disappear in a car.
- Check the gap between the last word and the next downbeat. If the reverb masks the hit, pull the decay back a little rather than pulling the wet level down, so the space stays big.
- Bypass on demand. If the bypassed version is more compelling, the automation is too much.
Common Mistakes
Automating the send instead of the size is the most common one. Reverb send automation is real and useful, but a level sweep sounds like a volume ride, while a size sweep sounds like the room changed.
Making abrupt jumps causes clicks and zipper noise. Small steps between values let the plugin interpolate; big steps make the tail change shape mid-ring.
Losing low-end clarity comes from a long tail with no filtering on the return. A high-pass at 250 to 300 Hz fixes it in two seconds and costs you nothing musically.
Overusing long tails hides the next downbeat. If the section is mid-tempo and fast, a 2 to 3 second decay is usually the ceiling rather than 6.
Automating beyond a musical range wastes the control. Widen the plugin’s parameter span so the knob covers only useful values, then use the full lane height for real changes.
Automating a fixed convolution reverb’s size does nothing, because the impulse response length is baked in. Automate its wet level, its low and high cut, or swap in a longer IR.
Over-automation is the failure mode people hit after this works once. Two or three size moves per track is plenty; a curve moving on every bar reads as a filter sweep and stops meaning anything.
Frequently Asked Questions
What does automating reverb size actually change?
It changes the perceived dimensions of the space, mainly through tail length and early reflection spread. A small size sounds close and dry against the source, a large size sounds distant and enveloping. The listener rarely identifies it as a size change, they just read the track as opening up or closing in, which is what makes it useful for drama.
Should I automate reverb size or reverb decay for drama?
Automate both, in that order. Size or decay gives you the emotional movement, since it changes how far the space stretches. Wet level then controls how loud that space is. If you only have one parameter to spend, spend it on size, because a bigger tail at the same level is a far more obvious change than the reverse.
What is the best reverb parameter to automate?
Decay time or room size, whichever your plugin labels as the main length control. A usable range is roughly 0.8 seconds for the small end and 4 to 6 seconds for the large end. Damping or the return high-cut is the best second parameter, because it stops a long tail turning bright and thin.
How do I create smooth reverb automation in my DAW?
Draw three or four breakpoints instead of many, then curve the line between them rather than leaving it straight. Keep the parameter range narrowed to useful values, and ride damping downward as size rises. Avoid steps between values, since abrupt changes to decay length are what produce zipper noise and clicks.
Can I automate reverb size with a macro or MIDI controller?
Yes, and it is often faster than drawing the curve. In Ableton, map the parameter to a macro or a controller. In FL Studio, use Multilink to controller. In Logic, Ableton, Pro Tools, Cubase and Reaper you can also map the knob to a MIDI CC and play the automation in by ear before switching the lane to Read.
How much reverb automation is too much?
More movement than the arrangement can support. A useful rule is two or three size moves per track: a swell into the main moment, a collapse after it, and maybe one more in the outro. If the dry mix stops feeling solid on the biggest downbeat, or the bypassed version sounds better, you have gone past the useful range.
Conclusion
Start with one transition: pick your build or your outro, open the automation lane on the reverb’s size parameter, set the small end near 0.8 seconds and the large end near 4, and draw a single upward ramp that lands on the downbeat. Once that one move sounds right, add the damping curve behind it and copy the idea to the next moment.