Harsh frequencies are narrow bands of energy, most of them sitting in the 2-5 kHz upper-midrange, that sound abrasive, grating and tiring after about a minute of listening. Learning how to find and tame harsh frequencies in your mixes comes down to a routine: locate the band by ear, confirm it on a spectrum analyzer, then apply the mildest fix that works. Once you have run that loop a dozen times it takes about ten minutes per track.
Order matters as much as numbers here. Harshness tends to show up before compression and again after, because a compressor pulls a source up in level and can push an existing resonance somewhere uglier. The most common question on r/mixingmastering for this topic is whether harshness work belongs before or after the compressor, and the honest answer is both.
None of this needs a plugin you do not own. Every DAW ships a parametric EQ, and most ship a spectrum analyzer as well.
Table of Contents
- What You Need
- Step-by-Step
- 1. Set a Reliable Monitoring Baseline
- 2. Find the Problem in the Frequency Domain
- 3. Distinguish Resonance, Sibilance, and Harsh Harmonics
- 4. Tame Narrow Resonances With Parametric EQ
- 5. Control Sibilance With De-Esser, Compression, and Filtering
- 6. Reduce Harsh Overtones With Dynamic Processing
- 7. Use Saturation, Filters, and Gain Staging as Final Checks
- 8. Compare, Bypass, and Refine
- Common Mistakes
- Frequently Asked Questions
- What frequency makes vocals harsh?
- Which frequencies should I cut when mixing?
- How do I read a spectrum analyzer?
- What is 800 Hz on an equalizer?
- What are the 9 sacred frequencies?
- Should I cut resonances from the final mix?
- Conclusion
What You Need
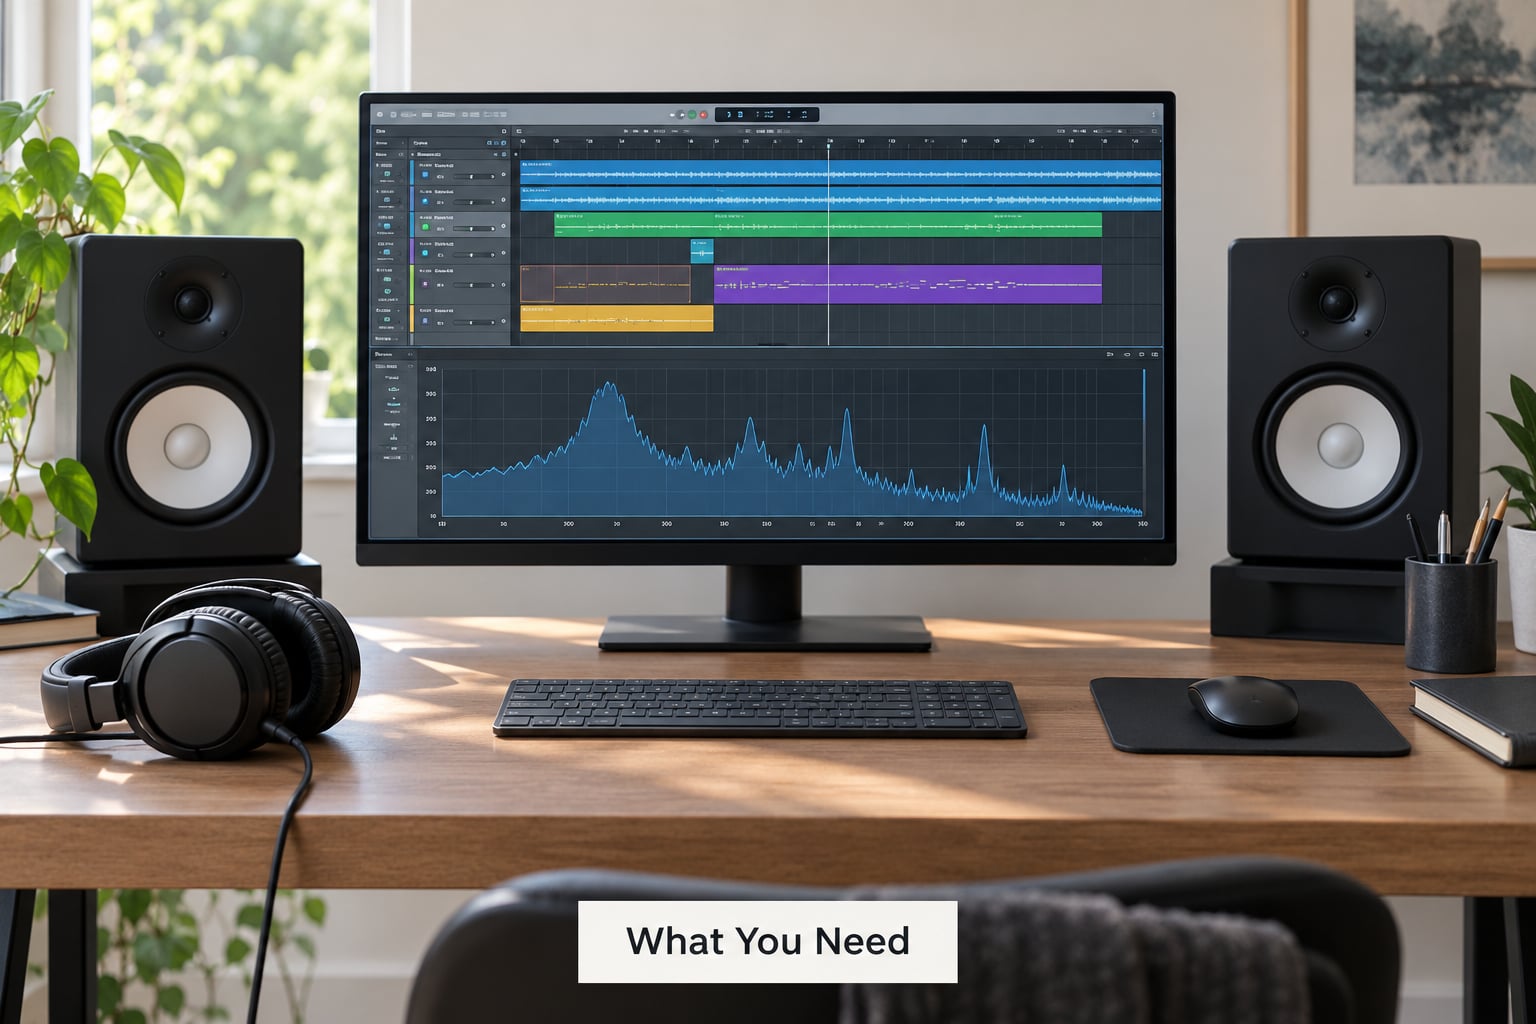
- A quiet monitoring setup. A treated corner, or headphones at a sane level. Background noise and room reflections will invent problems for you.
- The project, with the mix bus at a level you trust. Fixed level matters more than any plugin, because EQ judgements are loudness judgements.
- A spectrum analyzer. Ableton has Spectrum, Logic has the Channel EQ analyser, Cubase has Spectrum Analyser, Reaper users reach for SWS or a JS analyser. A phone app works for a rough check, nothing more.
- A parametric EQ with at least four bands. Two for corrections, one wide bell for the boost-and-sweep, one spare you can leave in place while you work.
- A reference track level-matched to yours. Reference tracks are how you stop guessing, and they are the fastest cure for endless tweaking.
One optional item earns its keep: a dynamic EQ band. Nearly every DAW has one, and it is the tool that fixes resonances which only appear on certain hits.
Step-by-Step
1. Set a Reliable Monitoring Baseline
Fix the level first. Set your monitor or headphone volume to a consistent, moderate number and stop touching it for the session, because every later comparison depends on it.
Next, bypass the plugins that are not earning their place. A stacked saturation plus a 15-band plus a limiter is the usual reason a mix sounds brittle, and you cannot EQ your way out of a processing chain that has already done the damage. Bypass everything, listen, then re-engage one plugin at a time until the edge comes back.
Put the reference track on. If your mix sounds harsher next to a finished track you like, that is your diagnosis, and it costs nothing to obtain.
2. Find the Problem in the Frequency Domain
Narrow resonances show up as thin spikes; broad tonal problems show up as a wide shelf of energy. Knowing which one you are looking at tells you which tool to reach for before you touch anything.
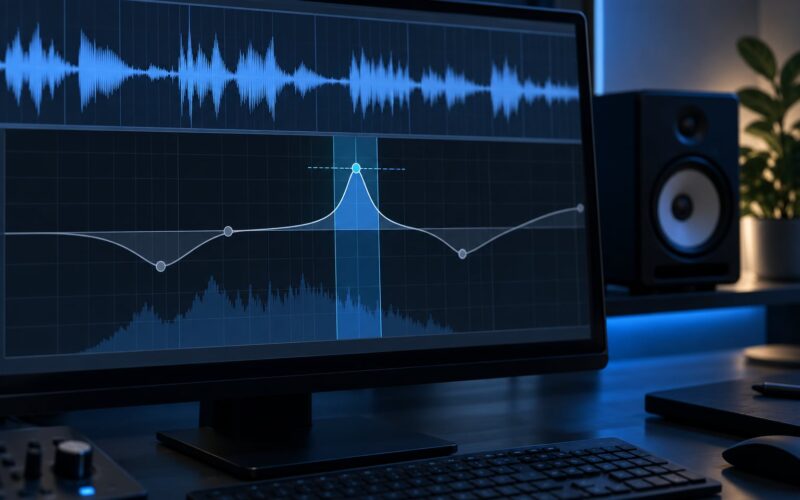
The fastest locating technique is the boost-and-sweep, and it is what engineers on Gearspace describe when they talk about scanning for a problem band. Put a wide bell on your EQ, set it to roughly +6 dB with a medium Q, and sweep it slowly from 500 Hz up to 10 kHz. The moment the tone turns painful, the grimace arrives, or the source starts sounding like a phone speaker through a cushion, that is your frequency.
Short solo passes confirm the location. Then drop straight back into the full mix, because a move that sounds perfect in solo can be the wrong move in context.
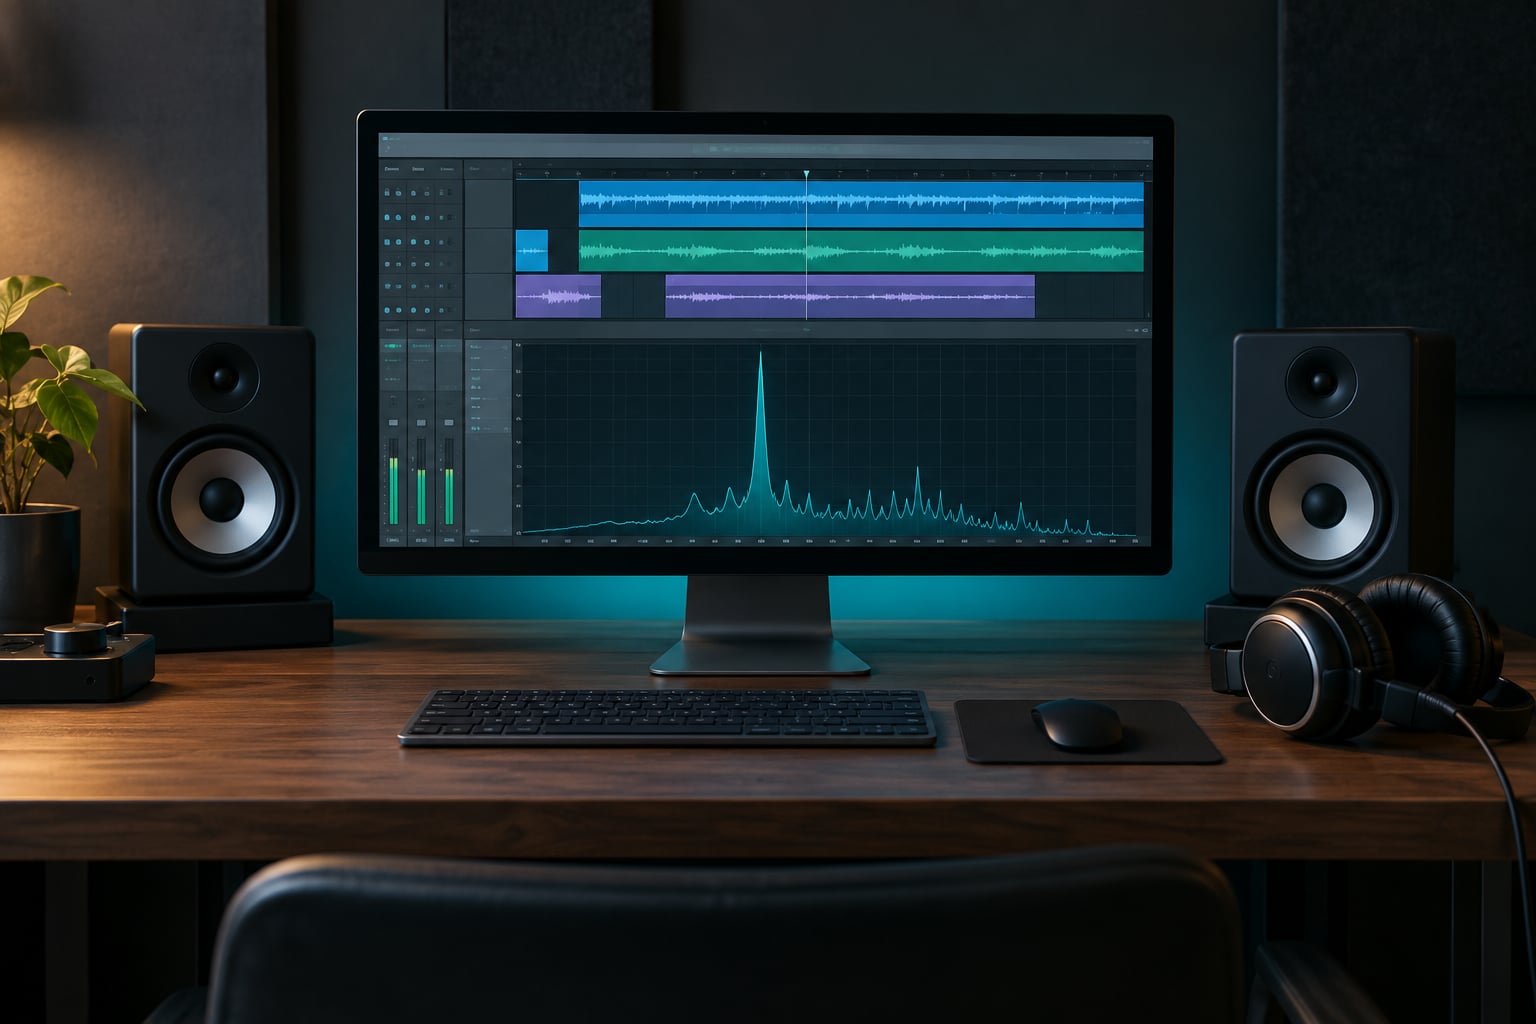
On the analyser, use a logarithmic frequency scale, ignore the very lowest frequencies where mains and sub content pile up, and beware peak hold. A peak that sits frozen on the display is a single transient, not a resonance you need to fix. Raise the FFT window size for a steadier curve, and lower it when you are hunting fast transients.
3. Distinguish Resonance, Sibilance, and Harsh Harmonics
Four different problems all get called harsh, and each one needs a different fix. Boxy means 250-500 Hz, honky usually means 800 Hz to 1 kHz, nasal points at 3-5 kHz, and sibilant lives at 6-8 kHz.
Resonance is a narrow spike caused by the physical shape of the source or the room. Sibilance is a level problem, the balance between sibilant consonants and the rest of the vocal, not a single resonant frequency. Harsh overtones are the result of clipping, a distortion chain or a mix bus pushed too hard, and they spread across a wide band rather than sitting in one place.
Resonance is a frequency problem, so a frequency tool fixes it. Sibilance is a level problem, so a level tool fixes it. Getting that diagnosis wrong is the single biggest reason people end up dull, thin mixes: they notch a sibilance problem and lose the presence they needed.
| Range | What it sounds like | Usual source | First tool to reach for |
|---|---|---|---|
| 50-60 Hz | Buzz or hum that pulses with the room | Mains hum, unbalanced ground | Narrow notch, surgical |
| Below 100 Hz | Rumble, floppiness, clicks on playback | HVAC, mic handling, room noise | High-pass filter |
| 200-300 Hz | Boxy, thumpy snare body | Snare, kick, small room | Wide bell cut, 2-3 dB |
| 250-500 Hz | Muddy, covered, muffled | Overlapping guitars, room reflections | Cut here before blaming the highs |
| 800 Hz-1 kHz | Honk, thunk, hollow vocal | Acoustic and electric guitar, male vocal | Wide bell, Q around 1 |
| 2-5 kHz | Harsh, grating, edgy | Clipping, distortion stacks, excited resonances | Bell cut of 2-3 dB, or a dynamic band |
| 3-5 kHz | Nasal, a permanent hmmm | Vocal technique, small room | Bell cut, then rebalance compression |
| 5-7 kHz | Snare crack or hi-hat that bites | Snare, drum overheads | High shelf or a gentle bell |
| 6-8 kHz | Spitting S and T sounds | Lead vocal, higher voice | De-esser, then dynamic EQ |
| 7 kHz and up | Glassy, brittle, sizzly | Cymbals, bright synths, exciter | High shelf, small cut |
These are starting points, not rules. A 4 kHz peak in one track is nasal, in another it is the entire character of the sound.
4. Tame Narrow Resonances With Parametric EQ
Use the narrowest useful band and the smallest cut that does the job. For most resonances that means 2-3 dB of gain on a bell with a Q somewhere around 2-4, applied to the offending source rather than the whole mix.
A wide bell at low Q takes the edge off without hollowing the sound. A deep notch at high Q, 10-12 dB, is for things with no musical content at all: mains hum at 50 or 60 Hz, mic pops, feedback howl. Use notches for those and you will not damage the track.
There is a useful threshold here. If a 2-3 dB wide cut does not fix the harshness, the problem is not a resonance, so stop cutting and check the low end, the processing chain and the arrangement. One common test: pull the low mids down 3 dB and listen. If the harshness disappears, you had a masking problem, not a high-mid problem.
5. Control Sibilance With De-Esser, Compression, and Filtering
A de-esser is a compressor that only listens to one frequency range, and that is why it beats EQ for sibilance. Set the band between 5 kHz and 8 kHz, depending on the voice, then set the threshold so the gain reduction kicks in only on the S, T and C sounds. Roughly 3-6 dB of reduction on the loudest syllables is plenty.
Compression before de-essing raises the sibilance along with everything else, so a de-esser placed first can end up doing nothing. Put it after, and re-tune the threshold once the compressor is settled.
A high-pass at 100 Hz keeps rumble and mic handling out without touching the air band. Leave 12 kHz and above alone unless something genuinely needs it, because that is where the sense of space lives.
If a de-esser still leaves a harsh vocal, try a broad bell cut at 3-5 kHz before you reach for more compression. Often the issue is that the sibilant consonants are simply louder than the rest of the voice, and the compressor was set to catch peaks rather than to even out the vocal.
6. Reduce Harsh Overtones With Dynamic Processing
When a resonance only appears on certain hits, a static cut is the wrong tool, because it dulls every note to fix a problem on two. A dynamic EQ band listens above a threshold and only acts when the band crosses it, so the snare hit gets tamed and the ghost notes stay open.
Set the band on the offending frequency with a moderate Q, set the threshold just below the level the problem notes reach, and keep the range small, 2-4 dB. Attack and release are what keep it musical: a fast attack catches the peak, and a medium release stops the band from clamping down on the whole phrase and pumping the mix.
Multiband compression on the same band is the older way to do this and still works, though it is fussier to set up. In trance and house, where the mix bus moves constantly, the pumping risk is real, so check the band in mono and at low level before you commit.
Bandwidth matters too. A very wide band on a dynamic EQ sounds like a compressor with a strange colouration, and a very narrow one only catches a single note. Start near the middle.
7. Use Saturation, Filters, and Gain Staging as Final Checks
Saturation adds harmonics, and added harmonics are not the same thing as a cut. A wide 2-3 dB cut at 4 kHz removes energy, while a little tape or tube style saturation puts energy back in a different place, which is why a gently saturated mix can take a cut that would make a clean one sound dead.
Filter before you cut. On synths and samples, a resonant filter sweeping through a harsh chord is usually the source of the problem, and pulling the resonance down a little solves it at the instrument rather than in the mix.
Gain staging is the last check and often the real answer. If a track is peaking near 0 dBFS and hitting a limiter on every kick, the harshness is coming from the distortion those clips create. Dropping the level six dB and raising the master can make the mix cleaner in a single move.
An exciter is worth one try after wide cuts, not before. Harmonic generation in the 8-16 kHz region can replace some of the brightness you removed. Do it gently, and level-match before you decide.
8. Compare, Bypass, and Refine
Turn the plugin off and on with the track in full context. If you cannot hear the difference, the move was not needed, and you have just made the mix smaller and quieter for nothing, which is the complaint that comes up most often in mixing forums.
Check in mono. A harshness that vanishes in mono is usually a phase problem rather than a frequency problem, and that is a different fix entirely.
Then check it quiet. A mix that only holds together at high volume is hiding problems behind level, and the streaming and phone checks will find them for you.
Write down the smallest correction that solved the problem: the frequency, the gain, the Q. Most of the time the answer is one bell, one dynamic band or one high-pass. The sessions where a mix goes wrong are the ones with twelve EQ moves, not two.
Common Mistakes
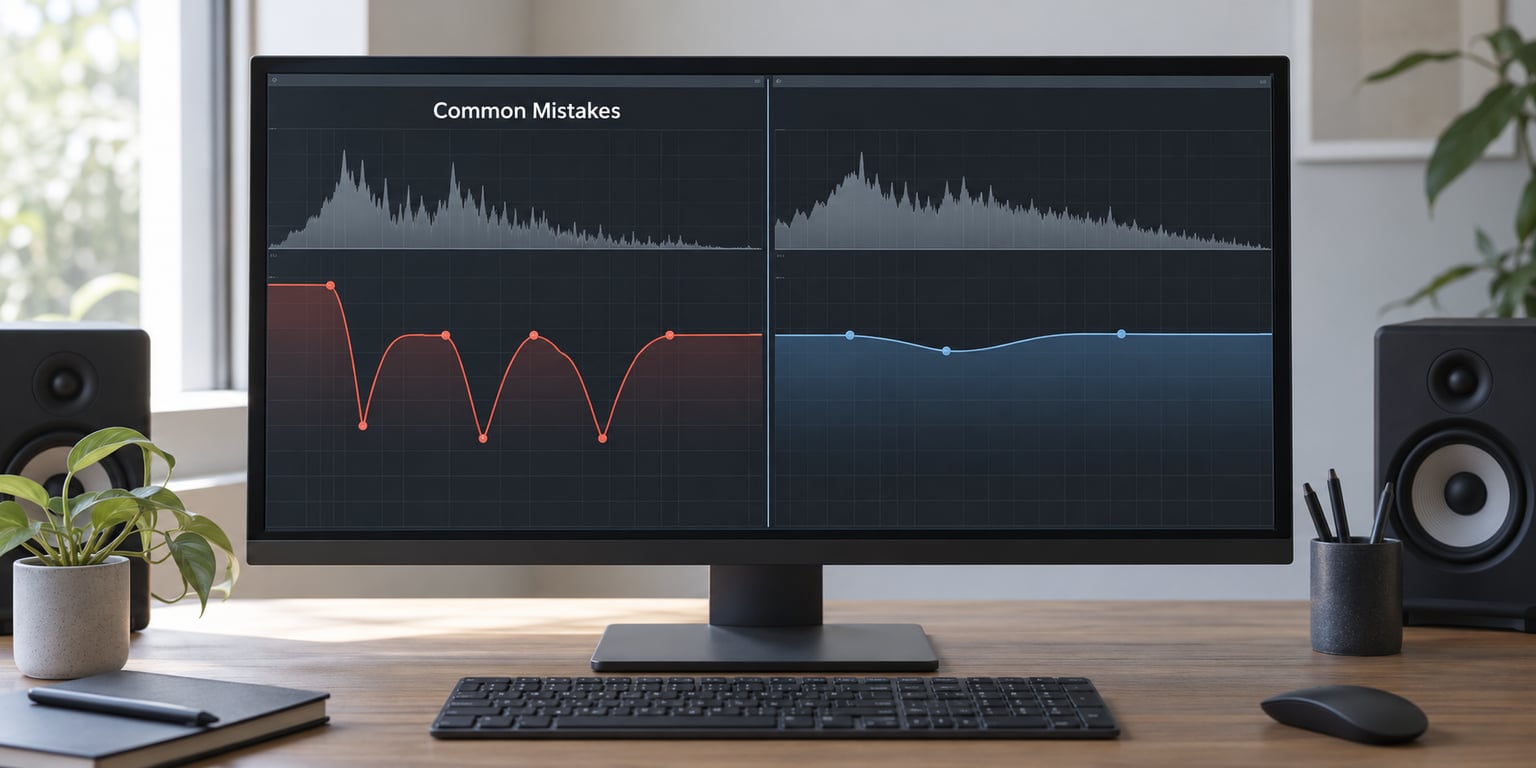
Cutting everything you find. Not every spike is a problem, and a flat curve is not a goal. Cut only what you can hear in the full mix, and stop at the first fix that works.
Using a very narrow boost while hunting. A razor-thin +12 dB boost over a single note sounds nothing like the frequency you are looking for. Sweep with a wide bell instead, or use the analyser to narrow down first and then listen with a moderate Q.
Judging at too high a volume. Everything sounds harsh at 90 dB. Lower the level, and fix the monitoring volume once so every comparison is honest.
Boosting before cutting. Adding brightness to a mix that is already too bright makes the harshness louder, not smaller. Cut, listen, and only then consider whether you need a shelf lift somewhere lower down.
Processing the whole mix with the settings you used on one source. A 4 kHz cut that fixes a nasal vocal will dull a guitar, because they are not fighting the same problem. Fix each source where the problem starts, and only reach for the mix bus for things that belong to everyone.
Treating loudness as harshness. A track that is simply too loud reads as harsh on first impression, and the fix is dynamics, not EQ. Check the master level and the crest factor before you touch a single band.
One more that shows up constantly: working to the end of a long session. Ear fatigue is itself a harshness diagnosis, because by hour three everything sounds brighter than it is, so you cut more, and the mix ends up dull by hour four. Ten minutes away from the monitors every forty minutes is the fix.
Frequently Asked Questions
What frequency makes vocals harsh?
Most of the time it is the 2-5 kHz upper-midrange, with 3-5 kHz producing a nasal quality and 6-8 kHz producing sibilance on S, T and C sounds. Those are starting points rather than rules, since voice, mic and room all move them. Sweep a bell between 2 and 10 kHz on the specific take rather than trusting a number, then confirm with a 2-3 dB cut.
Which frequencies should I cut when mixing?
Cut the range where the problem is, not where a preset says it should be. In practice: high-pass below 100 Hz for rumble, 250-500 Hz for boxiness and mud, 800 Hz to 1 kHz for honk, 2-5 kHz for harshness, 5-7 kHz for snare crack, 6-8 kHz for sibilance. Start with 2-3 dB on a moderate-Q bell, level-match, and only move to a deep notch for non-musical problems like hum.
How do I read a spectrum analyzer?
Set it to a logarithmic frequency scale so the low end is not stretched across half the screen. Use a larger FFT window for a smooth, steady curve and a smaller one to catch fast transients. Judge peaks on a sustained, looping section rather than a frozen peak-hold reading, and remember the analyzer confirms what your ear already told you, it should not make the decision.
What is 800 Hz on an equalizer?
Around 800 Hz to 1 kHz is the range that produces honk, thunk and a hollow, nasal quality, especially on acoustic guitar and lower male vocals. It usually comes from a strong body resonance, the room, or two sources sitting on top of each other. A wide bell cut of 2-3 dB with a Q near 1 tames it, and a low-mid cut sometimes solves it faster.
What are the 9 sacred frequencies?
There is no set of nine universal frequencies, despite the phrase circulating widely in mixing communities. Those numbers come from common equaliser presets, not from physics. Every instrument, voice and room has its own resonances, which is why sweeping and measuring beats memorising a list.
Should I cut resonances from the final mix?
Usually not as a habit. The consensus in mixing communities is to cut only what consistently causes problems in the full mix, and to leave musical resonances alone. A notched master tends to sound dull, smaller and quieter. Fix the source where you can, leave the mix bus for things that genuinely belong to everyone.
Conclusion
Start with the smallest action that actually moves the problem: listen for the specific harshness, confirm the band on a spectrum analyzer, and apply one targeted correction. A 2-3 dB wide bell, a high-pass at 100 Hz or a de-esser set on the S sounds will resolve most of it.
Everything above is a detail on that loop. Mastering how to find and tame harsh frequencies comes down to diagnosing the problem correctly, choosing the mildest fix, and checking it in the full mix rather than in solo.