Inter-sample peaks are momentary levels in the reconstructed analogue waveform that land between your stored samples. They can sit above 0 dBFS even when every sample in the file is safely under it, and that is what makes a master distort on some systems and stay clean on others. You avoid them by mastering to a true-peak ceiling rather than a sample-peak ceiling, turning on true-peak metering in your limiter, and leaving enough headroom for whatever the listener’s decoder does next.
How to avoid intersample peaks when mastering comes down to three decisions: which scale your ceiling is set in, whether oversampling is on, and how much headroom you leave for the playback chain. Get those right and the problem basically disappears.
The whole process takes about ten minutes once your chain is set up, and most of that is deciding where your master is going. Streaming, CD, broadcast and club playbacks all want different numbers.
Table of Contents
- What You Need
- Step-by-Step: How to Avoid Intersample Peaks When Mastering
- Step 1: Set a Realistic Output Ceiling
- Step 2: Turn On True Peak Metering and Oversampling
- Step 3: Reduce Gain Without Flattening the Track
- Step 4: Export, Check, and Adjust
- Common Mistakes
- Frequently Asked Questions
- Should I turn on oversampling in my limiter?
- What true peak level should I master to?
- Are inter-sample peaks actually audible?
- Why does my true peak rise when I export?
- Does true peak limiting stop codec clipping on streaming?
- Do I need a mastering plugin to avoid inter-sample peaks?
- Where to Start If You Only Do One Thing
What You Need
Four things, and three of them you already have.
- A limiter with a true-peak mode. Any modern limiter has one. In Ableton Live that is the Utility device or the built-in Limiter in the Mastering Rack, Logic Pro has the Adaptive Limiter and the Limiter plug-in, FL Studio has Fruity Limiter, and Pro Tools has the Pro Limiter and the newer Limiters bundle.
- A meter that reports dBTP. Same plug-ins show it. If your meter only shows dBFS sample peaks, switch it to true peak before you trust a single number.
- Reference tracks at the same loudness. A track you know sounds right, level-matched to yours, so you can hear whether the ceiling is costing you anything.
- One more playback chain. Ideally a phone, a cheap Bluetooth speaker or a laptop with built-in speakers. That is where inter-sample clipping reveals itself.
Prepare the mix before you touch the limiter. Headroom at the mix bus matters more than any limiter setting: if your mix is already slamming 0 dBFS with heavy clipping, no ceiling will clean it up.
Step-by-Step: How to Avoid Intersample Peaks When Mastering
Step 1: Set a Realistic Output Ceiling
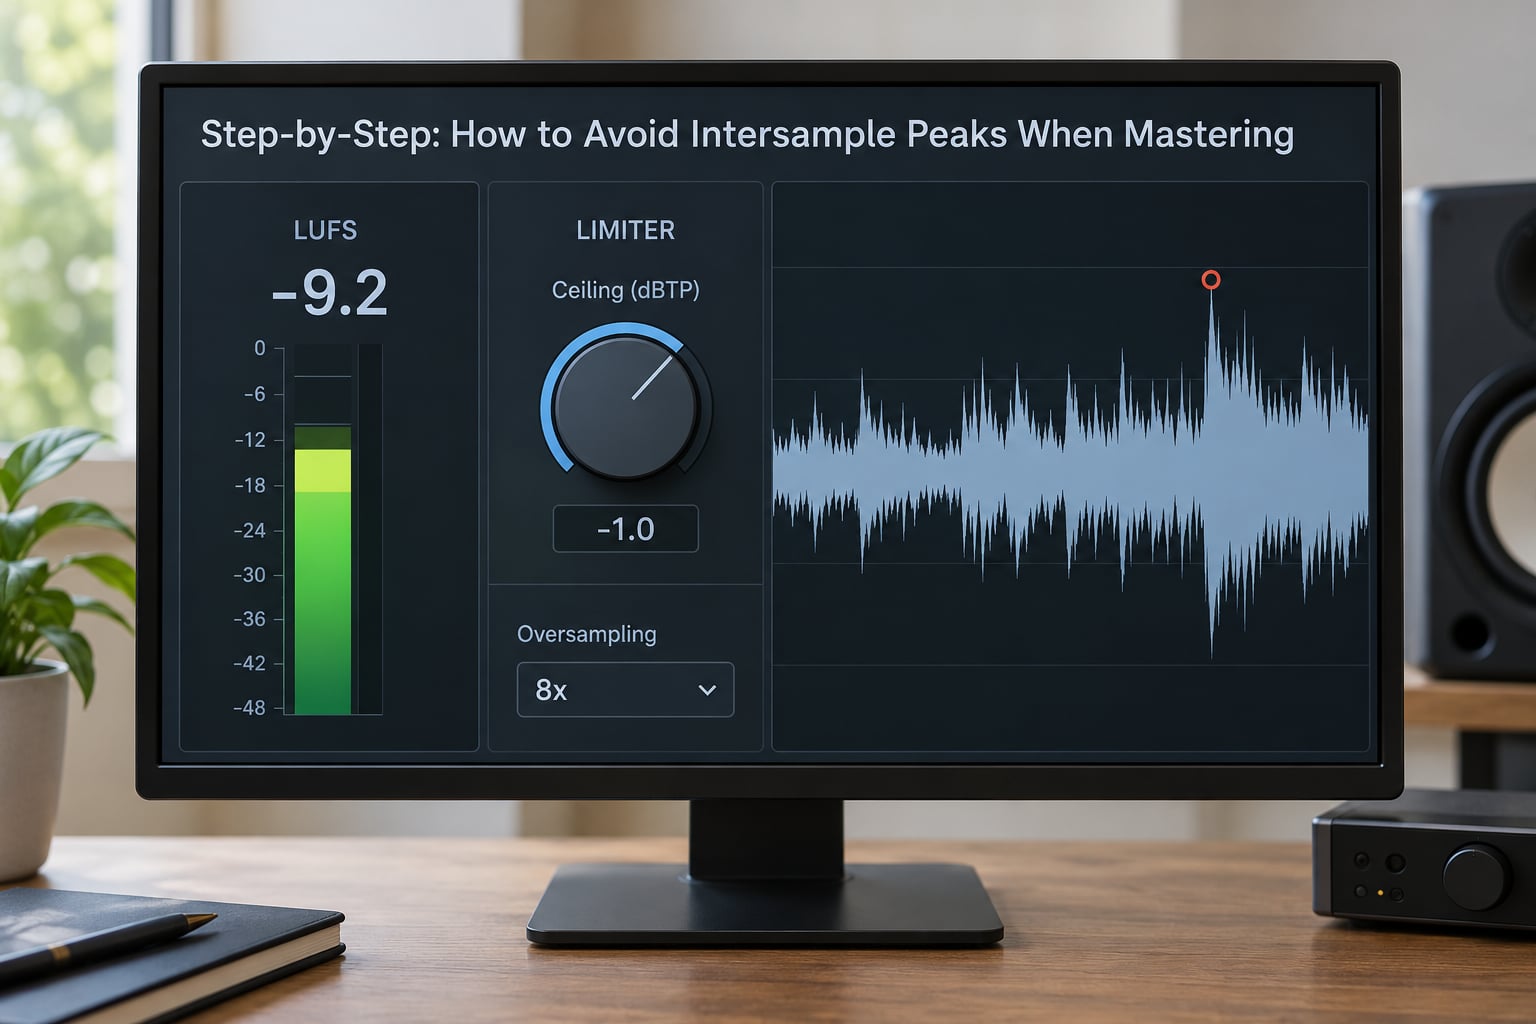
Set the limiter’s ceiling in dBTP, not dBFS. That single switch is the whole difference between a master that survives playback and one that doesn’t.
Here is where the confusion usually starts. A sample peak is the number stored at one instant in time. A true peak is the highest point of the smooth waveform a DAC rebuilds between those instants. Band-limited interpolation overshoots, sometimes by a decibel or more, and that overshoot is the inter-sample peak.
| Destination | Target true peak | Notes |
|---|---|---|
| Streaming (Apple Music, Spotify, YouTube) | -1.0 dBTP | The safe default in 2026. Streaming normalisation turns most of these down anyway, so the headroom costs you nothing. |
| CD (Red Book) | -0.3 dBTP | Intersample clipping is baked into the disc format. Master conservatively if you are cutting your own. |
| EBU R128 broadcast | -1.0 dBTP or lower | R128 measures true peak, not sample peak, so the meter and the standard agree. |
| Apple Digital Masters / MFiT delivery | -0.1 dBTP to -0.3 dBTP | Apple’s spec checks true peak on the delivered file, so measure before you upload. |
| Club, PA and DJ playback | -3.0 dBTP | Big analogue chains add their own gain. More headroom than you think you need. |
For most people releasing music online, -1.0 dBTP is the number. Some engineers push to -0.5 dBTP for extra loudness; the difference in perceived volume is small and the risk is not.
Step 2: Turn On True Peak Metering and Oversampling
Oversampling makes the plug-in evaluate the signal at four or eight times the session sample rate, which approximates what a DAC will reconstruct. Switch it on when you set the ceiling. In practice this is the least glamorous half of how to avoid intersample peaks when mastering, and it does more work than anything further down the chain.
Menu names change between versions, but the pattern holds: Ableton Live is Utility device, True Peak mode in the toggle section, with Oversampling set to 8x; the Limiter inside the Mastering Rack does true peak automatically. Logic Pro uses Adaptive Limiter with the Ceiling field in dBTP, and the Limiter plug-in has an Oversampling menu with 2x, 4x and 8x options plus a True Peak button in its meters. FL Studio has Fruity Limiter with a Ceiling knob and an oversampling option on the limiter’s settings tab. Pro Tools reads true peak from its main counter display when you switch the meter scale, and the Limiters bundle has a True Peak option per plug-in.
One clarification worth having, because the two get confused constantly: DSP overshoot is not the same thing as a true inter-sample peak. Overshoot happens inside your plug-in’s own filter or resampler, and a limiter will catch it before it reaches the file. A true inter-sample peak belongs to the DAC’s reconstruction, downstream of everything you own. Oversampling your meter is a good estimate; it is not a measurement of the listener’s converter.
Step 3: Reduce Gain Without Flattening the Track
Raise the input into the limiter gradually and watch the gain reduction scale as you go. One to three dB of gain reduction on a dense electronic master is normal. Ten dB means the limiter is doing level-matching for you, and that is where pumping and loss of transient bite come from.
If you need much more than that, back off and fix the mix underneath instead. A high-pass on the master bus before limiting often frees several dB in the low end that the limiter was previously crushing, and low-end control is usually the main thing holding loud masters back.
Saturation and multiband compression are fine here, but only when they make the track better. Gentle tape-style saturation on the master bus before the limiter can glue a mix and take the edge off transients. Multiband compression lets you keep the low end controlled while the limiter handles the rest. Neither fixes a mix that was badly balanced three steps earlier.
Step 4: Export, Check, and Adjust
Export a lossless 24-bit WAV, then check the exported file rather than the session. This is where the surprises live, and it is the step where people who thought they knew how to avoid intersample peaks when mastering find out they were a decibel short.
Resampling from 48 kHz to 44.1 kHz introduces a new reconstruction filter, and that filter can push a true inter-sample peak up to half a decibel or more above what your session meter showed. Reducing bit depth with dither adds a small amount of broadband noise, and because that noise sits on top of the peaks, the file’s true peak can rise even though nothing in the mix changed. Dither itself does not clip; it just makes the new ceiling less predictable. If you are delivering 16-bit, check the 16-bit file, not the 24-bit one.
Then audition in three places. Play it at a comfortable level on your main system, play it quietly, and play it on the cheap secondary system. Turn the volume down a few decibels and listen again for the moment a snare hits. If that transient smears into fizz on the small speaker, you still have too much ceiling. Lower it by a decibel and repeat.
Make small adjustments to the ceiling rather than boosting the finished master. If you export at -2 dBTP and it sounds thin, the answer is more compression in the mix, not more gain in the master.
Common Mistakes
- Trusting a sample-peak meter. The single most common error. The meter says 0 dBFS, the file is at zero, and the DAC still clips. Switch the meter to true peak and read the same file again.
- Setting the limiter ceiling in dBFS instead of dBTP. The numbers look similar and the difference is roughly a decibel of real headroom.
- Pushing gain reduction to 15 or 20 dB. Limiting that hard is not louder, it is squashed. Fix the mix underneath.
- Leaving oversampling off. Without it, the limiter is limiting samples rather than the reconstructed waveform, which is exactly what you did not want.
- Checking only the master in the DAW. Codec decoding at the streaming end can create new inter-sample peaks that a true-peak limiter in your chain cannot prevent. Extra headroom is the only defence.
- Dithering twice or exporting 16-bit without checking. Redither a file that was already dithered and you add noise for nothing, plus a higher true peak.
- Judging the master on one system. If it has not been checked on a phone speaker and a laptop speaker, you have not finished testing it.
On the audibility question: the honest answer is that it depends on the playback chain. Engineers report hearing inter-sample clipping on cheap soundcards and CD players while their studio monitors stayed clean, and streaming normalisation has pushed levels back toward sane values, which has made the problem rarer. The cost of avoiding it properly is a decibel or two and about ten minutes, which is a cheap trade.
Frequently Asked Questions
Should I turn on oversampling in my limiter?
Yes, for mastering. Oversampling makes the plug-in evaluate the signal at 4x or 8x the session rate, which better approximates the waveform a DAC will reconstruct, so your ceiling holds on playback. It costs CPU and adds a little latency, which matters for tracking but not for a mixdown. Leave it on in the limiter and use a lower factor elsewhere.
What true peak level should I master to?
For streaming in 2026, use -1.0 dBTP. That leaves room for the inter-sample overshoot the decoder will produce without shrinking your loudness advantage much, since streaming normalisation pulls most masters down anyway. For CD or MFiT delivery, work between -0.3 and -0.1 dBTP. For club and PA play, go lower, around -3.0 dBTP.
Are inter-sample peaks actually audible?
It depends entirely on the playback chain. Engineers report hearing clipped transients on cheap soundcards, CD players and phone speakers while studio monitors sounded fine, which points at the reconstruction filter in lower-quality converters as the weak link. With streaming normalisation keeping levels moderate, the problem is less common than it was a decade ago, but the fix costs almost nothing.
Why does my true peak rise when I export?
Two reasons. Resampling, for example 48 kHz to 44.1 kHz, applies a new reconstruction filter that can push an inter-sample peak up by half a decibel or more. And reducing bit depth with dither adds broadband noise that can lift the measured true peak without changing the mix itself. Export 24-bit lossless and check the file you actually uploaded, not the session.
Does true peak limiting stop codec clipping on streaming?
No, and this is worth being clear about. True peak limiting controls the waveform your file contains. The lossy codecs that decode AAC or Ogg at the listener’s end can create new inter-sample peaks during playback, and your limiter has no way to predict that. Leaving a decibel or two of headroom is what protects you there, not the ceiling setting.
Do I need a mastering plugin to avoid inter-sample peaks?
No. Every major DAW ships with a limiter that does true-peak detection: Ableton Live has Utility and its Mastering Rack limiter, Logic Pro has Adaptive Limiter and the Limiter plug-in, FL Studio has Fruity Limiter, and Pro Tools has its Limiters bundle. A dedicated mastering suite gives you more control, but it is not required to solve this problem.
Where to Start If You Only Do One Thing
Open your limiter, switch the ceiling to true peak, set oversampling to 8x, drop the ceiling to -1.0 dBTP, and export a 24-bit WAV. Play that export on a phone speaker before you upload anything. That single loop covers most of how to avoid intersample peaks when mastering, and it takes about ten minutes.