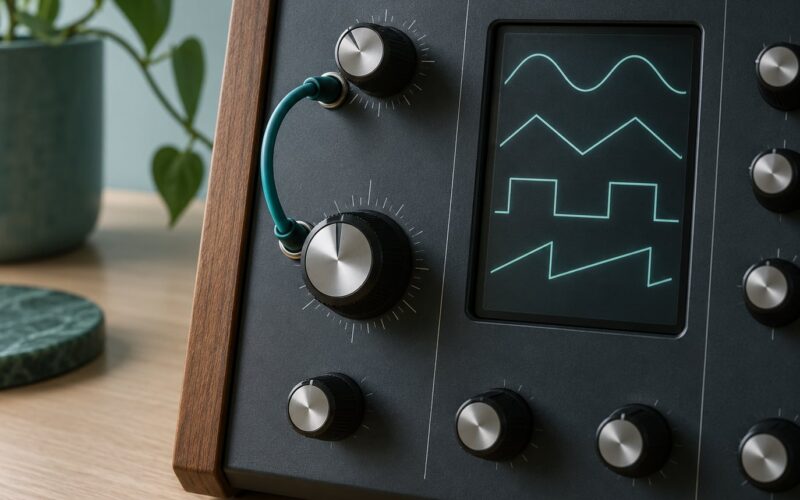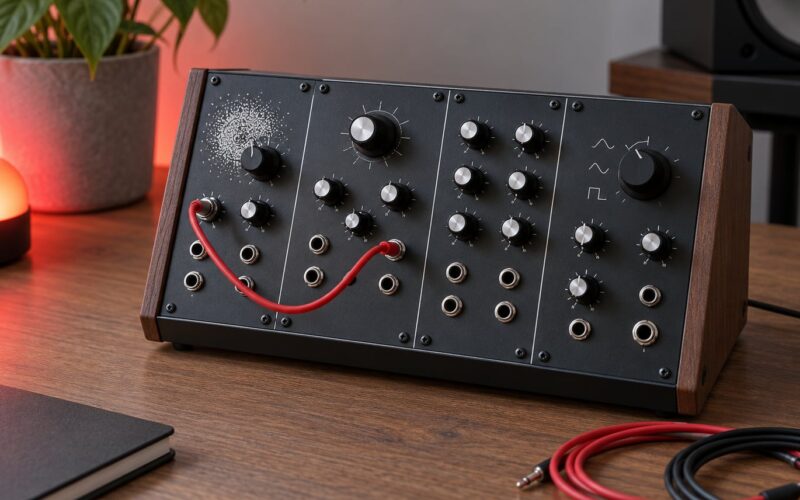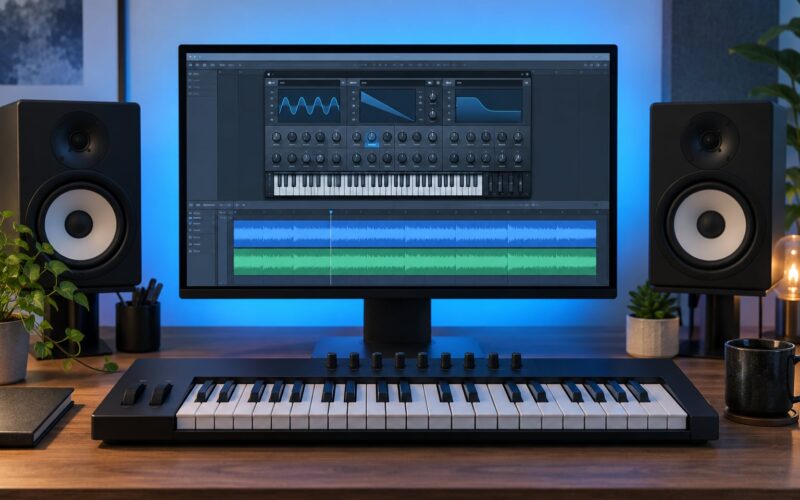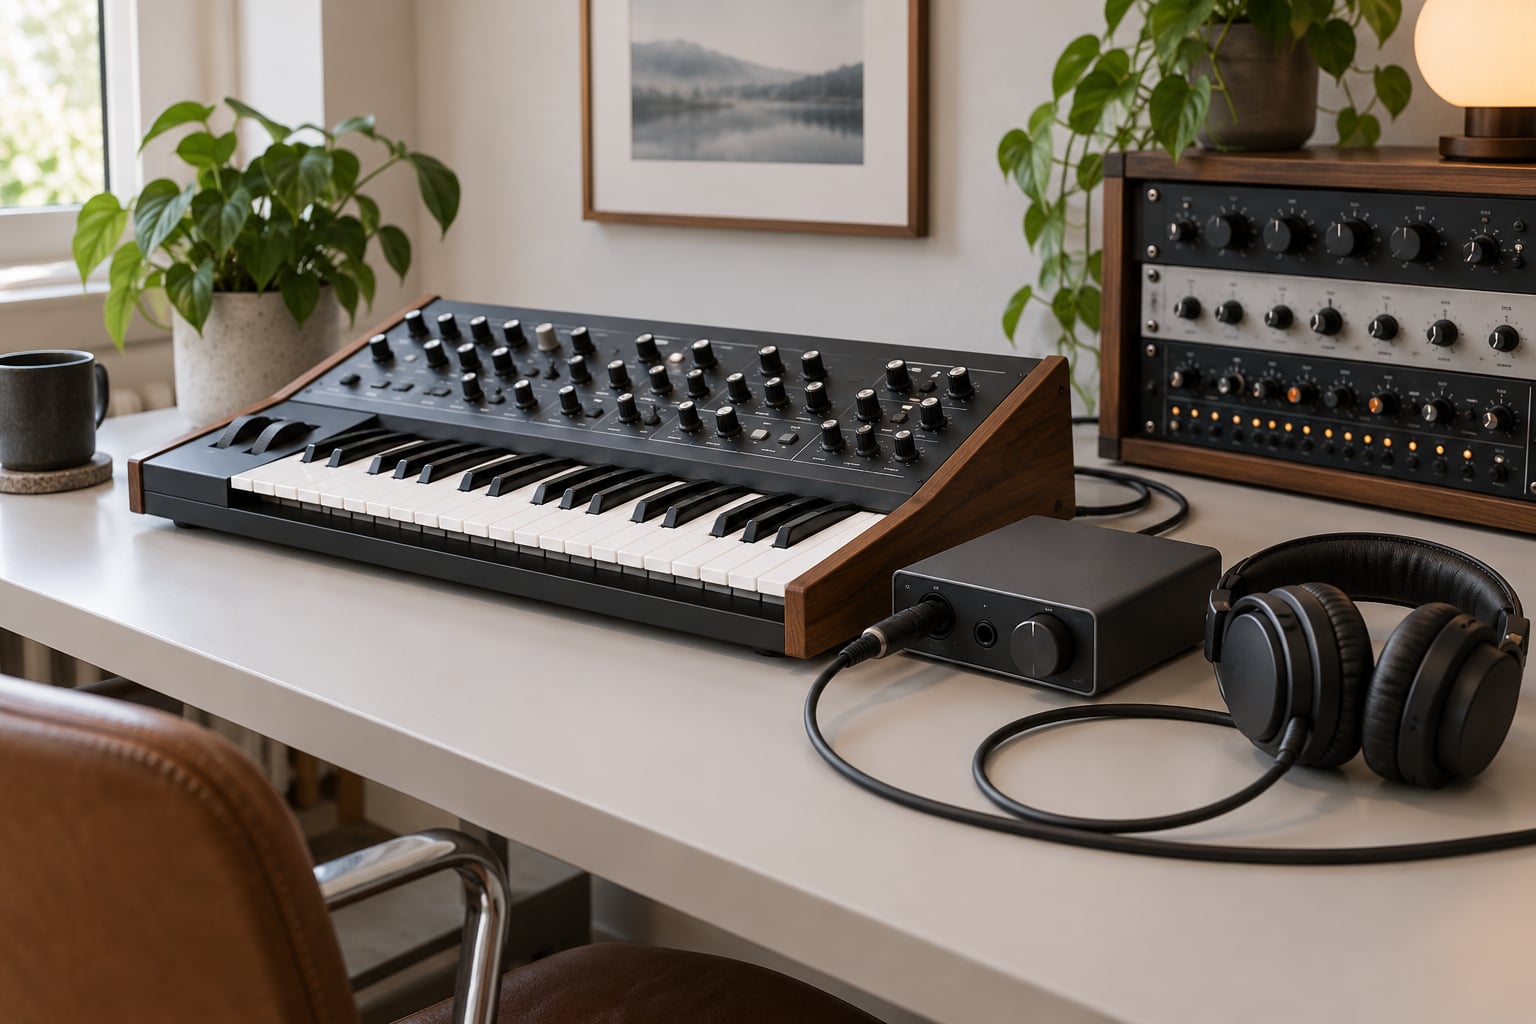
You don’t need hardware to make a digital synth sound analog. If you know how to add analog warmth to digital synths, you can take any clean virtual patch and push it through saturation, filtering, gentle movement and a short ambience until it sits in a mix like a hardware instrument. The whole process takes about twenty minutes per sound once you’ve done it a few times.
Warmth is not one plugin. It’s the sum of three things: musical harmonic distortion, softer high-frequency transients, and small amounts of instability that stop every note from being identical. Get those three and any synth starts to breathe.
Table of Contents
- What You Need
- Step-by-Step
- Start With a Focused Tone
- Add Controlled Saturation
- Shape the Highs and Low-Mids
- Introduce Subtle Analog-Style Movement
- Add Space and a Cohesive Finish
- Common Mistakes
- Frequently Asked Questions
- What is analog warmth in audio?
- Does saturation really make a digital synth sound analog?
- How do I add subtle movement to a static synth patch?
- Should I add warmth on the synth or on the mix bus?
- How much saturation is too much saturation?
- Conclusion
What You Need
Everything on this list is a plugin you probably already own. The only real prerequisite is a synth that sounds too clean.
- A synth — hardware or software. Any subtractive or wavetable instrument works, and so does a sampled one.
- An EQ — your DAW’s stock parametric EQ is enough for every step here.
- A saturation or tape effect — one plugin with a drive control and a wet/dry mix.
- Modulation — an LFO, either inside the synth or from your DAW, routed to filter cutoff, pitch or amplitude.
- A reverb and a delay — short plate or room, and a tape-style or ping-pong delay.
- A mixing tool — stock compression and level control, so you can match levels before you judge anything.
The same process works everywhere. Ableton Live uses an EQ Eight plus Saturator and a Roar-style saturator, FL Studio has Fruity Parametric EQ 2, Logic Pro has Channel EQ and Space Designer, Cubase has Studio EQ and the Vintage Console channel, Studio One has Studio EQ 1 and Saturation Drag, Bitwig has EQ and Tilt plus its Saturator, and Reason has the Spider Audio and Eleven rack effects.
The names change. The routing doesn’t: EQ first, then saturation, then movement, then space, then level.
Step-by-Step
This is the order I use, and the order I’d suggest you use. Each step has a musical reason and a way to tell whether it worked.
Start With a Focused Tone
Before anything else, pick a patch that has a clear job. A sawtooth lead fighting a detuned supersaw at the same volume is not a warm problem, it’s a mixing problem, and no amount of saturation will fix it.
Solo the patch and high-pass it around 80 to 120 Hz, depending on whether it’s a bass or a melodic part. Then listen for one or two frequencies that grab your ear and shave 1 to 2 dB off them. On a synth lead that’s usually the 2 to 4 kHz area where digital saws get glassy.
Now do the listening test properly: bypass the EQ and listen at a matched level, then re-enable it. If you can’t hear the difference instantly, the change was too small to matter. If the sound instantly sounds worse, you cut something that carried the part.
A patch with fewer competing frequencies leaves you room to add harmonics later. That headroom is what makes the next step work.
Add Controlled Saturation
Saturation is the single biggest lever. When a digital signal hits a non-linear circuit, it generates harmonics the clean signal never had, and those overtones are what listeners call warmth.
Start with a drive control around 20 percent and a wet/dry mix near 15 to 20 percent, then back the drive off until the effect is barely audible. Pheek’s Mixdown and Mastering blog describes this exact approach, and it works: push saturation until you clearly hear it change, then roll it back to where you only notice it when you compare.
Why does it read as warm rather than aggressive? Even-order harmonics, mostly the second and fourth, sit in octave relationships with the fundamental and tend to sound musical and full. Odd-order harmonics, the third and fifth, land between octaves and can sound harsh or buzzy. Soft-clipping and transformer-style saturators lean toward the even side, which is why they read as polish and fuzz pedals read as grit.
Good starting points: Baby Audio TAIP or u-He Satin for smooth clipping, Softube Saturation Knob or PSP Vintage Warmer for a broad, forgiving tone, Soundtoys Decapitator or FabFilter Saturn when you want multi-band control, and Elektron Analog Heat if you happen to own the hardware. Free options exist too — Analog Obsession has free tape and console emulations worth more than most paid plugins.
Watch your output level. Saturation makes a signal sound louder than it measures, so you will always be tempted to push it too far. Set the fader to unity first, then judge the tone.
Shape the Highs and Low-Mids
Digital transients are sharp because nothing rounded them off. Softening the top end is often the fastest route to warmth, and it’s a two-knob job.
Start with a gentle high-shelf cut of 1 to 3 dB somewhere between 8 and 12 kHz. If you want more character, put a low-pass filter on the insert with a resonant peak: pull the cutoff down to around 6 kHz and add a small peak just above it, around 8 kHz, at 2 to 3 dB. That resonant bump puts a vocal, reedy edge back on top of the mellowed body.
For low mids, work by ear in the 200 to 500 Hz range. Digital pads and plucks often pile up there and turn to mud the moment you add harmonics, so a 1 to 2 dB cut with a fairly wide Q often pays for itself. If the sound is thin instead, give that same area a small boost.
The trick is to treat the EQ cuts and the saturation as complementary. If saturation is adding energy in the low mids, cut the EQ there and let the harmonics carry the brightness.
Introduce Subtle Analog-Style Movement
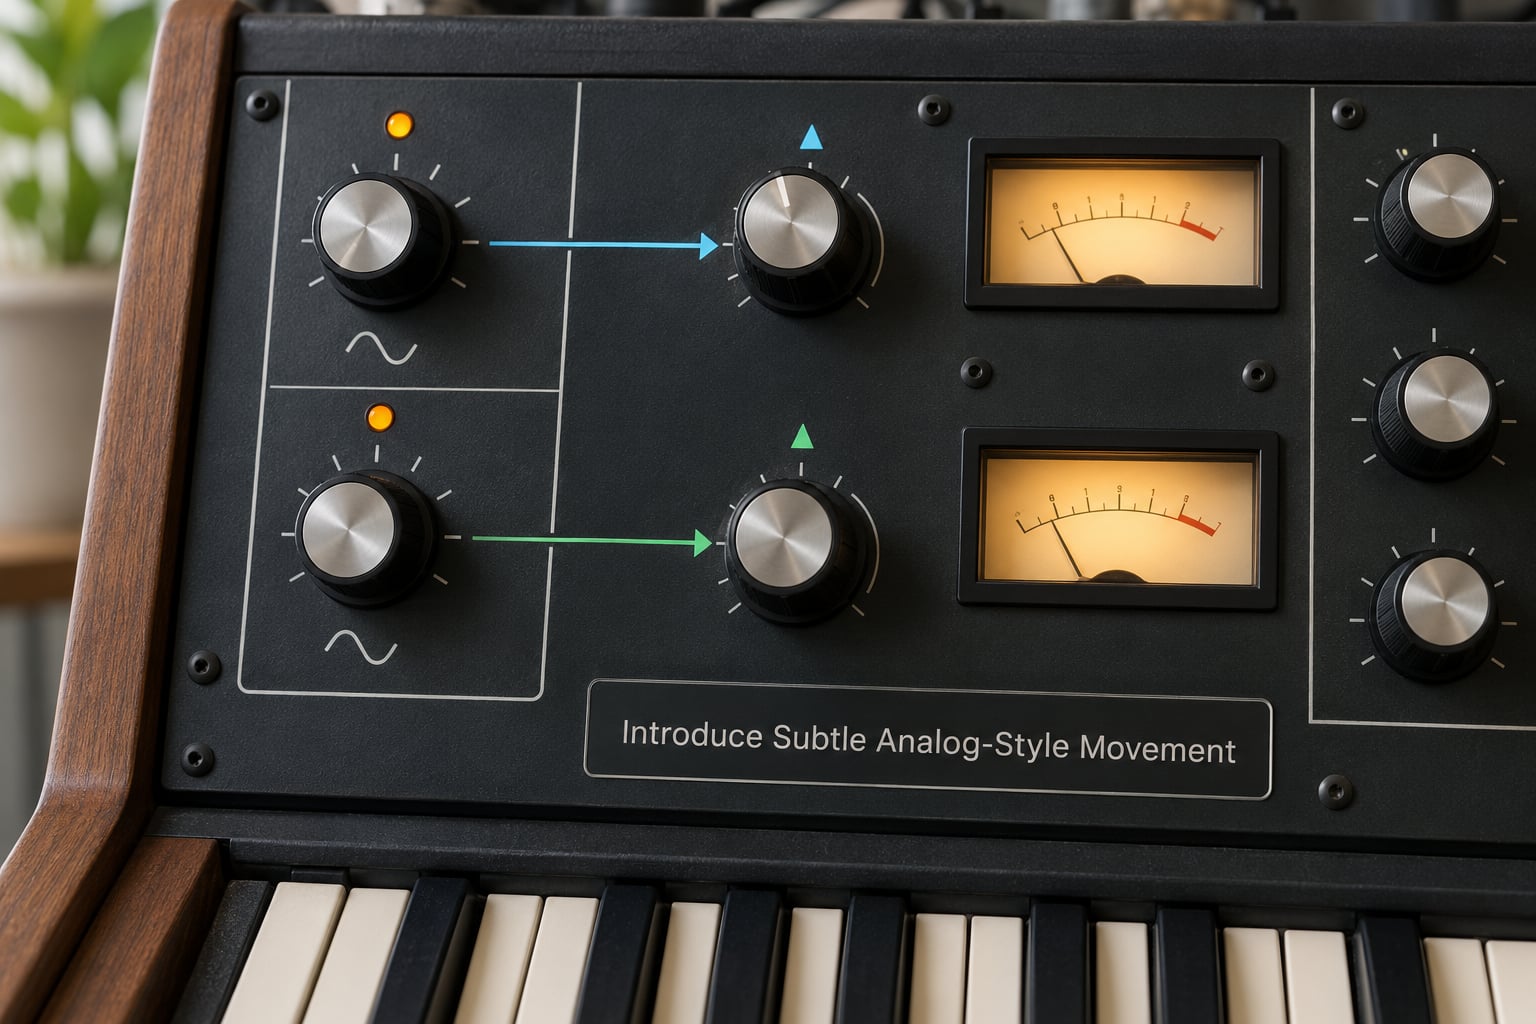
This is the step most guides skip and the one that costs nothing. A patch that produces the exact same waveform every time sounds like a machine, regardless of how much saturation is on it.
Route a slow LFO to pitch at a very low depth — around 3 to 6 cents is plenty, running at roughly 0.2 Hz. Adders on the Ableton and r/edmproduction communities describe this as the most-recommended in-the-box movement trick for pads, and it works because the pitch never quite settles.
Do the same thing on filter cutoff with a slightly faster LFO, around 0.5 to 2 Hz and 10 to 20 percent depth. Slow filter movement is what makes a held chord sound played rather than triggered.
If your synth has a drift or noise generator, use it at its lowest useful setting. A small amount of hiss or crackle, around 5 to 10 percent, changes how the listener perceives the whole signal. Mojulate’s guide on achieving analog warmth makes the same point about noise and imperfection.
Two cautions. Random modulation that shifts note-to-note changes the melody, so keep the depth where the pitch contour stays intact. And if you hear the wobble, it is too fast or too deep — real analog drift is something you notice in comparison, not in isolation.
Add Space and a Cohesive Finish
Warmth that lives only in the direct signal can still sound thin. Space is part of the same illusion.
Use a short plate or small room reverb with a low wet level, roughly 8 to 15 percent, on a send rather than an insert. High-pass the reverb return around 200 Hz so it doesn’t blur your low end. For delay, pick a tape-style delay with a soft feedback curve and set the time just off the tempo, around a 16th or dotted 8th.
Chorus can widen a patch nicely but it’s easy to overuse. A single pass at a low mix, under 30 percent, adds movement without turning the sound to mush — and if you can’t immediately hear it, that’s the right level.
Finish by matching the level. Compare your warm patch to a dry version at identical volume, not just by memory. Warmth added at too high a level just sounds loud, which is the most common reason people decide processing “didn’t work”.
Common Mistakes
Almost every disappointing analog warmth chain fails in one of five ways.
- Too much saturation. The low mids collapse and the patch turns buzzy. Pull the drive back to 20 percent, then reduce the wet mix further.
- Boosting every frequency. If your EQ has more cuts and boosts than notes in the part, it’s decoration. Keep it to two moves.
- Overusing chorus. Doubling the chorus with detune layers and a widener gives you mush. Pick one width tool.
- Random LFO movement. If the LFO rate is fast enough to notice on individual notes, slow it down until you only hear it across a phrase.
- Processing after the level was already too high. Gain staging first, then tone.
One more worth knowing: compression can thin a sound rather than glue it, because the added harmonics get masked by the level reduction. Forum users on forum.ableton.com raise this repeatedly. If you glue, use a gentle ratio around 1.5:1 to 2:1, and watch the gain reduction — if it doesn’t return to zero several times a bar, you’re compressing too hard.
Avoid amp-modelling plugins for this job. Users on the Ableton forum repeatedly report that guitar amp models like Guitar Rig and Live Amp make synths sound thin rather than warm.
Frequently Asked Questions
What is analog warmth in audio?
Analog warmth is the character a synth picks up when its signal passes through something non-linear, such as tape, transformers, valves or a saturator. That circuit adds musical harmonic overtones, softens sharp high-frequency transients, and introduces small level and timing variations. Linear digital processing has none of these, which is why clean virtual patches can sound brittle next to recorded instruments.
Does saturation really make a digital synth sound analog?
Saturation is the core mechanism, but it does not work alone. It adds harmonic content that a linear signal never had, especially even-order harmonics that read as fullness rather than grit. On its own it can still sound like a distorted synth. Pair it with softened highs and a little pitch or filter movement and the result tracks much closer to a hardware instrument.
How do I add subtle movement to a static synth patch?
Route a slow LFO to pitch at a depth of roughly 3 to 6 cents, running at about 0.2 Hz, then a second faster LFO to filter cutoff at 10 to 20 percent depth around 0.5 to 2 Hz. If your synth has a built-in drift or noise generator, add a small amount of that too. Keep every rate slow enough that the original melody and timing stay intact.
Should I add warmth on the synth or on the mix bus?
Both, for different jobs. Insert-level warmth is character: it changes how one part sounds and gives that part its own identity. Bus-level warmth is glue: it draws several tracks into a shared space and evens out differences between them. Start on the insert for the parts that need to sound warm on their own, then use light bus processing to tie them together.
How much saturation is too much saturation?
A good rule is to push the drive until the change is obvious, then roll it back until you only hear it in comparison. That usually lands around 20 to 30 percent drive with a wet mix of 15 to 20 percent. If the low mids start to feel heavy or the tone turns buzzy, you have gone too far. Match the output level to the dry signal before you judge anything.
Conclusion
The chain that works, in order: clear out the competing frequencies, add one stage of controlled saturation, make one restrained filter and movement adjustment, then finish with space and matched levels. Judge every step by bypassing it at the same volume, not by memory.
Start tonight with the patch that annoys you most. One EQ move, one saturation stage, one slow LFO — about twenty minutes, and you’ll know faster than any plugin list could tell you which one actually helped.