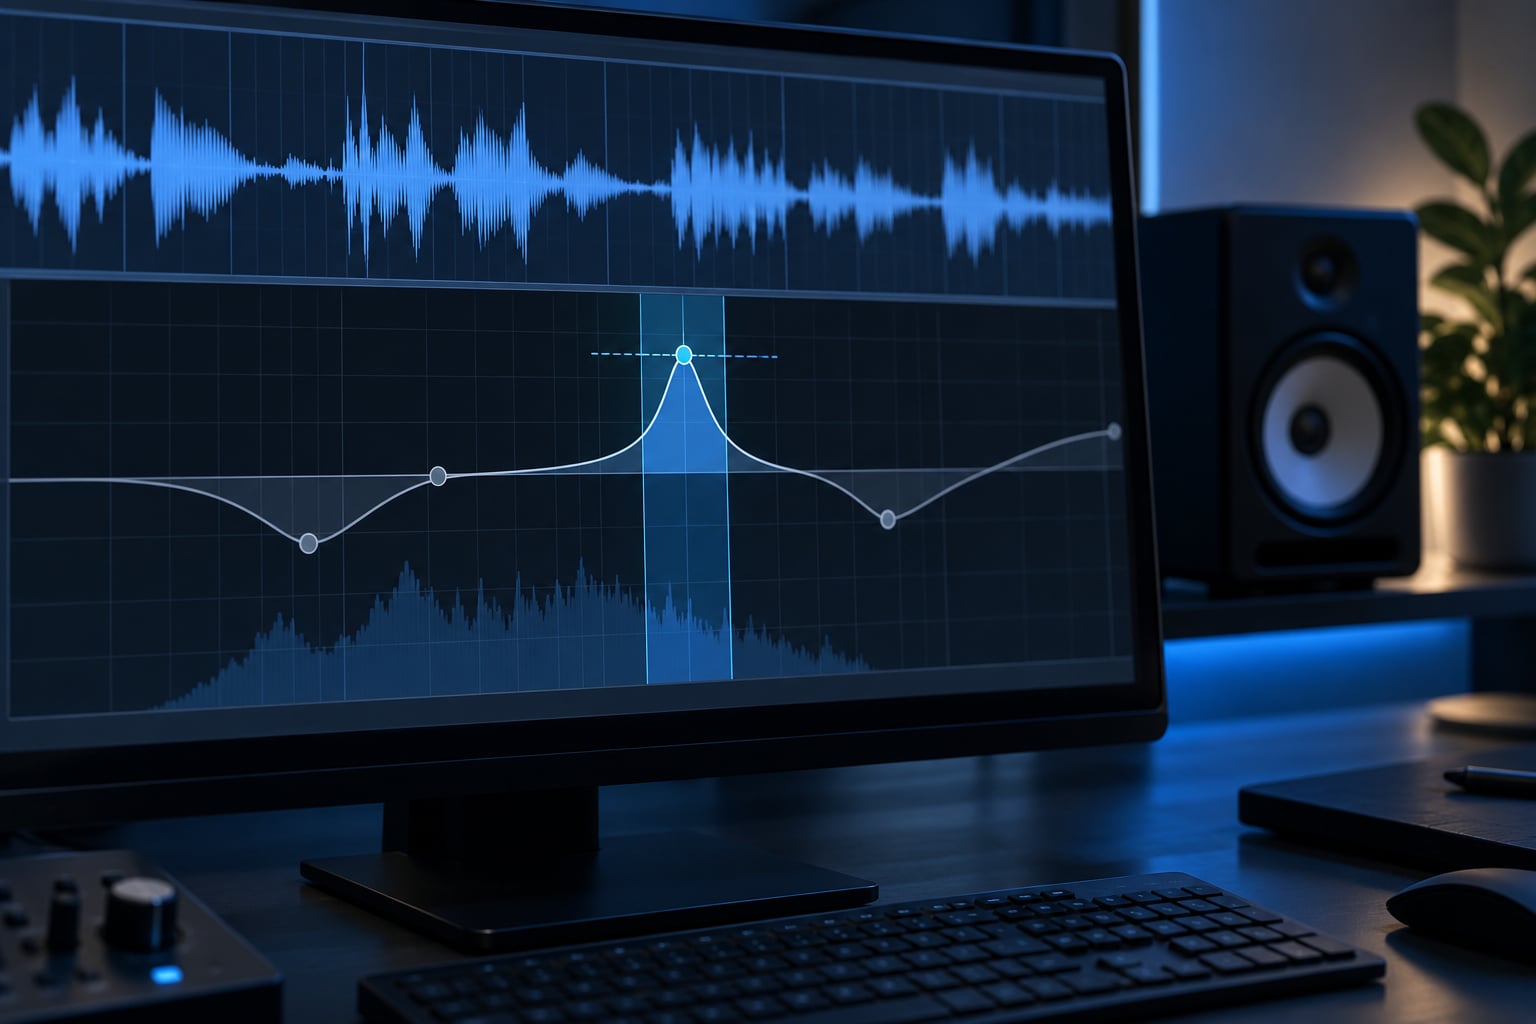
Dynamic EQ replaces a static cut the moment a frequency problem stops being constant. A static bell applies the same reduction to every note that passes through it, so the cut that rescues one loud phrase ends up hollowing out the quiet ones. A dynamic band only moves when that frequency crosses a threshold you set, so the correction lands on the events that need it and nowhere else.
It takes about ten minutes per problem once you know the order of operations, and the awkward part is not the plugin, it is knowing which of your existing static cuts deserve to become dynamic and which are better left alone.
Table of Contents
- What You Need
- Step-by-Step: How to Use Dynamic EQ Instead of Static Cuts
- 1. Identify the Problem Before Opening Dynamic EQ
- 2. Set a Narrow, Musically Relevant Band
- 3. Tune the Threshold and Attenuation Range
- 4. Adjust Attack and Release for Musical Control
- 5. Compare the Dynamic EQ With Static Cuts
- 6. Check the Result in Context and Automate Carefully
- Common Mistakes
- Frequently Asked Questions
- What is the difference between static EQ and dynamic EQ?
- Should I replace all my static EQ cuts with dynamic EQ?
- Can a dynamic EQ band boost frequencies as well as cut them?
- What threshold, ratio, attack and release should I start with?
- Does dynamic EQ distort low frequencies and subs?
- When should I use a multiband compressor instead of dynamic EQ?
- Conclusion
What You Need
You need very little, and none of it is specialised. Everything below is either already in your DAW or is a habit rather than a purchase.
- A DAW EQ that has dynamic bands. Logic’s Channel EQ, the EQ Eight in Ableton, EQ III in Pro Tools and ReaEQ in Reaper all do this natively. Third-party options like FabFilter Pro-Q 3, Waves F6 and iZotope Neutron are the usual upgrade when you want per-band sidechain inputs and very fast detection.
- The solo’d source. If you cannot hear the problem in isolation, you cannot set a threshold for it. Pull the track up alone for two minutes.
- Your existing static cut, written down. Note the frequency, the gain and the Q before you change anything. You are converting a known setting, not starting from zero.
- A gain-matched A/B. The single most important preparation step. Any comparison where one side is louder is not a comparison, and EQ corrections at low frequencies are exactly where your ears lie to you.
- A reference track or your rough mix target. Dynamic EQ is a corrective tool, not a tone decision. It needs a target to move toward.
Before you touch a single control, get into the habit of judging changes by ear at matched level rather than by memory. Turn the bypass on and off at the same playback volume and switch quickly enough that your ears cannot rebuild the loudness picture.
Step-by-Step: How to Use Dynamic EQ Instead of Static Cuts
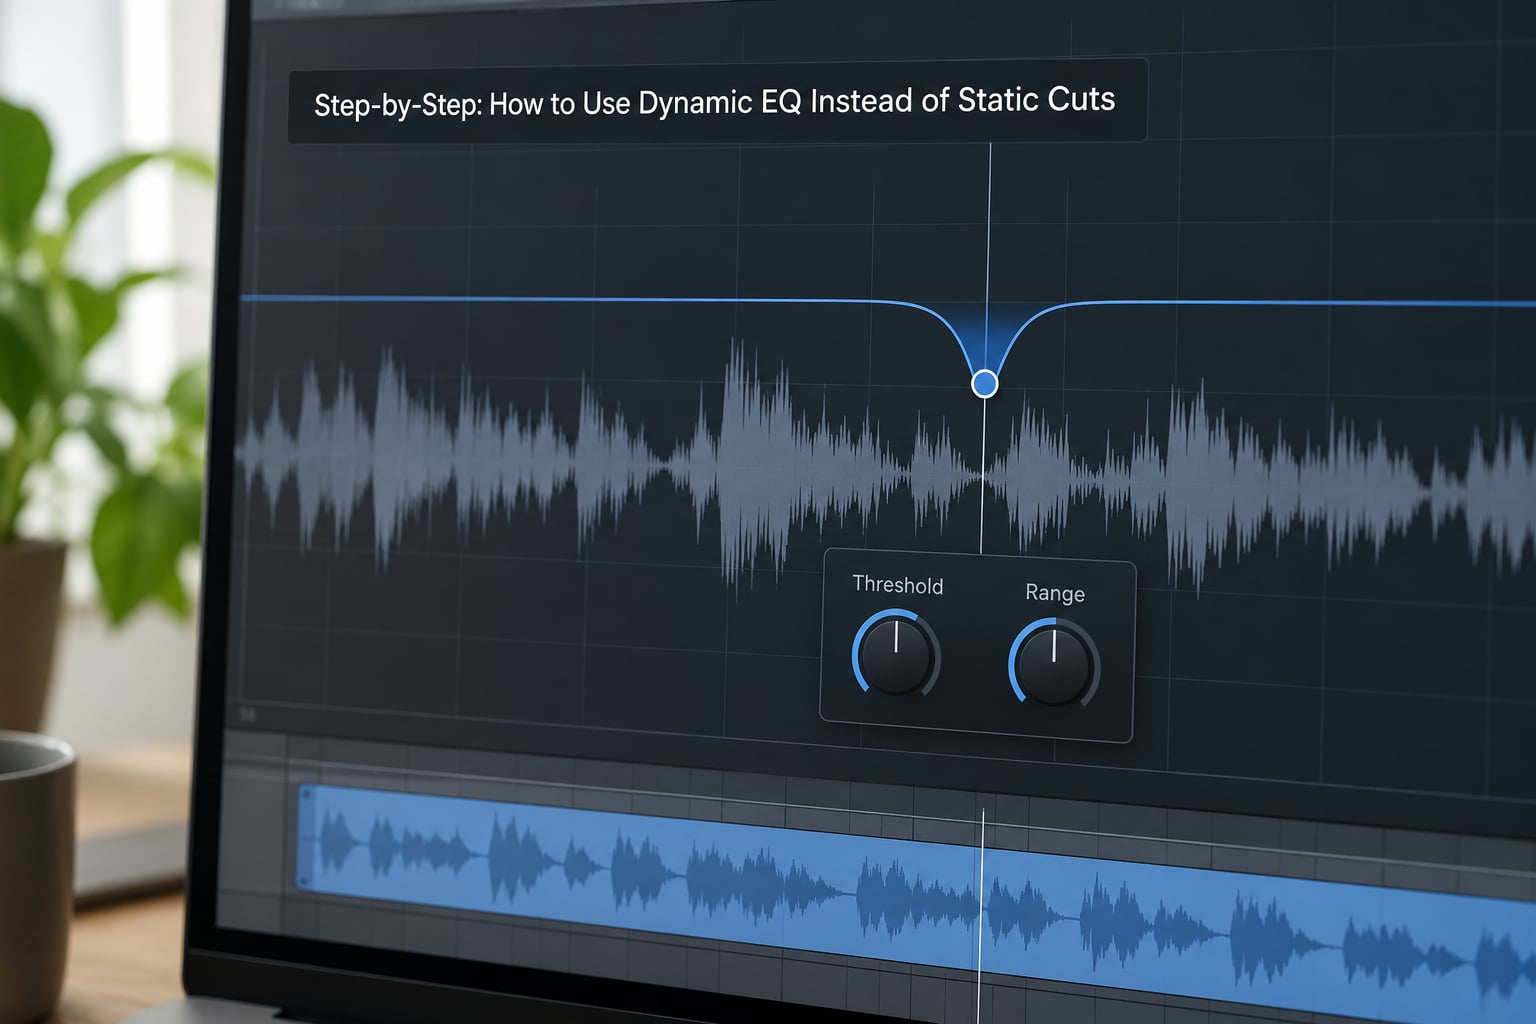
Replace a static cut in six steps: isolate the problem, pick a narrow band, set the threshold and the maximum range, tune attack and release to the material, then A/B against the static cut at matched loudness before you keep it.
1. Identify the Problem Before Opening Dynamic EQ
Identify whether the frequency is a constant problem or an event-based one before you decide which tool to reach for. A resonance that sits at the same pitch every time the singer hits a note is a static problem. Sibilance that spikes on three consonants per bar, a click that only appears on the loudest kick hits, or a low-end area that masks only in the busiest drops are all dynamic problems.
The practical test is simple. Solo the track, listen through it once, and count where the problem happens. One occurrence in a four-minute track is an automation problem, not an EQ problem. Four, five or more spread across the track is a dynamic band. Twenty occurrences in every phrase is a static cut plus better performance or a cleaner take.
Engineers on GearSpace put the boundary more bluntly: you would only need a dynamic EQ when you have no control over the material. If you recorded the source and can fix the performance, fix the performance.
Name the problem type before you pick a frequency. A resonance, a harsh transient, low rumble, muddiness in the low-mids, sibilance and masking all sit in different places and respond to different Q values. Working from the problem name keeps you from landing on 400 Hz because a preset told you to.
2. Set a Narrow, Musically Relevant Band
Set the band as narrow as the problem allows, because a wide dynamic band drags its neighbours along with it. For a resonance, start around Q 6 to Q 10. For sibilance, Q 3 to Q 5 is usually enough, since sibilance is a broad event rather than a single pitch. For rumble or masking, a notch shape with high Q works because there is no note there to preserve.
Make sure the band is anchored to the actual source. If the resonance comes from a specific synth patch, take the frequency from the solo’d sound rather than from a full mix, where ten other elements are ringing in the same area.
Bell filters handle resonances and sibilance. Notch filters handle rumble and mud with no musical content inside them. High-shelf and low-shelf bands work when you want to tame a boost you already added, which is a genuinely useful trick for hi-hat sparkle.
3. Tune the Threshold and Attenuation Range
Set the threshold so that only the problem moments cross it, and set the range to cap how much reduction is possible. The threshold is the level at which the band starts working; everything quieter passes through untouched. Most people set it far too low and then wonder why the whole track sounds thinner than it did.
Here is how I set it: solo the track, note the level of the worst moment on your meter, then bring the threshold down about 6 dB below that peak. That gap gives you headroom for material that is louder than the take you measured. A ratio between 1.5:1 and 2:1 is transparent for most problems; 4:1 and above starts to pump audibly on sustained sources.
The range control is your ceiling. Set it to the maximum gain reduction you are willing to accept on the worst transient and no more, which stops a rogue peak from pulling 12 dB out of a vocal and turning it into a hole.
| Problem | Frequency | Q | Threshold | Ratio | Attack | Release | Target reduction |
|---|---|---|---|---|---|---|---|
| Vocal sibilance | 6-8 kHz | 3-5 | 5-8 dB below peak | 2:1 to 4:1 | 0.5-1 ms | 60-120 ms | 2-4 dB |
| Vocal resonance or honk | 2-4 kHz | 6-10 | 4-6 dB below peak | 2:1 | 2-5 ms | 100-200 ms | 2-3 dB |
| Kick click | 2-4 kHz | 5-8 | 4-6 dB below peak | 1.5:1 to 2:1 | 1-3 ms | 40-80 ms | 1-2 dB |
| Kick and bass masking | 60-100 Hz | 2-4 notch | Only loudest hits | 2:1 | 5-10 ms | 80-150 ms | 2-3 dB |
| Boxy low-mids | 200-400 Hz | 1.5-3 | 3-5 dB below peak | 1.5:1 | 10-20 ms | 120-250 ms | 2-3 dB |
| Harsh hi-hat or cymbal | 8-12 kHz | 2-3 | Only the loudest hits | 2:1 | 1-2 ms | 50-100 ms | 1-2 dB |
Those are starting points, not rules. A tuned kick in a trance track has a much different envelope to a distorted loop, and the same frequency will need different times in both.
4. Adjust Attack and Release for Musical Control
Match attack to the length of the event. A fast attack of 0.5 to 2 ms catches clicks, plosives and sibilance spikes before the ear registers them. A slower attack of 10 to 20 ms lets the initial transient of a kick or bass note through untouched and only catches sustained body. Those intermediate settings suit pumping material such as bass, pads and trance leads, where you want the band to ride with the pattern.
Match release to what happens after the event. Fast releases of 40 to 80 ms clear sibilance quickly and sound natural on consonants. Slower releases of 150 to 250 ms prevent the band from pumping on rhythmic material where notes arrive every 200 ms.
Slate’s published starting point for acoustic instruments is 1 ms attack and 5 ms release, which is a useful anchor when you are unsure. Faster than that and you are filtering the whole waveform; much slower and you are missing the peaks that need attention.
After any large amount of reduction, pull the band’s gain or the plugin’s output down so the bypassed and processed versions match in loudness. Without that offset, low-frequency cuts read as improvements because quiet sounds better than loud.
5. Compare the Dynamic EQ With Static Cuts
Keep the static cut only when the problem needs reducing consistently rather than event by event. Bypass the dynamic band, restore your original static cut at the same frequency and gain, and A/B the two at matched loudness.
The dynamic version should sound more like the source with the problem removed, while the static cut will sound like the same source made consistently smaller in one region. If the difference is hard to hear, you did not need the dynamic band. If the dynamic version sounds worse, your release is too fast or your range is too wide.
| Problem | Static cut it replaces | Dynamic replacement | Keep static when |
|---|---|---|---|
| Vocal sibilance | -3 dB at 7 kHz, Q 4 | Q 4 bell, threshold 5-8 dB below peak, 2:1, 1 ms attack, 80 ms release, 4 dB range | The singer is sibilant on every single word and you are de-essing deliberately |
| Kick and bass masking | -4 dB at 80 Hz, Q 2 | Q 3 notch, threshold only on loudest hits, 2:1, 8 ms attack, 120 ms release, 3 dB range | Bass and kick are permanently fighting and you want a permanent hole |
| Boxy guitar room | -2.5 dB at 300 Hz, Q 1.5 | Q 2 bell, threshold 4 dB below peak, 1.5:1, 15 ms attack, 200 ms release, 3 dB range | The guitar was tracked in a room you cannot fix and it never varies |
| Harsh hi-hat | -2 dB high shelf at 9 kHz | Q 3 high shelf, threshold on loudest hits, 2:1, 1 ms attack, 60 ms release, 2 dB range | The hat is harsh because of the sample, not because of one loud hit |
Use less reduction than feels right while you work. Most of the time 1 to 3 dB is plenty, and if your meter is regularly showing 6 dB or more the band is doing damage that the arrangement is hiding from you right now and will expose the moment someone plays it on a decent system.
6. Check the Result in Context and Automate Carefully
Move back through four listening levels: the solo’d source, the subgroup, the full track, and then the arrangement with everything in. A band that sounds obviously better on the solo and slightly worse in the mix has been given too much range or too little release.
On buses and effect returns, a dynamic EQ placed after compression catches what compression left behind. If you also use sidechain input, a narrow dynamic band ducking one frequency during a kick is far more transparent than a full-band sidechain compression, which also ducks midrange and can hollow out the whole low end.
Reach for automation when the problem is predictable and you want a specific, repeatable result on specific words or hits. On a mastering bus, keep ratios low, around 1.5:1 to 3:1, so the correction stays subtle across an entire EP. Where low-end behaviour is concerned, minimum-phase and linear-phase EQ implementations sound different on subs, and it is worth knowing which one your plugin is running before you judge the tool rather than the track.
Finish with the solo-versus-context test: solo the corrected track and confirm it still sounds natural on its own, then play it back in the full mix. If the correction is doing something audible in isolation, it is too strong.
Common Mistakes
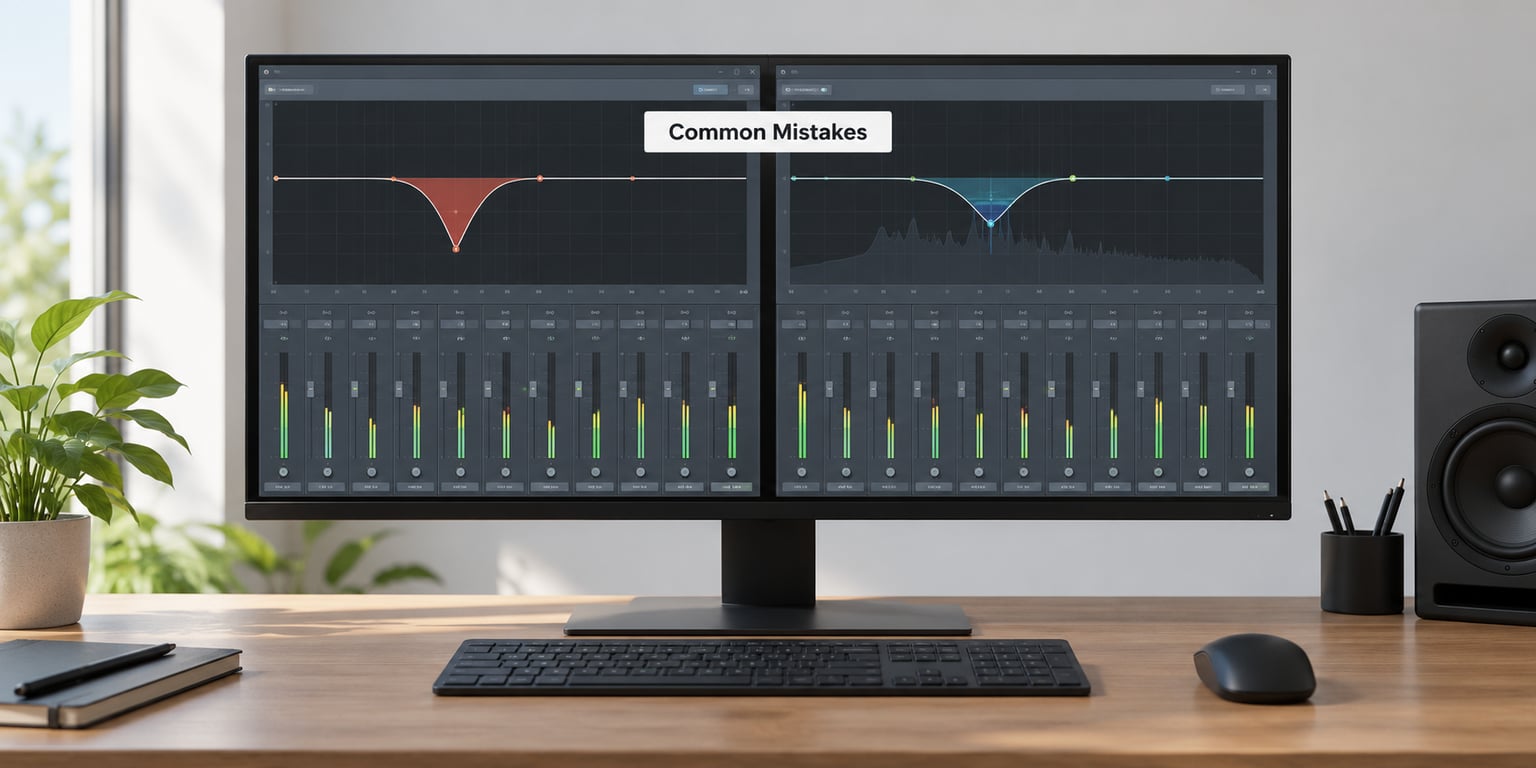
The failures below all come from the same root cause, treating a dynamic band like a bigger version of a static cut.
- Over-correcting. You crank the range until the problem is gone on the loudest hit and forget how that sounds everywhere else. Fix: cap the range at 3 dB while learning, and only go past that with a reason.
- Q values that are far too wide. A Q of 1 on a 300 Hz problem will not just affect 300 Hz. Fix: narrow the band until you can hear the change stop when you move away from the problem frequency.
- Threshold set too low. The band ends up acting on normal material, which is just a static cut with extra steps and a worse sound. Fix: raise the threshold until the gain-reduction meter only lights up on the moments you identified in step one.
- Letting the band react to irrelevant transients. A slow attack plus a low threshold means one stray volume peak triggers a large cut that then bleeds into the rest of the phrase. Fix: shorten the attack or raise the threshold so the band only responds to your target frequency at a musically meaningful level.
- Confusing dynamic EQ with compression. A band set to cut every band equally is a compressor with worse metering. Fix: keep the ratio between 1.5:1 and 3:1 for corrective work and let your compressor handle level.
- Comparing without gain matching. The processed version sounds better because it is quieter. Fix: offset the band or plugin output so bypass and engaged match, then compare again.
- Stacking too many corrective bands. Four dynamic bands fighting each other is how a mix goes lifeless. Fix: keep the number of dynamic bands to what the arrangement actually needs, usually two or three per track.
For electronic music specifically, work on the drum bus rather than on every drum. It takes a fraction of the time, and it keeps the individual channels free of processing you would have to undo later. If you are building around loudness, remember that dynamic EQ changes level over time, so check your master meter after the corrections rather than before them.
Frequently Asked Questions
What is the difference between static EQ and dynamic EQ?
A static EQ applies a fixed boost or cut to a frequency every time that frequency passes through, regardless of the signal level. Dynamic EQ puts a threshold, ratio, attack and release on a single band, so the band only moves when that frequency rises above the threshold you set. It corrects the loud moments and leaves the quiet ones alone.
Should I replace all my static EQ cuts with dynamic EQ?
No. Static EQ is still the right tool for filtering rumble, high-passing, fixing a permanently boxy room tone or carving space for an instrument that fights you in every single bar. When you learn how to use dynamic EQ instead of static cuts, the practical rule is consistency: if the problem shows up in most passages, keep the static cut.
Can a dynamic EQ band boost frequencies as well as cut them?
Yes, and the boost side is underused. Set a band to expand or to boost above the threshold and it lifts only the transients in that range, which sharpens snare and kick attack without turning up the whole drum bus. The same control lets you add presence to a hi-hat only when it is played loudly.
What threshold, ratio, attack and release should I start with?
Set the threshold 4 to 8 dB below the loudest problem moment, use a ratio of 1.5:1 to 2:1, a 1 to 5 ms attack and a 60 to 150 ms release, then adjust to taste. Peak problems need fast attack and quick release; sustained body problems need slower attack and longer release. Change one parameter at a time.
Does dynamic EQ distort low frequencies and subs?
It depends on the DSP, not on the concept. Linear-phase EQ is designed to sound natural on low frequencies where phase distortion is most audible, while minimum-phase designs are lighter and often add a little latency. If subs sound wrong on a dynamic band, check the filter shape and phase mode before concluding the tool is at fault.
When should I use a multiband compressor instead of dynamic EQ?
Use a multiband compressor when a whole band needs sustained level control and you are happy to accept crossover artefacts and band-splitting phase shifts. Dynamic EQ is the better choice for surgical work on one frequency. Engineers on GearSpace generally treat multiband compression as a problem solver and dynamic EQ as a tone shaper.
Conclusion
Pick one frequency problem that shows up in some passages and not others, build a single narrow band on it, and set a restrained response: threshold just below the peaks, a ratio between 1.5:1 and 2:1, and a range cap of 2 or 3 dB.
Then do the part most people skip. Gain-match the processed version against your original static cut, switch between them quickly, and keep whichever one sounds more like the source with the problem removed. If they sound the same, the static cut was fine all along and you just learned something useful for the next problem.