To show your production process in short videos, film one self-contained moment of real work at a time and cut it into a single vertical clip of roughly 20 to 60 seconds. Pick a beat you can point at, capture the screen and the audio together, open with the finished sound instead of a greeting, and end on the before-and-after. You do not need a camera, a studio tour, or a finished track.
The hard part is not filming. It is clipping. Watching, marking, and arranging footage eats the evening, while the shoot itself takes minutes once you know what the clip has to prove. Producers who film their sessions regularly describe the same curve: the capture is quick, the edit is where the hours go.
So this guide treats the shoot as cheap and the edit as the work. Everything below is aimed at one outcome: a repeatable way to get usable clips out of sessions you are already sitting in.
Table of Contents
- What You Need
- How to Use Short Videos to Show Your Production Process
- Step 1: Choose one production story worth filming
- Step 2: Prepare a session that reads cleanly on a phone
- Step 3: Capture screen and audio together
- Step 4: Film the decisions that explain your production process
- Step 5: Edit for attention, not for a polished tutorial
- Step 6: Publish it vertical, then read the numbers
- Common mistakes producers make filming their own process
- Frequently Asked Questions
- How long should a short-form video be for music producers?
- What should I film if I do not have a finished track yet?
- Do I need a separate camera and microphone to film my process?
- Should every short show the finished track?
- How do I avoid revealing unfinished or copyrighted work?
- Which platform should I post production clips on first?
- Conclusion
What You Need
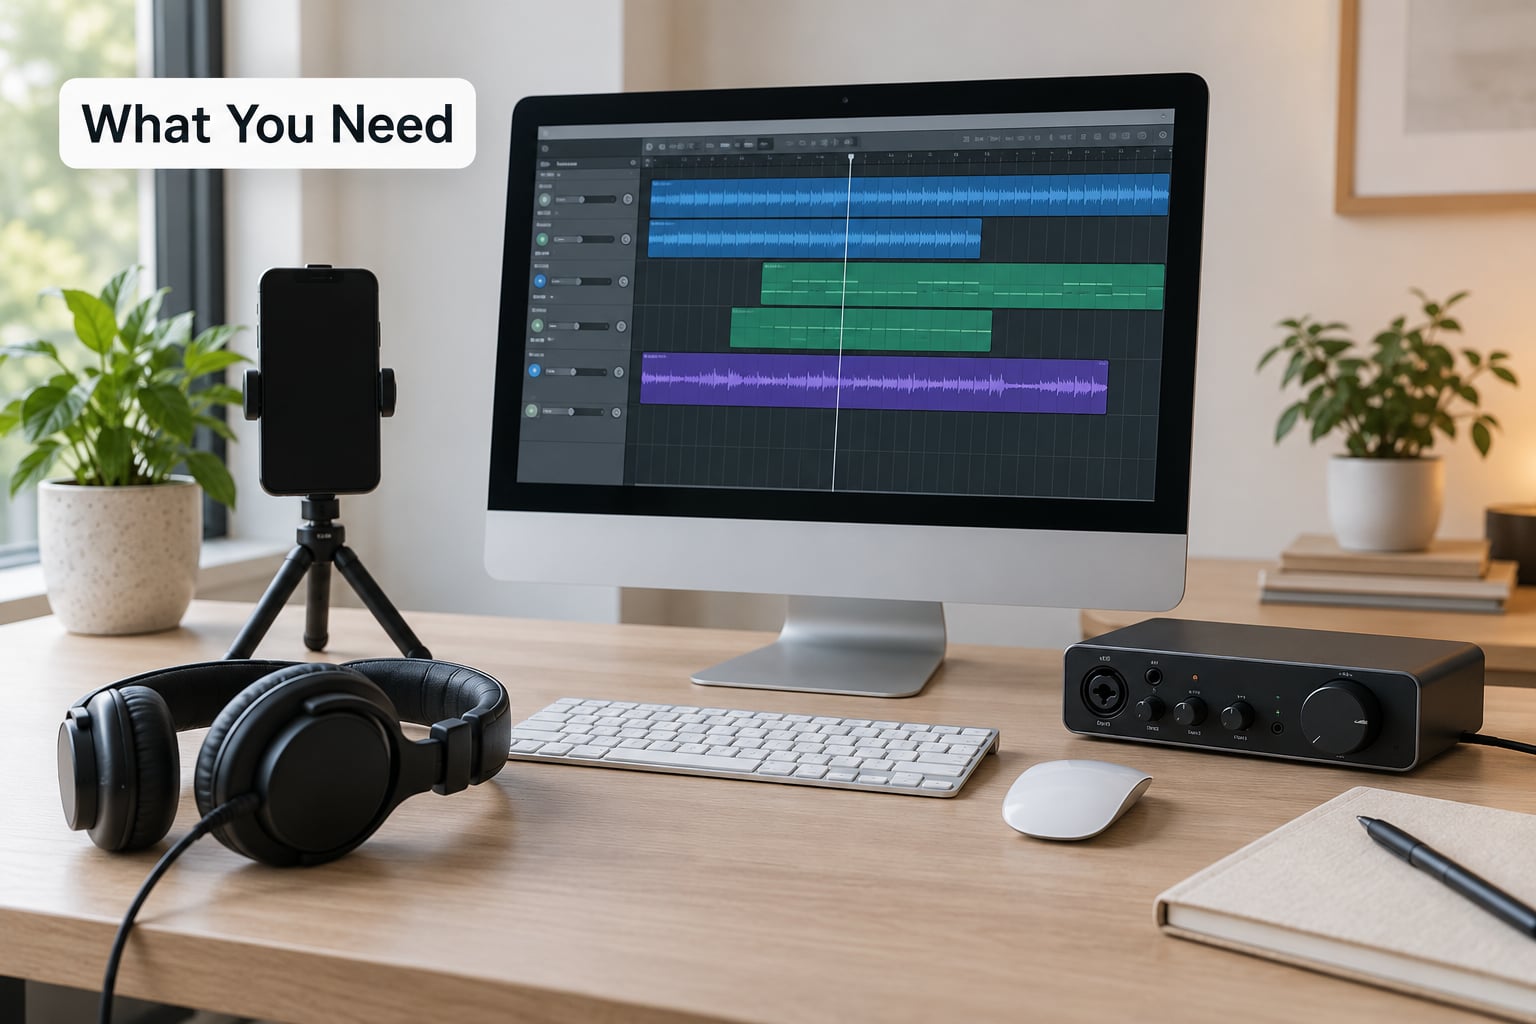
A phone, something to hold it still, and a screen recorder. Everything else is optional, and most of it you already own.
- Camera: a phone shooting 1080p at 30 or 60 fps. 4K helps only if you crop in, and it costs you storage and editing speed.
- Something to hold it steady: a small tripod, a desk clamp, or a stack of books. Handheld desk footage is where the motion sickness starts.
- One-sided light: a window or a desk lamp aimed at the desk. Never use the monitor as the key light, it flattens everything and flickers on screen recordings.
- Headphones and a mic: closed-back headphones so the track stays out of your voice pickup, plus a small USB or lavalier mic for narration.
- Screen capture: your DAW’s built-in video export, a free recorder such as OBS Studio, or macOS and Windows built-in capture. Record at 1920×1080 so text survives.
- An editor: CapCut or iMovie for speed on a phone or laptop, DaVinci Resolve or Premiere Pro when you want grading and audio control.
Then prepare the session before you record anything. Duplicate the project so your working file stays untouched, rename and colour-code tracks, collapse folders, and set track heights so the mixer reads on a narrow screen. The same advice that governs any small shoot applies straight across here: write the shot list first, then shoot. Deciding what the clip proves while the session is open is the difference between a ten-minute capture and an evening of scrubbing.
How to Use Short Videos to Show Your Production Process
The strongest clips follow one musical transformation from start to finish: idea, sound creation, arrangement, mixing, or final result. Keep each video to 20-60 seconds in vertical 9:16, put something worth hearing in the first three seconds, cut tight, and give the viewer a single takeaway.
Five variables decide whether a clip works: the length range, the vertical frame, the hook, how tightly you cut, and the one idea it lands. Get those right and the rest is repetition.
Step 1: Choose one production story worth filming
Choose a single decision you made, not a whole session. Making a kick from scratch, recreating a synth patch, arranging a break that sat empty for weeks, cleaning a vocal chop, or turning one loop into a section all work, because each has a clear before and after.
Write the viewer promise in one sentence before you touch the record button: “You will see how I turned a dull sine wave into the lead in this track.” If you cannot write that sentence, the clip has no shape yet.
This shot list covers one track from demo to delivery. It doubles as a filming template.
| Stage | What to film | Hook line |
|---|---|---|
| Idea | A phone voice memo played back twice, or a riff at half tempo | “This loop started as a voice memo” |
| Sound design | One synth patch, from init to the final modulation move | “Six oscillators turned into this kick” |
| Arrangement | A layer dropping into an empty section of the timeline | “This break was empty for three weeks” |
| Recording | Microphone placement, or a take kept and a take discarded | “Take 11 is the one” |
| Mixing | One fader move, one EQ cut, one plugin engaged | “This mix was muddy until this” |
| Delivery | A before and after at matched loudness | “Same master, one change” |
Step 2: Prepare a session that reads cleanly on a phone
A cluttered arrangement view is the reason most DAW clips are unreadable. Collapse to the layers the clip actually uses, hide every plugin window that is not part of the story, and raise the track heights so faders and meters are visible rather than microscopic.
Set a loop over the region you will play and keep it there. Record the same sequence the same way every time, so a month of clips reads as one channel instead of a folder of unrelated footage.
Step 3: Capture screen and audio together
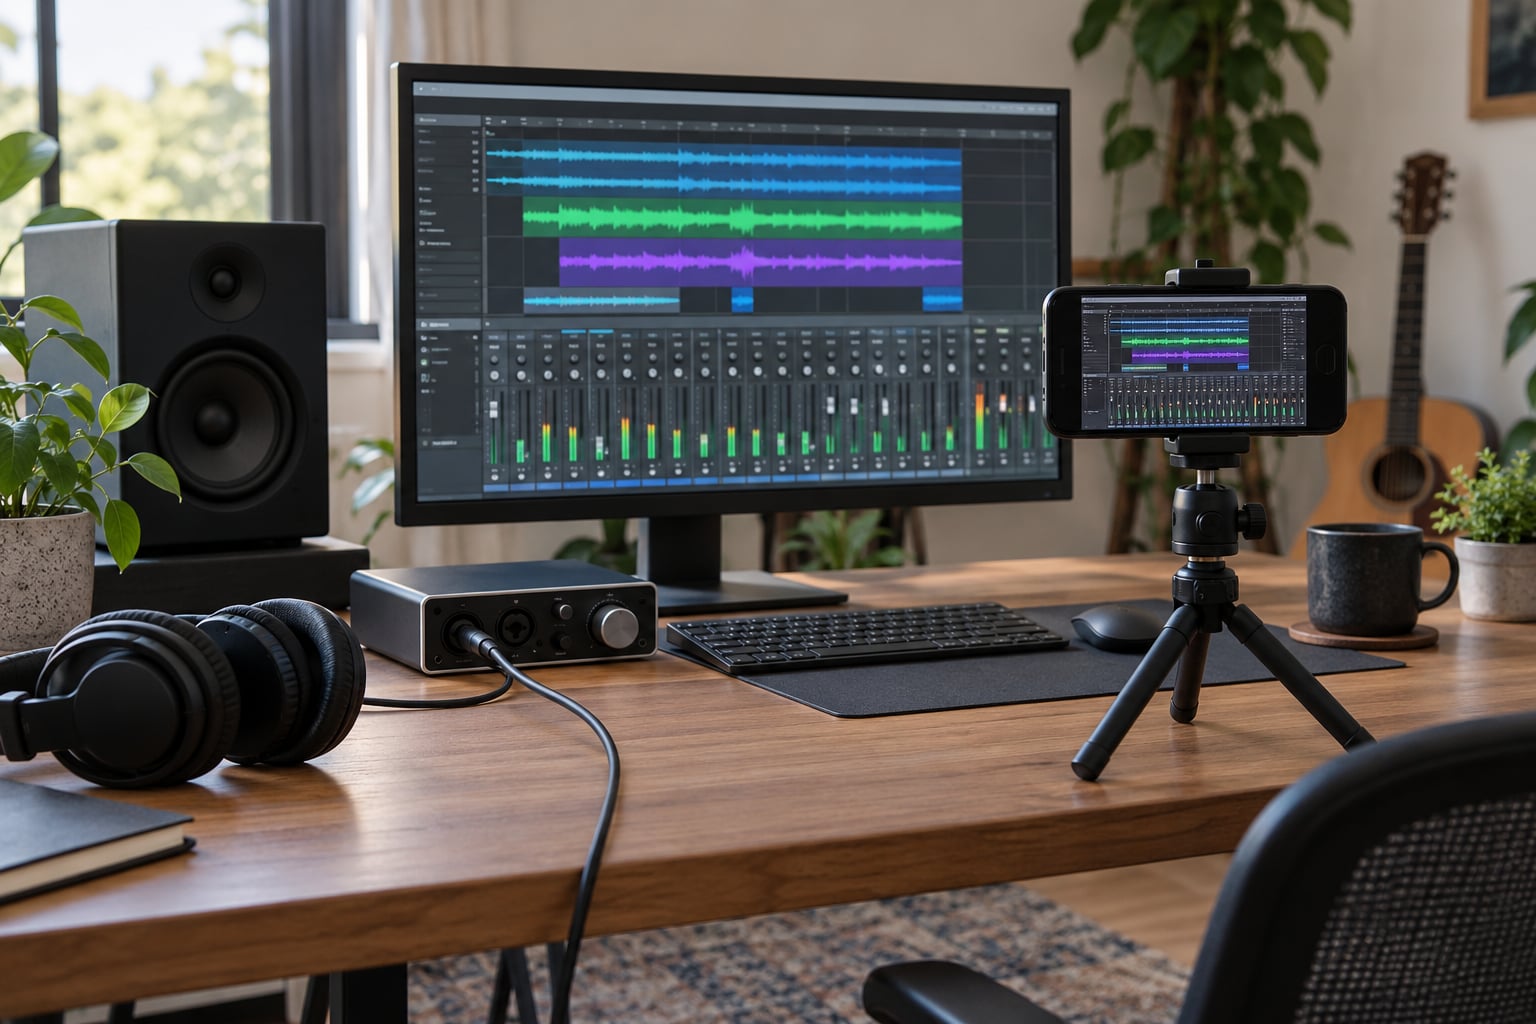
There are three routes and all three work. Screen recording gives the cleanest DAW detail and is the fastest to set up. An external or phone camera pointed over your shoulder into the monitor gives the human context people like, and it is the workaround most creators settle on when a screen has to be shown. A split capture puts the screen in the top half of the vertical frame and your desk or hands below.
Avoid feedback by wearing headphones and keeping the mic off axis from the speakers. Watch the meter while you record, run a ten-second test, and play it back on your phone before you commit to a long capture. A clip with a clipped vocal or a monitoring hum loses the room in about a second.
Step 4: Film the decisions that explain your production process
Break the capture into short sections rather than one continuous take: sound selection, MIDI editing, processing, arrangement, automation, then mixing. Within each section, show the thing changing on screen and say the shortest possible line over the audio explaining why.
Some moments work better without narration. Animation creators lean on timelapse breakdowns for exactly this reason, and a sped-up session with no voiceover often holds attention longer than a talking head. Use timelapse when there is no natural edit point, narration when there is a decision to justify.
Step 5: Edit for attention, not for a polished tutorial
Cut dead space first, then decide which moment carries the clip. Show that moment early, even before you explain it, so the viewer knows what they are waiting for. Speed up repetitive work to two or three seconds per action, and add burned-in captions, because a large share of views arrive muted.
Keep the cut pattern tight, a visual or musical change every two to three seconds, and keep the music bed clear of the voice. Most of the perceived quality comes from a handful of cuts, which is why editors treat it closer to an 80/20 split: a small number of well-placed edits do most of the work.
Close with one call to action that matches the clip, ask for the follow-up detail, name the plugin, request the next breakdown. “Part two shows the chain” beats “follow for more”.
Step 6: Publish it vertical, then read the numbers
Export 9:16 for every feed, keep the text inside the centre safe zone where platform controls do not cover it, and write a caption that names the specific thing rather than describing the genre. Length limits shift, so check the current spec before you set a schedule.
| Platform | Frame | Length that works | Best fit | Caption style |
|---|---|---|---|---|
| Instagram Reels | 9:16 vertical | 15-45 seconds | Before-and-after mixes, desk shots | Short line, 3 to 5 tags |
| TikTok | 9:16 vertical | 15-45 seconds | Timelapses and single-technique clips | On-screen text does the work |
| YouTube Shorts | 9:16 vertical | 30-60 seconds | Slightly longer breakdowns | Title carries the searchable phrase |
| 1:1 or 9:16 | 30-90 seconds | Client-facing workflow proof | Plain sentence opener |
After a week, look at retention in the first three seconds, completion rate, saves, and profile clicks. A clip that people save is telling you the process was useful, and a clip people finish is telling you the story landed. Build the next one on the stronger signal, and answer the comments that ask for detail, since those comments are your next shot list.
Common mistakes producers make filming their own process
- Filming the whole session with no story. Fix: choose the one before-and-after before you record.
- Showing every track at once. Fix: collapse to the two or three layers the clip is about.
- Unreadable screen recordings. Fix: record at 1080p, zoom the DAW view, and punch in on the region that matters.
- Long introductions. Fix: start on the finished sound or the problem, not on a greeting.
- Poor audio balance. Fix: check levels on a ten-second test playback; a music audience hears bad audio before anything else.
- The same framing every clip. Fix: vary between over-the-shoulder, desk close-up, hands on the keyboard, and pure screen capture.
- Unfinished or borrowed material. Fix: blur or skip sample names, drop rough stems you still plan to rewrite, and use only audio you own or have cleared.
- Posting with no next step. Fix: end with one specific request.
Frequently Asked Questions
How long should a short-form video be for music producers?
Aim for 20 to 60 seconds for a process clip. Long enough to show one before-and-after, short enough that people finish it. If your story needs more than a minute, split it into two clips and link them in the caption. Timelapses of a full session can run longer because the visual change happens every second or two. Completion rate matters more than length once you are past the first few clips.
What should I film if I do not have a finished track yet?
Film the part you are still working on. A synth patch you shaped today, a drum you replaced three times, a vocal chop you are cleaning, or an arrangement that was empty yesterday all have a clear before-and-after. Producers are wary of posting rough work, and that hesitation is what stalls most channels. Post the step, not the song, and label it as a work in progress.
Do I need a separate camera and microphone to film my process?
No. A phone on a small tripod, a window for light, and the mic built into your headphones is enough to start. Add a small USB or lavalier microphone when narration quality starts to matter, because viewers of music content notice sound first. A separate camera only earns its place if you need a second angle, such as hands on the keyboard while the screen records.
Should every short show the finished track?
No, and forcing it is a common mistake. Opening with the final mix as a hook is strong, but the body of the clip should show the process that got you there. Reserve full-track reveals for milestones, and mix matched-loudness comparisons where the change is the point. Most process clips work better as one decision explained clearly than as a summary of a whole record.
How do I avoid revealing unfinished or copyrighted work?
Blur or avoid sample names and any plugin libraries you do not own rights to, and skip rough stems you still plan to rewrite. Show the part of the session, not the full arrangement, when the track is unreleased. If you use a commercial sample, play a different sound or cover the name. Keeping one private project file for work in progress keeps the risk low without slowing you down.
Which platform should I post production clips on first?
Pick one and stay there for eight to twelve clips before judging it. TikTok rewards timelapses and single-technique clips, Instagram Reels fits before-and-after mixes and desk shots, YouTube Shorts handles longer breakdowns and titles that people search for, and LinkedIn works for client-facing workflow proof. Reuse the same edit across feeds later instead of making a separate version for each from day one.
Conclusion
Showing your production process in short videos comes down to one loop: choose a single musical decision, prepare the session so it reads on a phone, capture the screen and audio together, cut around the strongest moment, publish vertical, and read retention and saves.
Start smaller than feels reasonable. Pick one thing you changed today, record a 20 to 40 second vertical clip of it, edit around the before-and-after, and post. Do that ten times before you plan a content calendar. The tenth clip will teach you more about what your audience responds to than any amount of planning in 2026.