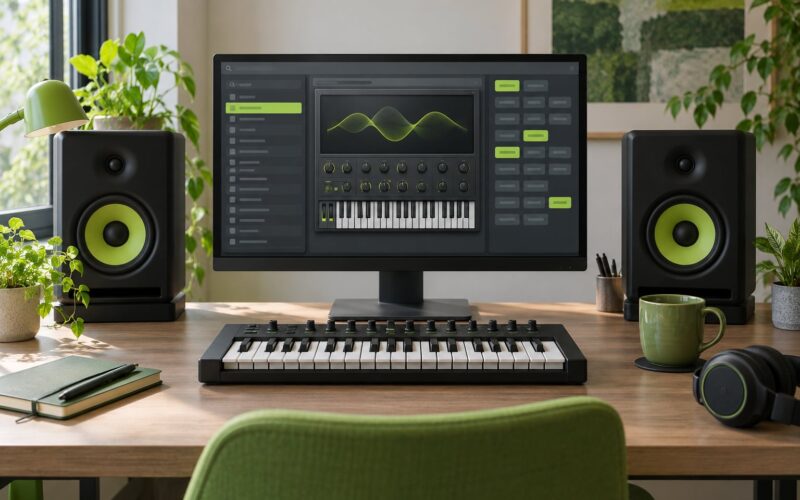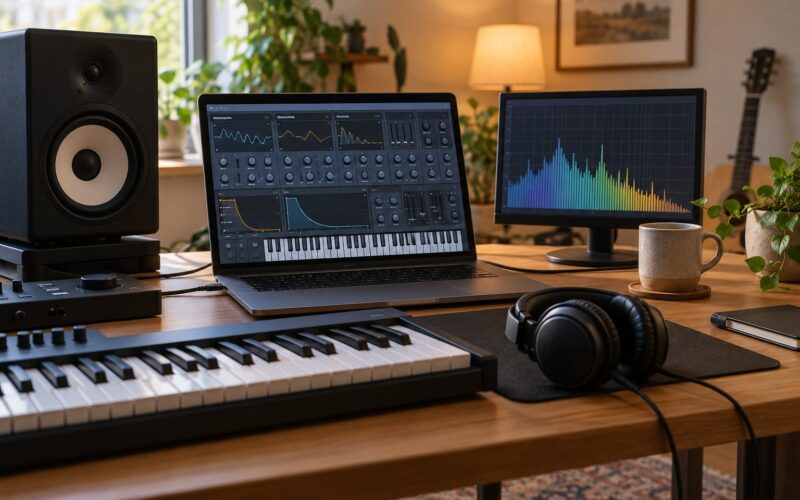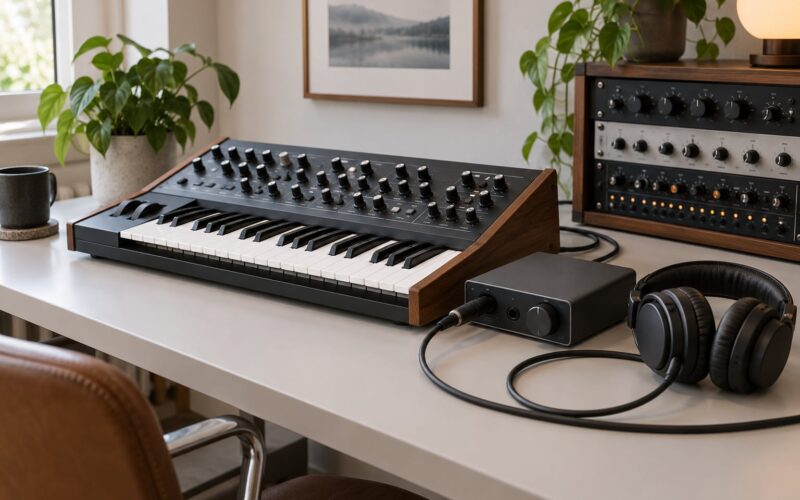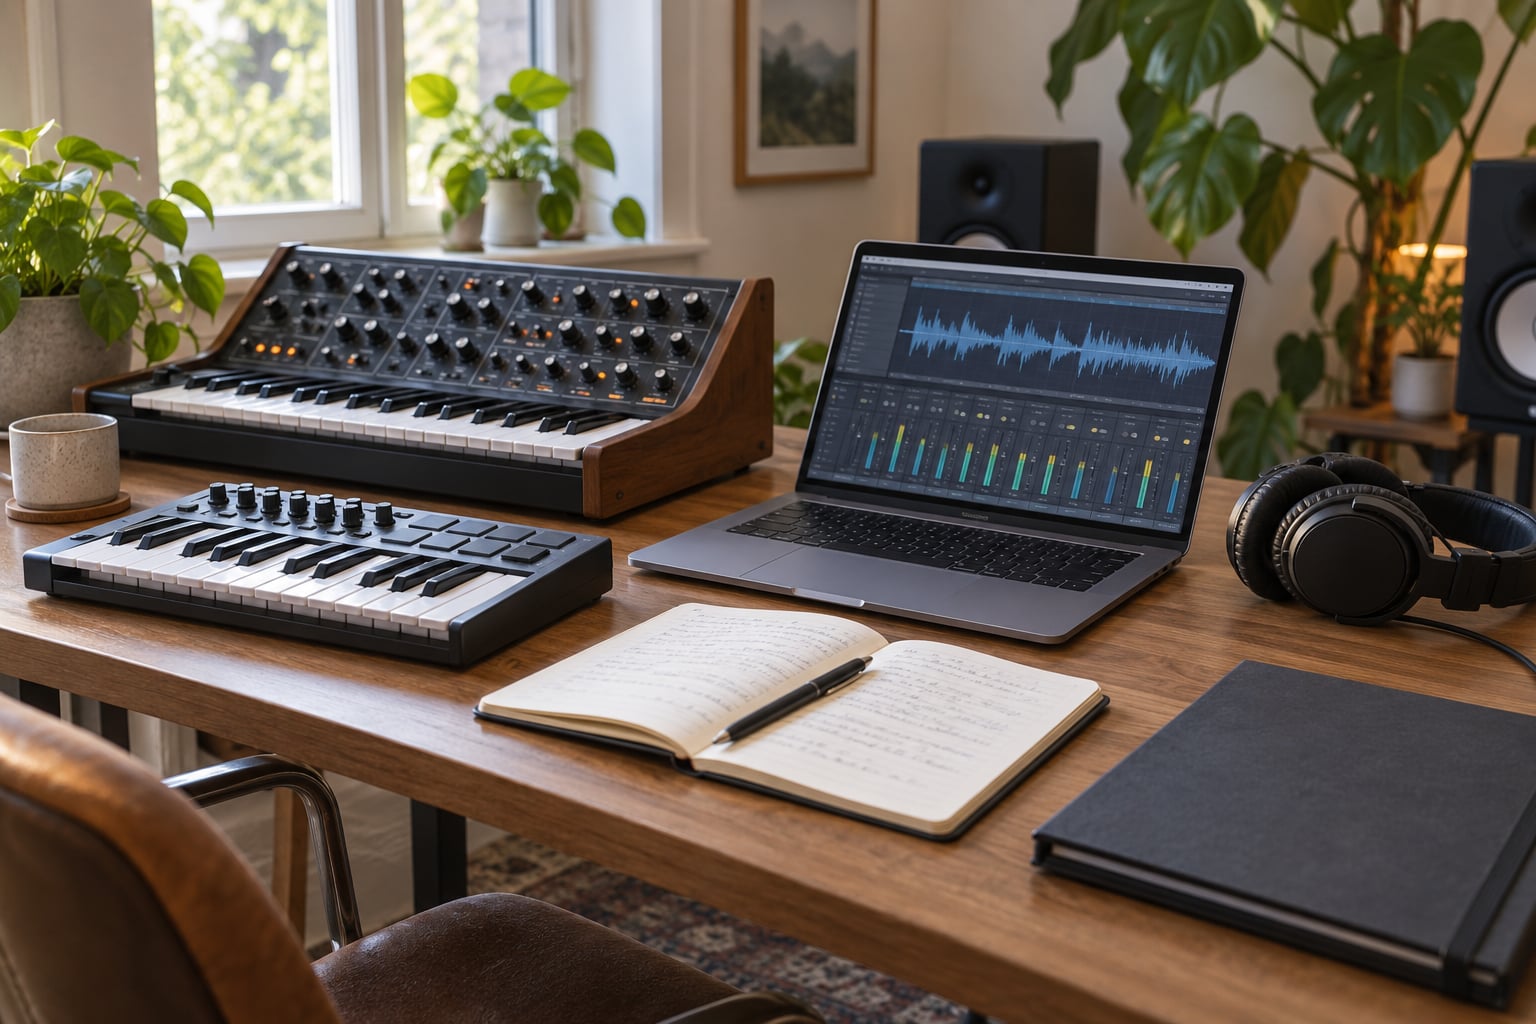
A preset another producer wants is one that is usable in five seconds, obvious to edit in thirty, and still works on a machine that is not yours. If it only makes sense inside your own mix, in your own plugin version, under your own folder naming, it has no value to anyone else no matter how good it sounds where you made it.
That last point is usually where people get stuck. Most producers can build a sound they love. Fewer can build a sound that survives contact with a stranger’s session, and the gap between those two things is almost entirely design discipline rather than talent.
The frustration is familiar enough to have a name. Producers describe their own patches as sounding cheap and generic, and they cannot point at the technical lever that would fix it. On GearSpace the recurring complaint is not that presets sound bad, it is that every beginner patch arrives with the same hollow midrange peak, so two entirely different sounds become impossible to tell apart in a full mix. The dominant position in those threads is worth repeating because it is right: a loaded preset is a starting point you must still work with. The rest of this guide is about the work that happens before anyone else loads it.
Table of Contents
- What You Need
- Step-by-Step: How to Design Presets That Other Producers Want
- 1. Choose one musical job for the preset
- 2. Set the sound’s tempo, register, and mix context
- 3. Build a simple, memorable synthesis idea
- 4. Make the important controls musically useful
- 5. Add movement without making it distracting
- 6. Check compatibility across projects and genres
- 7. Name, document, and package the preset professionally
- Common Mistakes
- Frequently Asked Questions
- What are presets in music production?
- Why do my presets sound cheap and generic?
- How do I make my presets work on other people’s DAWs and plugin versions?
- How should I name the presets in a pack?
- How many presets should a synth preset pack contain?
- How do I make preview audio for a preset pack?
- Start With One Preset
What You Need
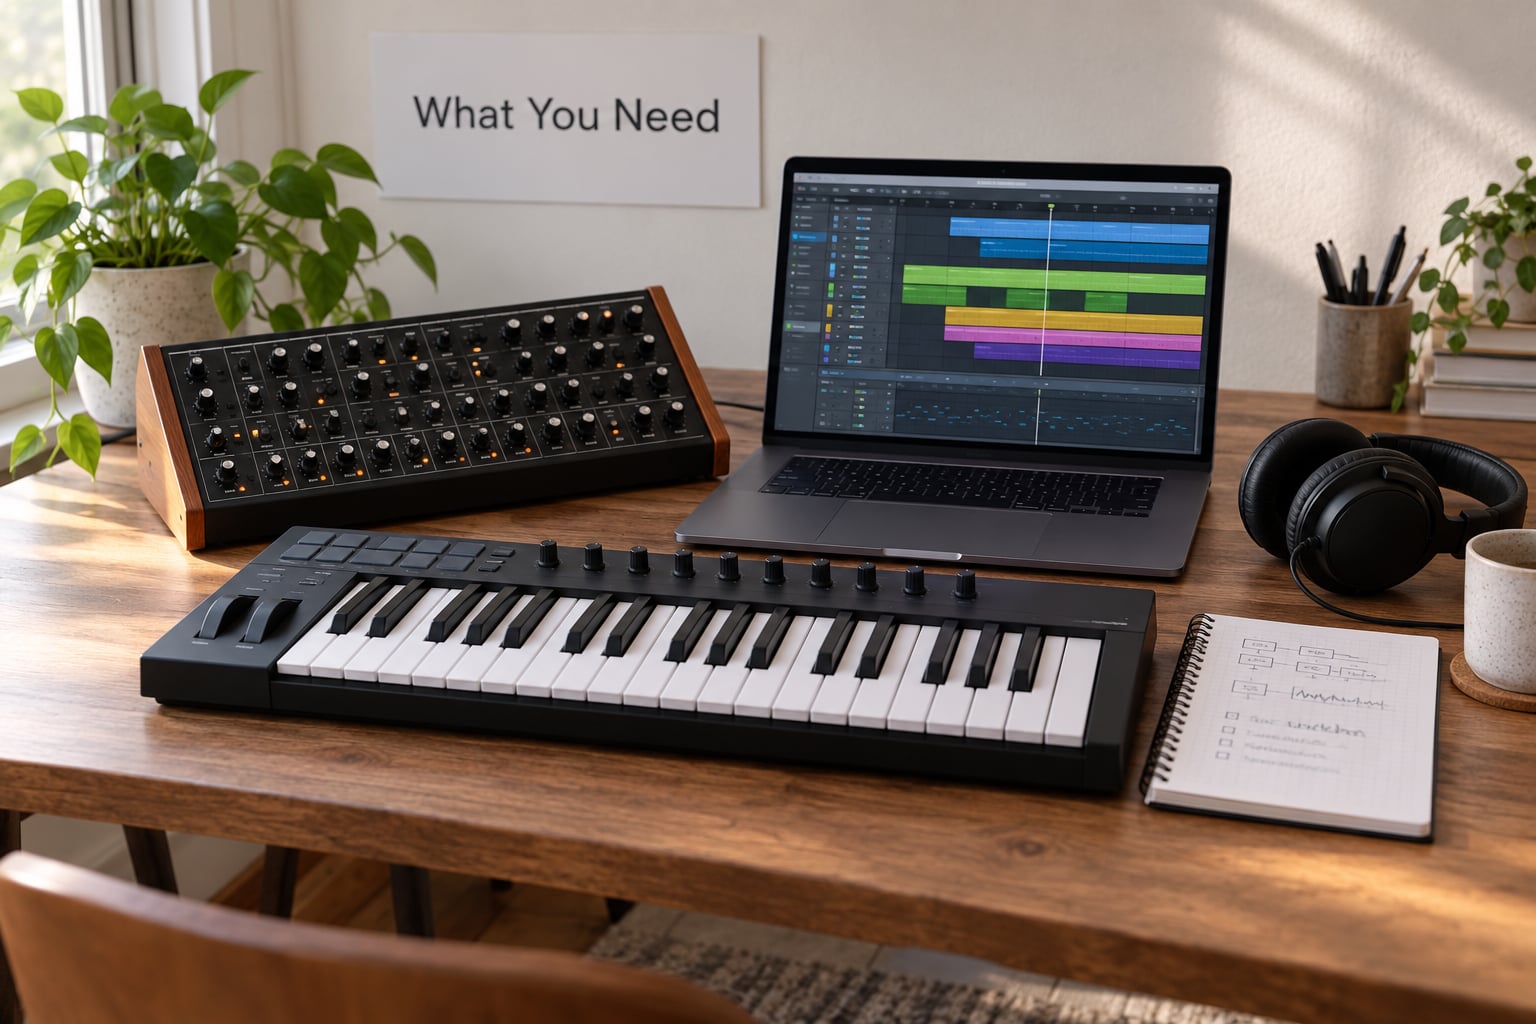
You need four things, and three of them are free.
- An engine. One synthesiser or plugin you know well enough to build in fast. Serum, Arturia Pigments and Ableton’s Wavetable are common choices because their preset formats are well documented and widely used.
- A DAW and version you can check compatibility against. Menu paths, file locations and export formats differ by platform, so write down your DAW version and your synth version before you start.
- Headphones that reveal low-mid problems, plus decent speakers if you have them. Presets hide behind laptop speakers.
- A reference folder. Three or four commercial tracks in the sub-genre you are designing for, with notes on the bass weight, the level of the pad, and how much space sits around each element.
One preparation step matters more than the gear. Decide the sub-genre first, not the genre. Uplifting trance leads and melodic techno leads live in the same plugin and want opposite things from the same filter.
Second preparation step: separate sound design time from song-writing time. A producer on r/edmproduction described keeping dedicated patch programming sessions where they build a patch, save it, and move straight on to the next one without auditioning it in a track. That batching habit is what turns a folder of sounds into an actual bank.
Step-by-Step: How to Design Presets That Other Producers Want
1. Choose one musical job for the preset
A preset is a tool with one job, and the fastest way to make it useless is to give it three. A trance lead wants a specific narrow band that punches through a wide mix. A house bass wants weight and a clean fundamental. A pad wants to sit still and take up time.
Write the job down as a single sentence before touching a knob: this is the main hook lead for melodic techno, it plays in D minor, it sits above a sub bass, it needs to be heard over a kick. Once the sentence exists you can test every design decision against it, and anything that does not help the sentence gets cut.
This is also how you avoid the over-processing trap. A GearSpace thread on tracks sounding boxey lands on a useful conclusion: too many heavily optimised sounds at once makes the whole track worse. A focused preset is quieter and simpler than the one you would build for yourself, and that restraint is the feature.
2. Set the sound’s tempo, register, and mix context
A preset designed in isolation has no idea what it will be sitting next to, and that is the most common reason good patches fall apart in a real session.
Pick three constraints before you design. The tempo range it should hold up at, usually somewhere between 120 and 140 bpm for most electronic material. The frequency space it owns, meaning you decide up front whether this is a sub-bass sound below roughly 120 Hz, a midrange element around 300 Hz to 2 kHz, or an air layer above 5 kHz. And the loudness context, which means it has to sit alongside a kick and a sub, not be judged on its own.
Test in context early rather than at the end. If you cannot place the patch under a kick and a sub without either fighting them or disappearing, the problem is in the preset and no amount of mixing later will save it.
Two tonal complaints come up more than any others in producer threads: a muddy low end and a harsh peak around 3 kHz caused by filter resonance. Most patches carry both because both come from the default position of a new filter. Check them before anything else.
3. Build a simple, memorable synthesis idea
Pick three components at most and give each one a job. Two oscillators, one filter, one envelope shape. That is already a complete sound, and anything past it needs a reason.
For a lead, one oscillator carries the pitch and one carries the character, the filter does the accent, and the envelope does the shape. For a pad, the job shifts to slow attack, detuned voices and a filter that opens over a couple of seconds.
What you are avoiding is the pile-on: a chorus, a phaser, a distortion unit and a reverb all active by default. Effects that are part of the sound belong, and effects that are decoration should be left off or turned way down. A buyer who loads the patch and finds a stereo reverb already on it cannot take it out without rewiring half the chain.
Simple also means identifiable. If you cannot describe the patch in one phrase without reaching for a genre name, the idea is probably too muddled to sell.
4. Make the important controls musically useful
This is the step that separates a preset from a snapshot. A snapshot stores a fixed sound. A usable preset stores a sound plus a few controls that let someone else reshape it.
Map four to eight macro controls to the parameters that matter for that particular job. For a lead, cutoff, resonance, drive, release, reverb mix and a movement control are plenty. For a bass, cutoff, sub level, distortion amount and envelope decay do the work. Every macro should do something audible within its range and nothing catastrophic at either end.
Set the macro ranges deliberately. A cutoff macro that sweeps from 200 Hz to 12 kHz gives the buyer a chance to wreck the sound on the first turn. Restrict it to a musically sensible band, roughly 400 Hz to 9 kHz on most leads, and let the extremes live on the individual parameter if someone really wants them.
Set the default position to the sound you would be happy to hear in someone’s track today. Not the position that shows off the range. Producers audition packs without touching anything for the first minute, so the init state is doing the selling.
5. Add movement without making it distracting
Subtle modulation is what stops a patch feeling dead under a held chord. A slow filter movement, a gentle LFO on the upper oscillators, a small amount of pitch drift on a pad. The test is whether it survives being looped for eight bars without the listener noticing it moving.
Movement also needs a speed limit matched to the role. Bass and stab sounds want movement under the note length, or the low end gets smeared. Pads can move much slower. Leads can carry the most movement because they are the foreground element anyway.
Watch phase when several voices are detuned. Wide unison spreads can push energy to the sides of the mono image and make a patch collapse in a club mix, so audition it in mono before you ship it.
6. Check compatibility across projects and genres
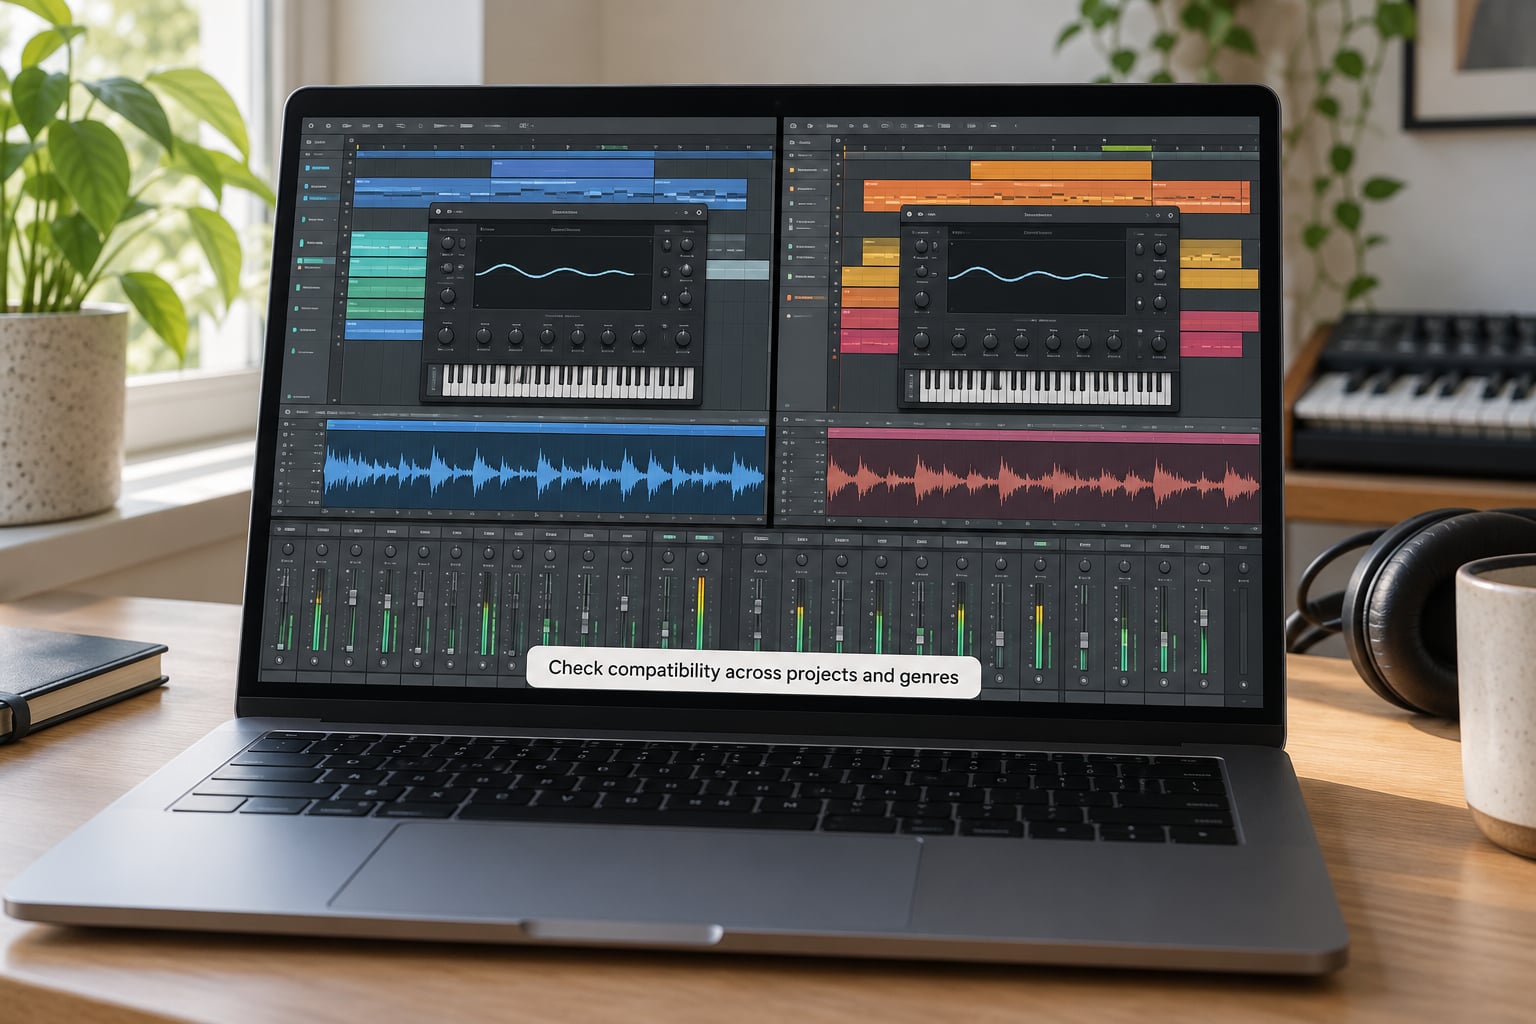
Load your finished preset into two unrelated projects. Not two projects of yours, two projects that have nothing to do with each other. One at 128 bpm and one at 140. One with a full drum loop and one with just bass and a vocal. If the patch only works in the session it was born in, it is not finished.
Then run the portability test, which is the single most useful rule I can give you here: a finished preset must load, play and sound the same on a machine that is not yours, running a plugin version you did not build it in. If the only computer with that synth is the one in front of you, the test cannot happen and you have to find another way to approximate it, which usually means asking someone or using a borrowed session.
Things that break portability quietly: an effect that only exists in the newest version of the plugin, an oscillator that was renamed, a modulation route that silently does nothing in an older build, and hard sync settings that change pitch behaviour across versions. Plugins often load an old patch without warning you that half of it is now inert. Audition the patch after reopening it on a second machine rather than trusting the file.
Test genre fit the same way. A trance lead should not collapse when the drop comes in and eight elements start fighting for the same band.
7. Name, document, and package the preset professionally
Naming is the cheapest quality signal you have. Experienced producers retrieve sounds by function, not by inspiration. One GearSpace user described pulling up utility presets with names like a mix de-esser, a 50 Hz kick boom control or a 3 kHz resonance zapper, and that convention is worth copying because it works.
A format that holds up: Adjective + Noun + Role. So a gritty acid bass, a warm analogue pad, a hollow trance stab. Add the useful detail where it exists, filter type, waveform family, size. Keep it searchable, spell it consistently, and never put your own handle or social name in the preset filename.
Structure the folders the way the buyer will browse them. Sound category first, then instrument or sub-genre, with patches in alphabetical order inside each. Include the file formats that travel: the plugin preset file, a matching MIDI file of a short performance, and a WAV rendering of the patch dry at the documented sample rate.
For the export path itself, every synth differs and the menu names change between releases, so check your own version rather than following a guide written for an older build. Serum saves patches as .fxp from its file menu, Ableton Wavetable content sits in the Wavetable content folder inside the Ableton user library, and hardware banks are usually a SysEx or a vendor-specific bank file exported from the synth itself. Get the path right and the pack works on the first try for everyone.
Write the documentation file. A short plain text or markdown readme listing the synth and plugin version, the number of patches, the sub-genre, what the pack is deliberately not for, and the licence terms. Royalty-free wording should cover both the audio and the MIDI, and should say the patches may be used in commercial releases. Most producers never read this and it costs an hour.
One more detail on licensing that catches people out: a modified factory preset is not automatically yours to sell. Most synth licences permit you to use the output but restrict redistribution of anything derived from the factory content, so check the terms of the specific instrument before a pack goes out.
Common Mistakes
Shipping a preset that is louder than the default state. A compression preset with makeup gain will always sound better in a naive A and B because it is simply louder. That is the deception that trips up mixing presets in particular. Keep the level at or below the init state and let the processing do the work.
Leaving headroom nowhere. One-shots and drum samples that arrive slammed into the ceiling have nowhere to go in a mix. Leave a few dB of room.
Over-processing the patch. If the effect stack is doing the work instead of the sound design, turn it off and rebuild. The fix is usually deleting a plugin, not adding one.
Naming by vibe or by handle. A file called final_final_2 with your social handle in it is invisible in a folder with 200 others. Rename to the functional format.
Shipping a preset you only tested in one project. Run the portability test and the two-project check before you export, not after a refund request.
No preview audio, or a preview with no context. The demo is the sales pitch for a stranger. Show the patch playing a short musical phrase rather than a single held note, because the phrase is what tells a buyer where the sound goes. A video of the patch being built sells better still, because the viewer imagines themselves using it.
A few finishing tips that pay off. Tag your pack by instrument, sub-genre and tempo so it can be found. State the plugin version on the download page and keep a changelog, because synth updates do move modules and a buyer who hits a broken patch leaves a bad review rather than a question. Offer a small free tier, a handful of patches with the same naming and documentation standards as the paid pack, because that is where most people discover you. And tell people what the pack is not for; a trance pack that openly excludes halftime and ambient saves the support emails and sets the right expectation before download.
If the goal is sale rather than personal use, price in tiers and expect a distributor to take a cut of anything you do not sell directly. Start with a low entry tier that a producer can justify in one impulse, put your best and most unusual patches at the top rather than padding the middle, and bundle by instrument so someone who liked one pack has a reason to buy the second.
Frequently Asked Questions
What are presets in music production?
A preset is a saved set of synth or plugin settings that loads as one sound. It stores oscillators, filter cutoff, resonance, envelopes, LFO routing, effects and mix levels, so you can recall a whole sound instead of rebuilding it. Presets exist on hardware synths as banks or SysEx files, and inside plugins as small files such as Serum .fxp patches.
Why do my presets sound cheap and generic?
Three things cause it most often. Every new filter starts with a resonance peak near 3 kHz, so a mud of patches share the same hollow midrange. A muddy low end comes from unison voices pushing energy wide. And an effect chain already loaded on the patch removes the buyer’s need to shape anything. Check those three before you redesign the sound.
How do I make my presets work on other people’s DAWs and plugin versions?
Run the portability test: the patch must load, play and sound the same on a machine that is not yours, on a version you did not build it in. Avoid effects that only exist in the newest build, check that renamed oscillators still behave, and re-audition after reopening the file because plugins often load older patches with part of the chain silently inert.
How should I name the presets in a pack?
Use a functional format: adjective, noun, role. A gritty acid bass, a warm analogue pad, a hollow trance stab. Experienced producers retrieve sounds by what they do, so including the useful detail such as filter type, waveform family or size makes a patch findable. Never put your social handle or a version suffix in the filename.
How many presets should a synth preset pack contain?
A focused 30-patch pack that covers one sub-genre completely beats a scattered 200-patch pack that covers everything badly. Buyers delete what they cannot browse. Publish the honest count and say what the pack is not for, since the same person will happily buy a second focused pack for a different style.
How do I make preview audio for a preset pack?
Render a short phrase rather than a single held note, because the phrase tells a buyer where the sound belongs. Keep every preview at the same playback level and the same session loudness so the comparison is fair, and show the dry signal beside the processed one where the patch is a mixing chain. A short video of the patch being built also converts well.
The forum consensus deserves one last word, because it is the reason this job is worth doing. On the biggest production forums the argument is settled: a straight preset leads to a track that sounds like other tracks using the same preset. A designed preset is a starting point someone else can adjust, which is exactly why the naming, the macros and the portability work matter.
Start With One Preset
Pick one sound you can describe in a single sentence, build it in a dedicated patch session, and do not polish it until it passes all three tests: it is usable the moment it loads, it is obvious what the macros do, and it still sounds right in a project that has nothing to do with the one it came from. Once one patch survives that, the next twenty are much faster.