To transpose a melody into a different key, work out the interval between the original tonic and the one you want in semitones, select every note of the melody, then run your DAW’s transpose command with that value. For MIDI that takes about two minutes. For recorded audio you pitch-shift the file instead, and the result sounds different because formants move with the pitch.
This guide covers the MIDI path in detail, then covers what changes when your melody lives as audio or as notation. Menu names shift slightly between DAW versions and between Windows and macOS, so read the row for your DAW rather than expecting identical wording everywhere.
If you have never moved a melody before, the semitone table in Step 2 is the one thing worth bookmarking. Everything else follows from it.
Table of Contents
- What You Need
- Step-by-Step: How to Transpose a Melody Into a Different Key
- 1. Duplicate the Project and Identify the Melody
- 2. Choose the Target Key or Transpose Amount
- 3. Apply the Transpose Command to MIDI Notes
- 4. Check the Melody Against a Scale
- 5. Match the New Key to Chords, Bass, and Vocals
- 6. Bounce, Compare, and Save the Result
- Common Mistakes When Transposing a Melody
- Tips for a Clean Melody Key Change
- Frequently Asked Questions
- How many semitones do I need to transpose a melody from C to F?
- Can you transpose a melody without changing the intervals between the notes?
- What is the keyboard shortcut to transpose MIDI notes in Ableton Live?
- What does Ctrl+K do in Ableton Live?
- Should I transpose audio or MIDI when changing the key of a melody?
- How do I undo a transpose if the result is wrong?
What You Need
You need three things before you touch anything: a project holding the melody, a target key or a semitone amount, and a clear sense of whether the melody is MIDI, audio, or notation. Get those straight and the rest is a single command plus an ear check.
- An open project with the melody on its own track or clip, ideally a duplicate of the original so you can compare later.
- A target key such as a named key, or a plain number of semitones if you are matching a singer’s range.
- A sense of semitones: the smallest interval in Western tuning, one key press on a piano, sometimes called a half step.
- Scale checking in your DAW, which most DAWs include as a note colour option rather than a separate tool.
Pitch and tempo are two different controls, and confusing them causes most botched key changes. Transposing moves every note up or down while the speed stays exactly the same. Tempo moves the playhead and changes how fast everything sounds. If a track speeds up the moment you transpose it, you have hit a pitch-shifting algorithm that is also time-stretching, which is a different task with different results.
It also matters what kind of material you are working with, because each one handles transposition differently. MIDI stores pitch as numbers, so the edit is exact, reversible and instant. Audio stores sound, so the tool has to shift pitch while stretching time to keep the rhythm intact. Notation stores note names and key signatures, so the work is largely about accidentals and correct spelling.
One more prerequisite worth naming: a reference pitch for your melody. Even a rough one, such as the first note, is enough to calculate the shift. You do not need to know the key by ear, because most DAWs will tell you after the fact if a note falls outside the scale you had in mind.
Step-by-Step: How to Transpose a Melody Into a Different Key
Six steps, in order. The first three get the melody into the right key, and the last three make sure it still sits properly against everything around it.
1. Duplicate the Project and Identify the Melody
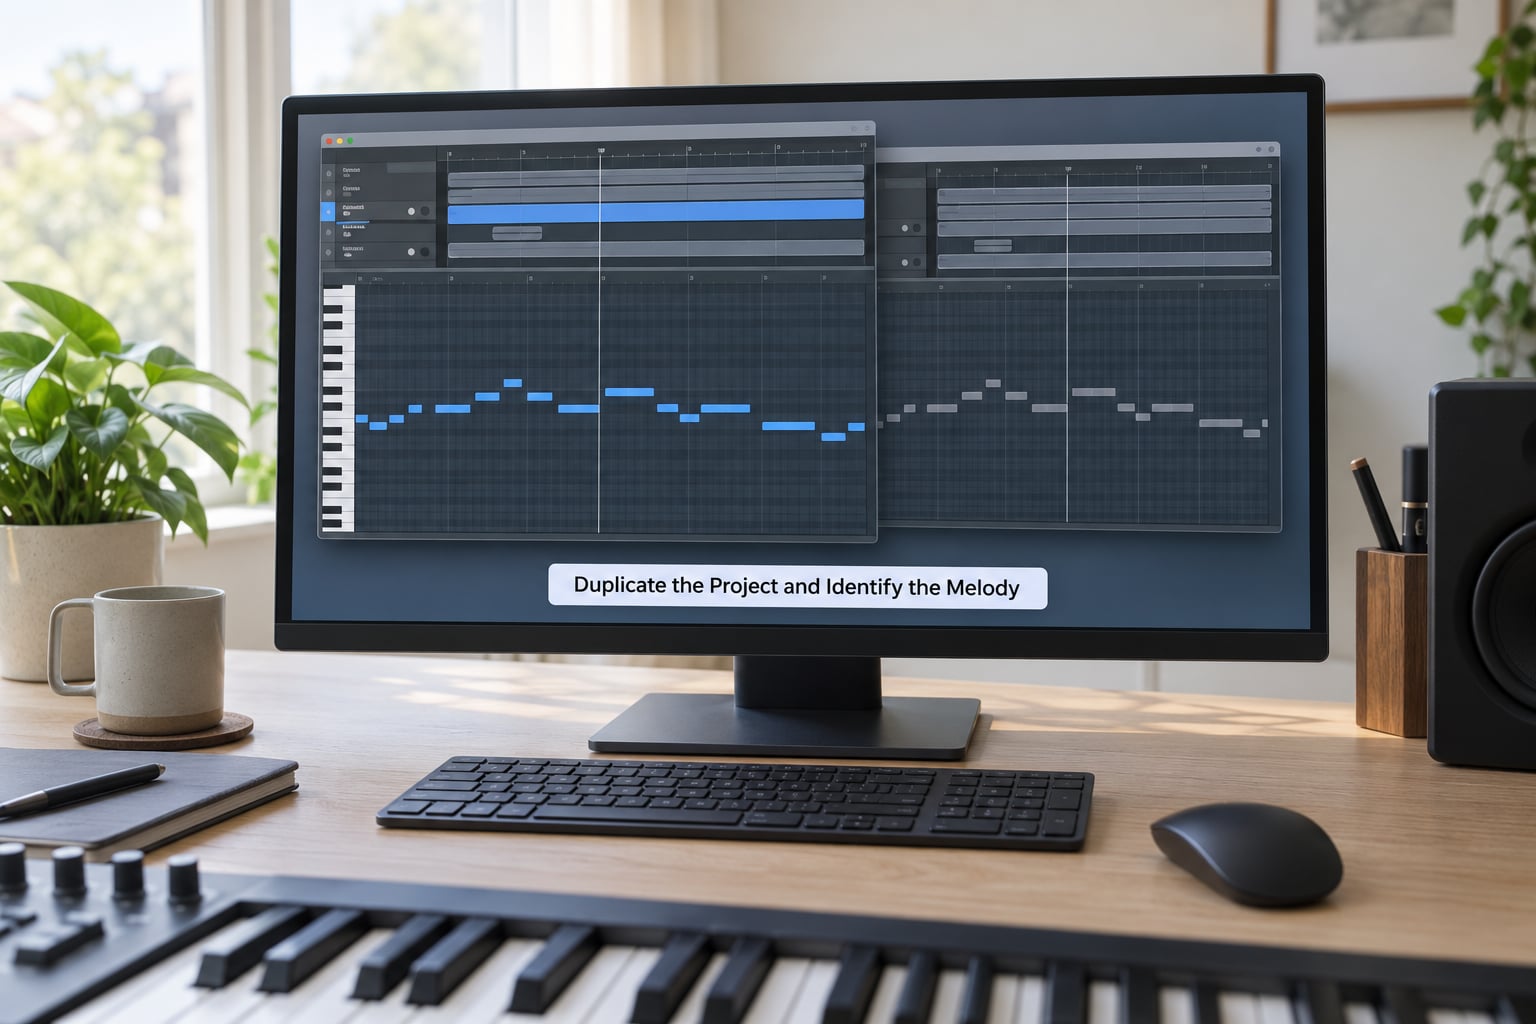
Start by saving a copy of the project under a new name before you change anything. A transposition is one undo away from disaster, but a named copy costs you nothing and gives you a reference to bounce against in Step 6.
Then find the melody itself. Open the piano roll or MIDI editor for the clip, select all of its notes, and check how far the melody actually spans. Melodies that cover more than an octave plus a little are the ones that run into trouble later, because the top note can end up uncomfortably high or the bottom note can fall off the playable range of an instrument.
Note one thing about the original key: pick any note you are confident about and write it down with the note name. You do not need to identify the key signature. You only need to know that, say, the opening note is A, so you can calculate the distance from A to the target key.
While the piano roll is open, also check that the clip is not a preset or a rendered audio file masquerading as a MIDI clip. In Ableton Live and Logic Pro a frozen clip looks like MIDI on the timeline until you open it, which is a common way to lose an afternoon.
2. Choose the Target Key or Transpose Amount
There are three ways to decide how far to move the melody, and they suit different situations. Naming the destination key suits arrangement work, where you are fitting the tune into an existing chord progression. Matching an instrument’s written part suits band and session work, where the player reads transposed notation and the target depends on the instrument family. A raw semitone count suits vocal range matching, where the smallest move that solves the problem is the whole goal.
A whole step is two semitones and a half step is one, so most everyday moves are small numbers. Moving from C major to F major is seven semitones up, or five semitones down, since those two keys sit on either side of the same position on the circle of fifths. Getting the direction right is the single most common mistake, and picking a positive or negative number at the right moment is what prevents it.
| Semitones | Interval | Key a step of that size above C major |
|---|---|---|
| 0 | Unison | C major, unchanged |
| 1 | Minor 2nd | Db major |
| 2 | Major 2nd (whole step) | D major |
| 3 | Minor 3rd | Eb major |
| 4 | Major 3rd | E major |
| 5 | Perfect 4th | F major |
| 6 | Tritone | Gb major |
| 7 | Perfect 5th | G major |
| 8 | Minor 6th | Ab major |
| 9 | Major 6th | A major |
| 10 | Minor 7th | Bb major |
| 11 | Major 7th | B major |
| 12 | Octave | C major, one octave up |
Read that table as a scale of half steps and whole steps rather than as a key list. Two semitones from any major key lands you a whole step above its tonic, seven semitones lands you a fifth above, and five semitones down lands you a fourth below, which is why C and F are five semitones apart even though the printed keys look far apart on a keyboard.
If you are matching a singer instead of a key, move in one semitone at a time and audition each result against the full arrangement. Two semitones is often enough, and the smallest move that works usually gives the best result because the melody keeps its original tension and release.
3. Apply the Transpose Command to MIDI Notes
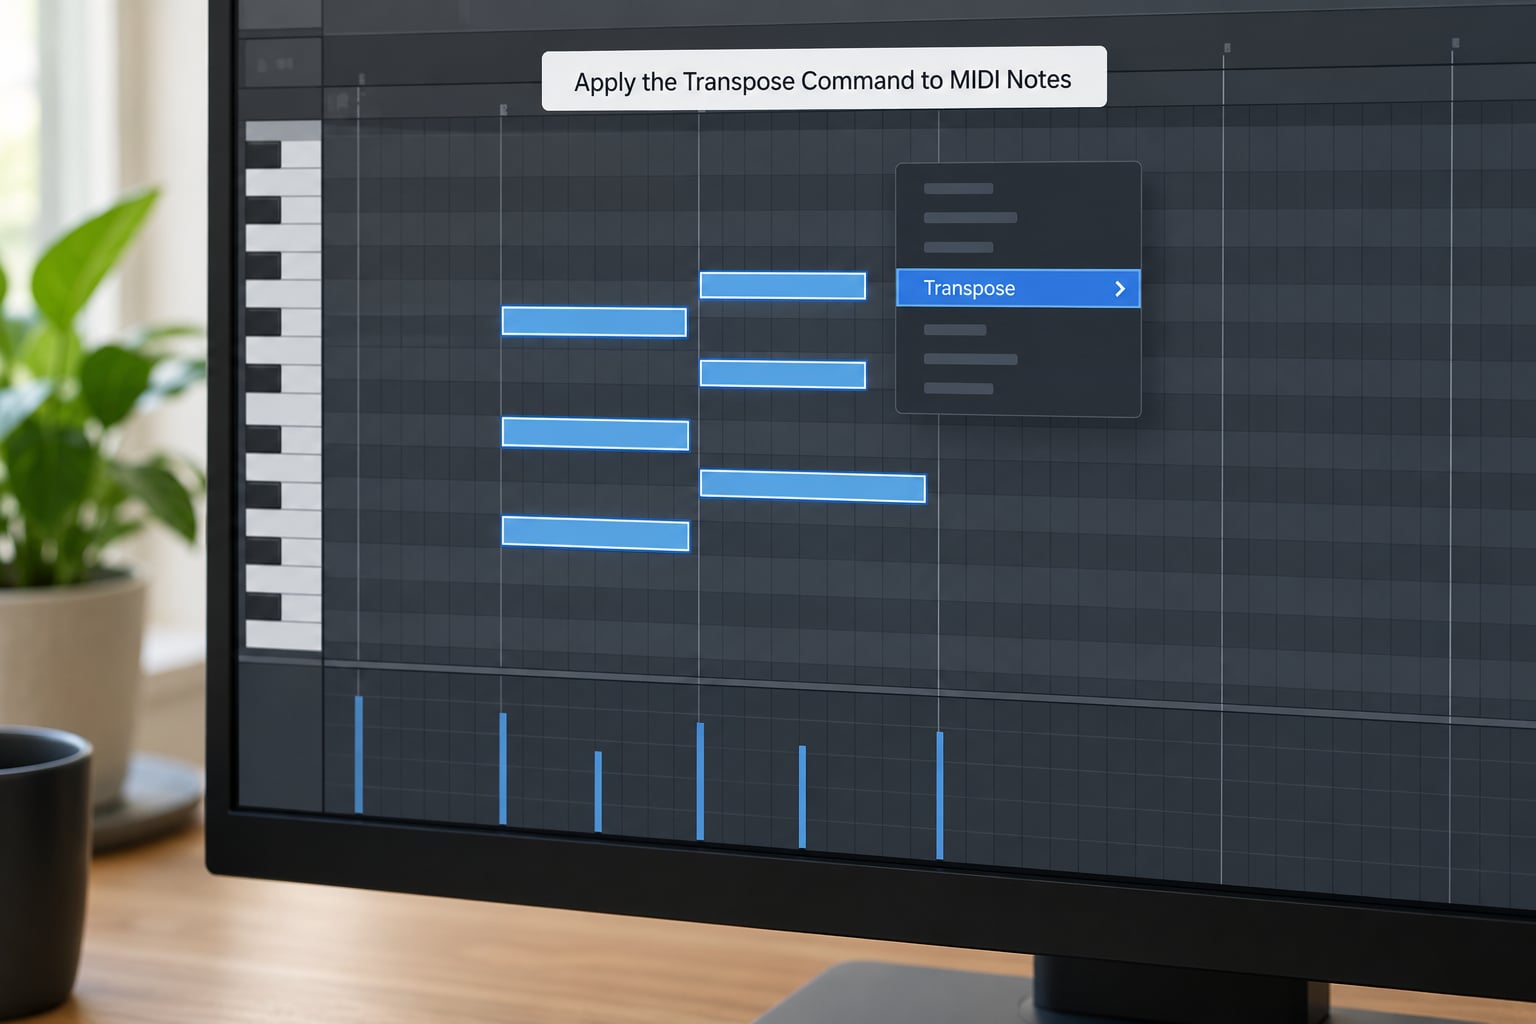
Select every note in the melody, then apply your semitone value with a positive number to move up and a negative number to move down. That is the whole action in every DAW. The only difference between them is where the command lives and whether it works on selected notes or on a whole clip or track.
| DAW | Where to transpose selected notes | Note |
|---|---|---|
| Ableton Live | Add the MIDI effect Pitch to the track and set its Semitones value | Clip Detune in the clip detail view shifts a whole clip instead |
| Logic Pro | Edit menu, then Transpose, then By Interval, in the Piano Roll | Global Transpose sits in the same menu for whole-project moves |
| FL Studio | Select notes in the Piano Roll, then Ctrl or Cmd plus Up and Down arrow | The Pitch knob in Channel Settings handles a larger shift |
| Cubase | Edit menu, Transpose, which opens a panel with semitone and interval options | The panel also has one-click octave and semitone buttons |
| Pro Tools | Event menu, then Transpose, inside the MIDI Editor | The Transpose Operations window also handles scale changes |
| Studio One | Piano Roll semitone nudge buttons on the editor toolbar | Newer builds add a Transpose entry in the Edit menu |
| Bitwig | Raise or lower the Transpose value in the note inspector | Notes can also be dragged vertically on the grid |
| Reason | Drag notes vertically in the Matrix Pattern Sequencer | No dedicated transpose command exists, so a MIDI effect is the usual workaround |
Two of these are worth a little extra attention because producers use them daily. In Ableton Live, the Pitch device sits under MIDI effects and works like an insert on the melody, which means you can automate the semitone value over time if you want a key change as a musical event. The clip Detune parameter is the faster route when the entire clip moves together, and it accepts negative values in the same way.
In FL Studio, holding Ctrl or Cmd while pressing the arrow keys nudges selected notes by a semitone per press, so a seven-semitone move is seven quick presses. Pressing the modifier with Shift held moves in larger increments. If your notes are not moving at all, check first that you are in the Piano Roll with notes selected, since the shortcut does nothing to the pattern overview.
Whichever route you take, watch one thing while you press the button: velocity, note length and timing should all stay exactly as they were. If velocities change, you have applied a scale or chord-remapping tool rather than a plain transpose.
4. Check the Melody Against a Scale
Turn on scale highlighting so out-of-key notes are visually distinct, then play the melody from the top down. Every note should belong to the scale of your new key unless you deliberately wrote a chromatic note in the original. A single note that sticks out is usually a borrowed tone that used to make sense and now does not.
Some DAWs offer a quantize-to-scale function, and it is worth knowing about before using it. Snapping pulls every note to the nearest scale degree, which is a fast fix for a melody you have already transposed by hand and then nudged slightly. On a melody with deliberate chromatic passing tones it destroys the character of the line, so audition it on a duplicate rather than committing.
Play the transposed melody against the new key signature, not just on its own. A melody can be perfectly in scale and still clash, because the transposition shifted its relationship with a chord you have not changed yet. That is what Step 5 is for.
5. Match the New Key to Chords, Bass, and Vocals
A melody in a new key against an old-key accompaniment sounds wrong even when every note is correct. Apply the same semitone value to the chords, the bass line and any pads that share the harmonic material, and the whole thing locks back together.
Keep the melody separate from at least one of those layers when you can. Leaving the bass in the original key while the melody moves is a deliberate and useful trick, since the root stays anchored and the tune floats above it.
When the new key comes from an instrument rather than from a singer, work out the offset from the instrument’s own part. Transposing instruments read different notation from what they actually sound, and that difference is written into the part as a fixed number of semitones.
| Instrument family | Examples | To write a part that sounds correct, transpose the melody by |
|---|---|---|
| Bb instruments | Trumpet, clarinet, tenor saxophone | +2 semitones, one whole step up |
| Eb instruments | Alto saxophone, baritone saxophone | +9 semitones, a major sixth up |
| F instruments | French horn, English horn | +7 semitones, a perfect fifth up |
Those numbers assume the player is reading standard transposed notation. If you are sending a DAW part that the player configures as a transposing instrument inside their own session, ask them which of the two systems they are using, because the offset gets applied twice if you guess wrong.
For vocals, the move is usually small. Singers who strain on a high phrase typically need two to four semitones down, and two is often the number that keeps the phrasing natural. Change it in two-semitone steps and listen on headphones, because the strain is easier to hear on a melody you know well than on unfamiliar material.
6. Bounce, Compare, and Save the Result
Bounce the transposed melody and the original into separate files, then switch between them at matched volume. Differences in note length or timing are obvious this way and almost impossible to spot while playing along in the project.
Listen for three things: clipping where the melody now sits higher in the arrangement, any note that has crossed into a register where the sound thins out, and changes in feel caused by harmony you did not transpose. Fix the levels and the accompaniment, then save the new version with a name that records the shift, for example the track name with a key tag.
If the melody is audio rather than MIDI, check that the shifted file still lines up with the beat grid before you commit to it. Pitch shifters vary a lot in how they handle sustained notes and low end, and a phrase that sounds fine in isolation can smear against a busy mix.
Common Mistakes When Transposing a Melody
These are the failures that come up over and over, both in production forums and in music theory rooms. Each has a simple fix once you recognise it.
Moving in the wrong direction. A positive value moves pitch up, a negative value moves down. If the melody needs to come down three semitones and you enter 3, it climbs instead and the mistake is obvious immediately. Say the direction out loud before you type the number.
Transposing only part of the melody. Select-all inside the piano roll grabs every note in that clip, but selecting notes in a different view, or clicking one note and dragging, catches only what you grabbed. After any move, look at the range of the melody and confirm the top and bottom notes both moved.
Ignoring the scale. A melody moved by a whole number of semitones can land notes outside the new key. Those notes are not automatically wrong, because chromatic tones are a real musical tool, but they should be a decision rather than an accident. Turn on scale highlighting before you judge.
Shifting audio when you meant MIDI. Audio transposition is a genuine pitch shift with all the artefacts that implies, including formant changes that alter vocal timbre. If the melody is available as MIDI anywhere in your session, transpose that and re-render the instrument instead.
Changing tempo by accident. Some pitch-shift tools stretch time to compensate, and a few DAW devices default to that behaviour. If the clip suddenly plays faster or slower, you have hit a time-stretching control rather than a transpose control.
Getting enharmonic spelling wrong in notation. This one only applies when you are writing the result out, and it is the most common source of confusion for players and students. The note that sounds correct is not always the note that is spelled correctly: a melody in E major needs D sharp, not E flat, even though both sit at the same piano key. Notation software can rewrite this automatically, and you should check its work rather than trust it blindly.
Transposing an already transposed clip. Producers apply a shift, forget, and apply a second shift when the singer asks for another change. Write the semitone value into the clip or track name, or keep a note in your session template, so the history travels with the file.
Tips for a Clean Melody Key Change
Use the smallest move that solves the problem. Two semitones preserves more of the melody’s original character than seven. Large shifts change how a phrase sits against a lyric, because stressed syllables land on different scale degrees.
Keep timing untouched. A key change should never alter note lengths, velocities or swing. Most DAWs handle this correctly when you transpose notes rather than clips, and it is worth checking the velocity lane once after a large shift.
Transpose in the smallest useful scope. One clip beats one track beats the whole project. Broad moves make it harder to hear what actually changed, and a mistake takes more undo steps to undo.
Audition in context, not in solo. A melody can sound perfect alone and clash badly against a chord that never moved. Keep the rest of the arrangement playing while you judge the result.
Check the top of the range. Moving up pushes the highest notes toward where a voice or a violin gets thin and tiring. Moving down drops the bass line under the audible range of some instruments. The span is unchanged, but its position is not.
Write a key tag on the clip. A short name suffix prevents a second accidental transpose later, which is the kind of thing that surfaces weeks later when the singer is unavailable.
Practice the move by ear. Take a melody you know well, sing it, then sing it a whole step higher or lower from memory. Interval recognition is the skill that separates producers who transpose quickly from those who reach for a tool every time, and a few minutes of singing scales builds it faster than most drills.
Know when not to transpose. If the melody is a recorded vocal with heavy processing, a formidably large shift changes the sound of the voice itself. In that case re-record or use a dedicated formant-correcting tool rather than a plain pitch shifter.
Frequently Asked Questions
How many semitones do I need to transpose a melody from C to F?
Seven semitones up, or five semitones down, will take a melody in C major into F major. Both routes land on the same set of pitches because F sits a perfect fifth above C and a perfect fourth below it. Any melody note can be shifted by that amount and the intervals between notes stay identical. In a DAW, type 7 or -5 into the transpose field and the change takes about a second.
Can you transpose a melody without changing the intervals between the notes?
Yes, and that is exactly what transposition is. Every note moves by the same number of semitones, so the distance between any two notes stays the same. The melody keeps its shape and its character while sounding in a new key. The only case where intervals shift is when you also change mode or scale rather than moving the melody chromatically.
What is the keyboard shortcut to transpose MIDI notes in Ableton Live?
Live has no single select-and-nudge shortcut for this. The common routes are the MIDI effect Pitch, where you set a semitone value, and the clip Detune parameter in the clip detail view for moving a whole clip. In Session View you can also drag a clip vertically to change its pitch. Menu wording has changed across Live versions, so check your own build if a name looks different.
What does Ctrl+K do in Ableton Live?
Ctrl+K, or Cmd+K on macOS, opens Key Map Edit, where you assign notes from your computer keyboard to play a selected device or instrument. It has nothing to do with transposing. Musicians often remember it from setting up a MIDI controller, then assume it is a pitch command. Transposition lives in the Pitch device or the clip Detune parameter instead.
Should I transpose audio or MIDI when changing the key of a melody?
Transpose MIDI wherever you can. MIDI stores pitch as numbers, so the edit is exact, instant and reversible, and velocities and timing stay untouched. Audio transposition is a real pitch shift, which can move formants, thin out low frequencies and smear sustained notes. Only use audio when no MIDI exists, and use a formant-correcting option for vocals.
How do I undo a transpose if the result is wrong?
Use the normal undo command in every DAW, which is Ctrl+Z or Cmd+Z. Because you transpose notes rather than bouncing audio, an undo restores the exact original pitches with no loss. This is the practical reason to work on a duplicated project and to audition before bouncing. If you have already saved and bounced, undo will not reach back, so keep the earlier version named.
Start by duplicating your project, then transposing the melody by the smallest number of semitones that reaches your target key. Check the result against the scale, transpose the chords and bass by the same amount, and bounce it next to the original before you save. Once the workflow is automatic, the whole job takes under a minute.