A Logic Pro template for EDM is a saved project where your tempo, channel layout, busses, send effects and mix settings are already in place, so a new track opens ready to record instead of ready to rebuild. Build it once in a clean session, save it as a project template, and every track you start afterwards inherits the same routing.
This guide covers the whole build in Logic Pro 11 on macOS, from project settings to the saved template file. Set aside about an hour the first time. After that, each new idea starts with the routing already done.
Table of Contents
- What You Need
- The software and instruments
- Audio assets and MIDI material
- The decisions to make first
- Step-by-Step: How to Set Up a Logic Pro Template for EDM
- Set the Project Tempo, Key, and Sample Rate
- Create Separate Tracks for Drums, Bass, and Melodic Elements
- Set Up Audio Routing, Bus Effects, and Sends
- Add Reusable MIDI, Loops, and Automation Regions
- Organize the Arrangement and Mark the Song Structure
- Save, Test, and Refine the Template
- How to create a Logic Pro template without overwriting it
- What a project template, channel strip and track stack actually do
- Common Mistakes
- Frequently Asked Questions
- Does Logic Pro have templates?
- How do I create a Logic Pro template?
- How do I create a track stack in Logic Pro?
- Is Logic good for mixing and mastering?
- How do I mix and master a track in Logic Pro?
- Should I use templates when producing music in Logic Pro?
- Conclusion
What You Need
Before you open Logic, gather the pieces below. Half an hour of sorting beats a half hour of tab-switching mid-build.
The software and instruments
Logic Pro 11 and its bundled instruments and effects cover the whole build. Alchemy handles most melodic parts, ES2 is a fast subtractive option, and Retro Synth covers plucks and stabs. Drum Machine and Drum Synth Designer handle drum kits and tuned percussion, and Space Designer covers risers and impacts.
Third-party plugins are optional. A template built only from plugins that ship with Logic opens cleanly on any Mac, which matters if a collaborator or a client opens it.
Audio assets and MIDI material
Collect one-shots and loops you are allowed to use: kick, clap, snare, closed and open hats, shaker, ride, percussion, risers, impacts, downlifters and white noise sweeps. Keep them in one folder with cleared licensing, because anything you drag into the template gets saved with it.
MIDI files are optional but useful. A one-bar kick pattern, a two-bar bass loop, a chord stab and a riser give you drag-and-drop building blocks straight away.
The decisions to make first
Four choices shape everything that follows: your subgenre, your tempo, your key and your sample rate. Pick them before you add a single insert.
For a starting point, most EDM sits near 128 BPM. House usually runs 124 to 128, melodic house 120 to 124, techno 130 to 140, trance 138 to 140, and drum and bass 174.
Decide on sample rate too. 48 kHz is safe for video work, and 44.1 kHz is fine for streaming releases. Pick one and never switch inside a project.
Step-by-Step: How to Set Up a Logic Pro Template for EDM
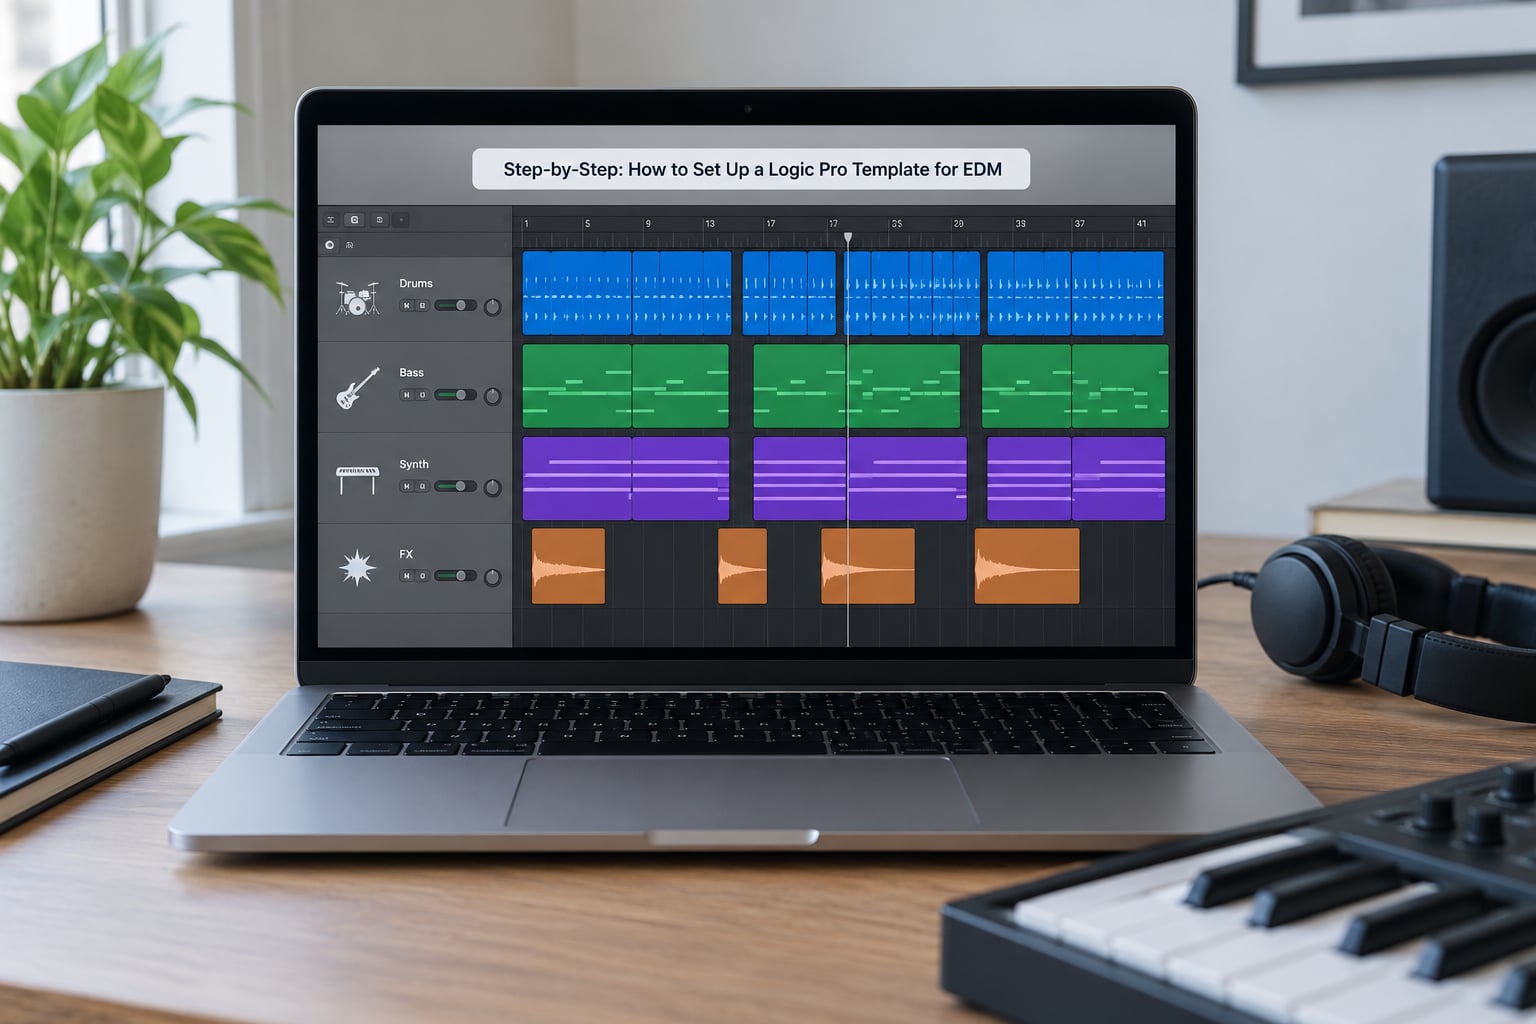
Build the template in this order. Each stage depends on the one before it, and skipping ahead is how you end up with twenty tracks that route nowhere.
Set the Project Tempo, Key, and Sample Rate
Open a new empty project, then go to View > Project Settings. Set the sample rate under Audio to 48 kHz, leave the buffer size at 256 samples for tracking, and tick any options you want applied automatically on every new instrument track.
In the Project tab, set the tempo to 128, the time signature to 4/4, and the key signature to your starting key. If you leave the key as a scale rather than a fixed note, you can audition ideas in different keys later without rebuilding the session.
Turn on the metronome using the click icon in the control bar and enable pre-count from the menu beside it. Two bars of count-in before every loop keeps you honest about timing.
Create Separate Tracks for Drums, Bass, and Melodic Elements
Turn on Quick Create from User Preferences so the New Tracks menu appears under the control bar. Every new track you create should land on the right instrument for its role.
Name tracks by function, not by sound: KICK, CLAP, HATS, SUB BASS, CHORDS, LEAD, ARP, FX. Numbers are fine too, as in HATS 1 and HATS 2, but keep the naming scheme identical across all your projects.
Colour-code by role: one colour for low end, one for percussion, one for melodic parts, one for effects. A track list you can read at a glance saves real minutes when you are twenty tracks deep at midnight.
For melodic parts, load Alchemy or ES2 on the instrument track rather than a software instrument on an audio track. MIDI instruments let you resample, layer and edit the sound later, and they keep the template small.
Set Up Audio Routing, Bus Effects, and Sends
Open the mixer with View > Show Mixer. This is the single most useful window in the template, so give it screen space and leave it open while you build.
Create your busses by opening the output selector at the top of a channel strip and choosing New Bus. Build four: DRUMS, MUSIC, FX RETURN and MASTER. Give each a stereo output pair rather than summing to mono.
Then route everything by hand so you understand it. Drums go to DRUMS, melodic elements to MUSIC, effect returns to FX RETURN, and DRUMS plus MUSIC plus FX RETURN feed MASTER.
Here is the bus map this produces. Inserts stay on the busses, not on the tracks, so one edit changes the whole session.
| Bus | Insert chain | Sends from | Purpose |
|---|---|---|---|
| DRUMS | Channel EQ, Compressor, Soft Clipper | Plate reverb on clap and snare | Glue and shape the kit, tame clipped layers |
| MUSIC | Channel EQ, Compressor, Exciter | Delay send, Hall reverb send | Shared tone for bass, chords, leads and arps |
| FX RETURN | Channel EQ with high-pass at 300 Hz | Feedback Delay, Space Designer | Collects time-based effects in one place |
| MASTER | Channel EQ, Compressor, Adaptive Limiter | None | Output trim and loudness control |
To create a send, drag from the send slot in the mixer down to the destination bus. Set the send level low and raise it later; a send starting at 0 dB on every channel is the fastest way to muddy a mix.
Open each bus with the channel strip cog icon and set the high-pass filters. A high-pass at 30 Hz on MUSIC and 300 Hz on FX RETURN clears space for the kick without any extra EQ work per track.
Add Reusable MIDI, Loops, and Automation Regions
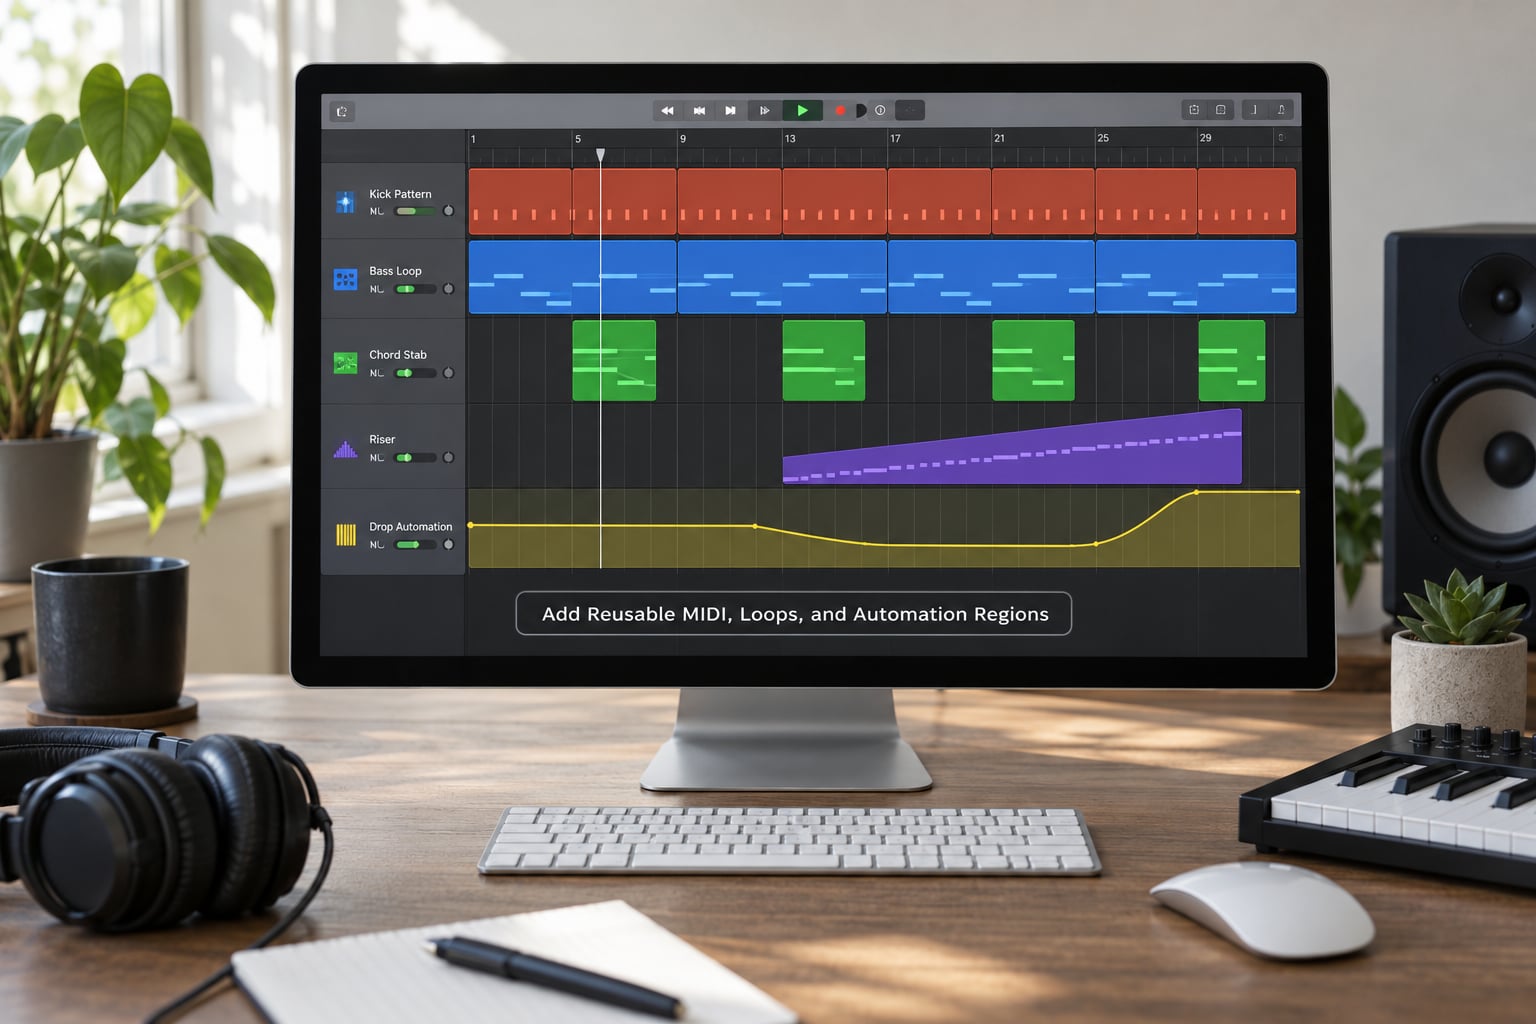
Drag a one-bar kick pattern onto KICK, a two-bar bass loop onto SUB BASS and a chord stab onto CHORDS. Loop them with the region loop control so a single pattern repeats for the whole arrangement until you decide otherwise.
Leave the arrangement mostly empty but keep one section of MIDI as a reference. Named markers such as INTRO, BUILD, DROP and BREAK make the structure readable, and markers on the ruler cost nothing in CPU.
Add a few automation lanes on the MUSIC bus: a filter sweep during builds, a volume dip before each drop and a filter close during breakdowns. Write the automation once on the bus and every new instrument follows it.
For the kick to duck everything automatically, enable the sidechain section on each Channel EQ. Open the sidechain menu, choose Channel EQ, then set the source to the KICK track from the drop-down at the top. Ten to fifteen percent reduction gives the pumping house feel without smearing the whole mix.
Organize the Arrangement and Mark the Song Structure
Standard EDM structure is intro, build-up, drop, breakdown, second drop and outro. Give each one its own marker and keep the loop length consistent so sections land on bar numbers rather than wherever you dropped the mouse.
Decide what the template hands you and what it leaves empty. Most producers want drums, bass processing, busses, effects and routing present, but no chords or lead parts, because those are the parts that should stay original.
Keep one audio file as an eight-bar reference loop somewhere in the project so you can A/B the full arrangement at any time.
Save, Test, and Refine the Template
Test before saving. Play a full arrangement at 128 BPM, watch the Logic performance meter in the control bar, and check that no bus is clipping into the MASTER limiter. If the CPU meter sits high, cut sends and empty channels first, since unused channels still cost something.
Save with File > Save As, set the format to Project Template and give it a name that says what it is, such as EDM Master Template – 128 BPM – 48k. Templates live in their own folder and appear in the template list of the New Projects chooser.
Test it properly: open a brand new project from that template, record a kick and a bass line, and mix for ten minutes. Anything you have to fix during that test belongs in the template.
How to create a Logic Pro template without overwriting it
Never save over the master. Open a project from the template, do your work, then use File > Save As with the format set to All Documents so your session becomes a normal project. The template file stays untouched.
Keep two or three versions: a master template, a genre-specific variant and a lightweight version for laptops. Name them with a number suffix and never edit the originals again.
What a project template, channel strip and track stack actually do
This is where most confusion starts. A project template opens a whole session with busses, sends and the master chain. A channel strip template saves one channel’s insert chain, automation and routing for pasting onto a new track. A track template saves a single track including its instrument. A track stack groups several tracks into a summing stack with shared inserts.
If you build busses and expect them to appear later, you need the project template. That mismatch accounts for most complaints about templates not doing what people expected.
Common Mistakes
Building forty channels on day one. An old Logic Pro X template listed in a KVR forum thread advertised 59 channels and 48 audio channels. That is CPU and confusion for no benefit. Start with twelve to sixteen tracks and add channels when a project needs them.
Putting inserts on individual tracks instead of busses. Then you end up moving the same EQ across six channels whenever the mix changes. Keep the processing on DRUMS and MUSIC so one edit fixes everything.
Using plugins your collaborator does not own. The session opens with missing-plugin warnings and a wall of red. Build the core from plugins included with Logic, then add third-party processing per project.
Baking in a tempo or key too rigidly. A template locked to one key forces you to transpose everything or fight the signature. Use a scale instead of a fixed key where you can.
Skipping the high-pass filters. Low-frequency buildup in the pads and reverb returns is the most common cause of a mix that never gets clear. Set them on the busses once.
Bouncing yourself into ear fatigue. One Logic user described nearly a hundred bounced versions of a first DIY EDM track. Bounce once per structural change, not once per minute.
Baking a heavy master compressor into the template. Experienced producers on audio forums have moved away from master bus compression and use templates for routing only. Keep the master chain light and leave loudness for later.
Frequently Asked Questions
Does Logic Pro have templates?
Yes. Logic Pro has project templates, track templates and channel strip templates. Project templates appear in the Templates menu of the New Projects chooser and open a full session with channels, busses, sends and inserts already wired. Track templates save one track. Channel strip templates save one channel’s processing for pasting onto new tracks.
How do I create a Logic Pro template?
Build a clean session with your tempo, key and routing set, then choose File u0026gt; Save As and set the format to Project Template. The file is saved as a .logicx template and appears under Templates in the New Projects chooser. To make a channel strip template instead, open the Mixer and save the channel strip settings from the cog menu.
How do I create a track stack in Logic Pro?
Select the tracks you want to group and choose Track Stack from the New Tracks menu, or insert a folder track and drag the tracks inside it. The stack acts as a summing submix with its own insert chain, so you can process several parts together. Common uses in EDM include one stack for all melodic layers and one for drum layers.
Is Logic good for mixing and mastering?
Logic handles both well for electronic music, because it ships with everything needed: Channel EQ, Compressor, Multiband EQ, Adaptive Limiter, Space Designer and a Loudness Meter. Most producers mix inside Logic and master there too, or use the same chain while referencing a loudness target. For very dense releases, external mastering tools still add options.
How do I mix and master a track in Logic Pro?
Sum into the MASTER channel, add a gentle Channel EQ cut around 300 Hz and a touch of low shelf below 50 Hz, then a slow Compressor for glue and an Adaptive Limiter on the ceiling. Check the Loudness Meter and aim roughly around -10 to -8 LUFS integrated for streaming, or -6 LUFS for club and label delivery.
Should I use templates when producing music in Logic Pro?
Yes, if you release regularly or work with collaborators. A template removes hours of repeated EQ, compression and routing work and keeps your mix decisions consistent across a catalogue. GearSpace threads show most Logic users relying on templates for standard mix routings rather than full genre packages, which is the lighter and more reusable approach.
Conclusion
Start with the smallest version that works: four busses, twelve tracks, no third-party plugins and one sidechain setting on the MUSIC bus. Save that as your master template, test it in a fresh project, and only then add channels.
Once the routing is solid, duplicate it per subgenre by changing the tempo and the drum pattern rather than the structure. That is how to set up a Logic Pro template for EDM that keeps pace with your ideas instead of slowing them down.